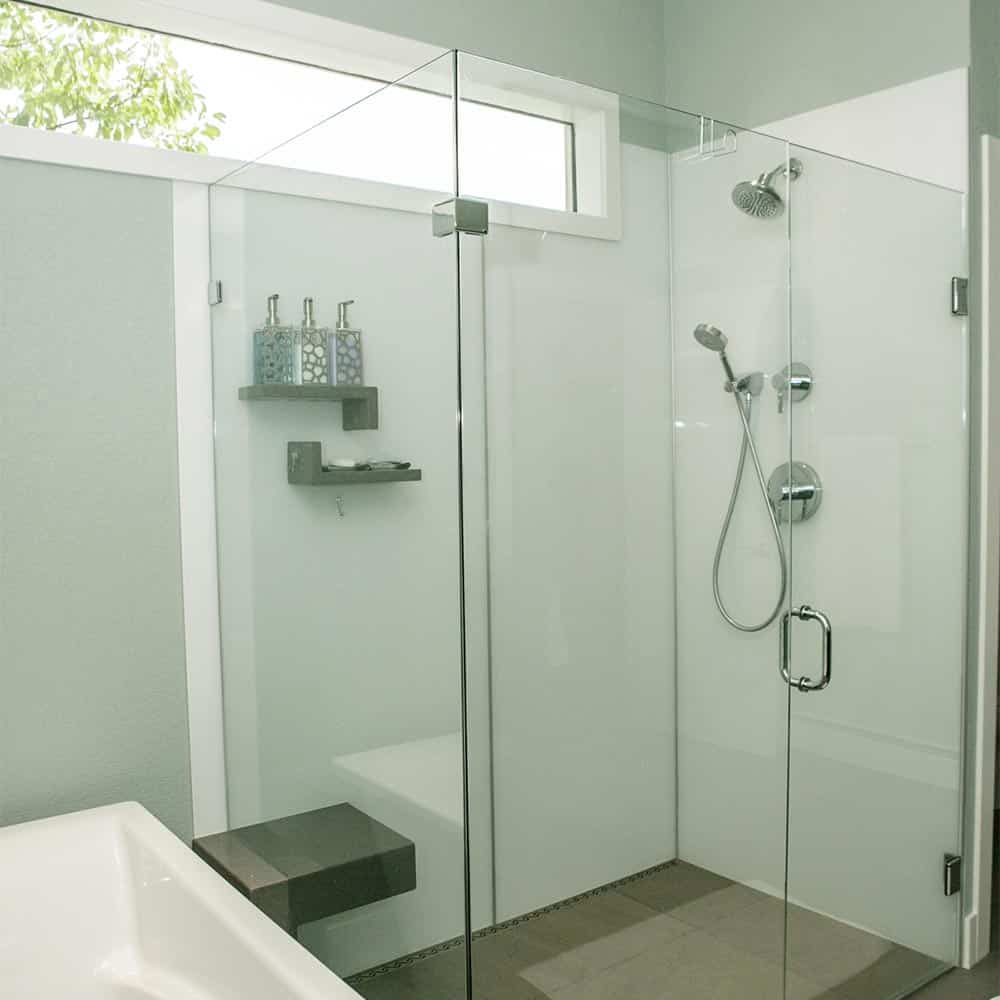
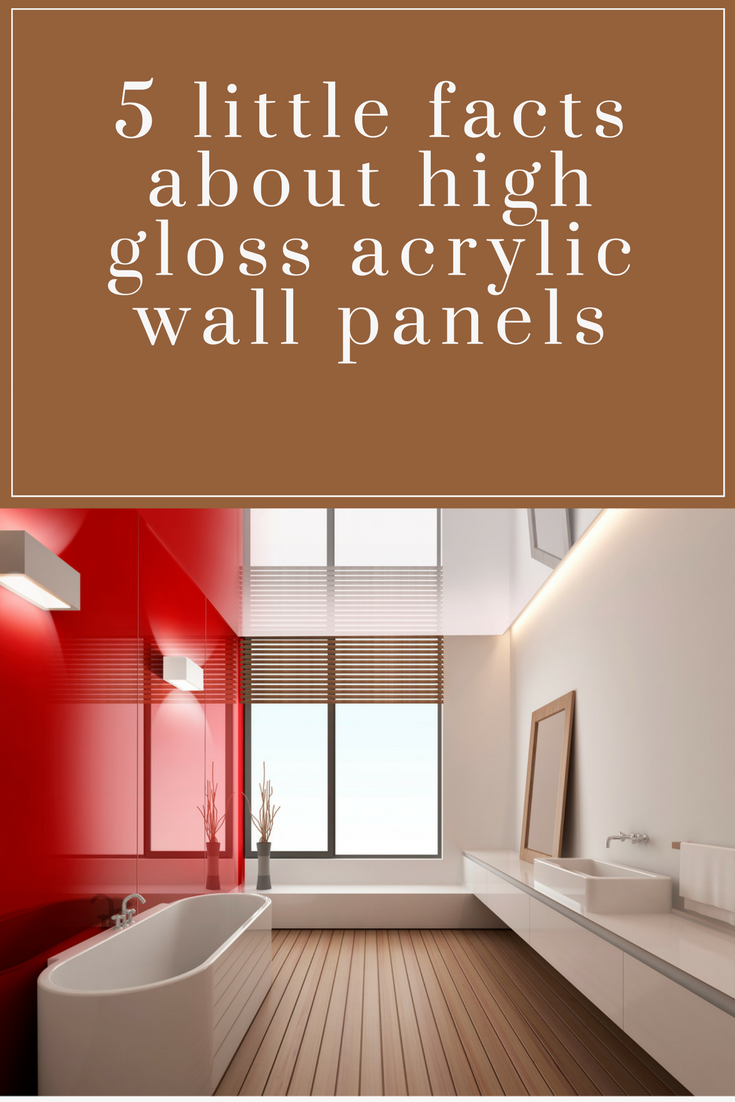
High Gloss Acrylic Shower Wall Panels
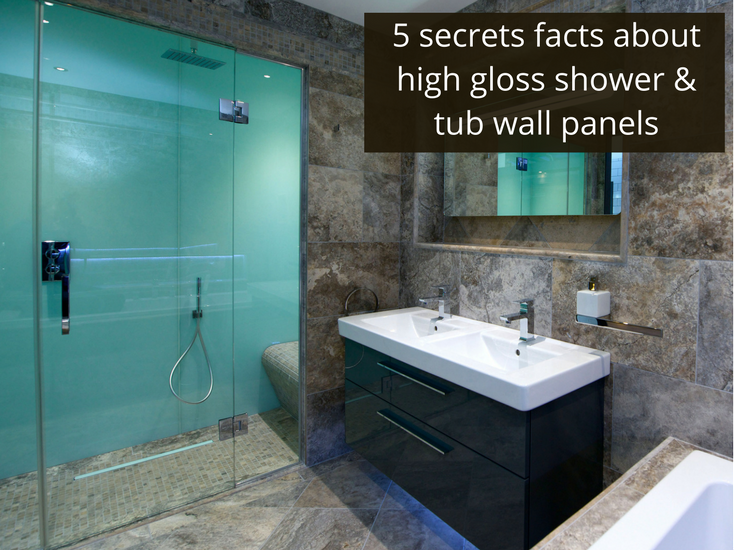
High gloss acrylic shower wall panels have been described as fun, contemporary, sleek, unique, flexible and easy to work with. Learn below about the benefits, options and cool places you can use acrylic backsplashes and shower wall panels. Get practical installation advice as well.


Benefits of High Gloss Acrylic Shower Wall Panels & Backsplashes
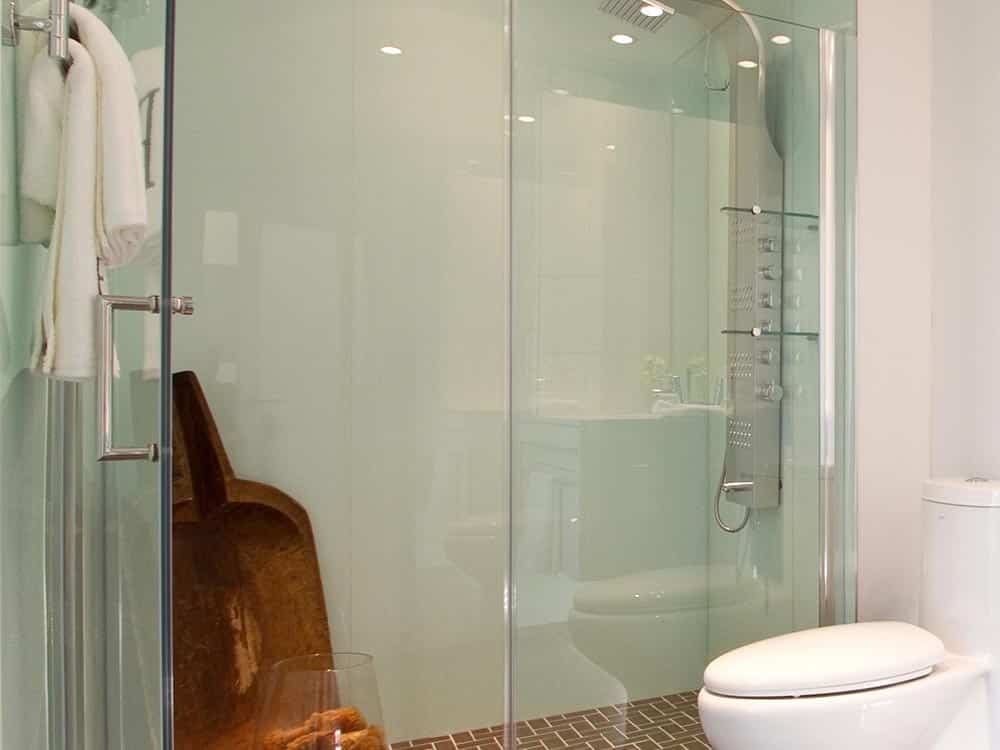
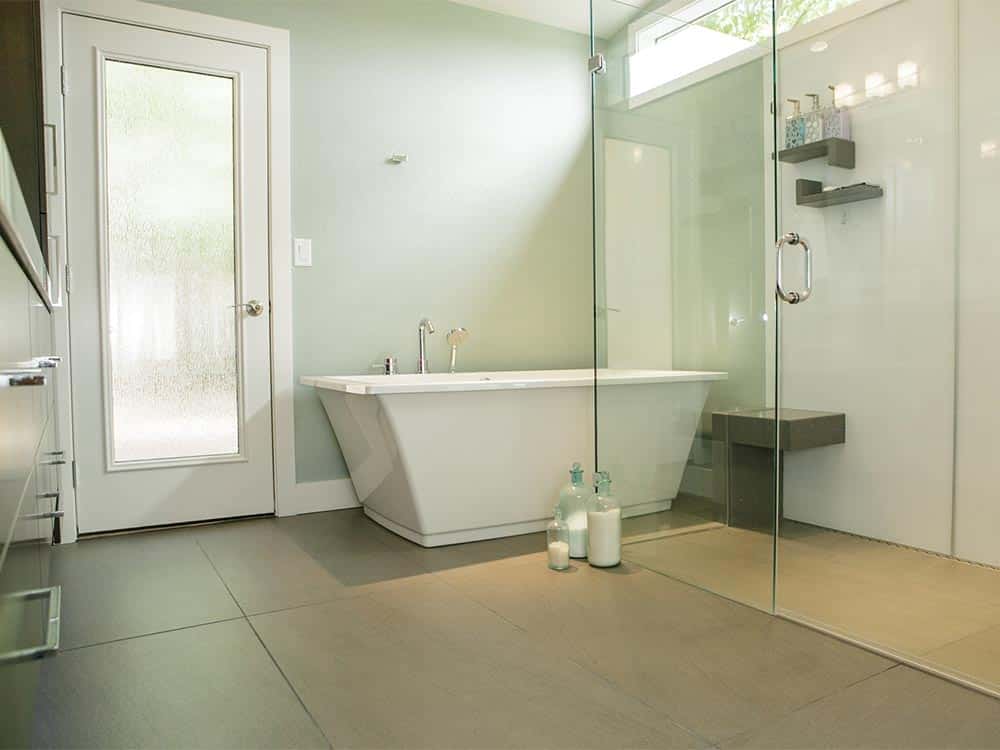
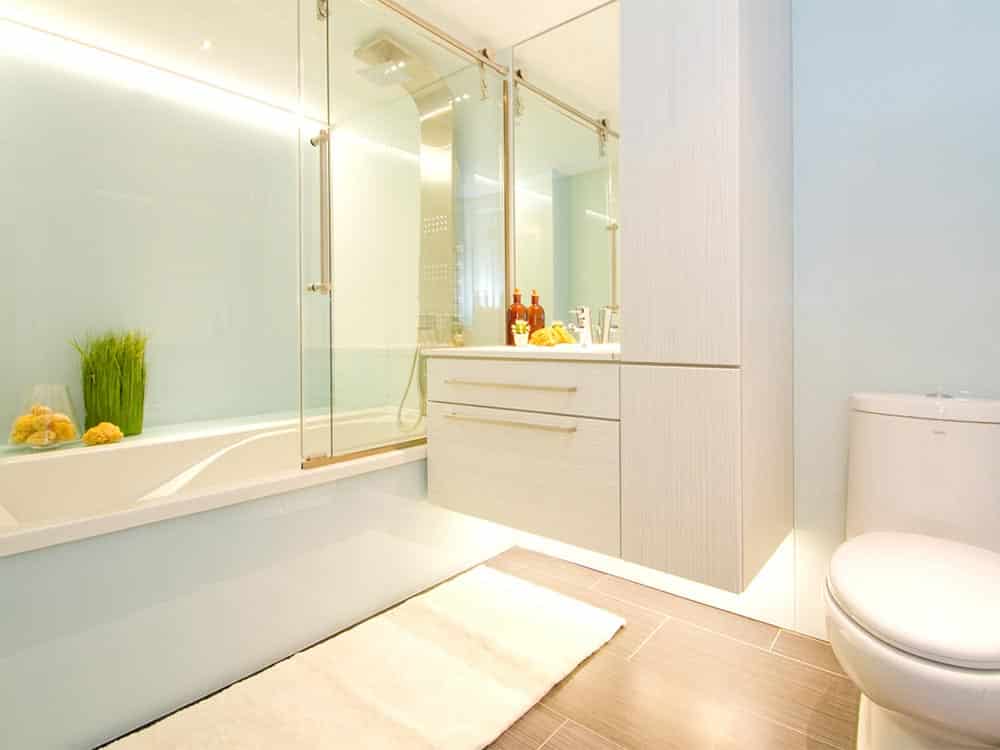
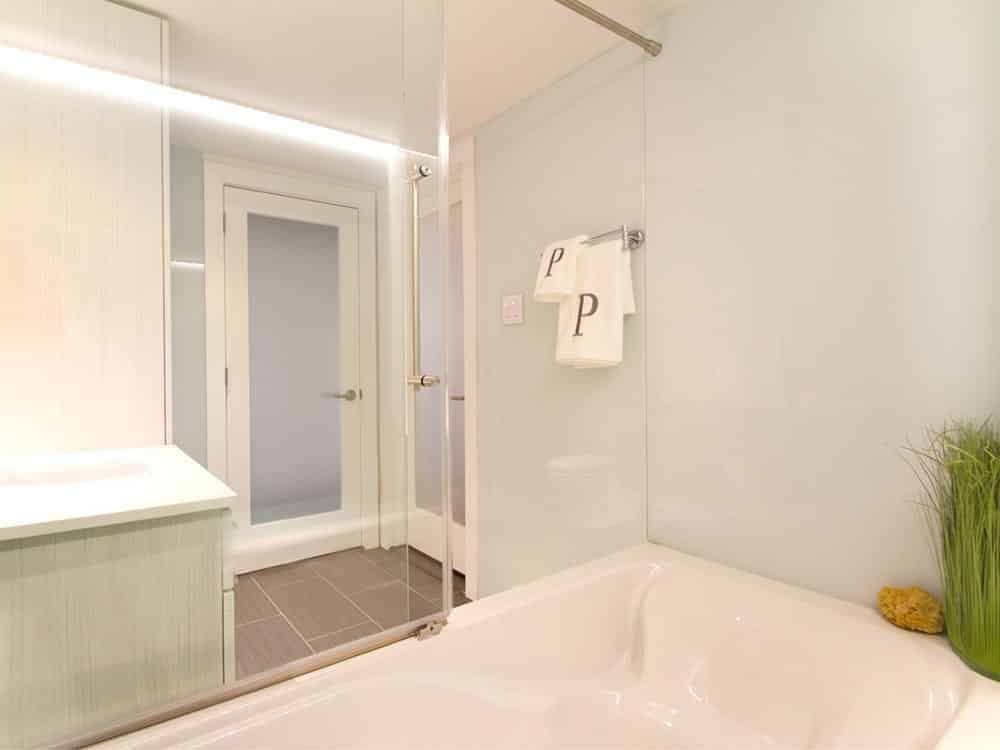
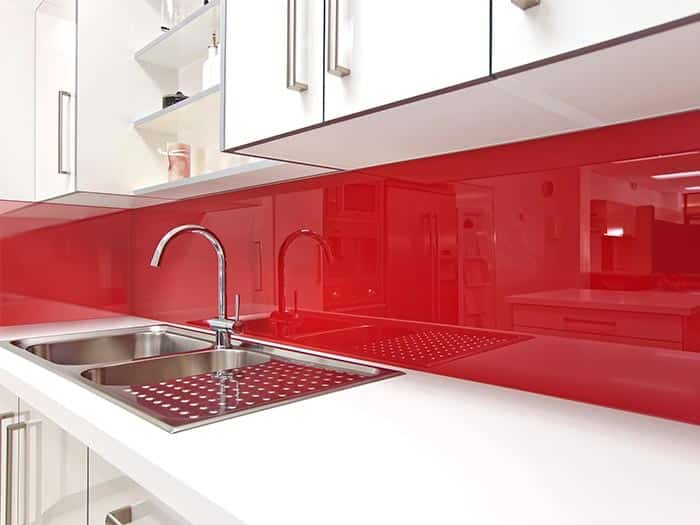
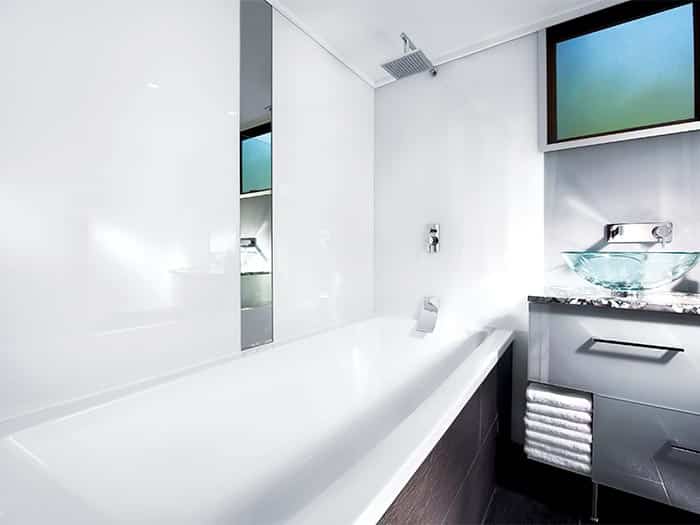
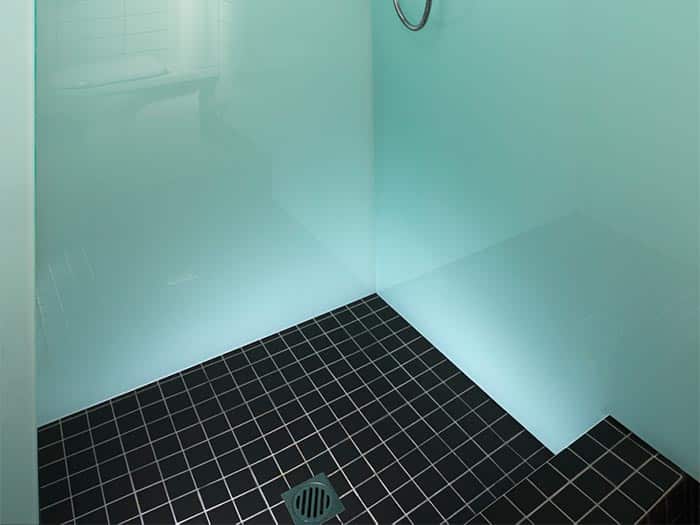
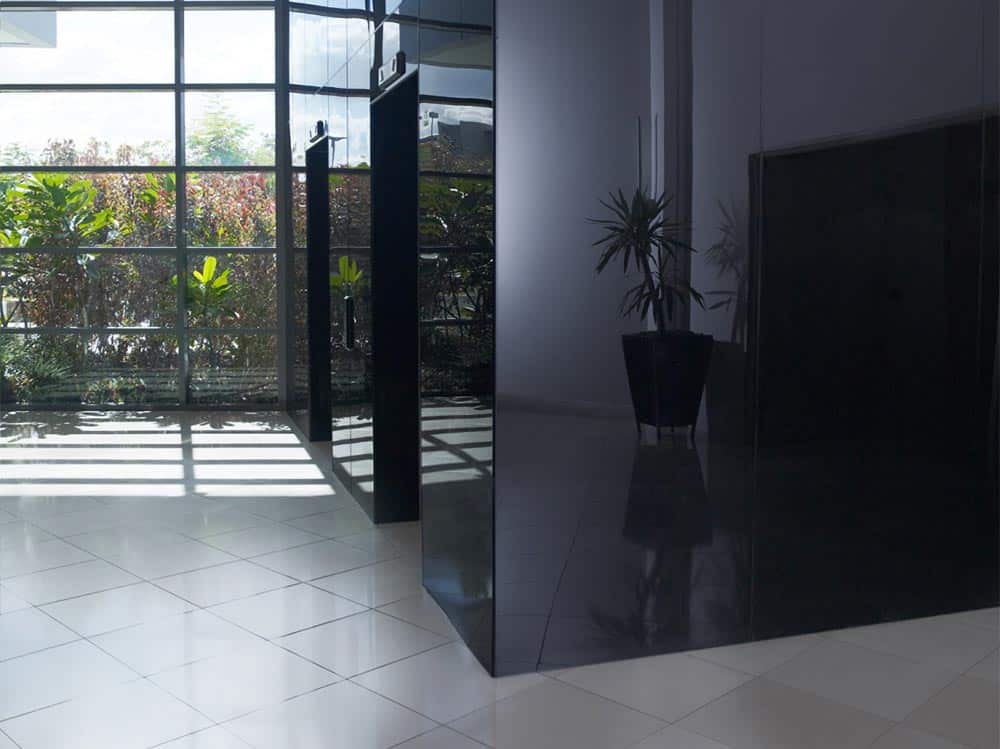
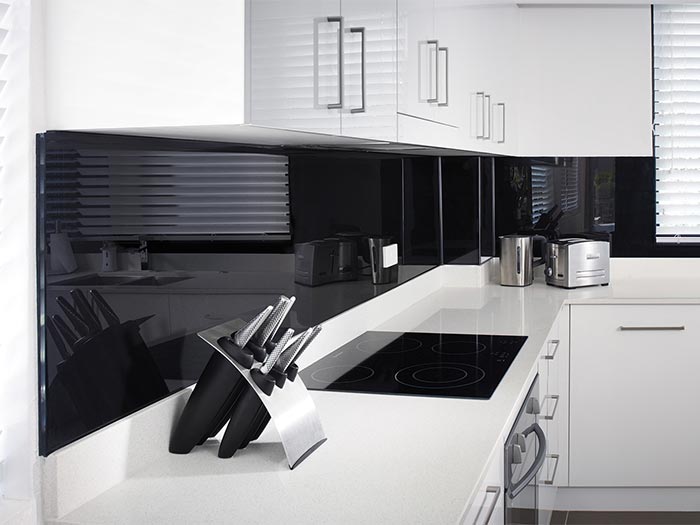
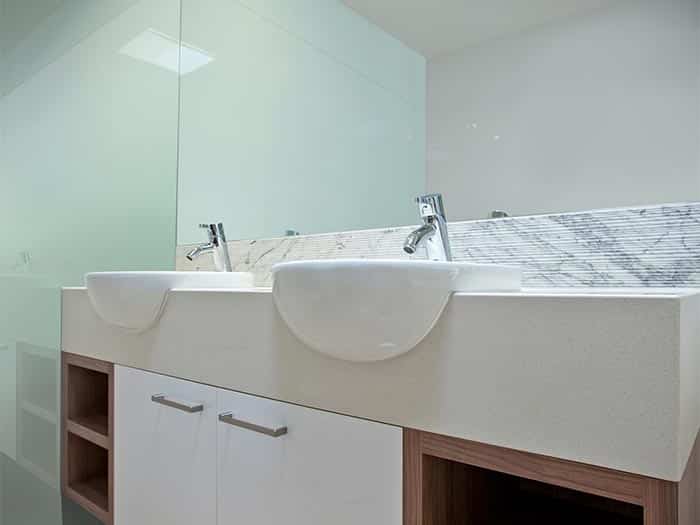
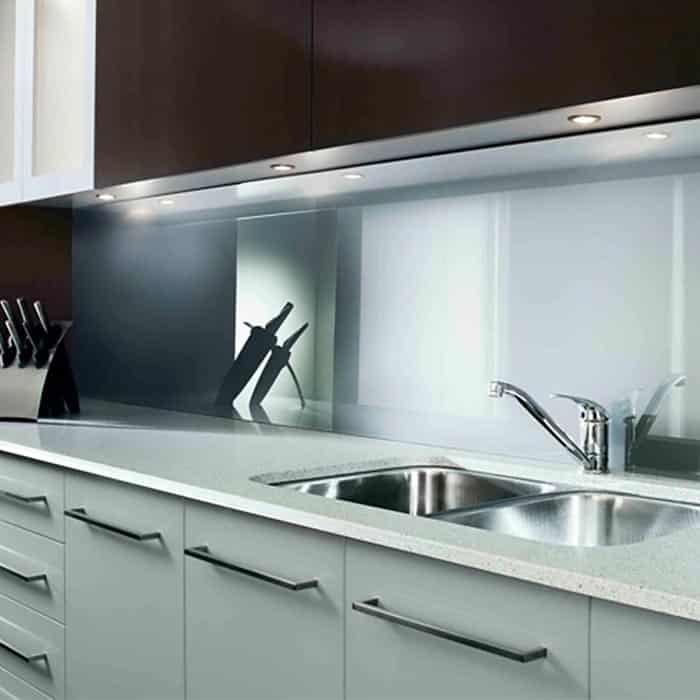
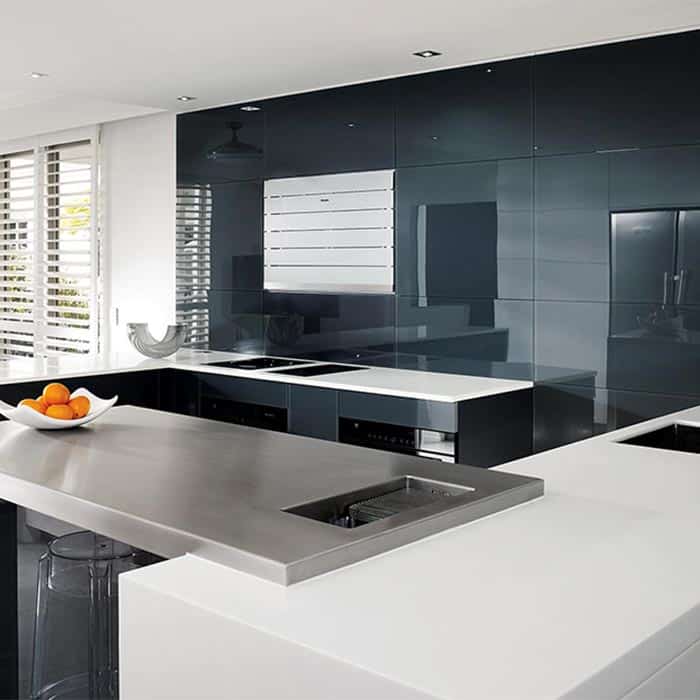
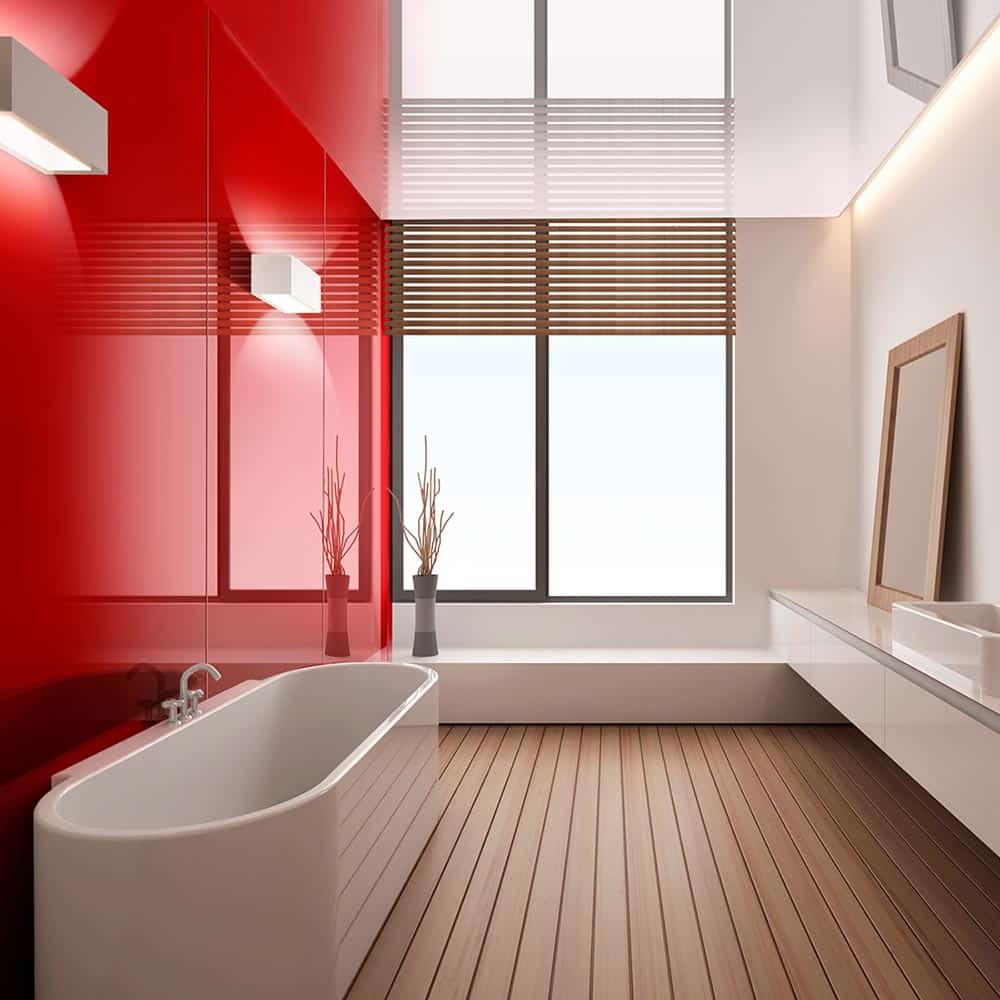
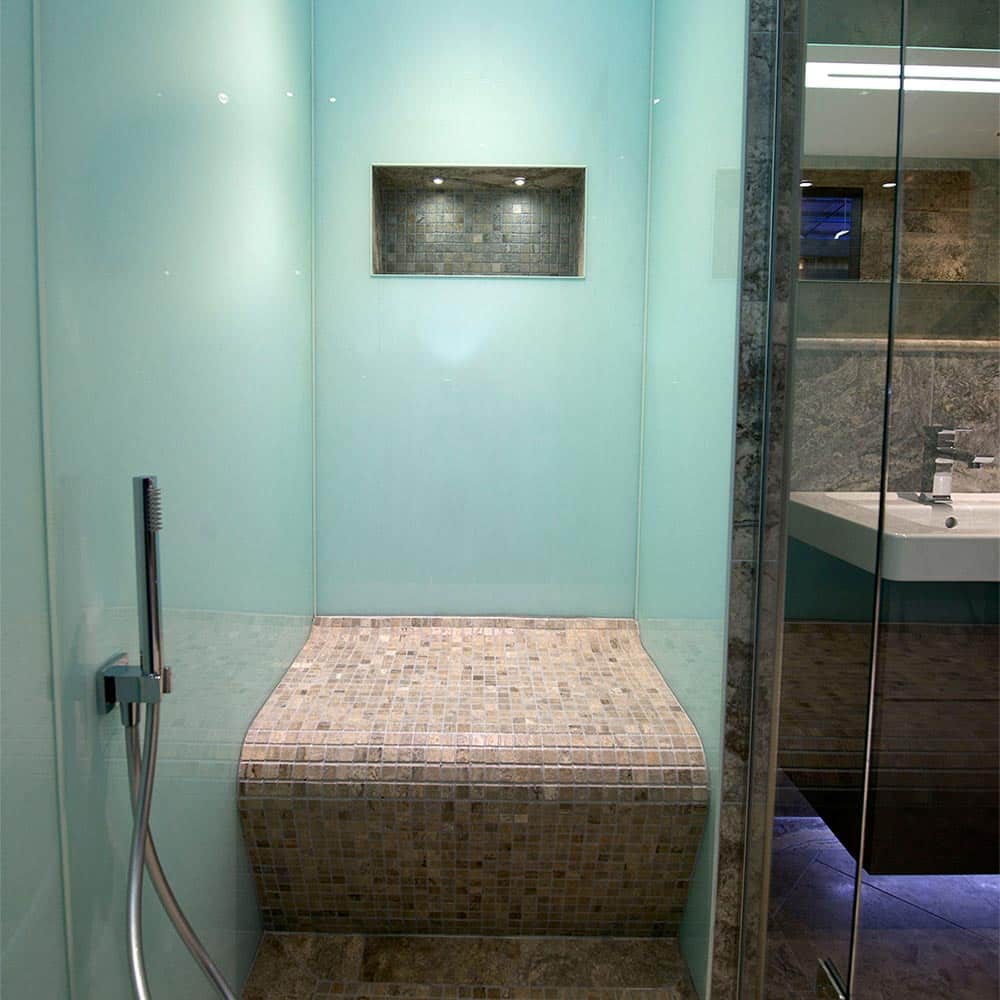
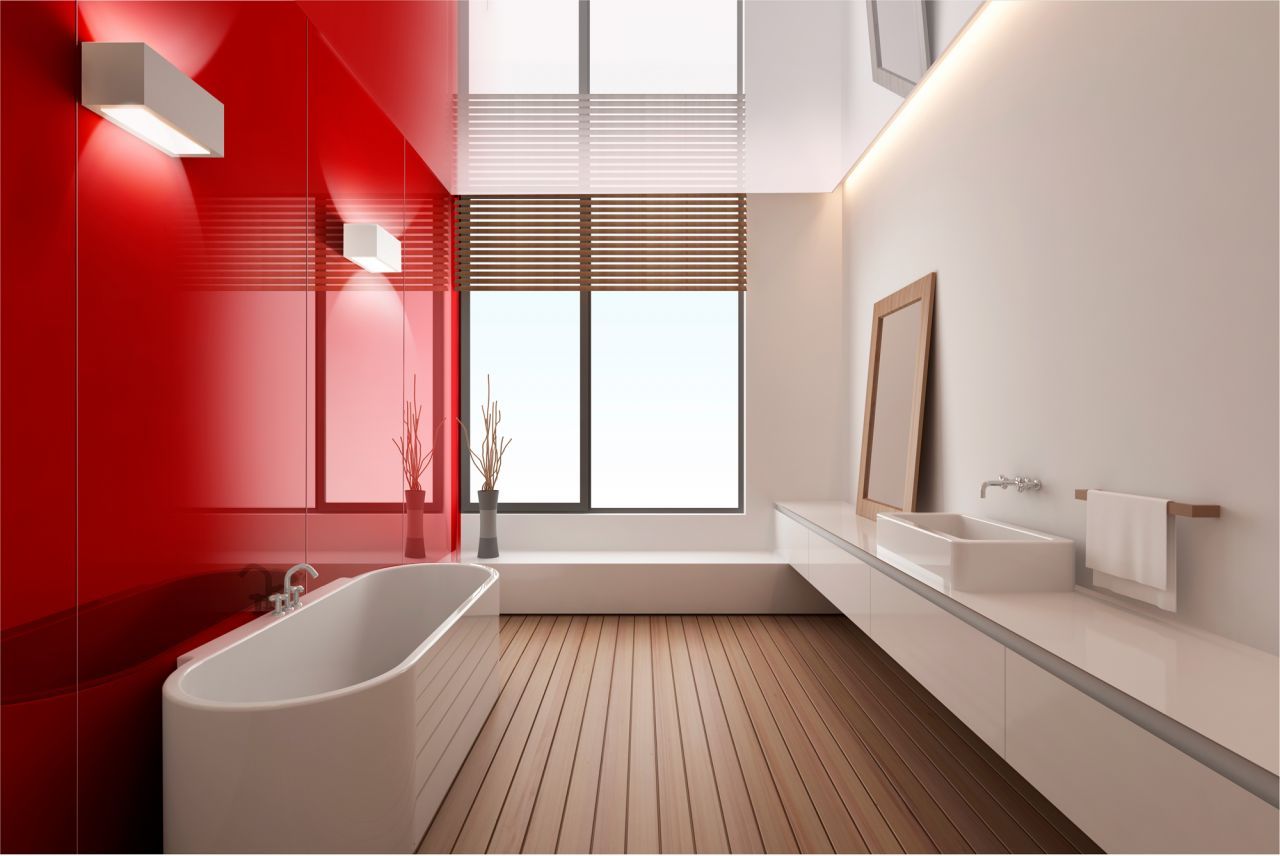
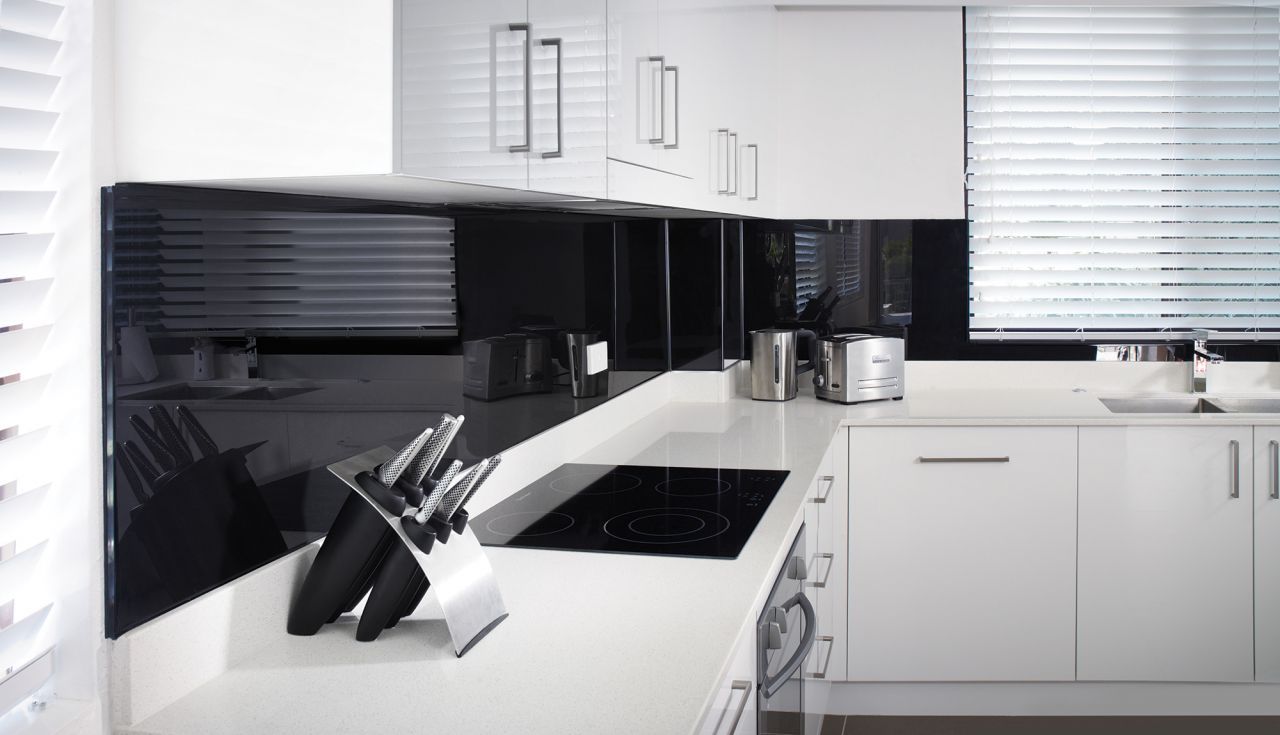
High gloss acrylic shower and kitchen backsplash panel provide a sleek, contemporary look for bathroom walls, contemporary kitchens, reception desks and office areas. They are the perfect alternative to painting walls or use tile which can get moldy in a shower. They are light and easy to work with. Learn the many benefits of high gloss acrylic sheets for shower and kitchen projects.


Standard Panel Sizes
The following standard sized panels are available for either new construction or remodeling projects:
- 39” x 96” (5/32” thickness) – excellent for shower side wall panels and also cut in half for kitchen backsplashes
- 60″ x 96″ (5/32″ thickness) – perfect for shower wall back panels and larger areas you need to cover.
Edge Finish Trim Options
High gloss acrylic shower panels can either be placed close together with a 1/8” joint sealed with neutral cure silicone or you can use either anodized aluminum or aluminum color matched profiles which are matched to your wall panel can be used to join straight sections, corners or finish the edges.


Installation Kits
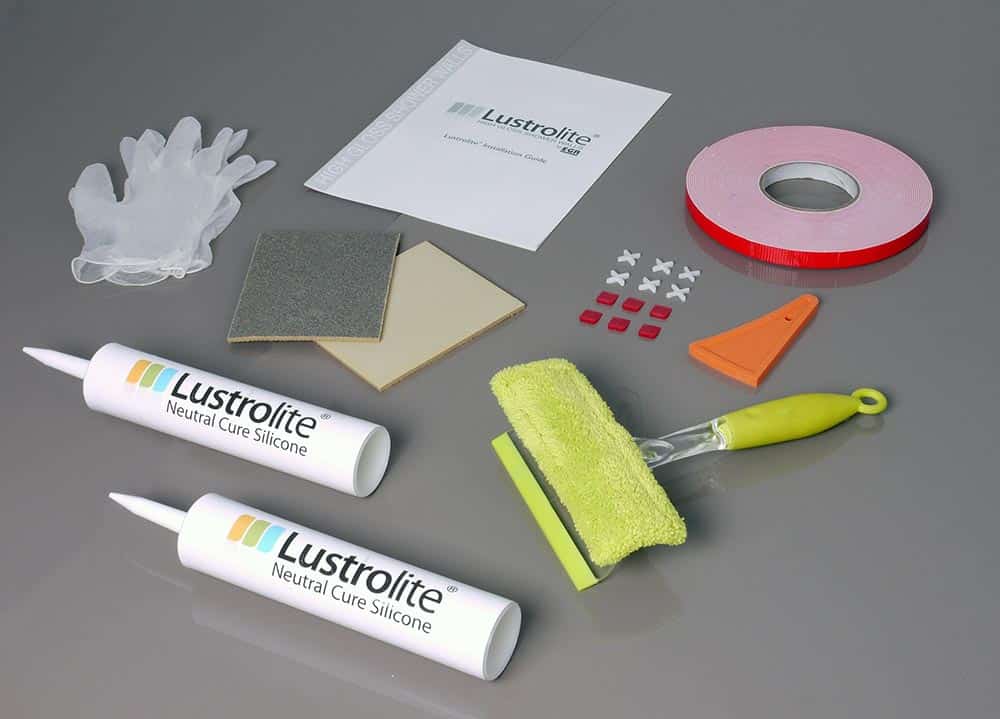
An installation kit can be purchased for your high gloss walls. The kit includes 2 tubes of neutral cure silicone, double sided tape, spatula, spacers, gloves, sandpaper and a cleaning tool.
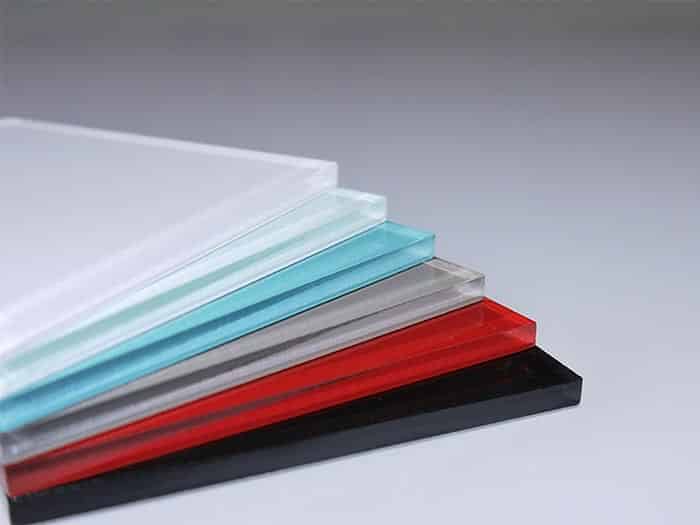
High Gloss Acrylic Color Options

Arctic

Carbon

Glacier

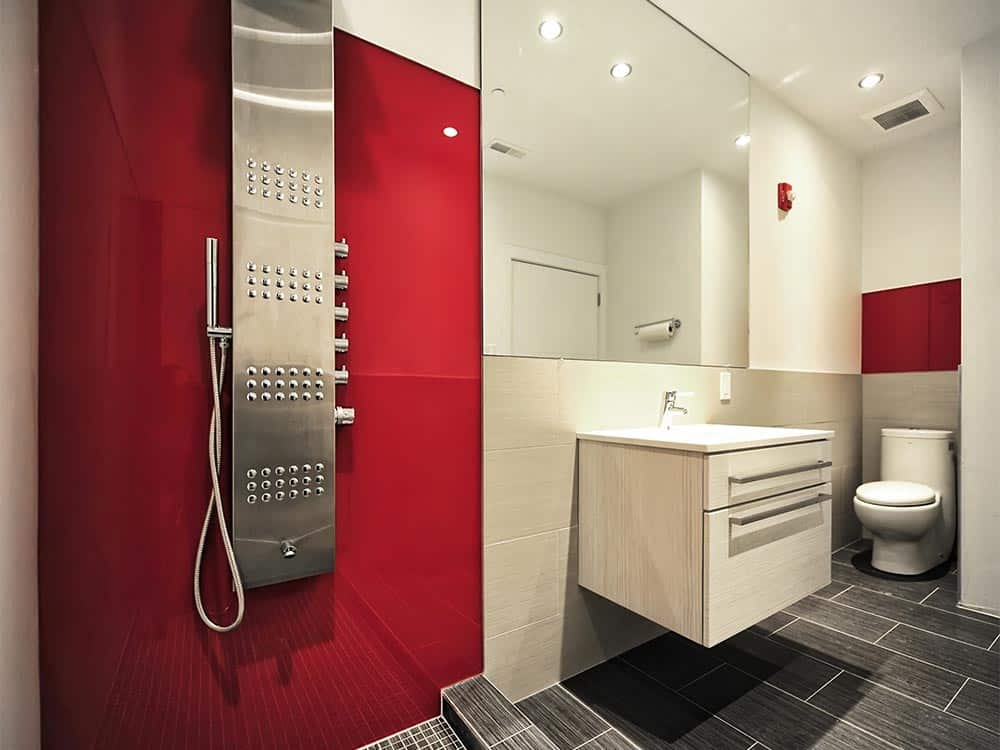
Rouge

Safari

Titan

Azure
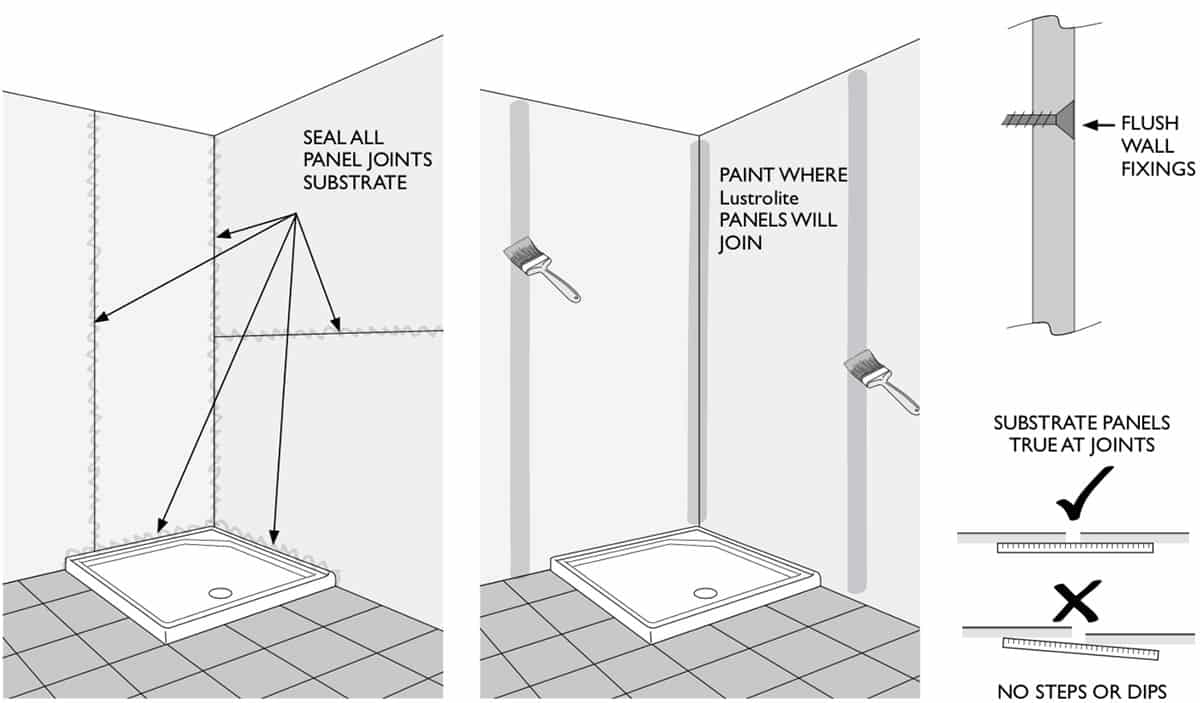
Step 1 – Preparing the walls for your high gloss acrylic shower and backsplash panels
- Make sure the walls are smooth, clean and dry.
- All wall backer materials should be flush (nothing sticking out). Make sure shower and tub wall backer materials meet local building codes.
- Seal all joints between your wall backer material.
- Where there will be a joint between your high gloss panels paint the wall backer a similar color to your wall panels.
Step 2 – Measuring and determining the right size high gloss acrylic shower wall panels to use
- Measure the entire area you’d like to cover and determine the largest panels size(s) to cover this area.
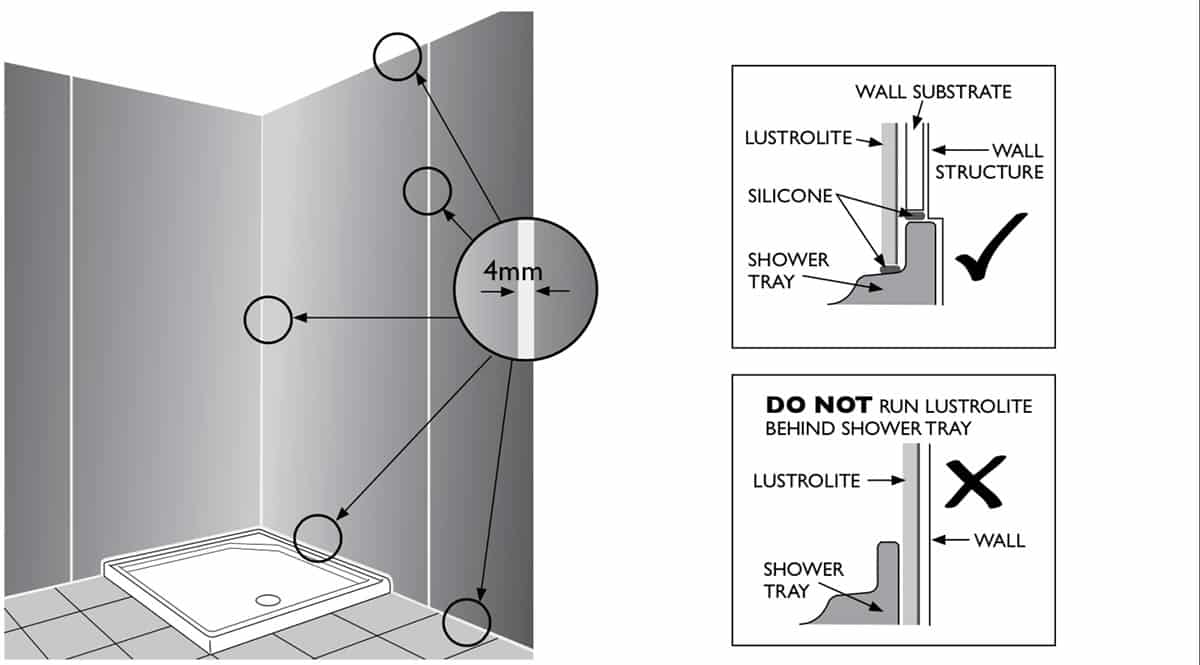
- Allow for a 5/32” joint between the wall panels and at the corners.
- Check to make sure the walls are square.
Step 3 – Marking your panels for holes and cuts
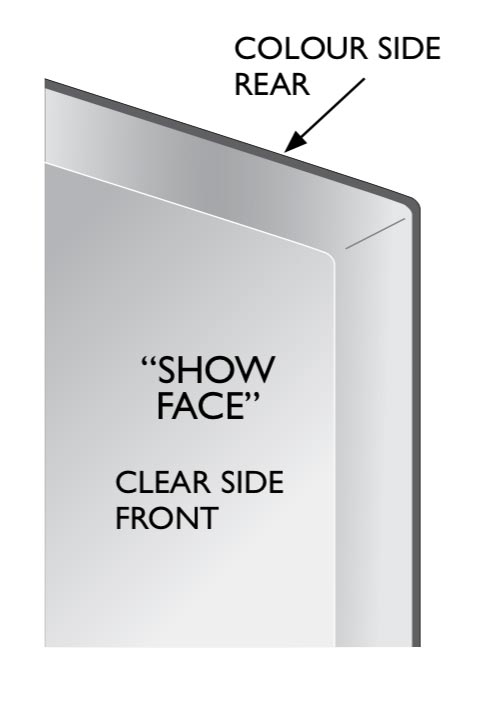
- At this stage leave the protective film on both sides of your panels. (note: the color side is on the rear and the clear side will be the front surface of your completed walls).
- Mark all the holes and cuts on the film with a felt tip pen (do not make markings in very hot or cold conditions because thermal expansion and contraction can affect final panel sizes.
- Do not remove the protective film on the front of the panel until the installation is completed.
Step 4 – Cutting the acrylic panels
- Clamp the panels on a plywood sheet or solid table top to avoid chipping.
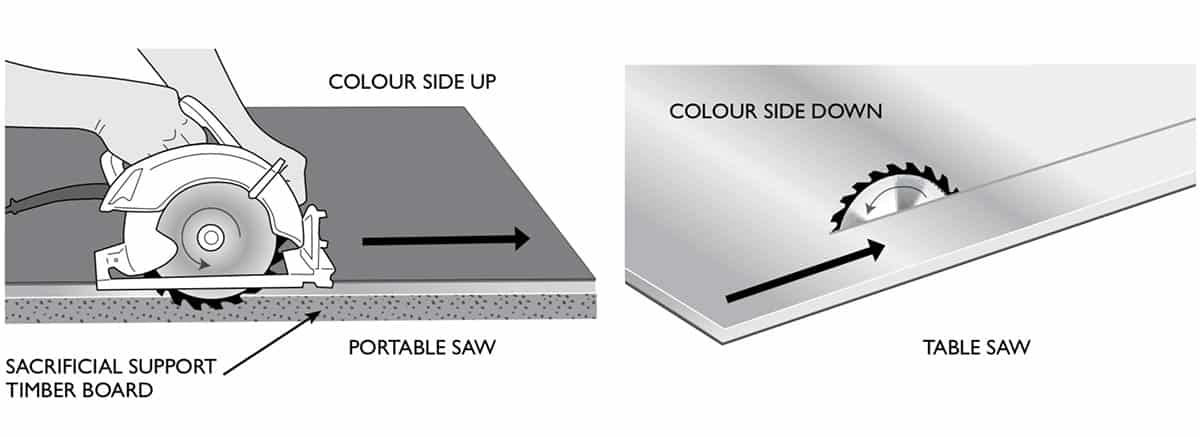
- With a circular saw use a fine sharp blade to create a straight and accurate cut. This blade should be suitable for plastic or aluminum. A carbide tipped blade with 8 to 12 teeth per inch is best.
- When using a portable circular saw cut with the color side of the high gloss sheets facing UPWARDS. If using a fixed table circular saw cut with the color side facing DOWNWARDS.
- Only use a jigsaw to cut short distances like for electrical openings. Only use blades suitable for aluminum or plastics.
Step 5 – Drilling the acrylic panels
- Drilled holes should be no closer than 3/8” from the edge of the panel sheets. Put a piece of wood underneath the cut.
- Use a slow to medium speed drill with a slightly blunt drill bit. Drill from the finished face side (clear side) to reduce the risk of chipping.
- For larger holes use a fine toothed hole saw.
- Step drills are ideal for mid sized holes or for making smaller holes larger.

Step 6 – High gloss acrylic panels installation process
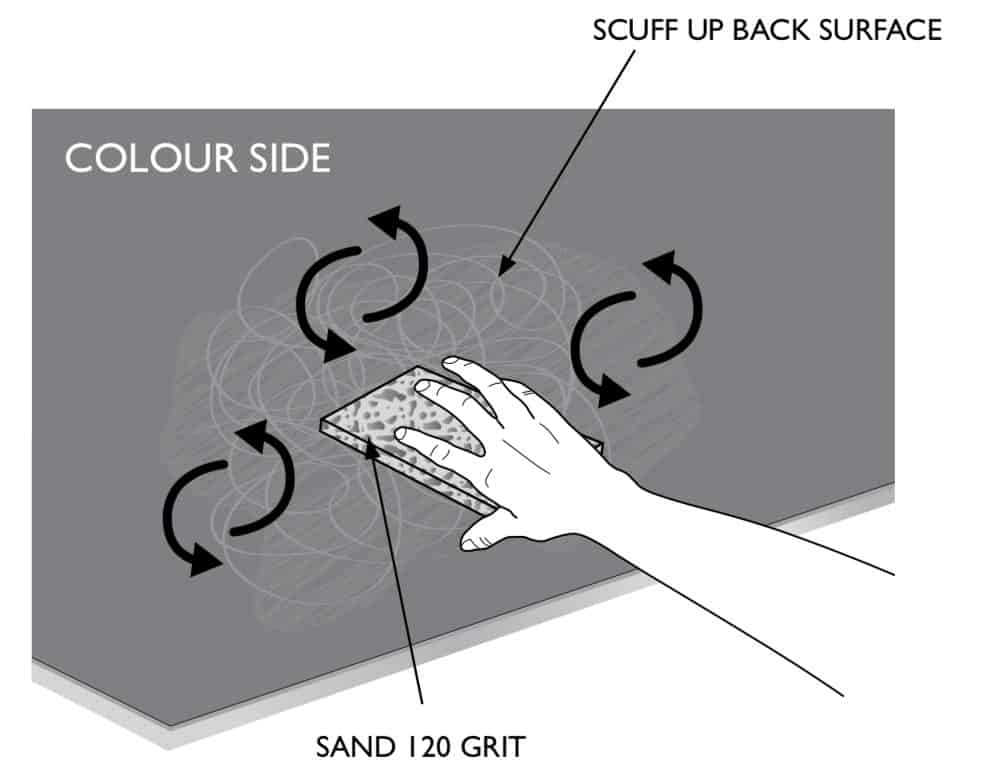
- Remove the protective film from the rear surface (color side). Do not remove the protective surface on the front (clear side) of the panel at this time.
- Scuff the rear surface with a course scouring pad or 240 grit sandpaper.
- Make sure the rear surface is clean and free of dust.
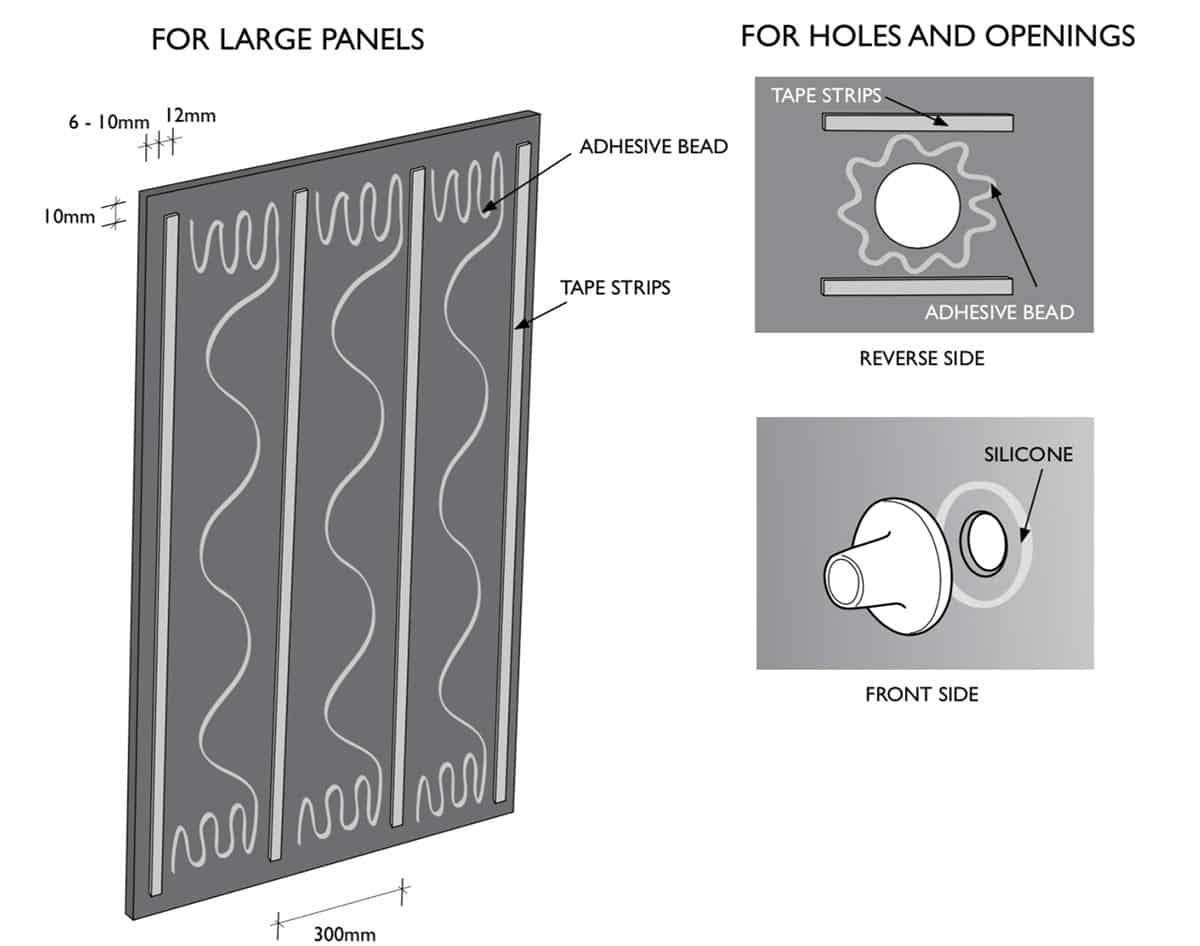
- Apply 1/2” x 1/16” thick double coated polyethylene foam tape with a synthetic rubber adhesive on the rear surface of each panel at approximate 12” spacing.
- Apply 1/4” bead of translucent neutral cure silicone in a wavy pattern between each tape strip. Near the edge of the panel increase the wavy pattern. Run a bead of silicone around any hole or cut out.
- Remove double sided tape liner on the back.
- Install the panel by resting on spacers at the bottom and between the panels.
- Firmly rub down panel to ensure tape bonds and adhesive contacts the wall. Allow to cure for 24 hours.
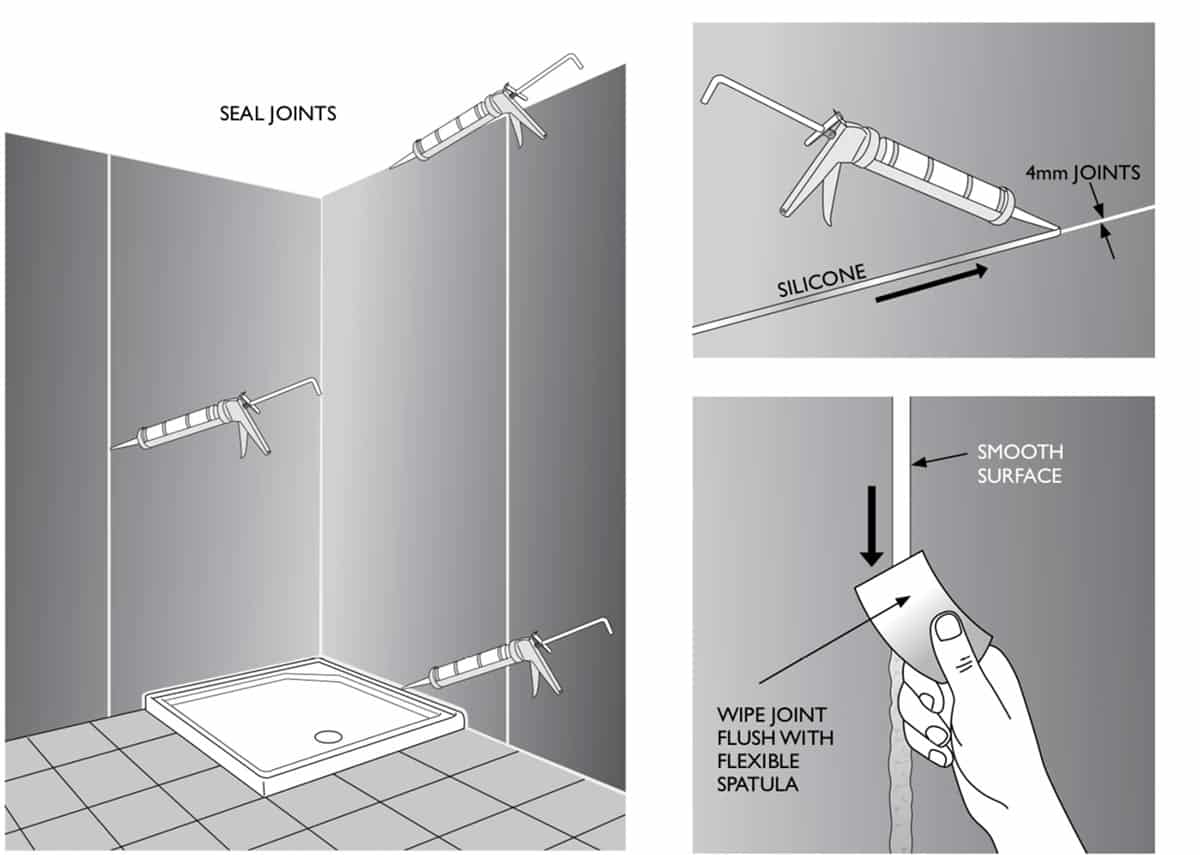
- Seal the joints with neutral cure wet area silicone.
- Once the gap is filled remove the excess silicone using a soft flexible plastic spatula.
- Immediately after the silicone is made flush remove the outer protective film.