Installation of laminate bathroom wall panels for multi-unit properties
How to install laminated shower wall panels with a shower base (or tub) with flanges
A big reason to choose laminated wall panels is their ease of installation. They’re simple enough for single maintenance person or carpenter to install. The following videos and images will lead you through the process.
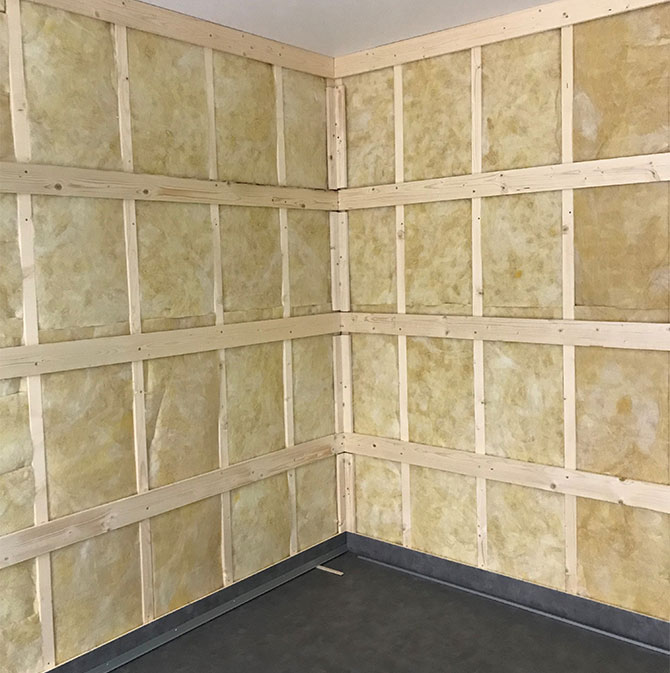
Step 1 – Preparing your walls for the laminate panels
Add horizontal wood furring strips (not provided) every 24” over your existing studs. Note – OSB (Oriented Strand Board) or sheets of plywood also work well.
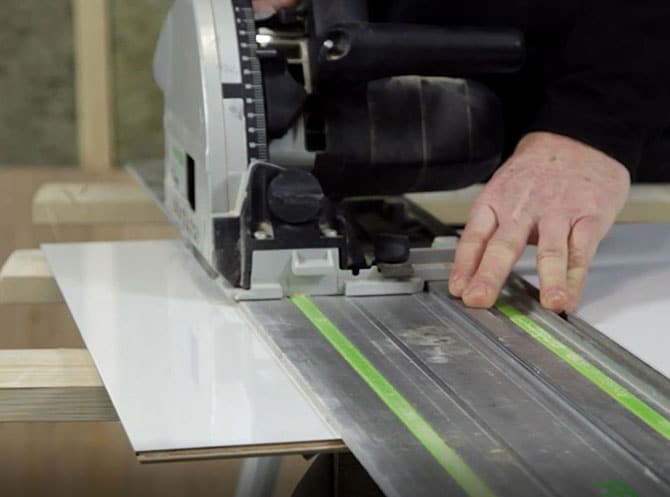
Step 2 – Cutting your panels
If your wall panels are going to extend beyond the shower pan – then cut the laminated wall panels to the shape of the base (note – if the panels are simply going over the pan or tub only you will not need to do this). These panels can be cut with a table saw, track saw, router or circular saw.
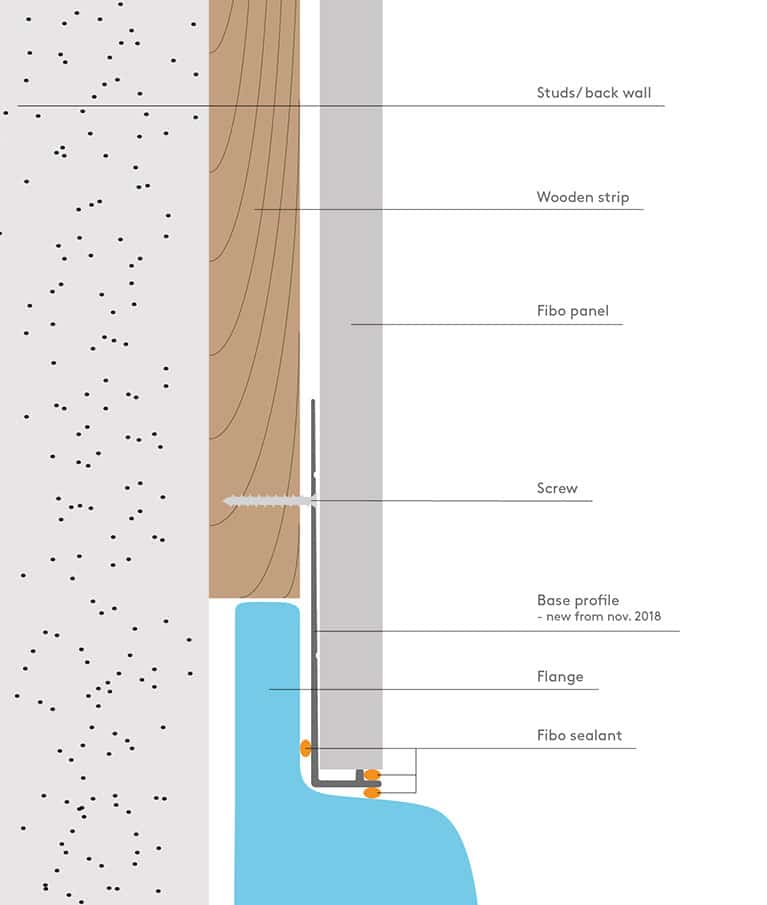
Step 3 – Preparing your panels to go over a shower pan with a flange
Install your shower pan (or tub with flanges) against the studs.
Place the ‘wood horizontal shower base furring strip or OSB over the flange of your shower pan. Attach the furring strips (or OSB) with screws to your studs.
Add sealant behind the L shaped metal base profile piece. Place this profile in front of the ‘wood horizontal furring strip or OSB. Screw the metal base profile into place through the wood furring strip and studs.

Step 4 – Installing the hidden metal corner profile and attaching the wall panels in the corners
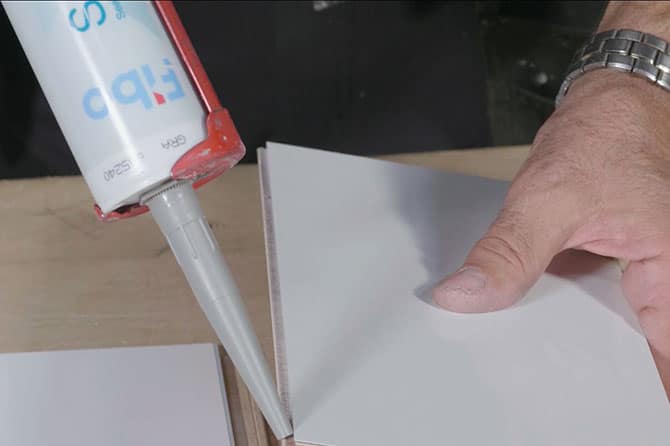
Apply sealant on the clean-cut edge of the wall panel(s) which will go into the corner and then screw the ‘hidden metal corner profile’ to the wall panel(s) which will go into the corner. (Please note – the hidden profile takes the place of the ‘visible metal profile shown in the video).
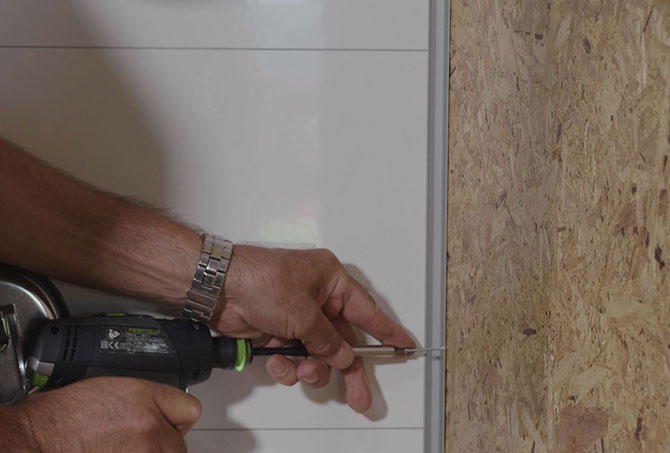
Fit the profile on the back edge of the panel with the accompanying screws. Use the pre-drilled holes to screw the hidden profile to the wood on the walls.
Put the hybrid polymer sealant (provided with your shower kit) on the bottom of the panel.
Starting from the left hand side place the wall panel into the corner.
Screw the hidden profile into the wall through the pre-drilled holes.
Apply the hybrid polymer sealant on the edge of the adjoining panel for this corner and push it into the hidden profile.
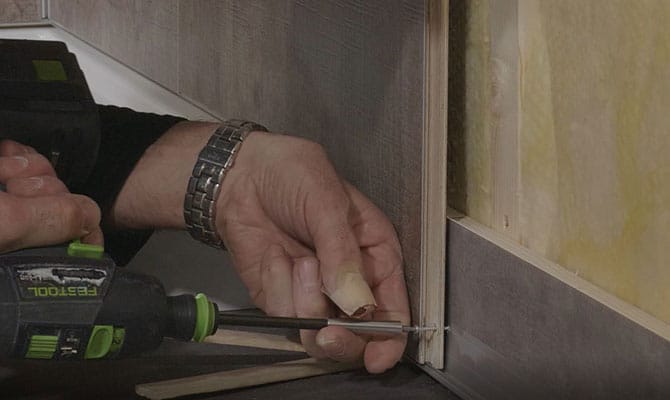
Attach the wall panel to the horizontal wood
Seal the corner with the sealant. Use the rubber cleaning tool to rub off excess sealant and clean the walls.
Step 5 – Installing your laminated wall panels beyond the corners
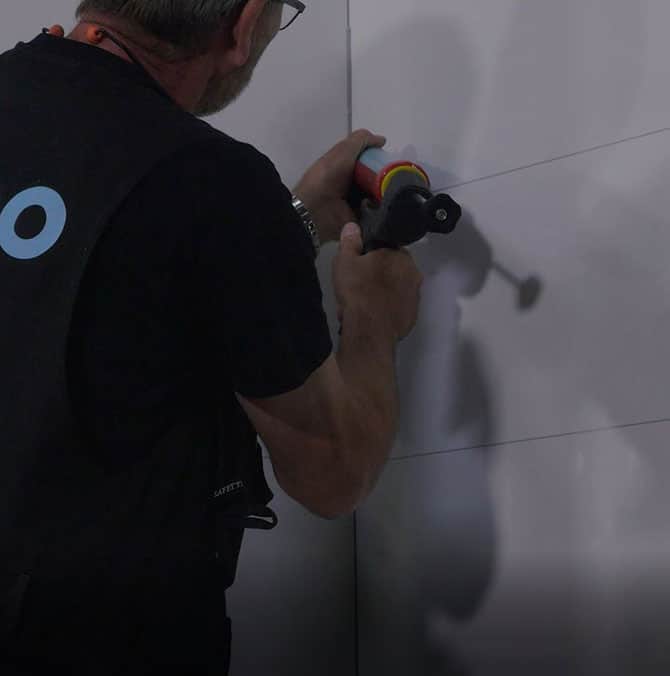
Add sealant to the bottom of the wall panel.
Put screws through the bottom base profile. Put screws through the the lip of the wall panels (not through the face of the panel) and continue to add screws 24” spaced apart until you get the top of the panel.
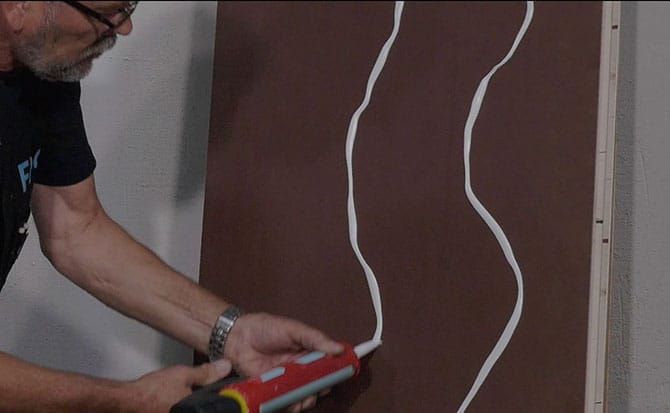
Apply sealant in the Aqualock click system (always on the left side of the panel) and ‘click’ the next panel together. Make sure to use enough sealant so that it oozes out of the panels when they are clicked together.
Step 6 – Sealing your wall panels to the pan and edges
Apply sealant between the wall panels and the shower pan and the outside edges.
Use the cleaning tool to clean off all excess sealant.
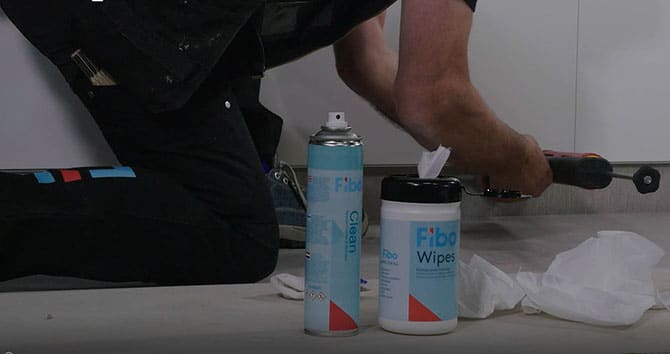
Spray on the “Cleaning” solution, use the rubber tool to clean off the edges and clean with the wipes.
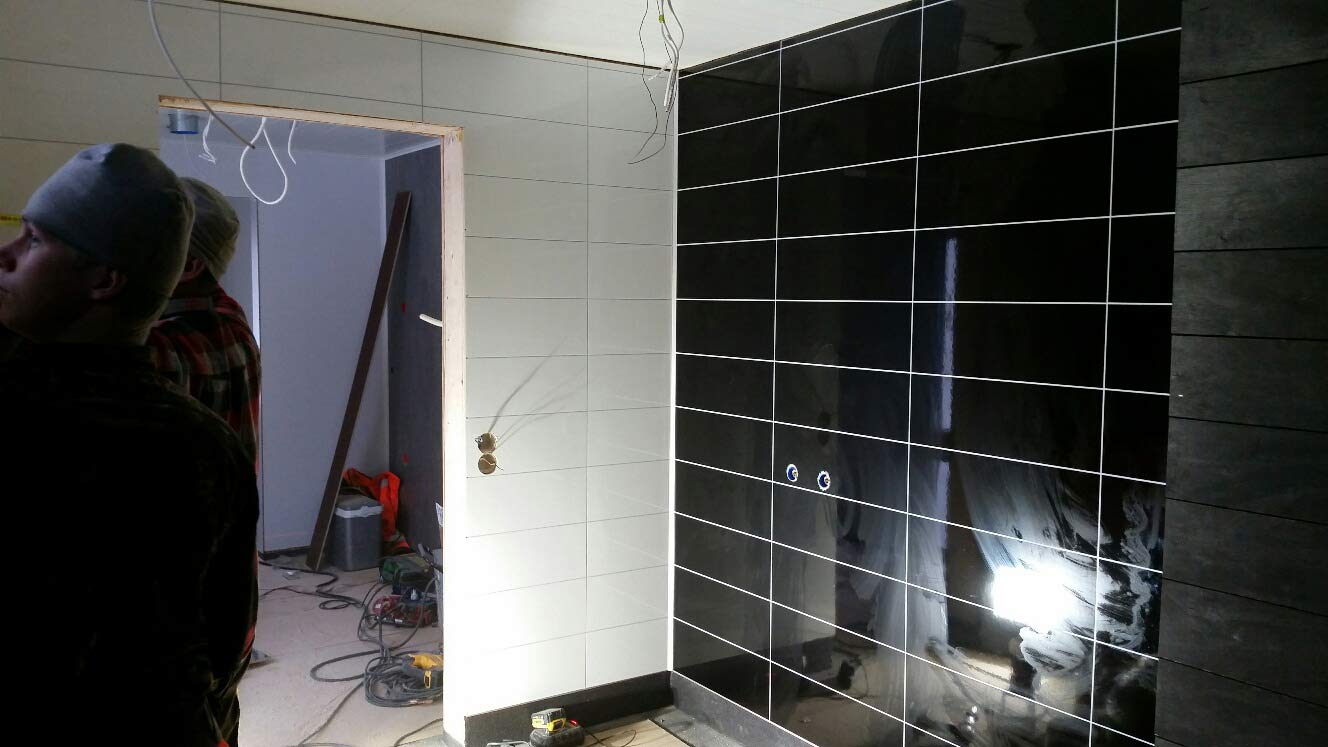
How to Install Laminated Shower Wall Panels onto Existing Tile or Concrete Using the Hidden Metal Corner Profile
If you’re installing laminated wall panels over existing tile or wood you’ll need to add a glue appropriate to the wall surface you’ll go over to the back of the laminate panel. This panel will be slotted into the hidden metal corner profile. Follow steps 4 and 5 from above.
Step 1 – Install the base profile
Put sealant behind the base profile and screw it in with the holes in the profile approximate .4” from the bathroom floor.
Step 2 – Add sealant between the base profile and the wall panel
Use the cleaning solution and rubber finishing tool to clean off excess sealant.
Step 3 – Apply sealant between the floor and the base profile
Use the cleaning solution and rubber finishing tool to clean off excess sealant.