Waterproof Laminate Bathroom & Shower Wall Panels


Real Customer Testimonials
-

I have ordered products from Innovative Building Solutions a couple times in the past 5 years. The products were shipped to Pennsylvania without issue other than a minor crack in a tube of sealant. The customer service team sent a replacement immediately and they are professional, courteous, and very responsive. The Fibo panels I ordered were in stock and shipped out quickly from Ohio to Pennsylvania without any damage whatsoever. The company’s website and video links are extremely useful for DIYers. I would recommend Innovative Building Solutions to anyone searching for quality products for their next project/renovation.

-
The products and service is the best in the industry. I have made beautiful bathrooms because of their products!
-
After going around with other companies and products, we decided on Fibo wall panels for our shower and boy did we make the right decision, instead of having something plastic looking and feeling cheap, we now have a elegant shower and it was 1/3 of the cost of the competitors, so if you have any doubts give Innovate Building Solutions a chance to help you out with your project!
-
Folks at Innovate Building Solutions are knowledgeable, friendly, and helpful. We installed Fibo panels for our tub/shower enclosure and are very happy with them.
-
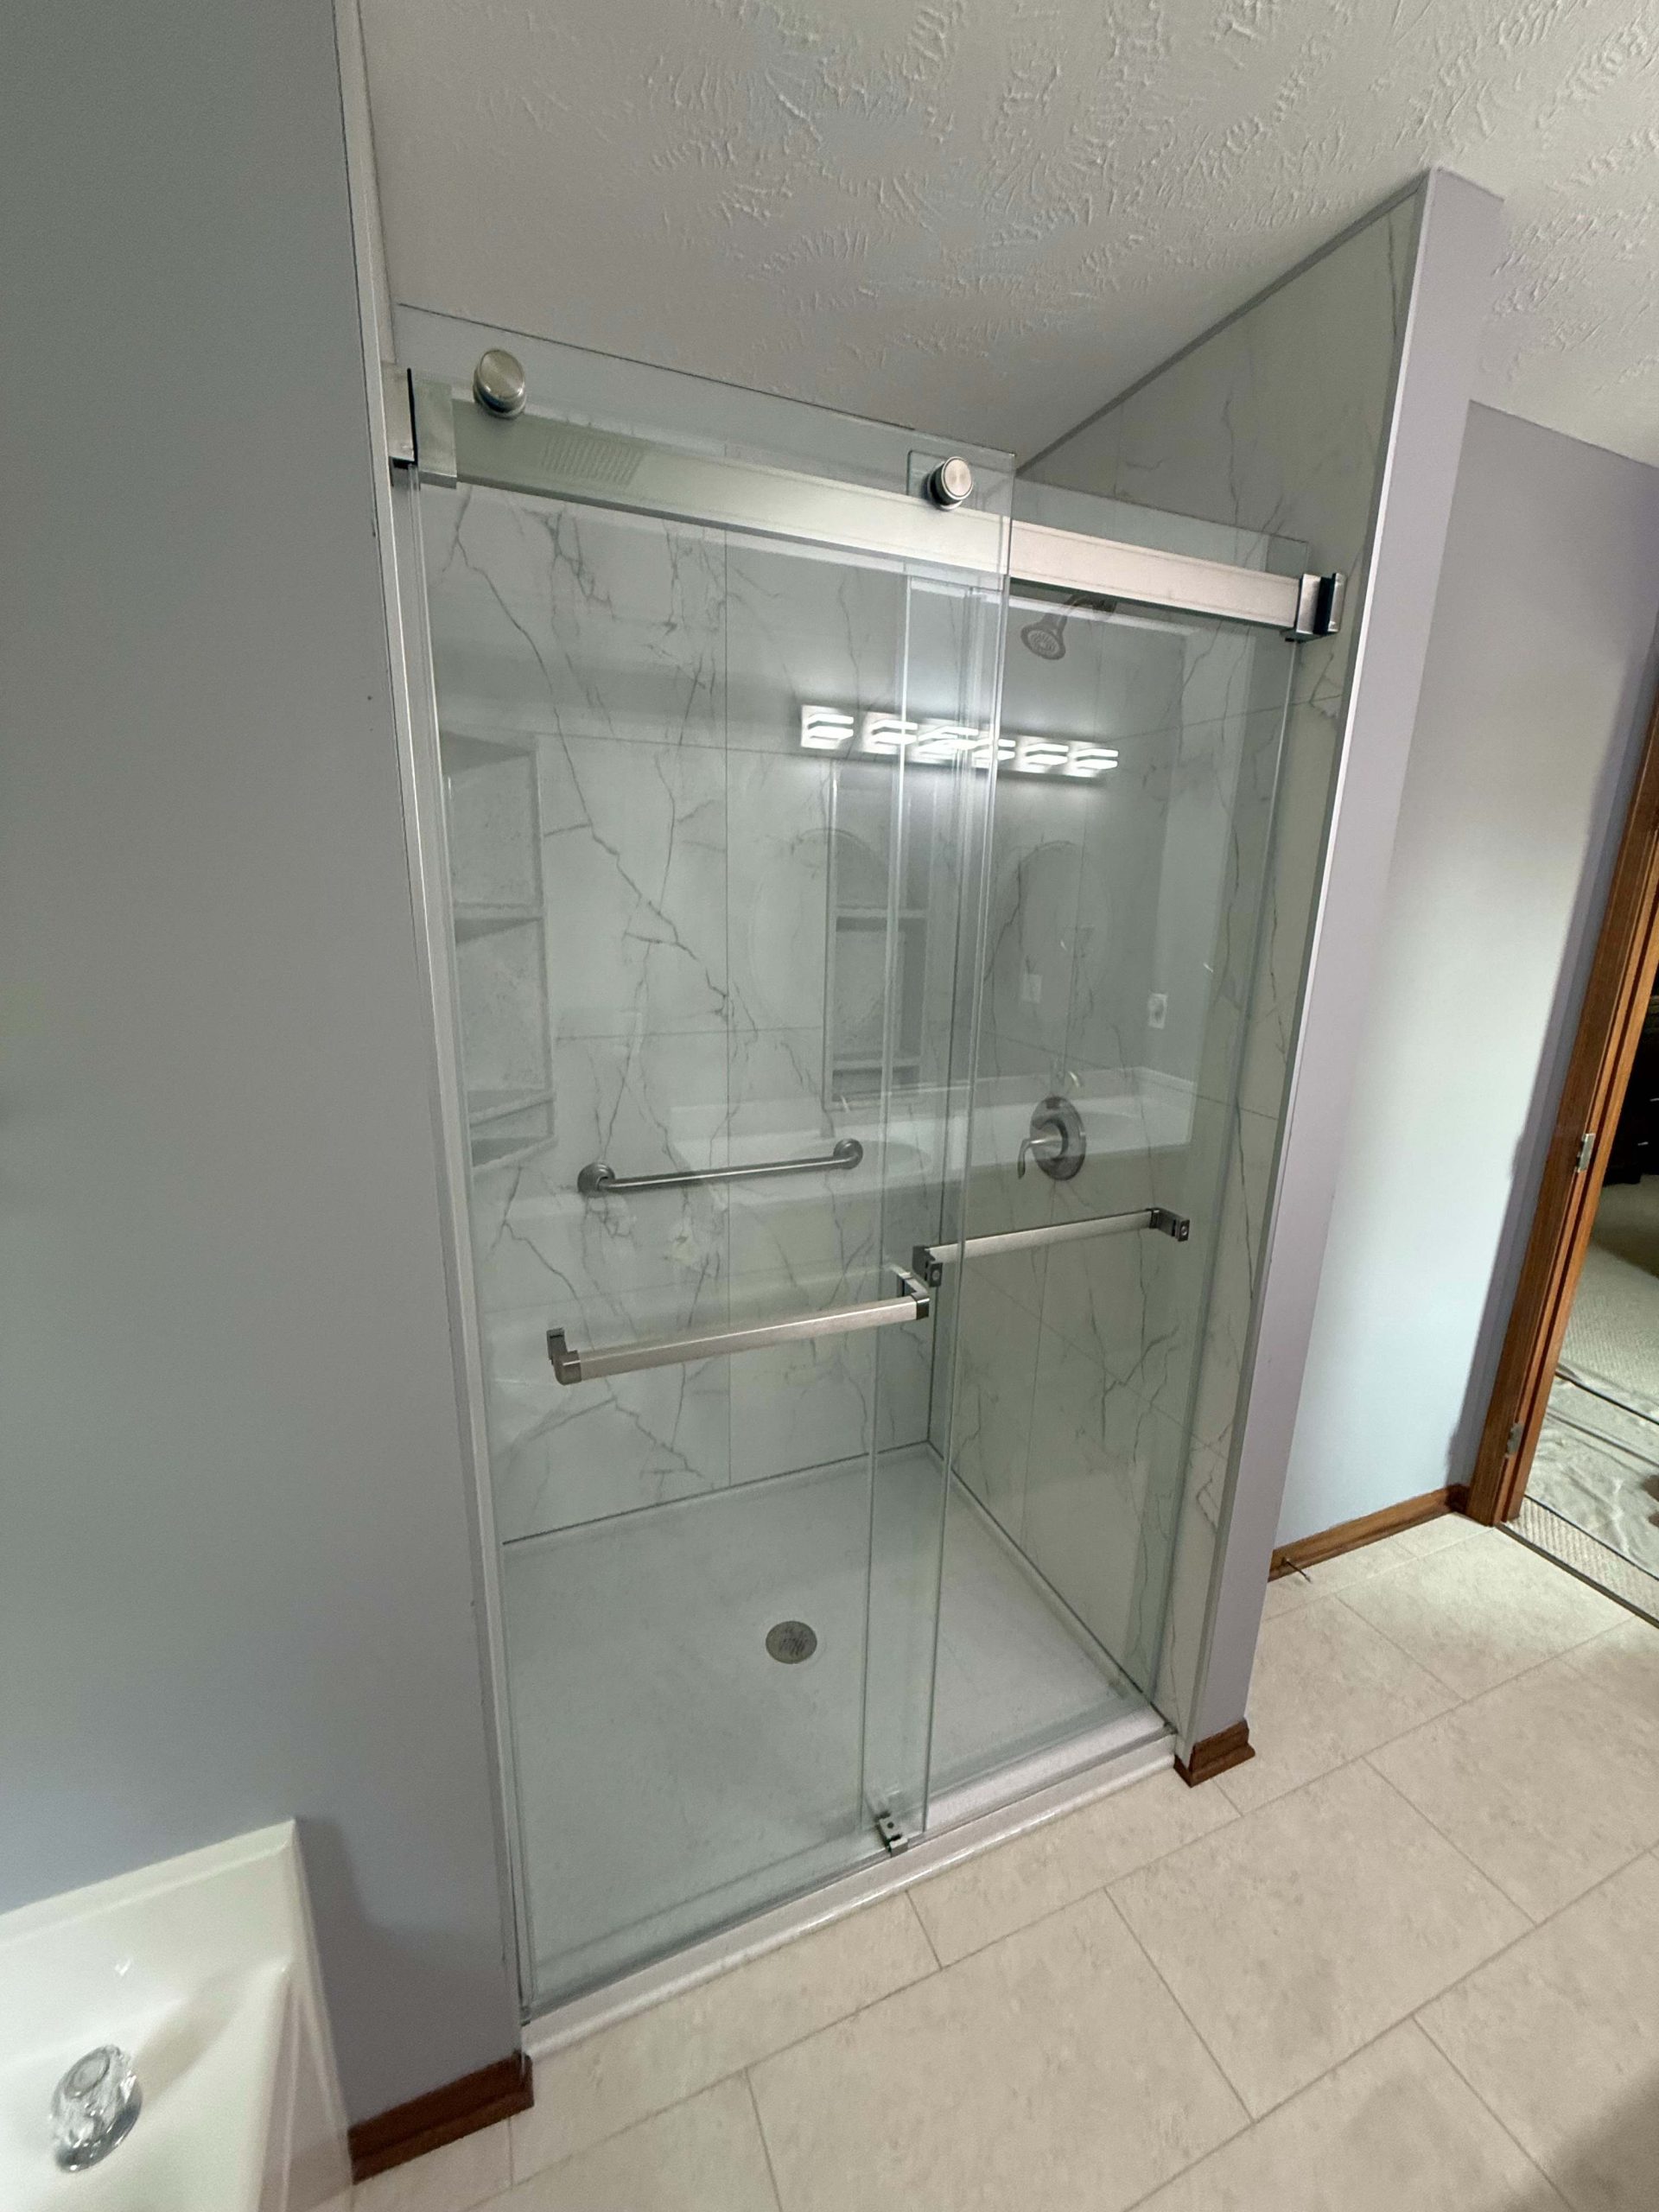
We redid our main bathroom using Innovate’s Fibo board system, glass shower doors, shower pan and two accessories (foot rest and niche). We are very pleased with the result and highly recommend both the product and the company. Dealing with them every step of the way was great. We have to comment on the delivery: the shower kit came packed in a protective structure – better protected than any large product delivery we’ve ever had. If you’re considering updating or redoing your bathroom with Innovate, do it.
-
Innovative Building Solutions has been a pleasure to work with. We are a kitchen/bathroom remodeling company and we use them as our primary supplier of bathroom and shower materials. Mike Foti is extremely knowledgeable on the products they sell which is reassuring. 5 stars for amazing products and customer support.
-
Mike did a great job of educating me in the process of buying materials and installation. He has a great team of people working with him to help any contractors out there. I ran into some issues with on my end of my products and they helped me out same day. Thank you to everyone at Innovative Building Solutions!
-
This company is great to work with!


-
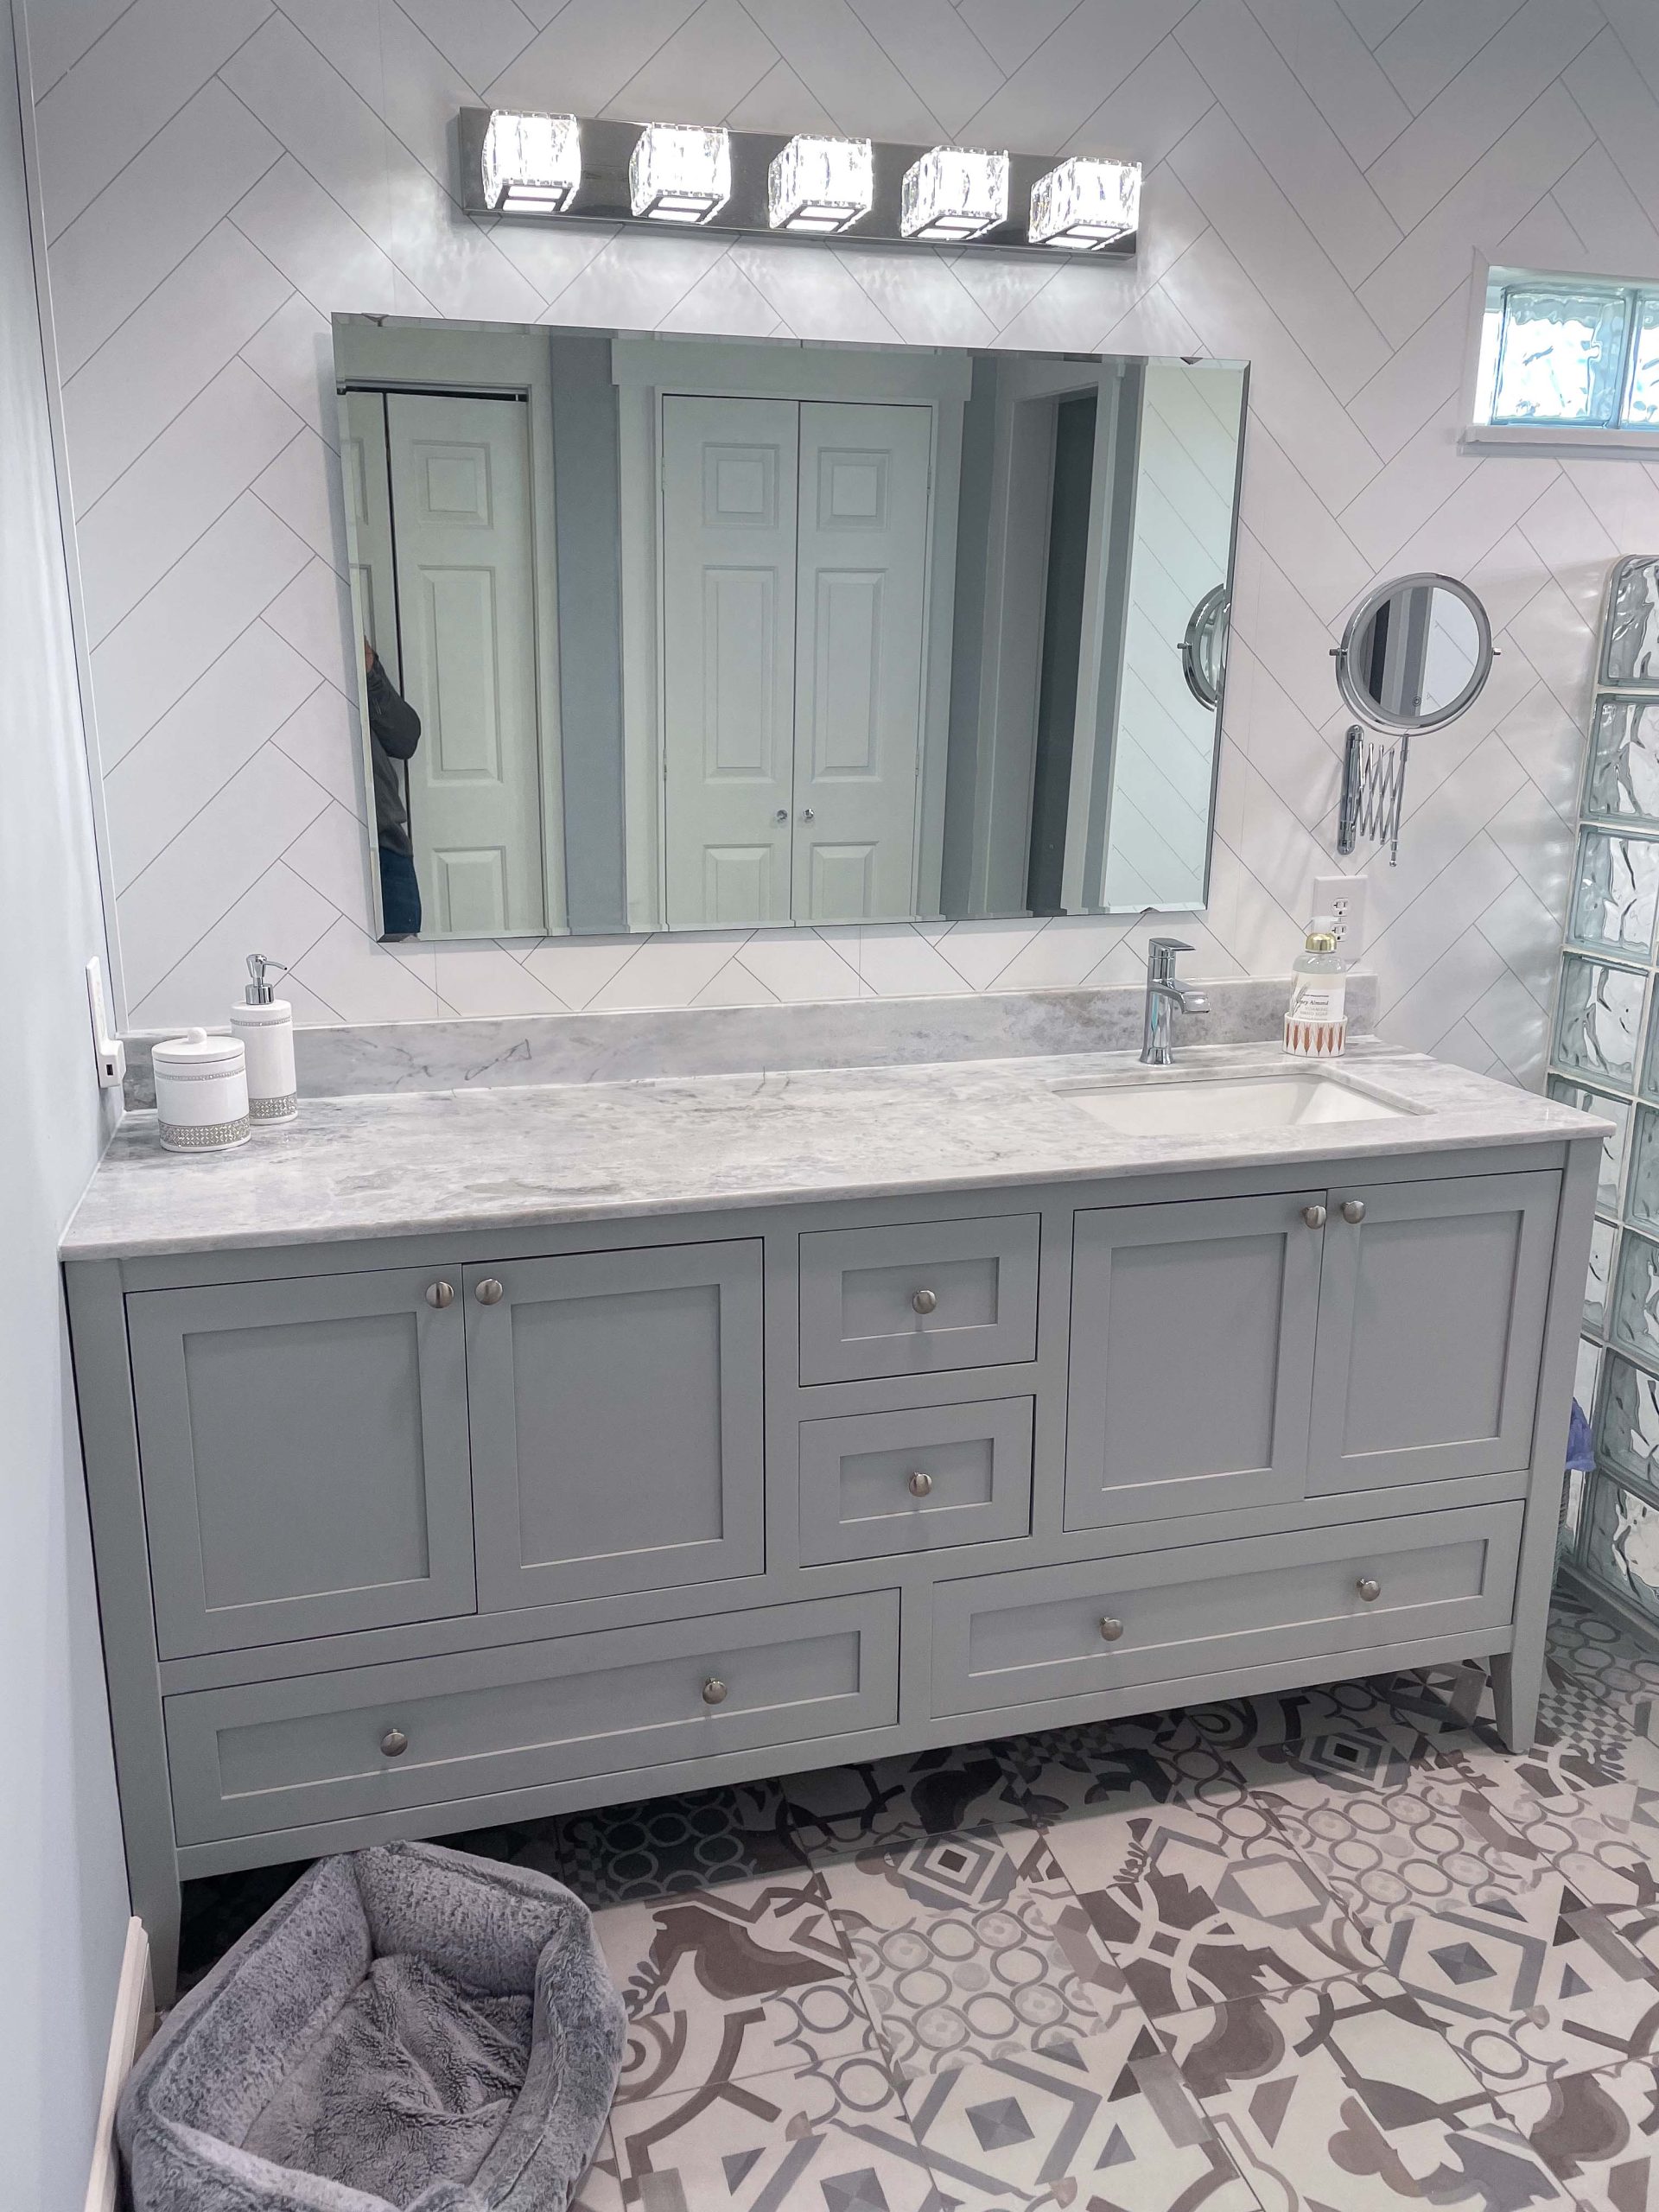
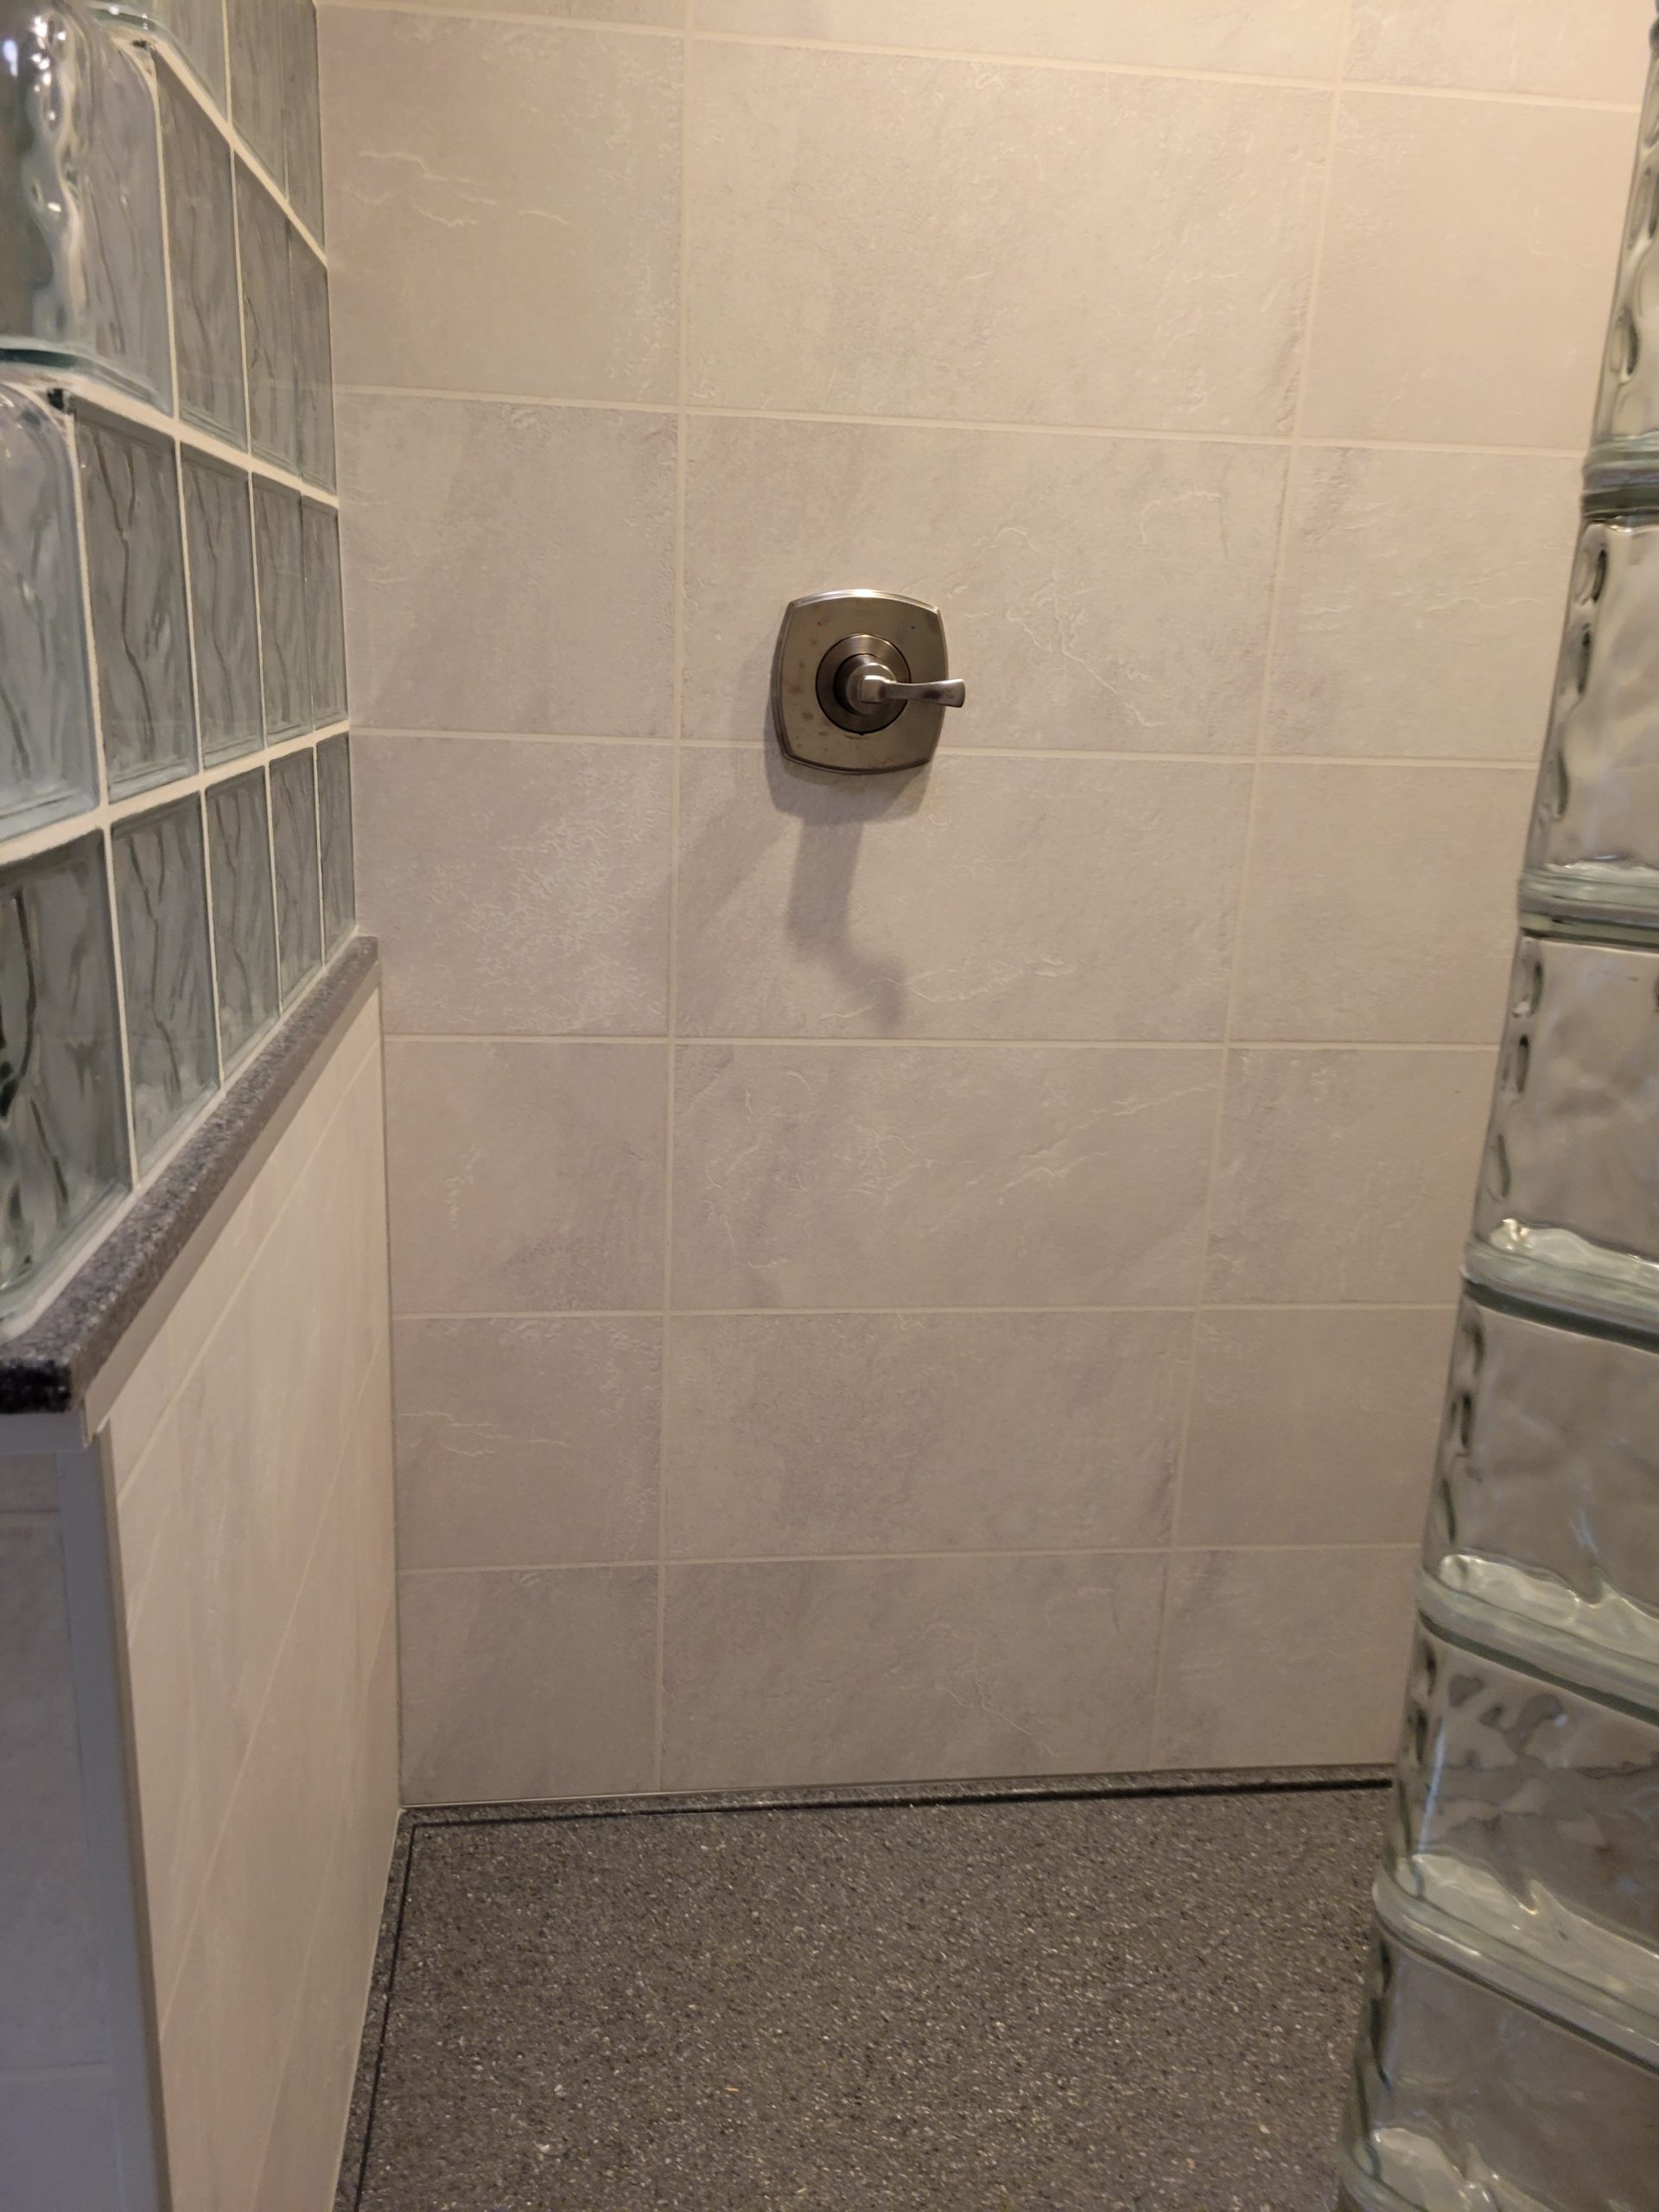
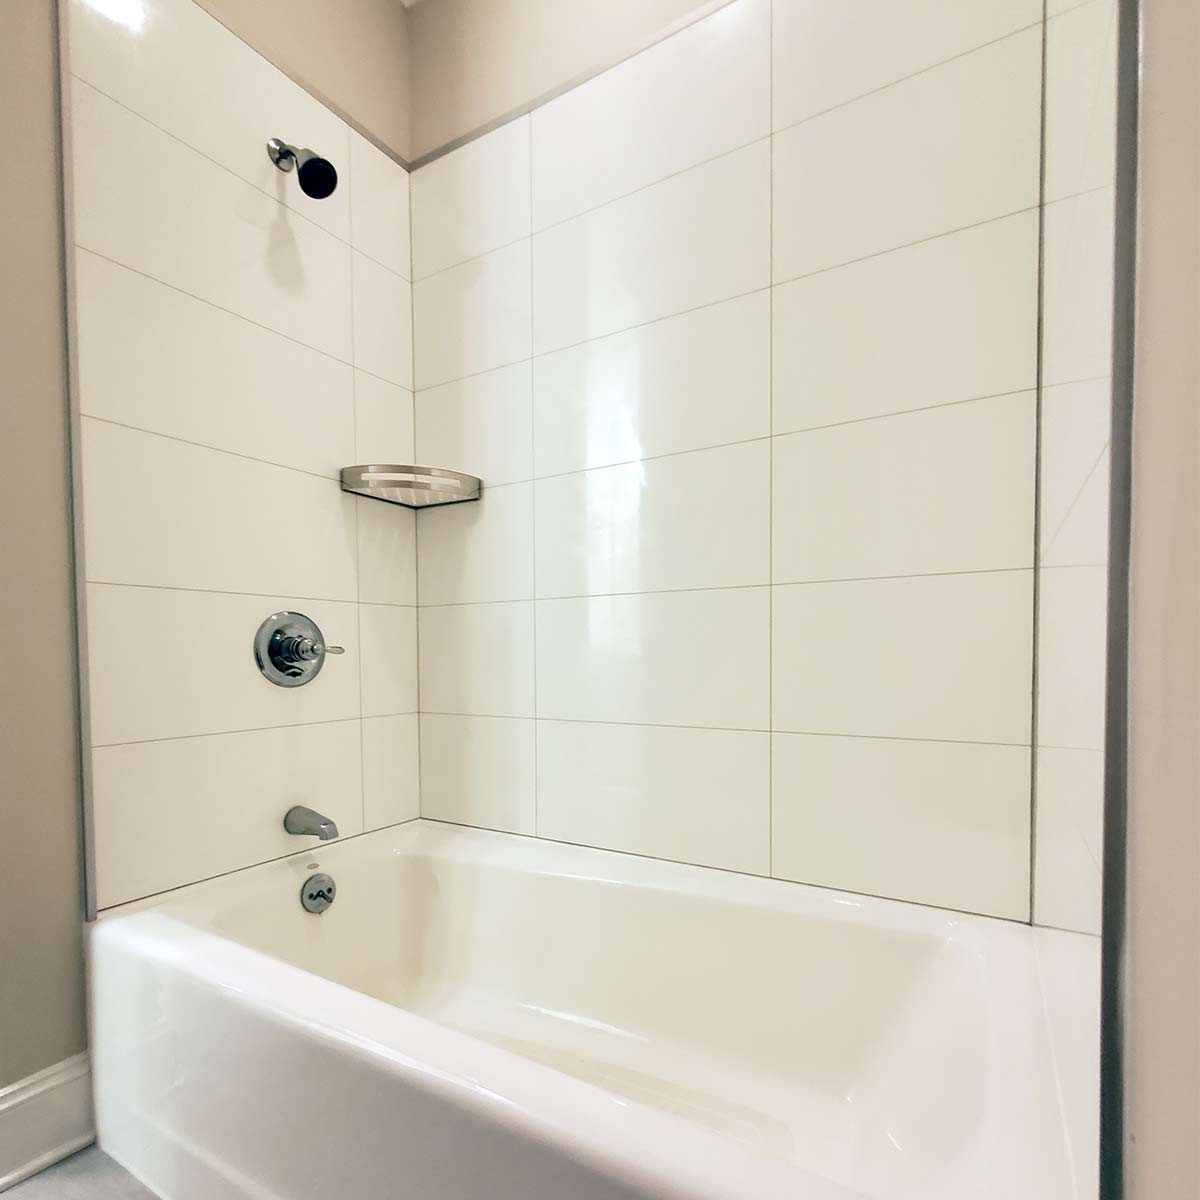
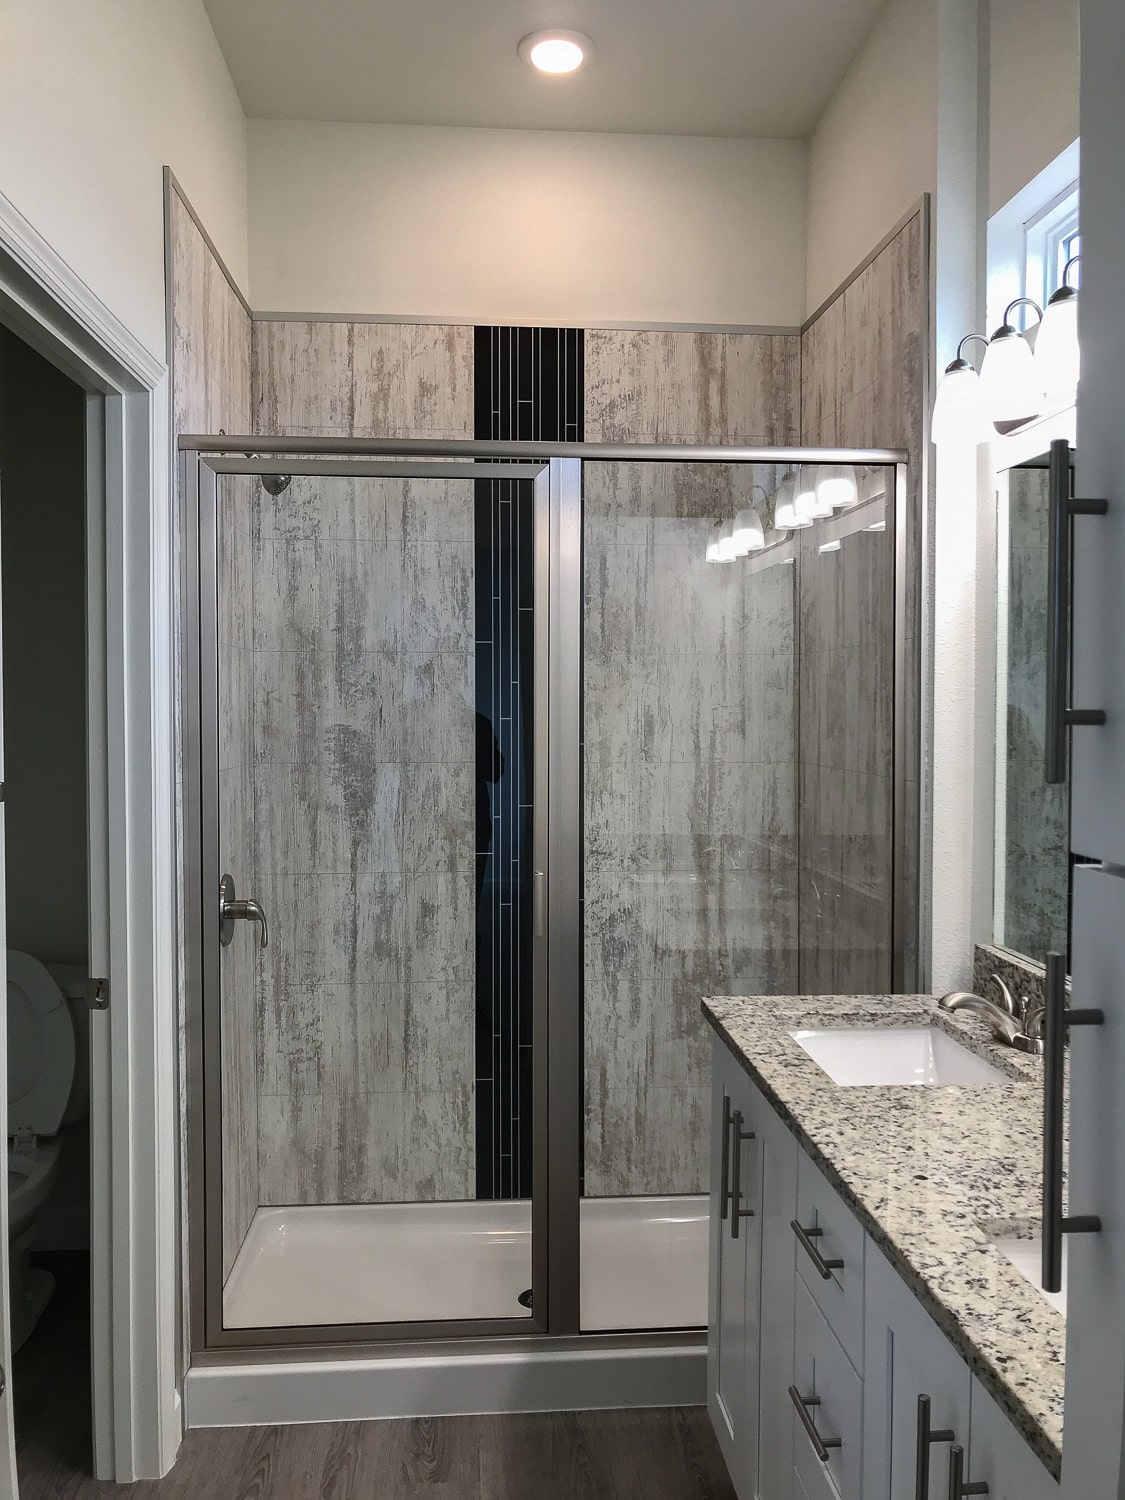
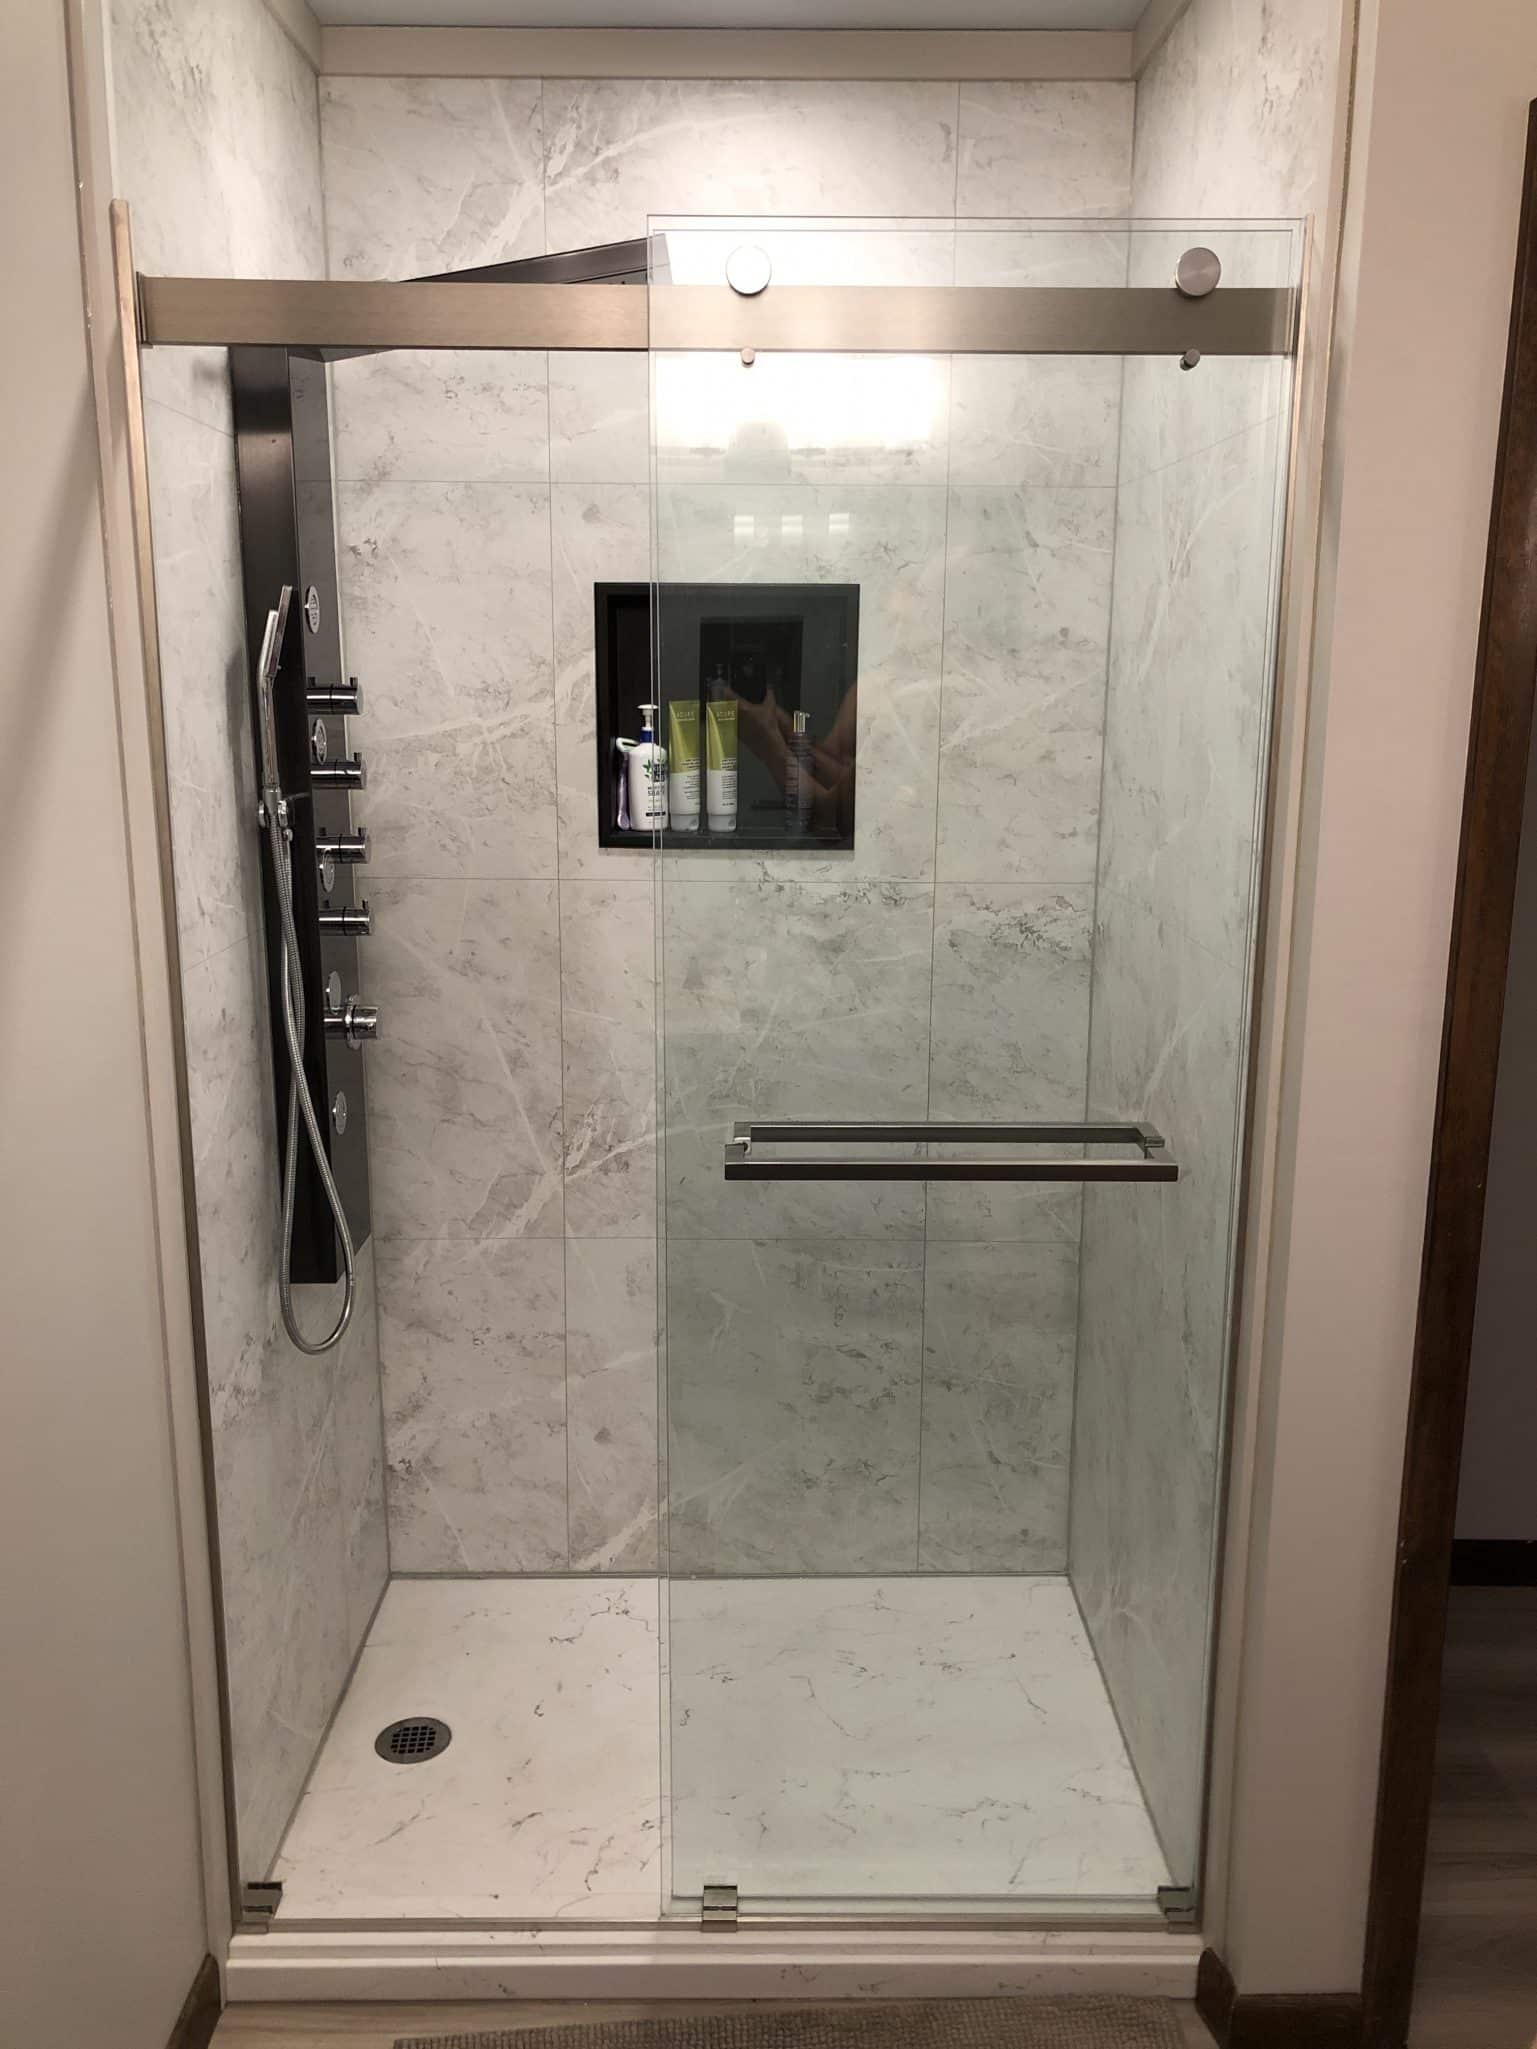
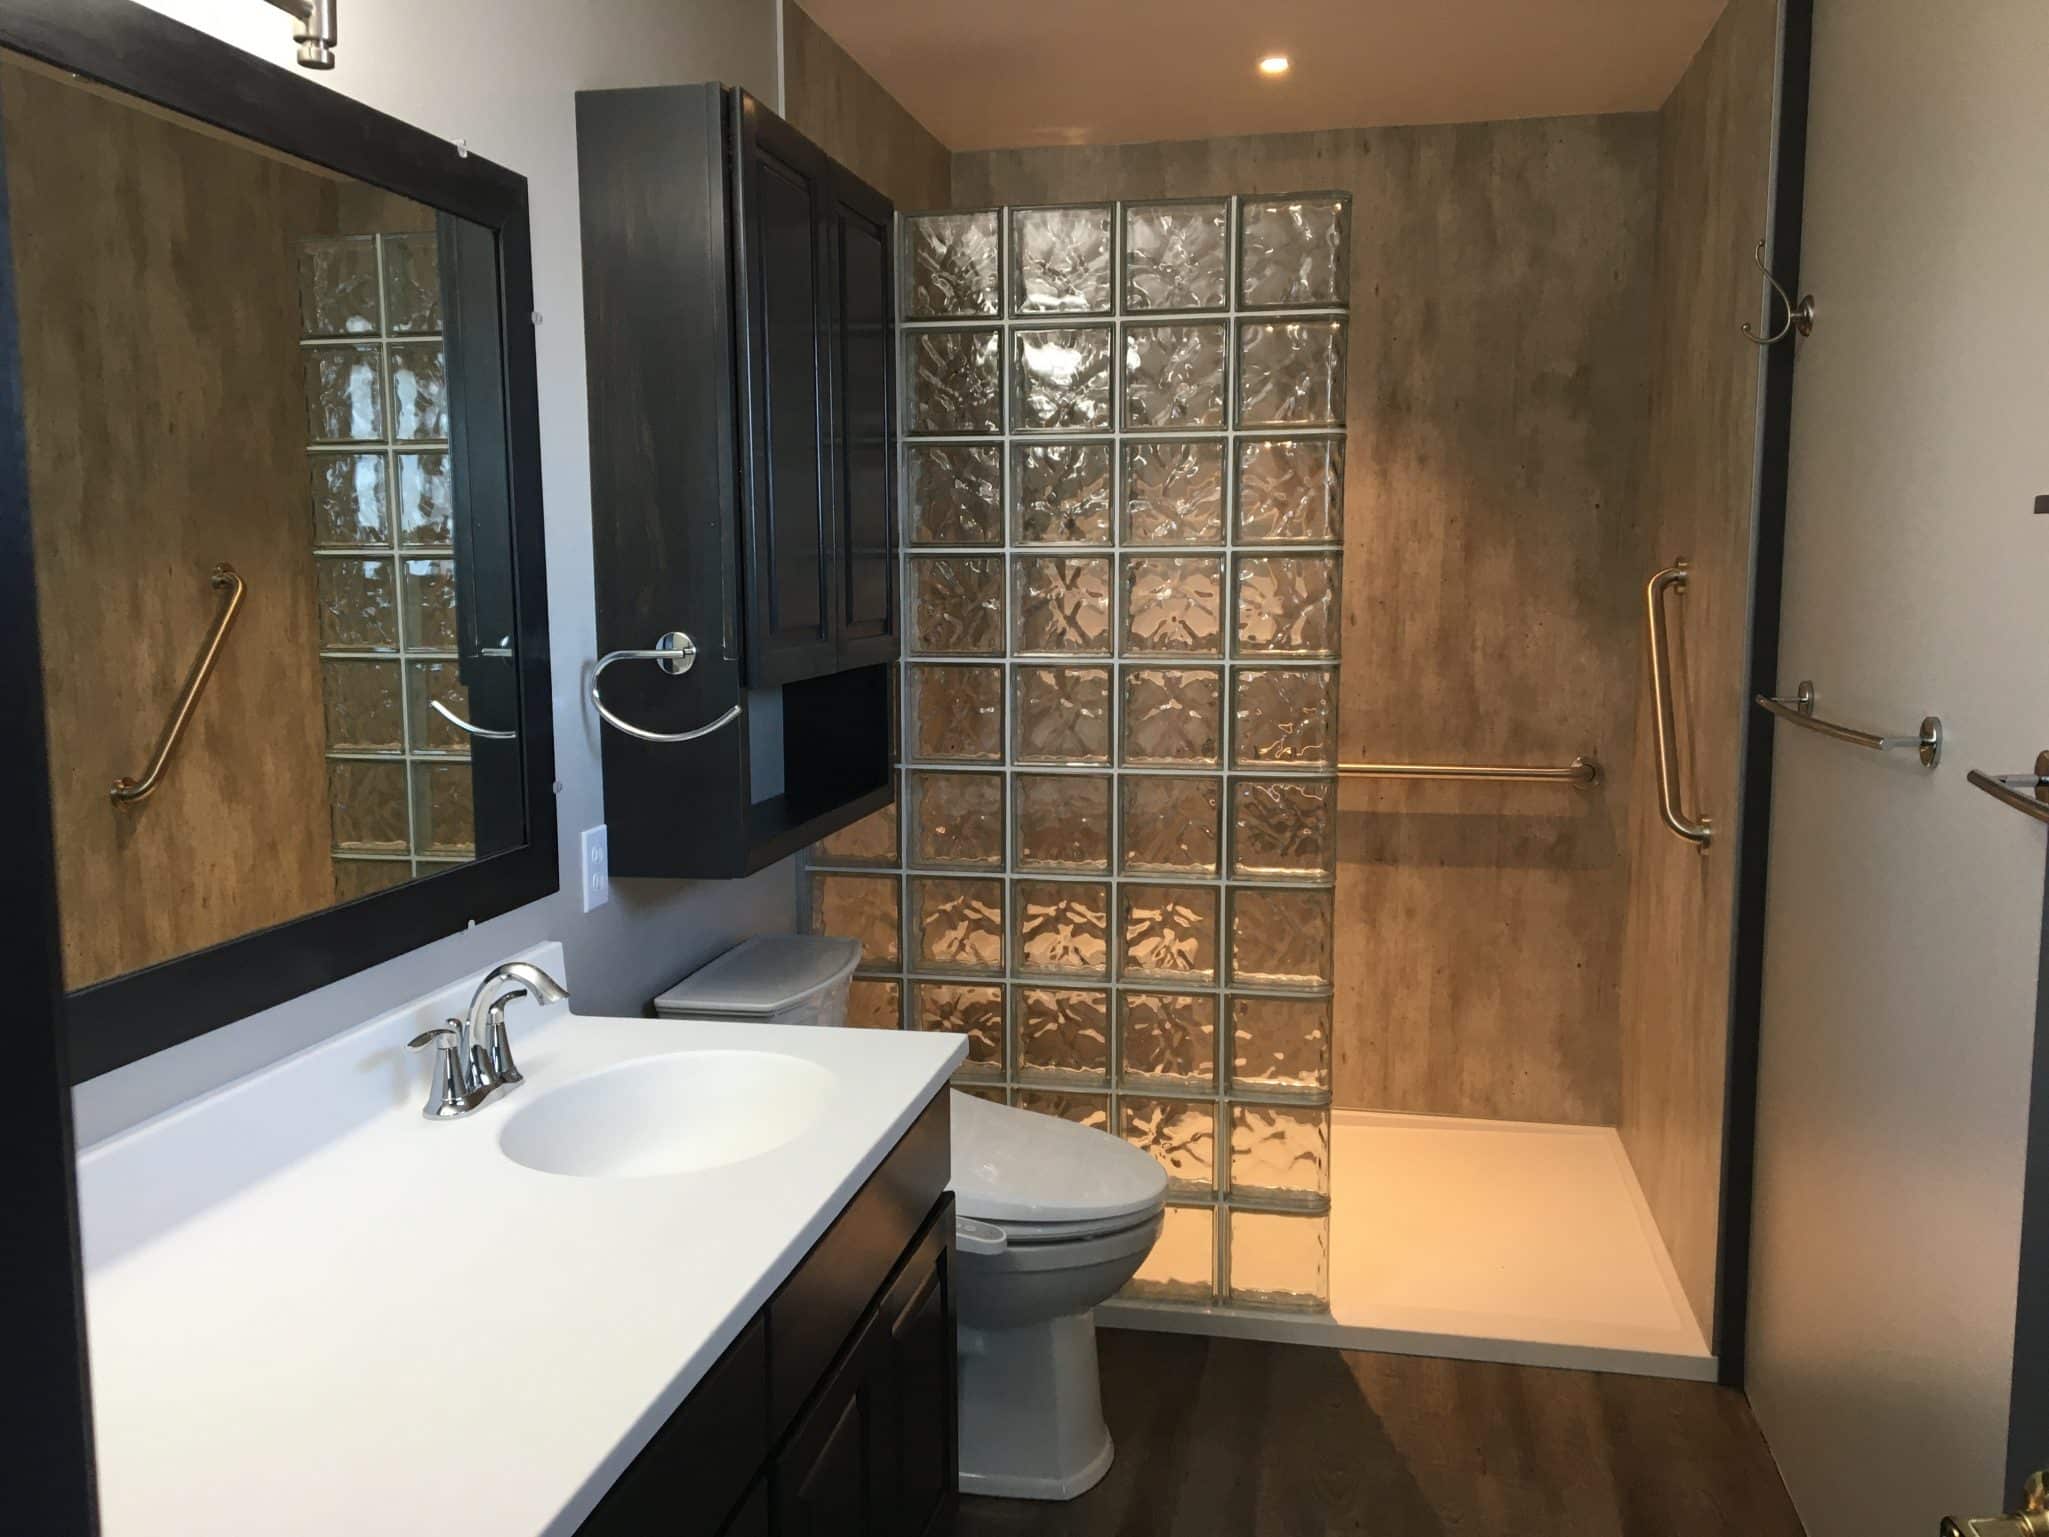
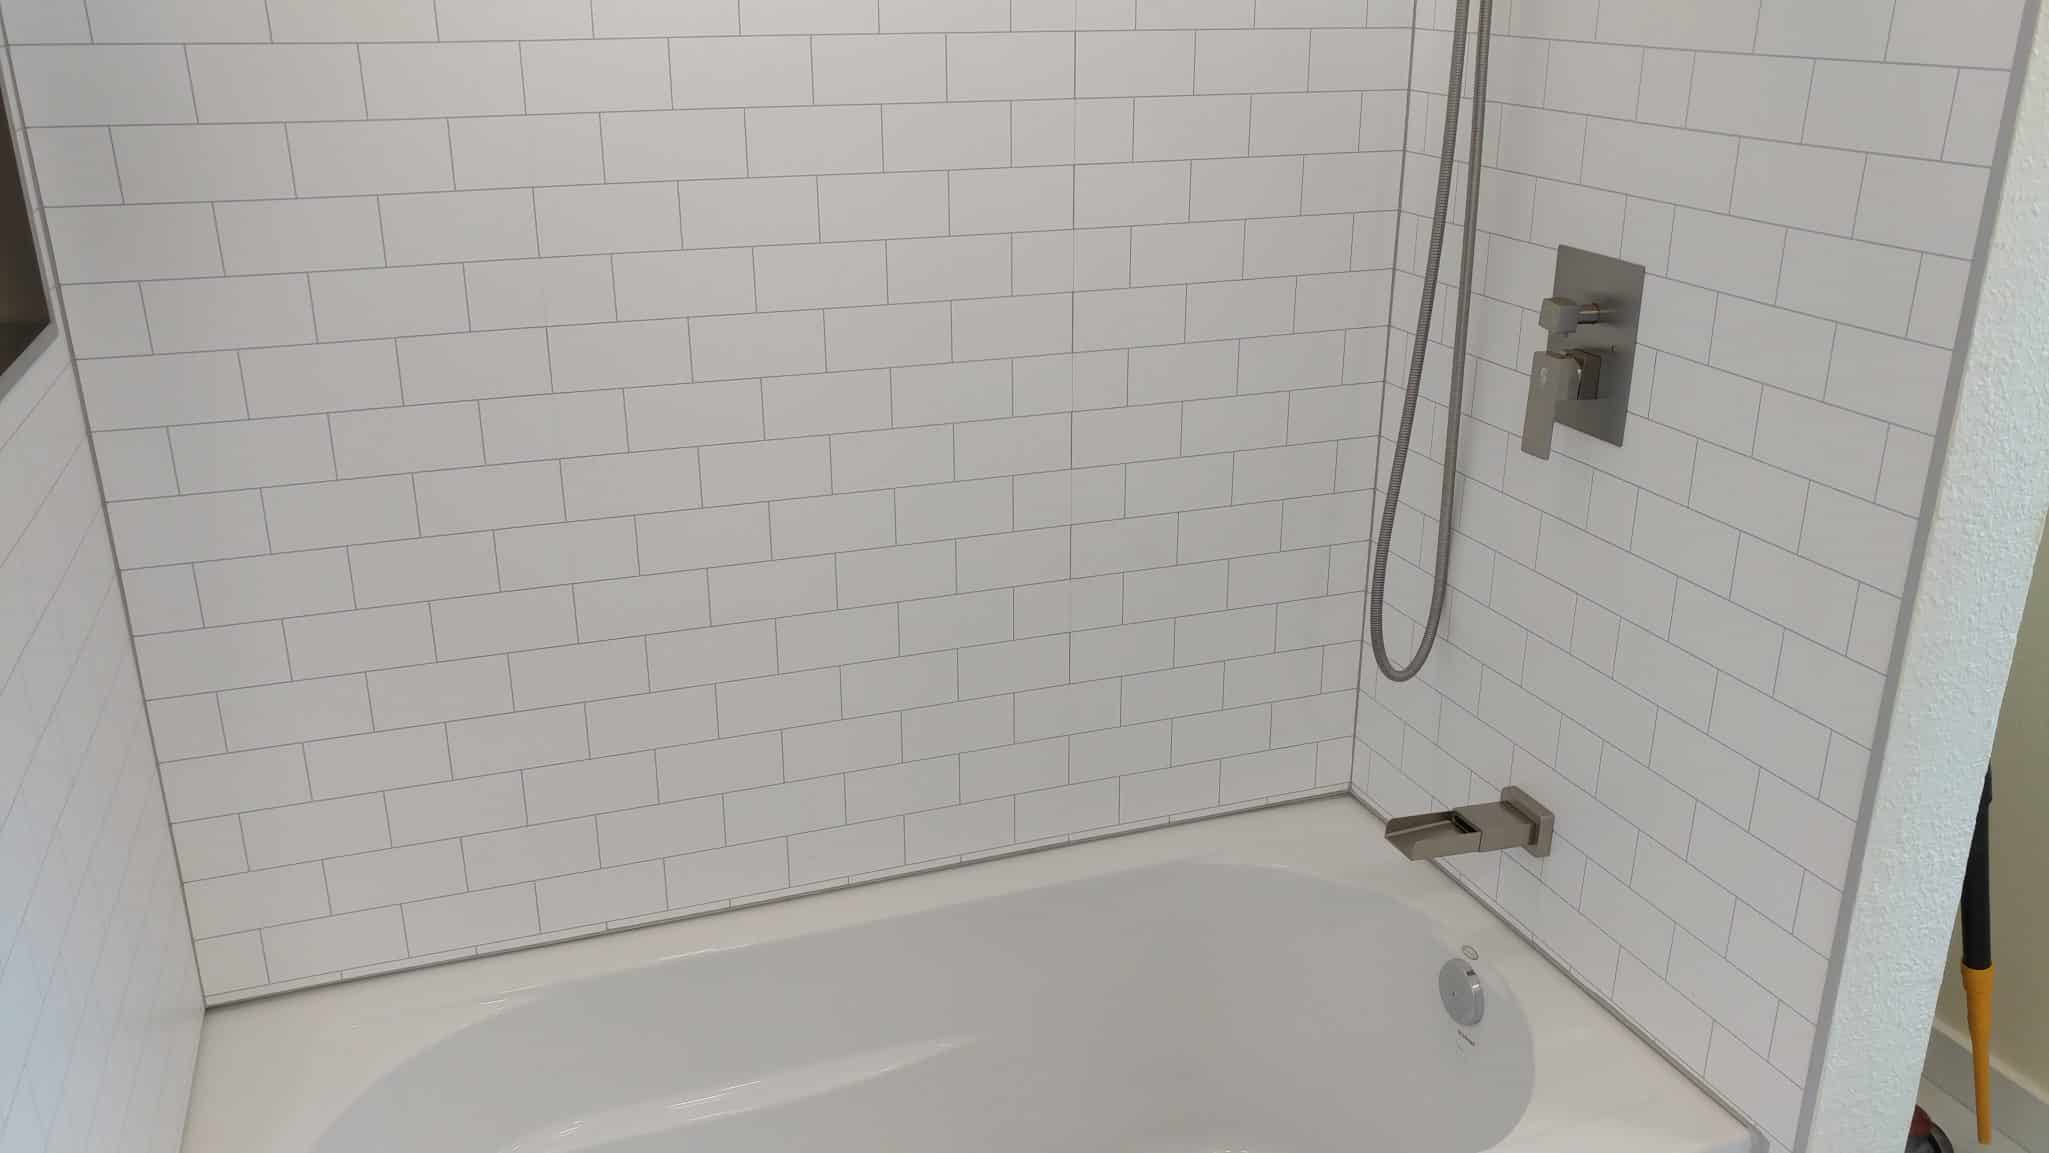
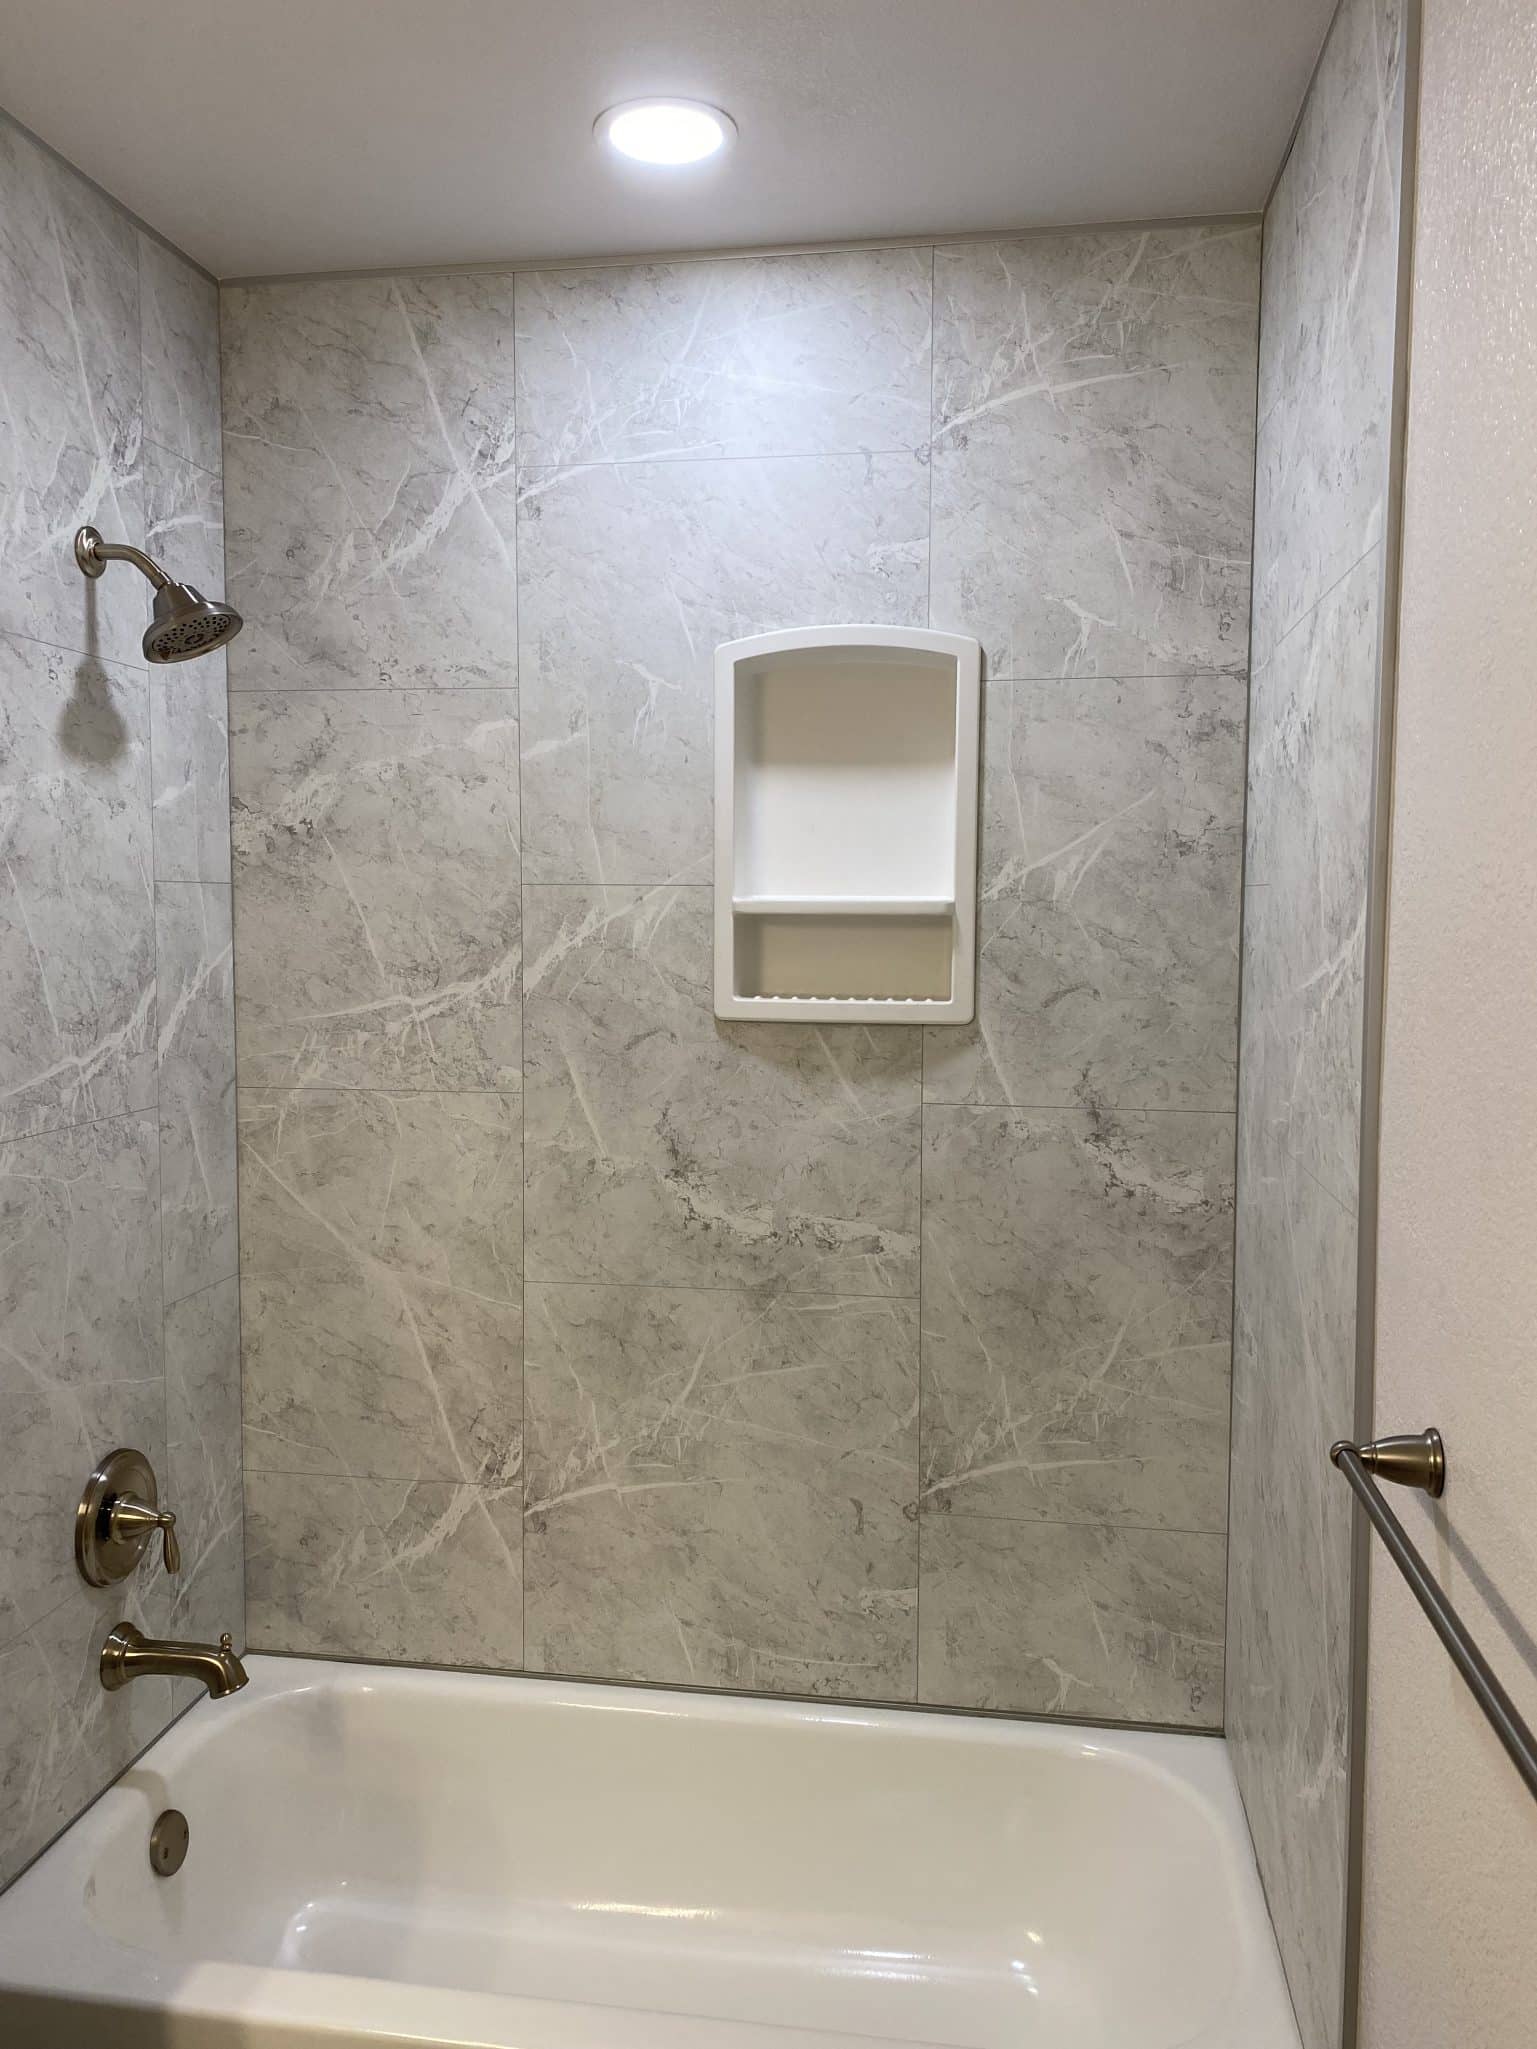
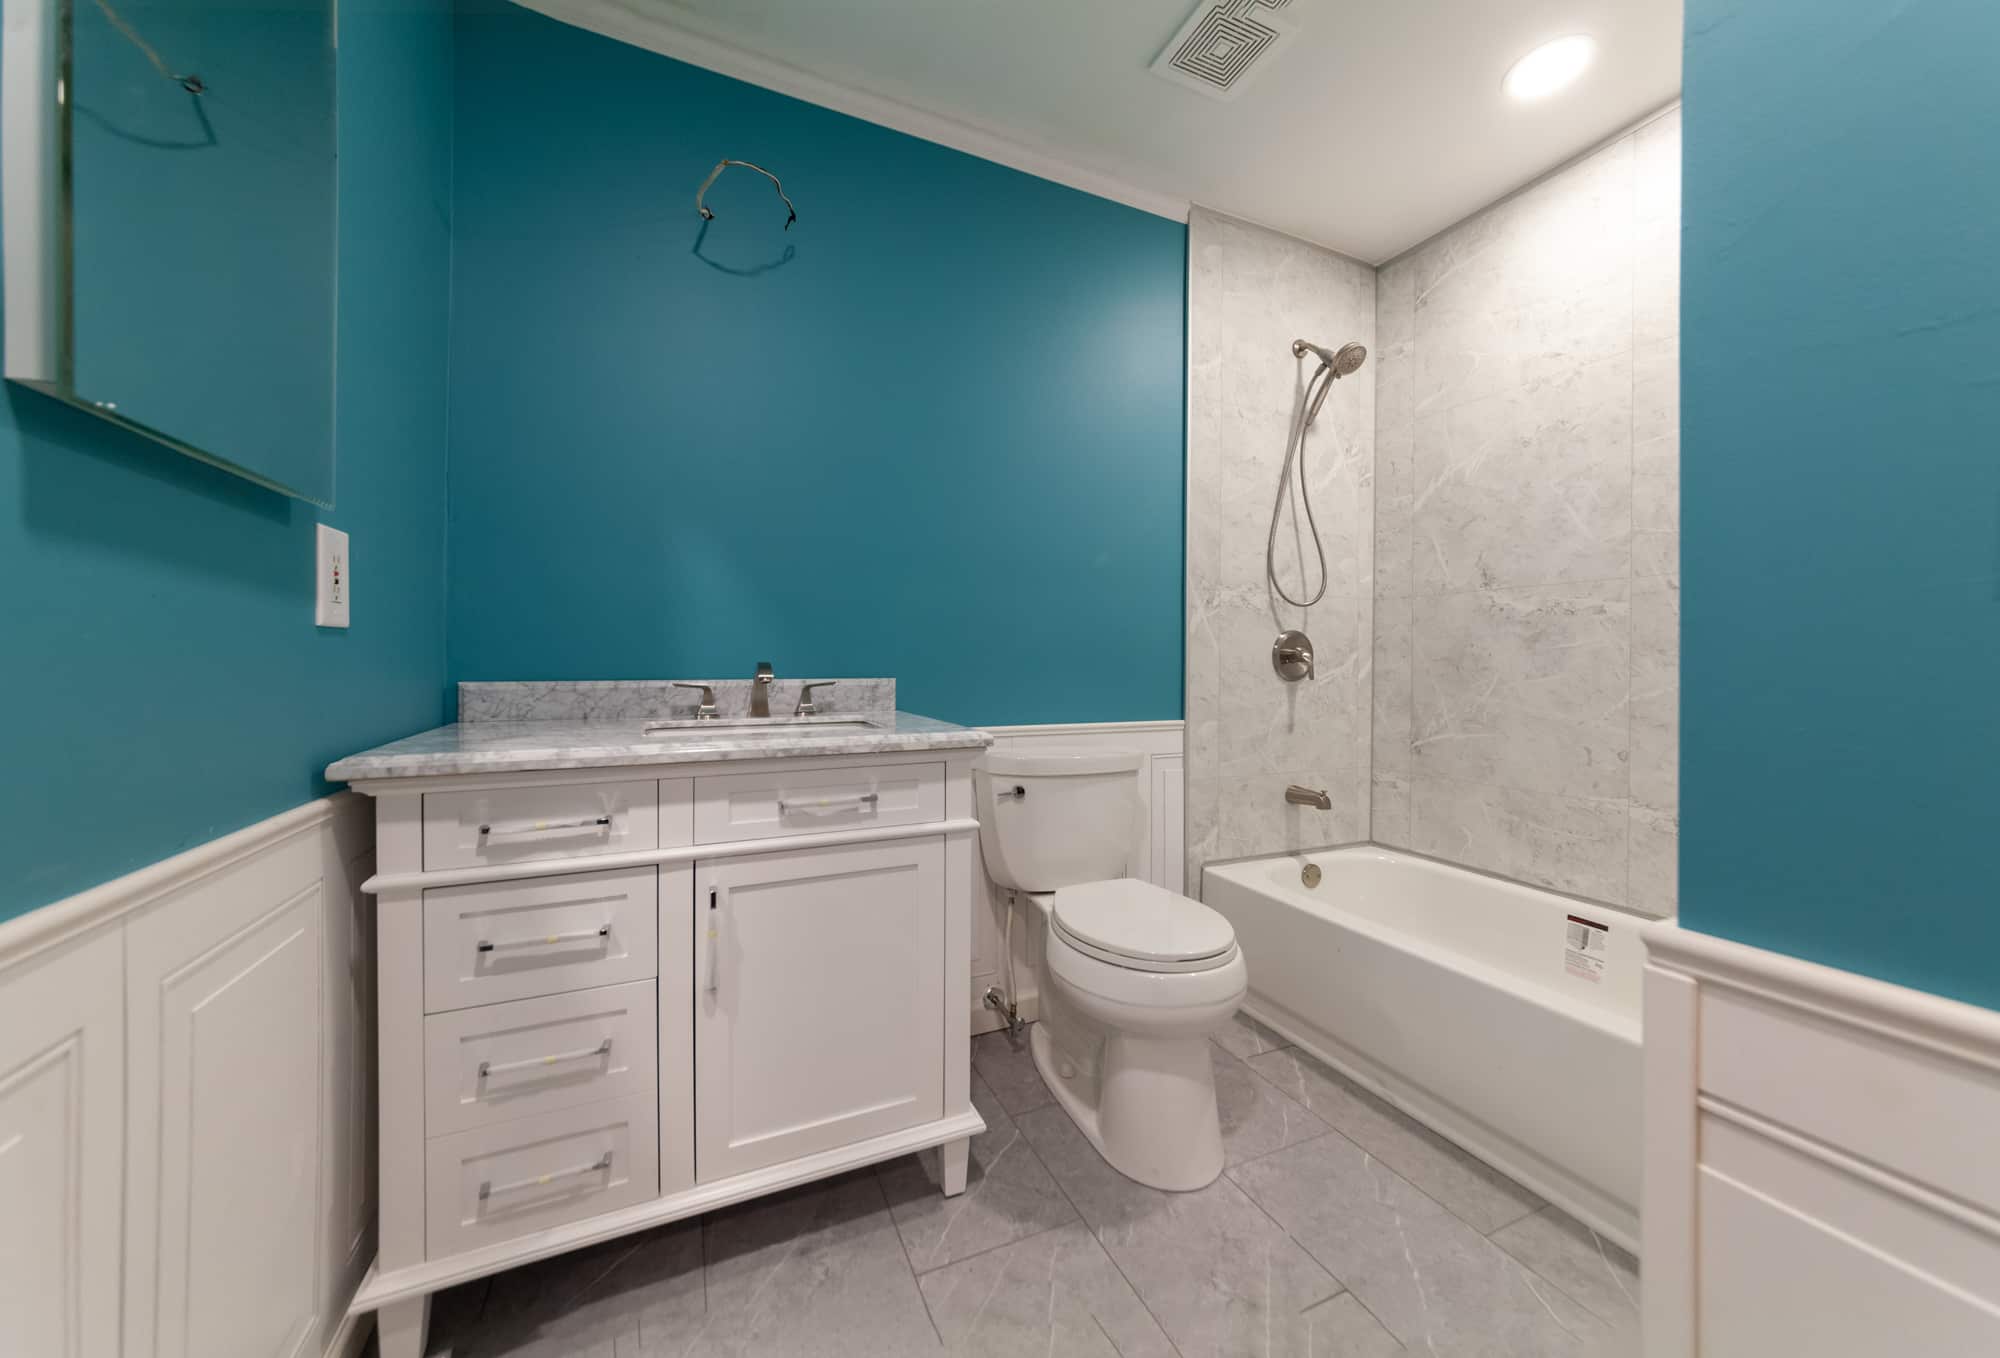
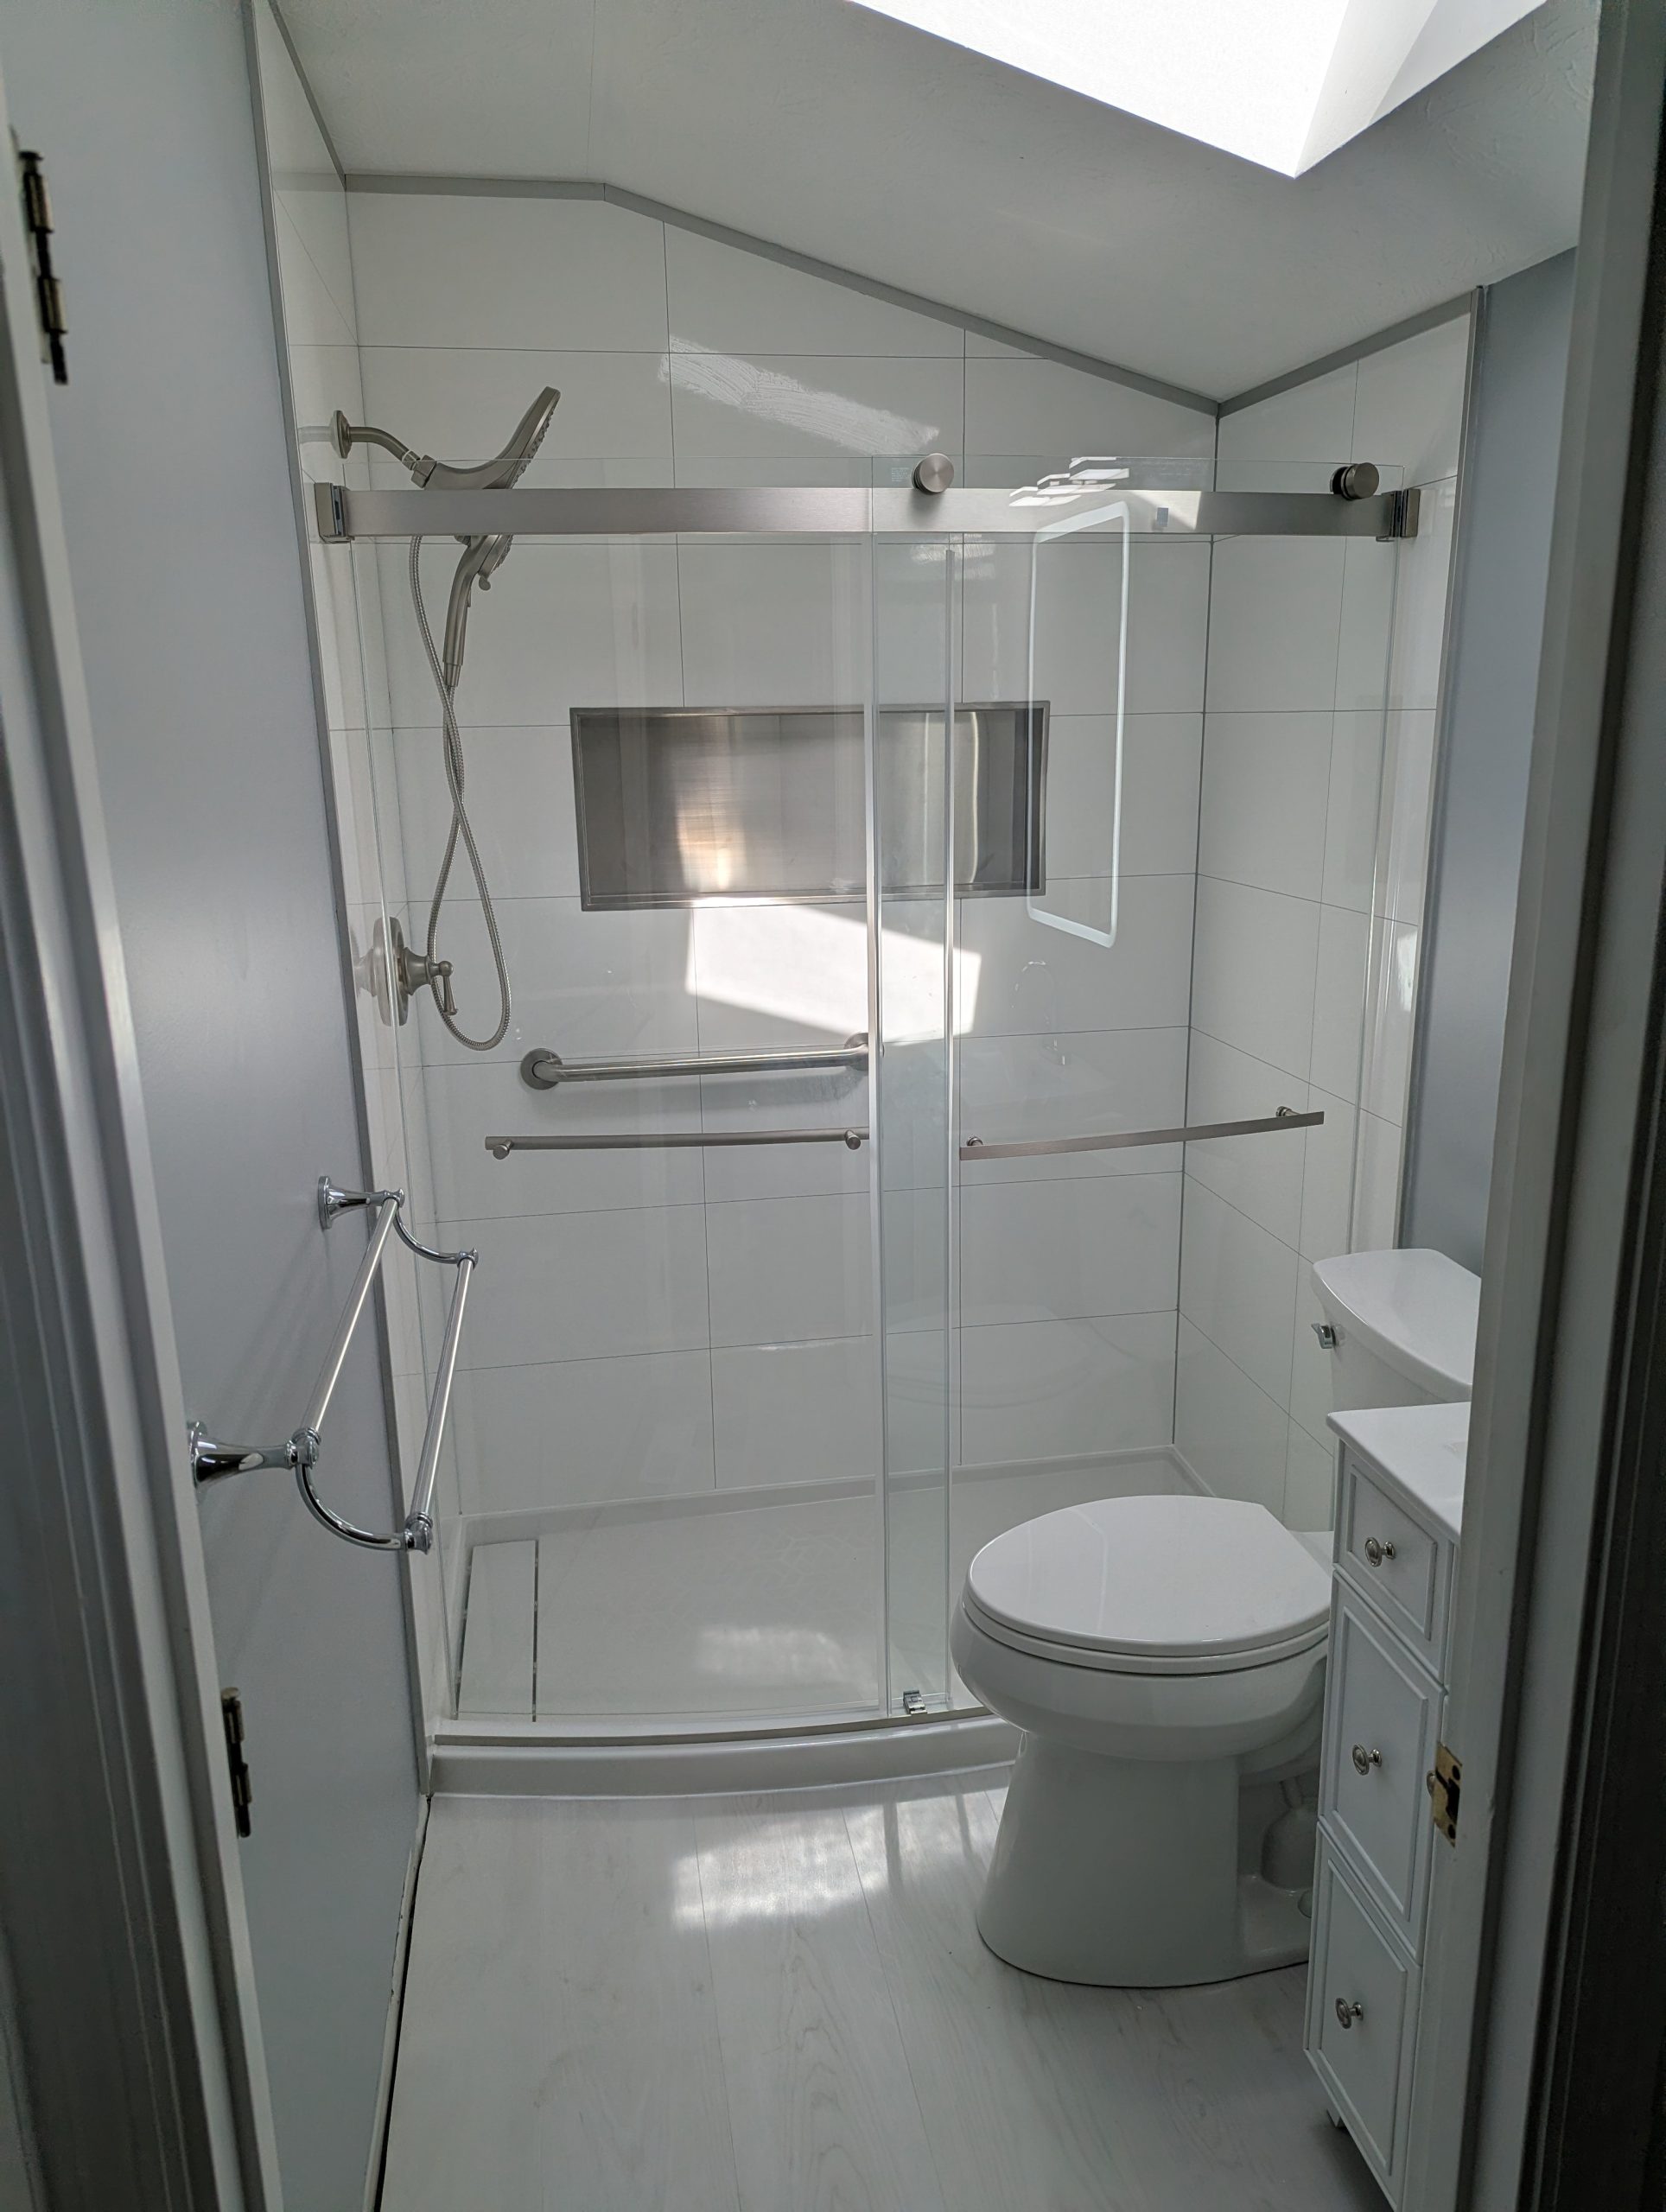
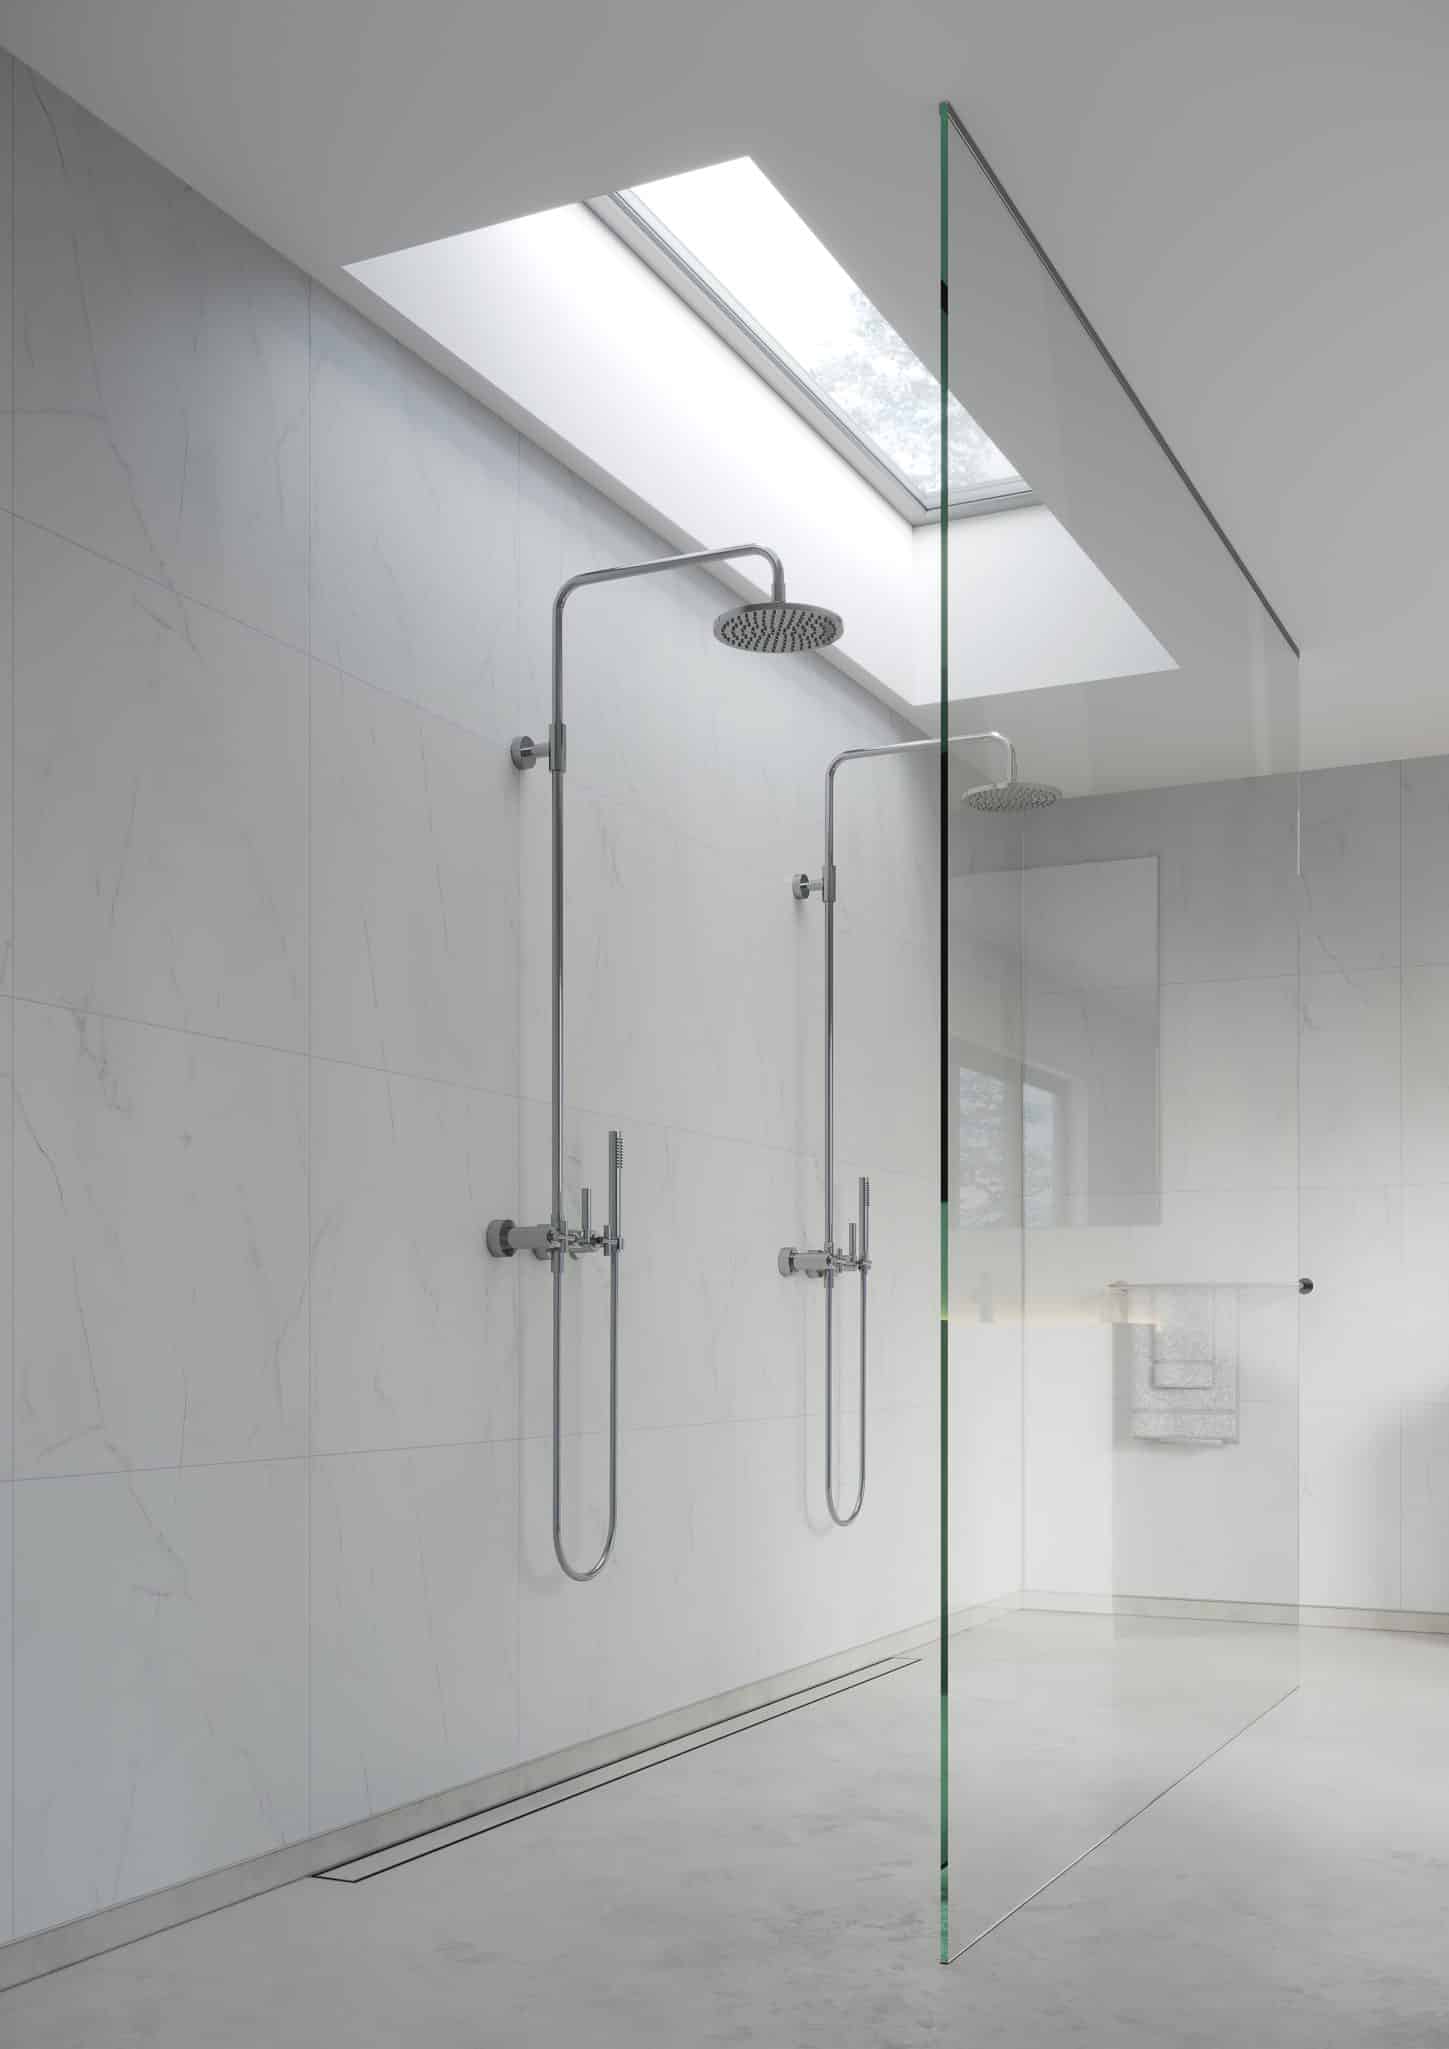
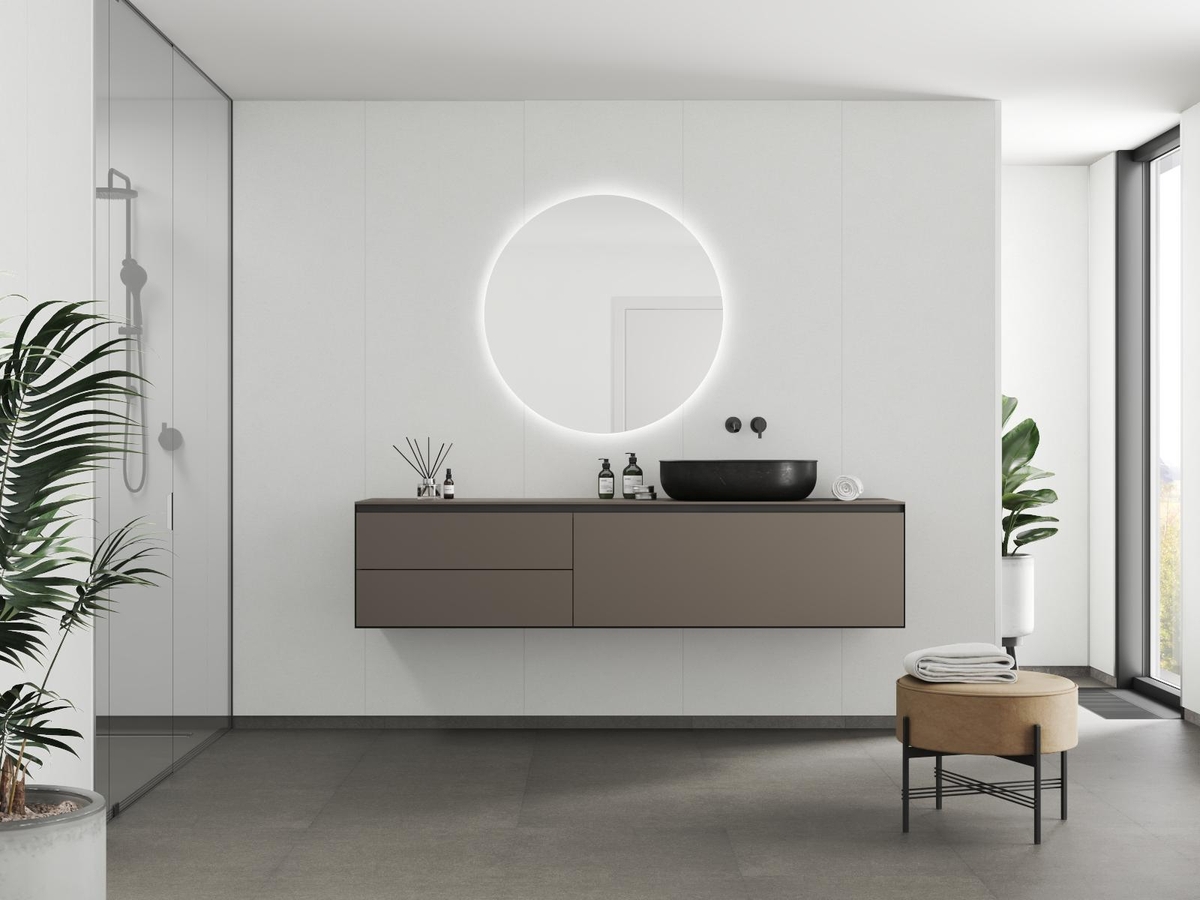
The “No Tile, Tile Wall”
If you love tile, but hate grout, you’re not alone. With laminate wall panels you’ll get the benefit of the look of a tile wall without worrying about dirty grout joints.
-
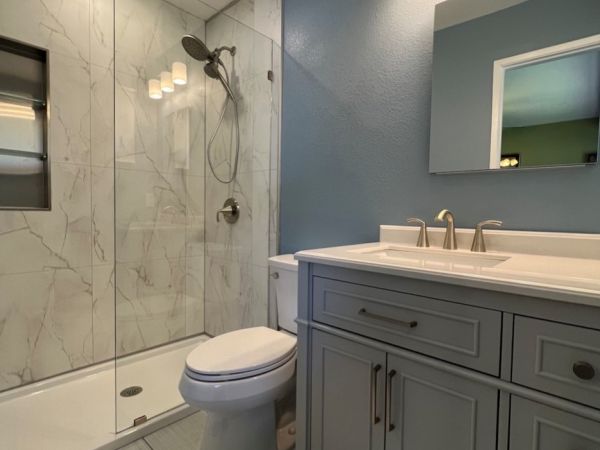
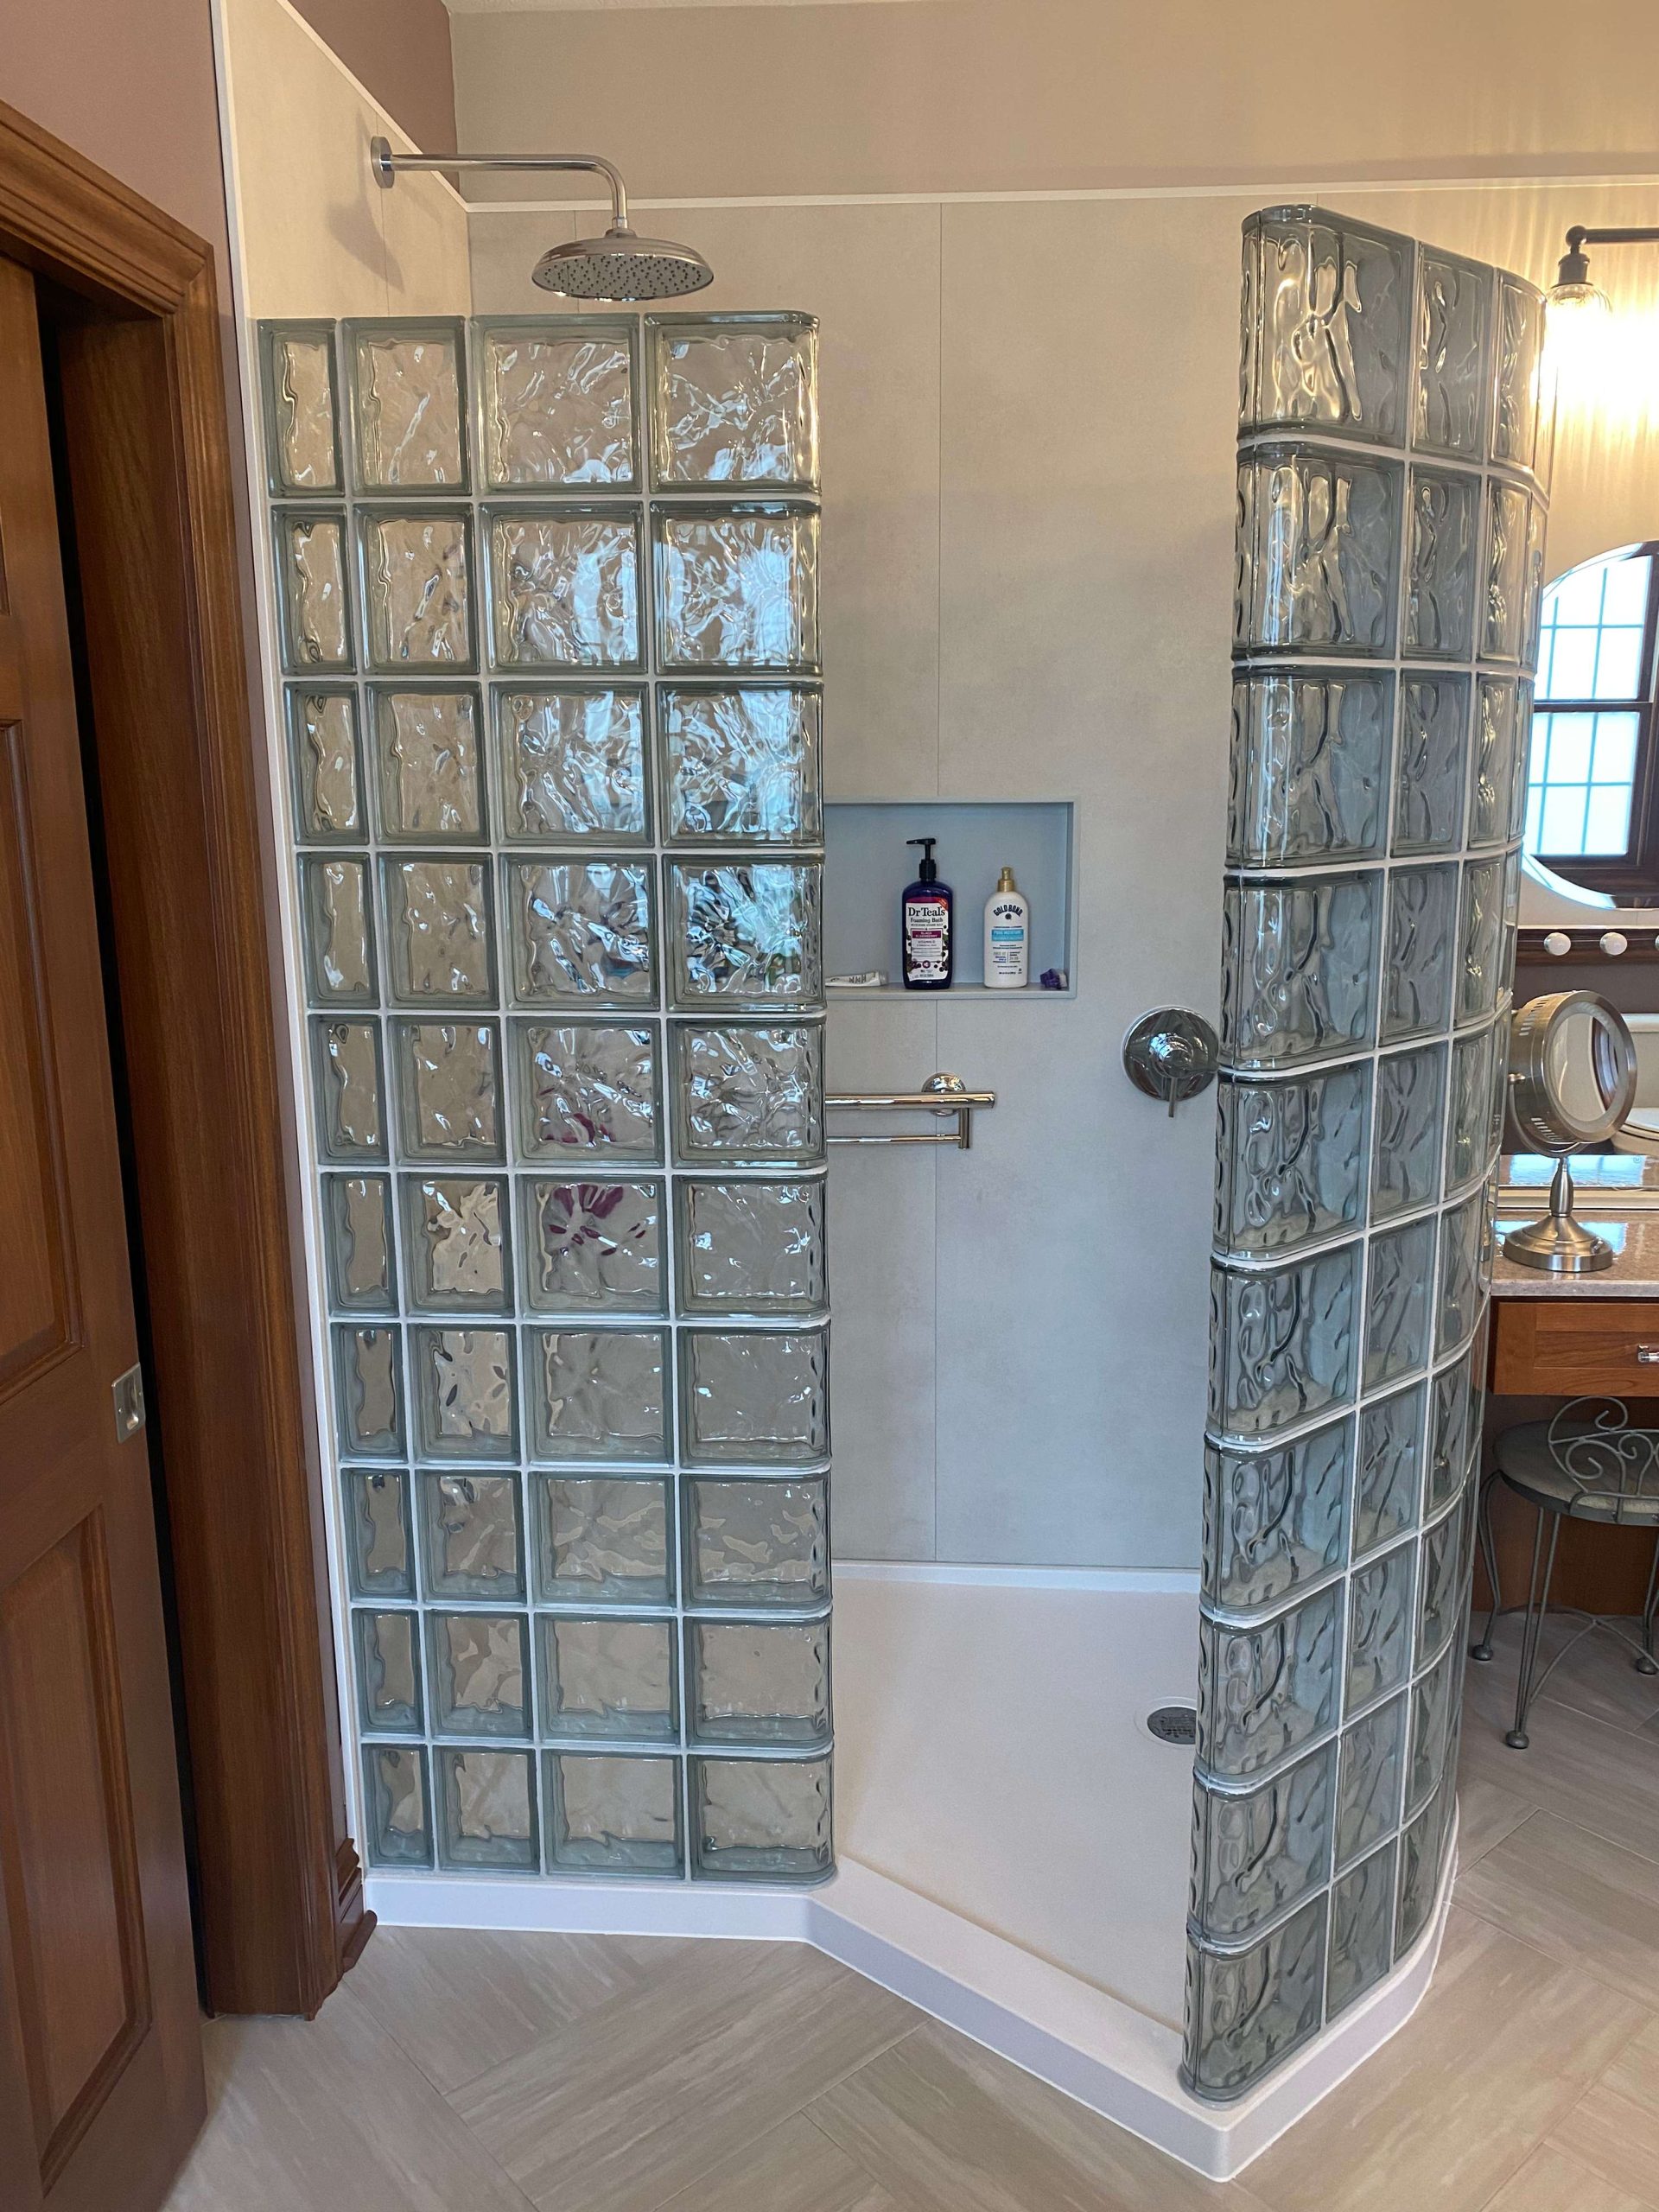
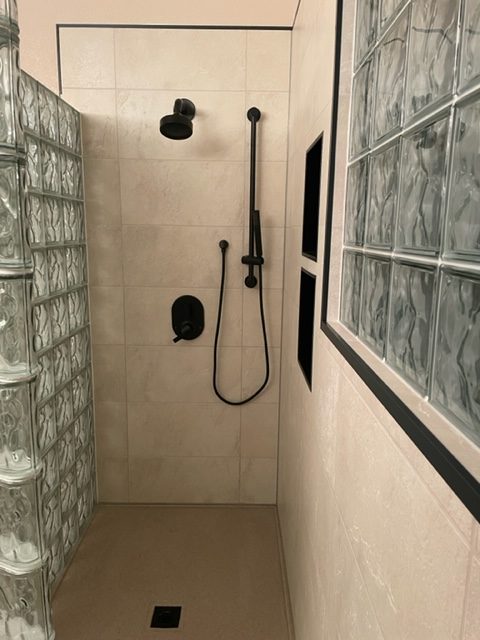
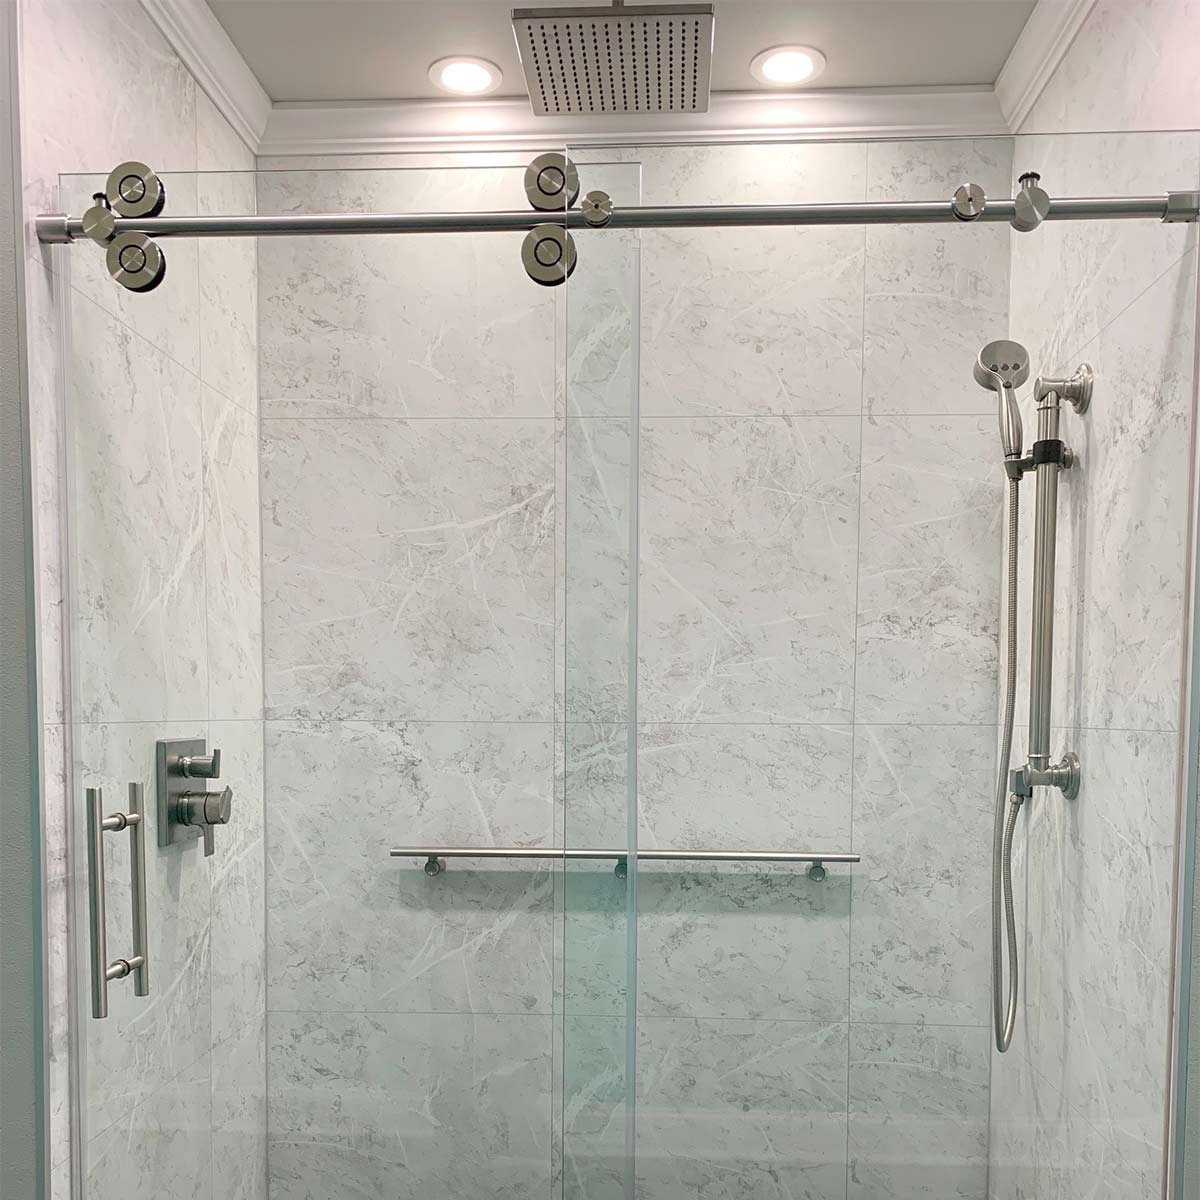
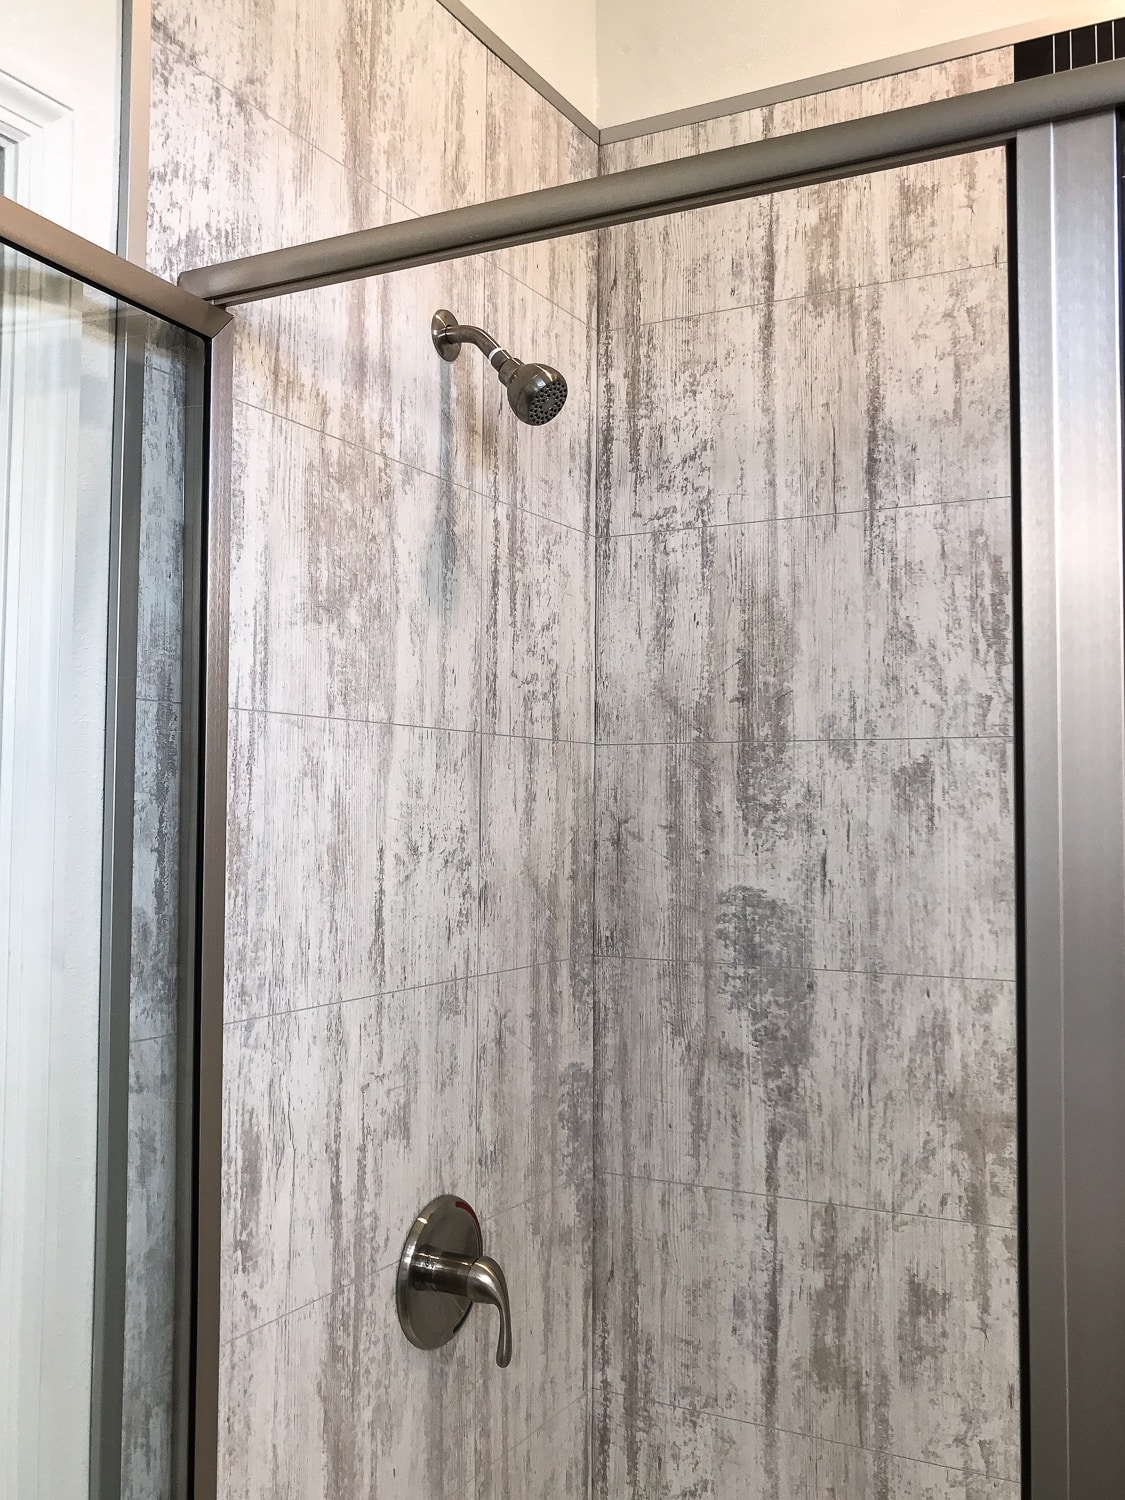
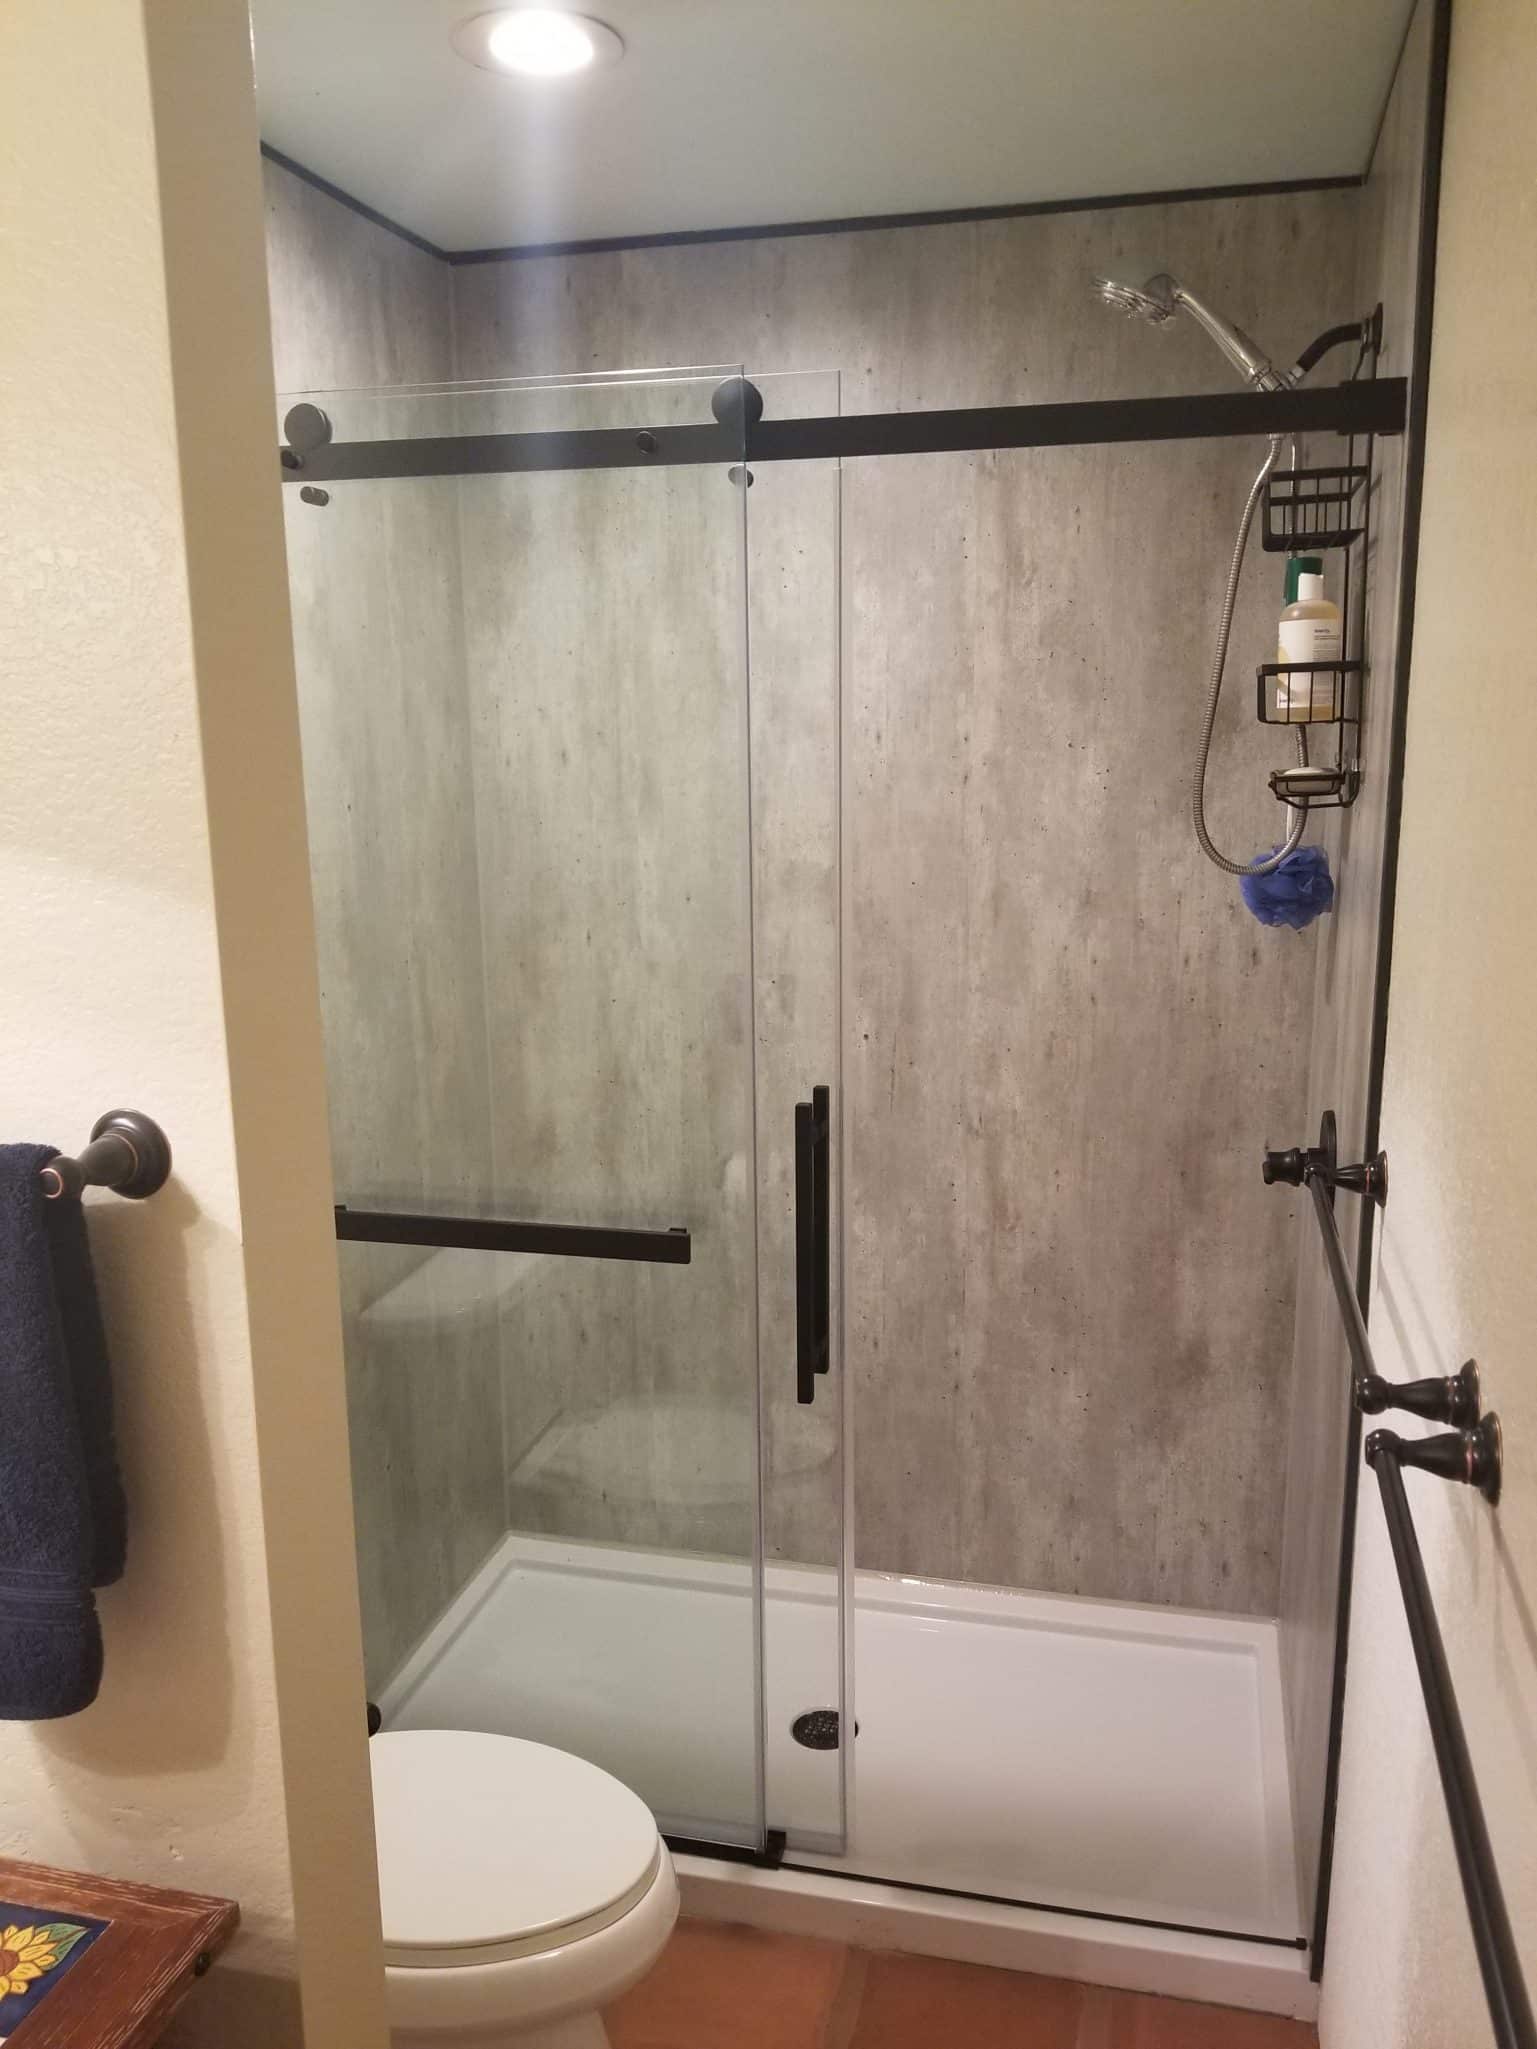
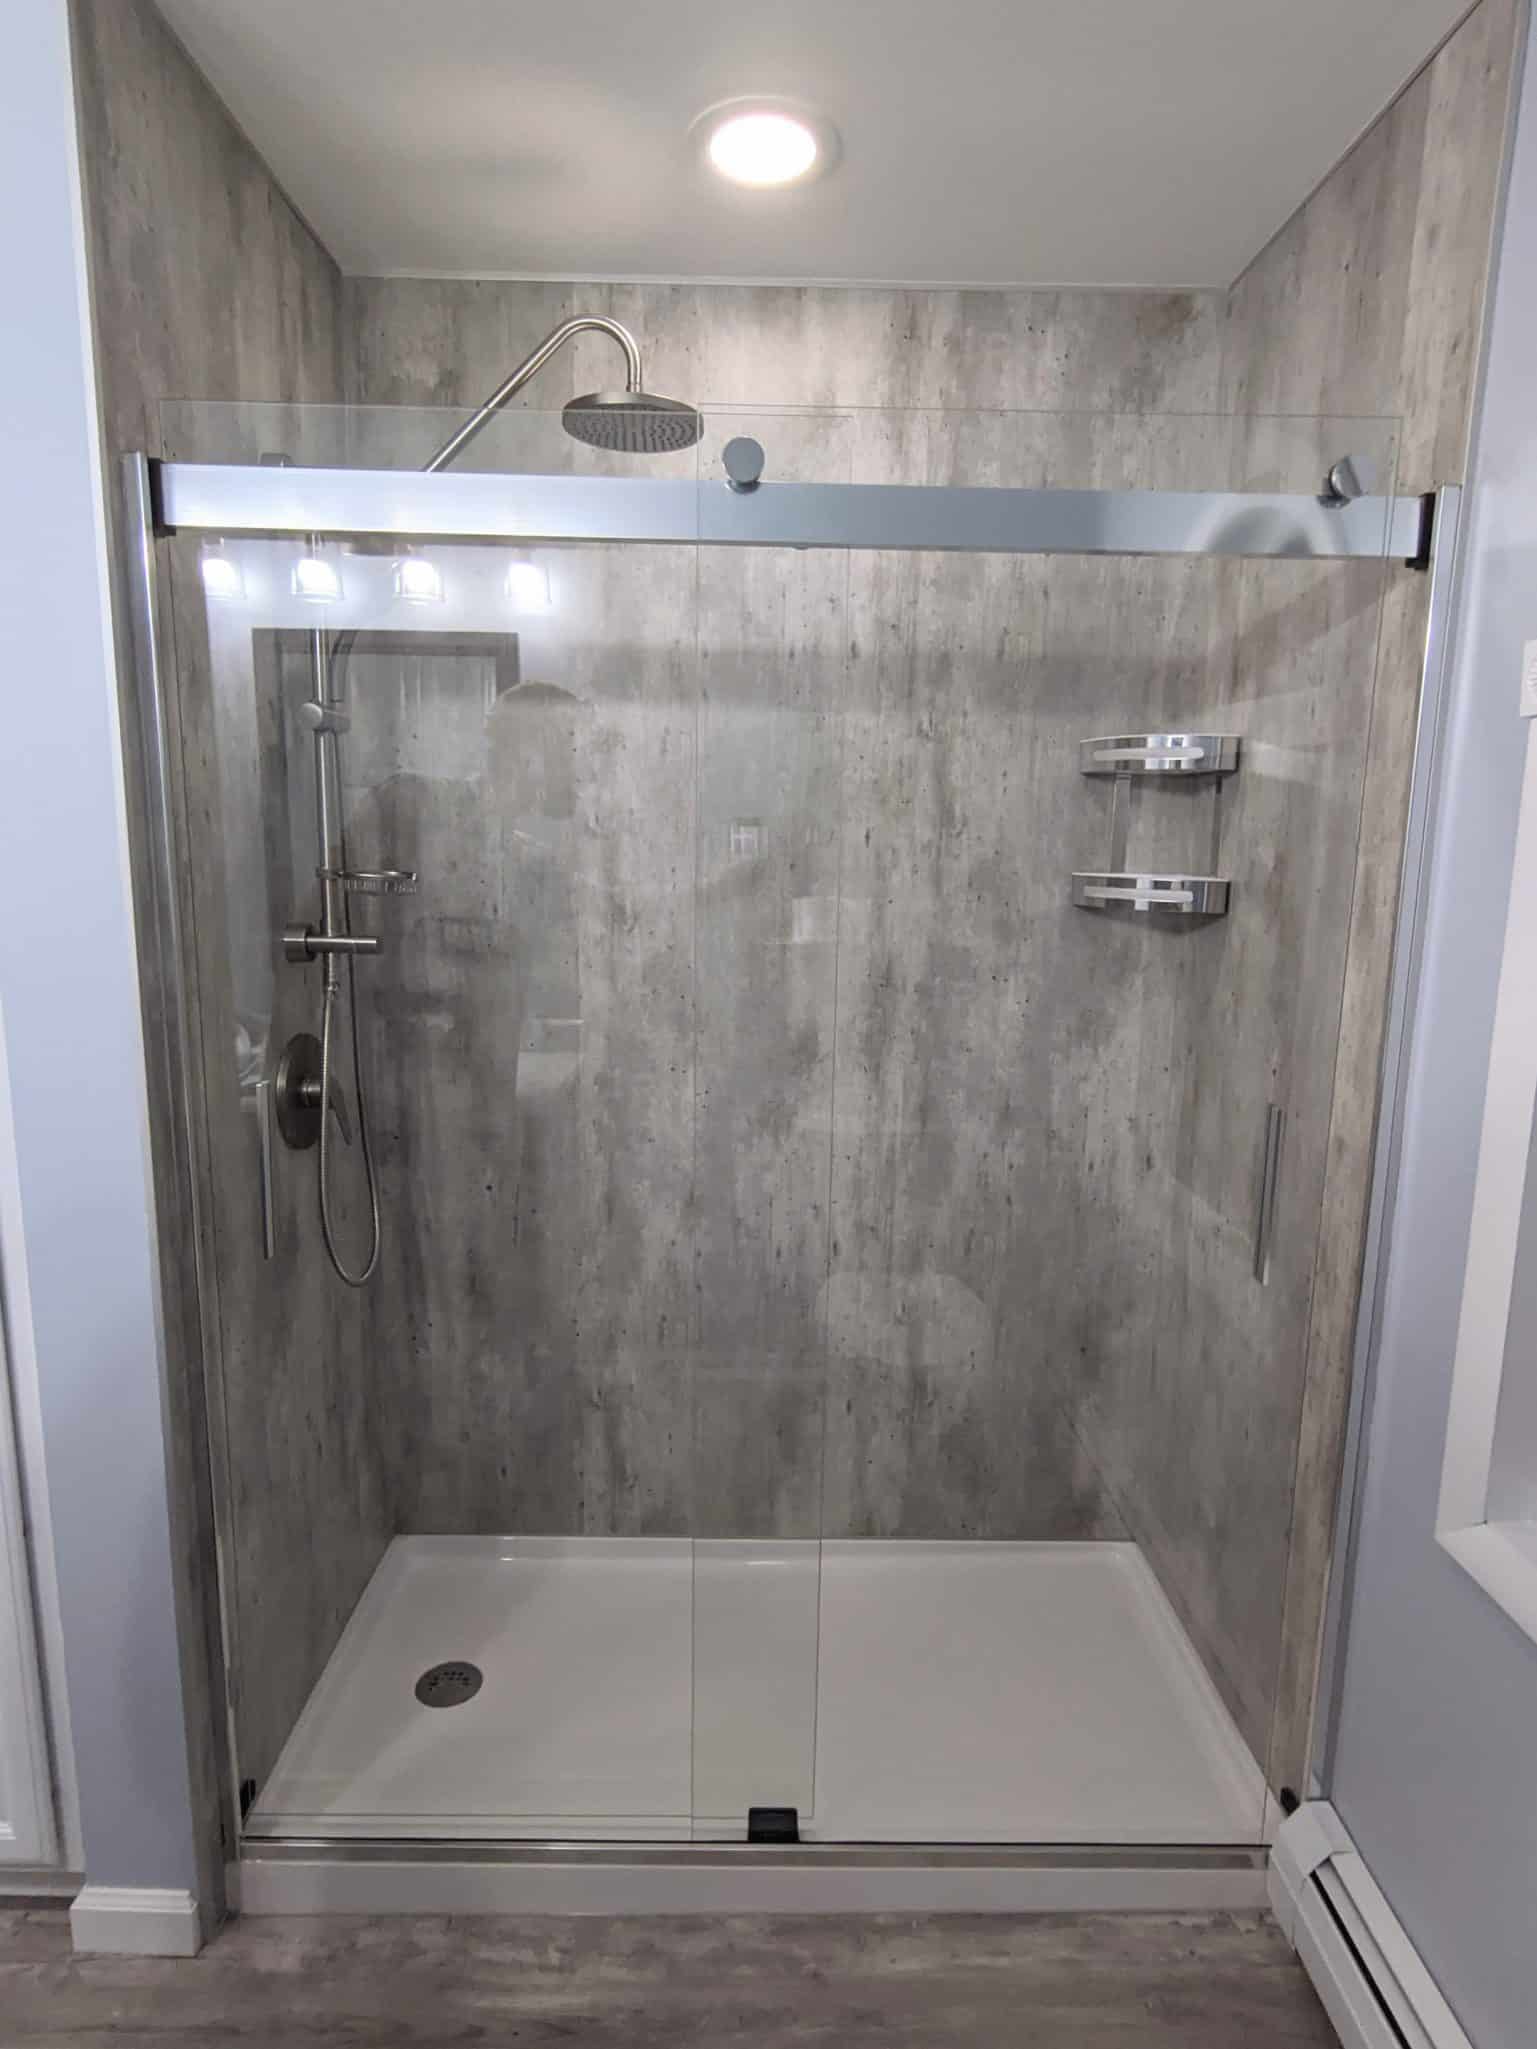
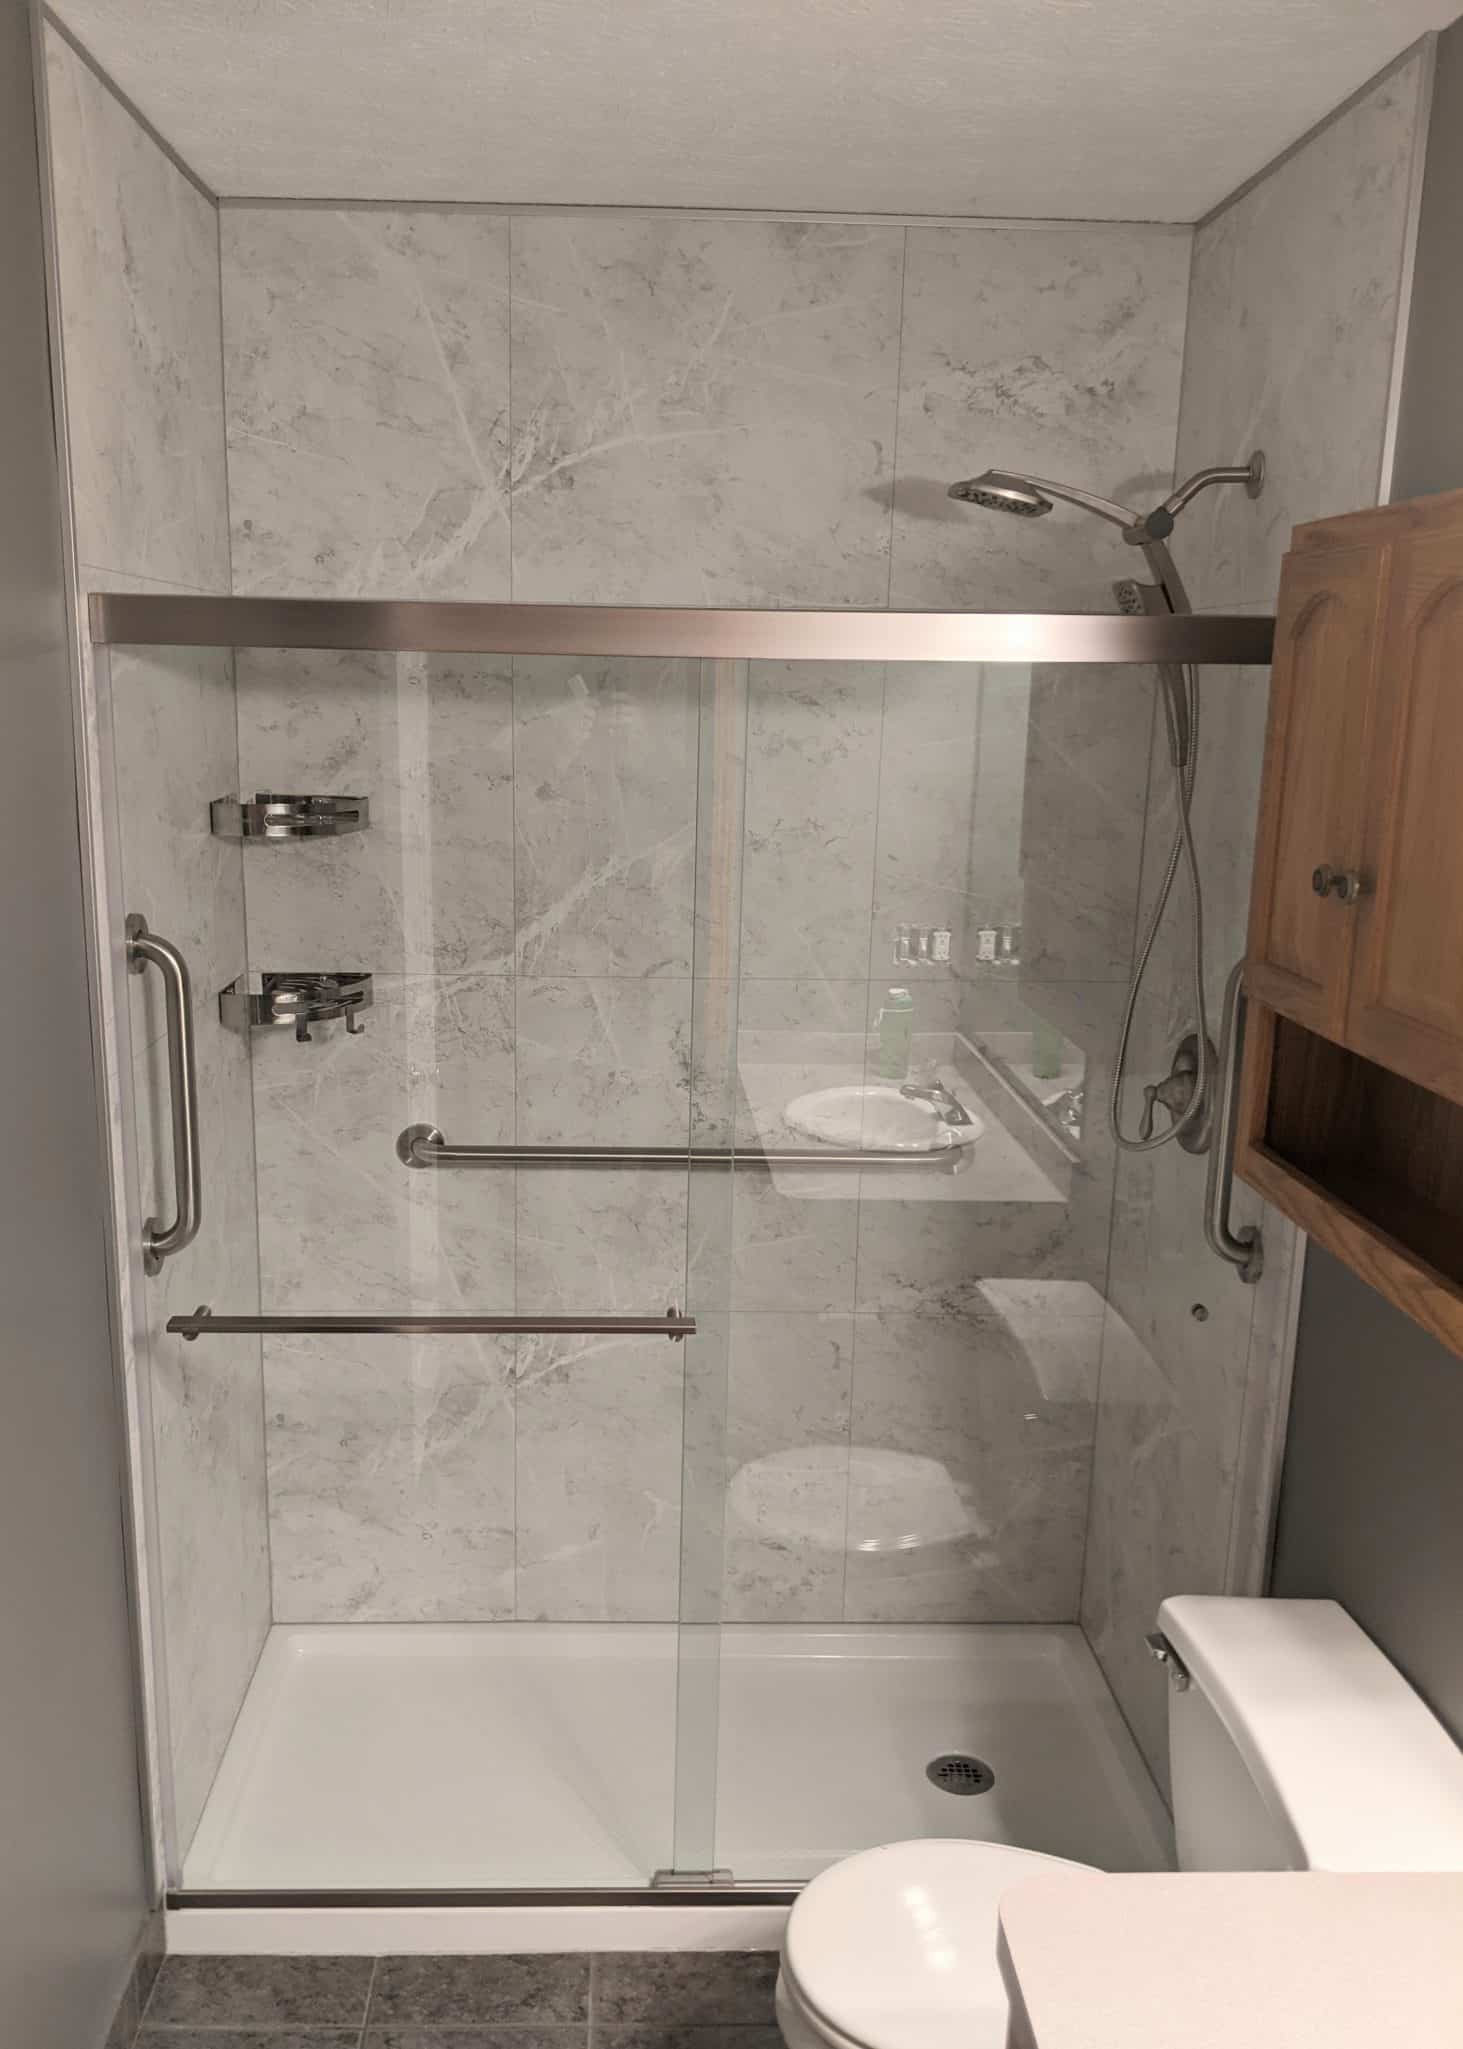
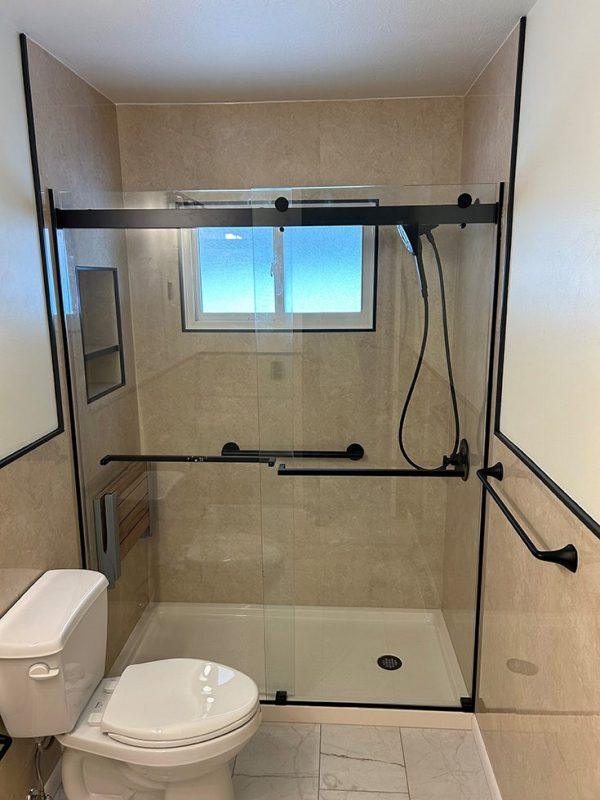
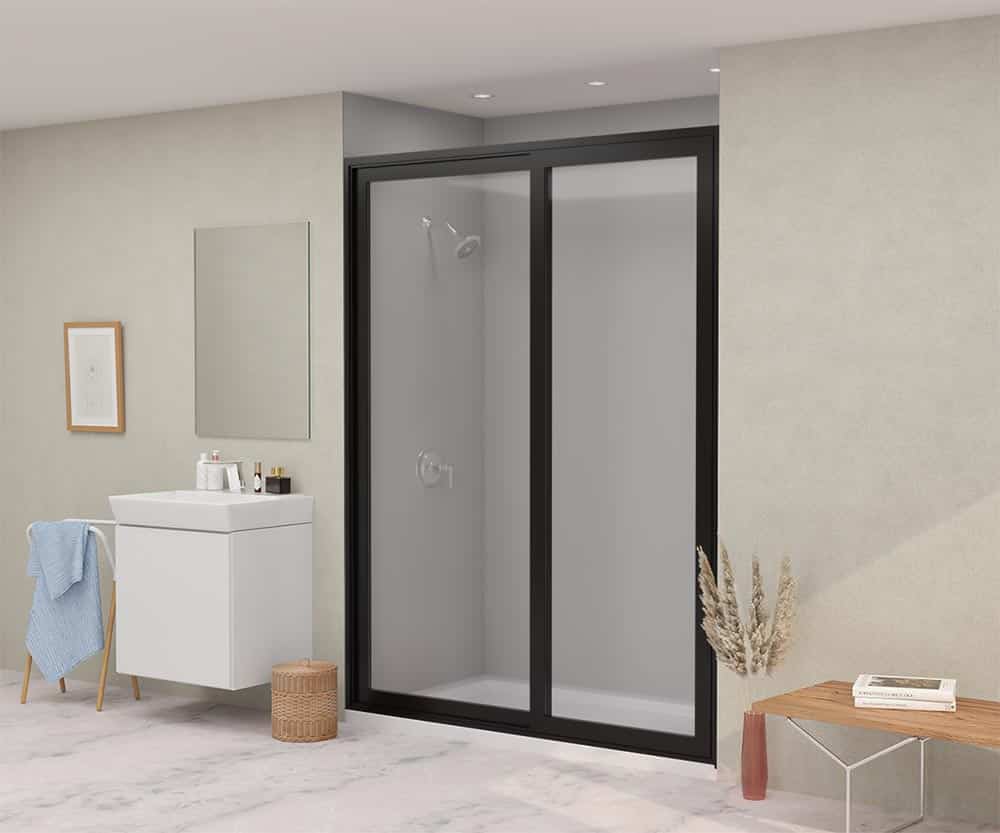
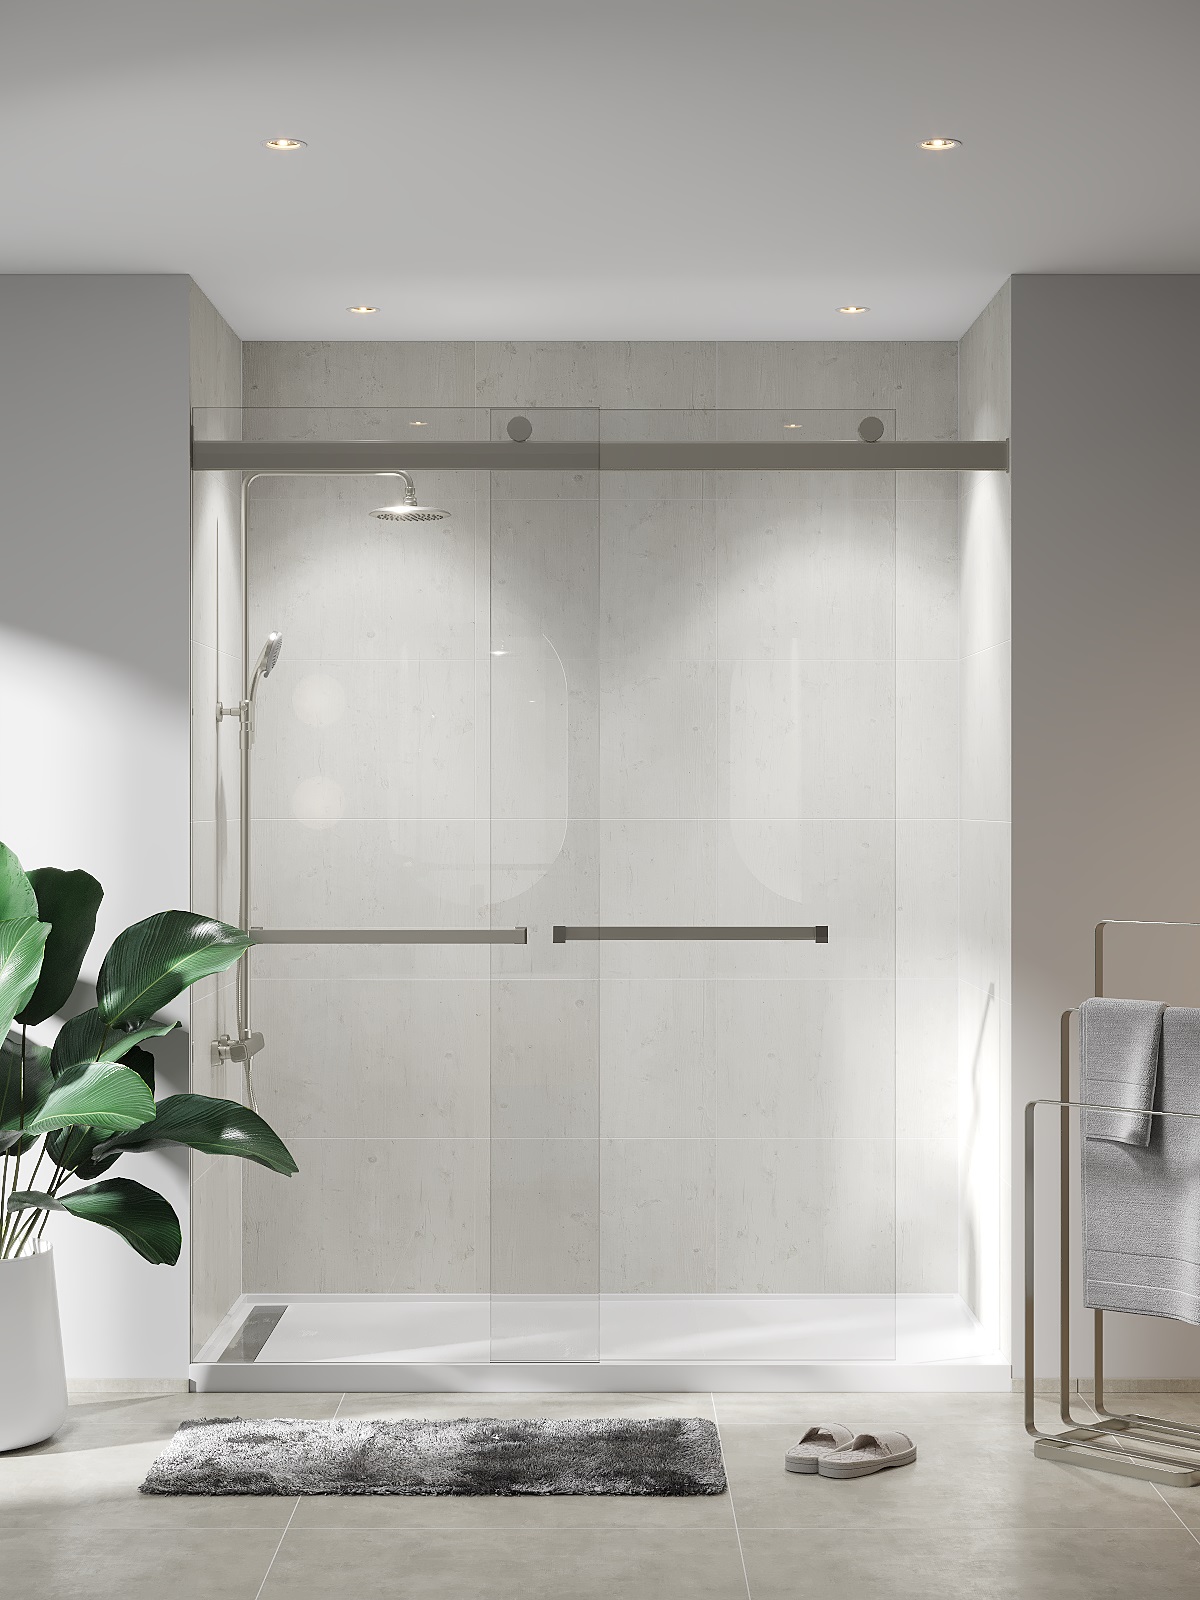
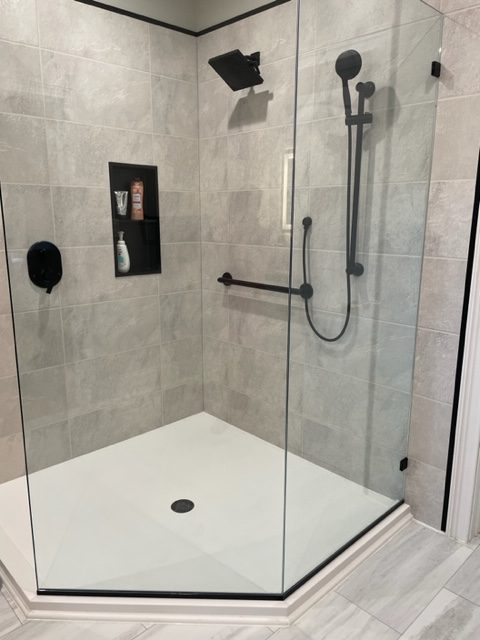
Full Shower Replacement Kits Available
You’re seeking a high-quality shower kit complete with sturdy, stylish and simple-to-clean bases. Create a complete, high-quality alcove or walk-in shower kit in 3 simple steps!
-
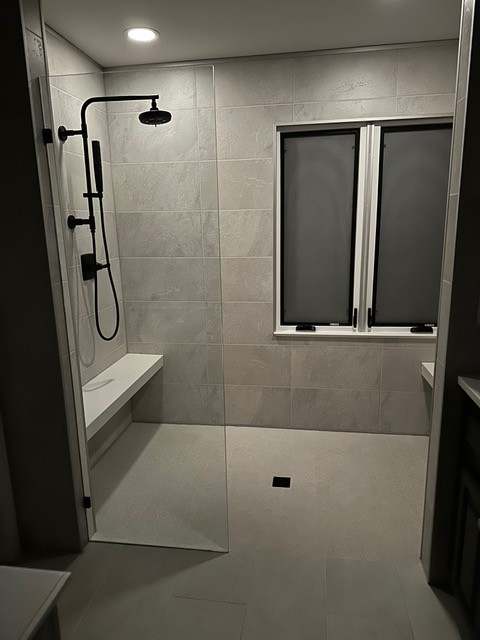
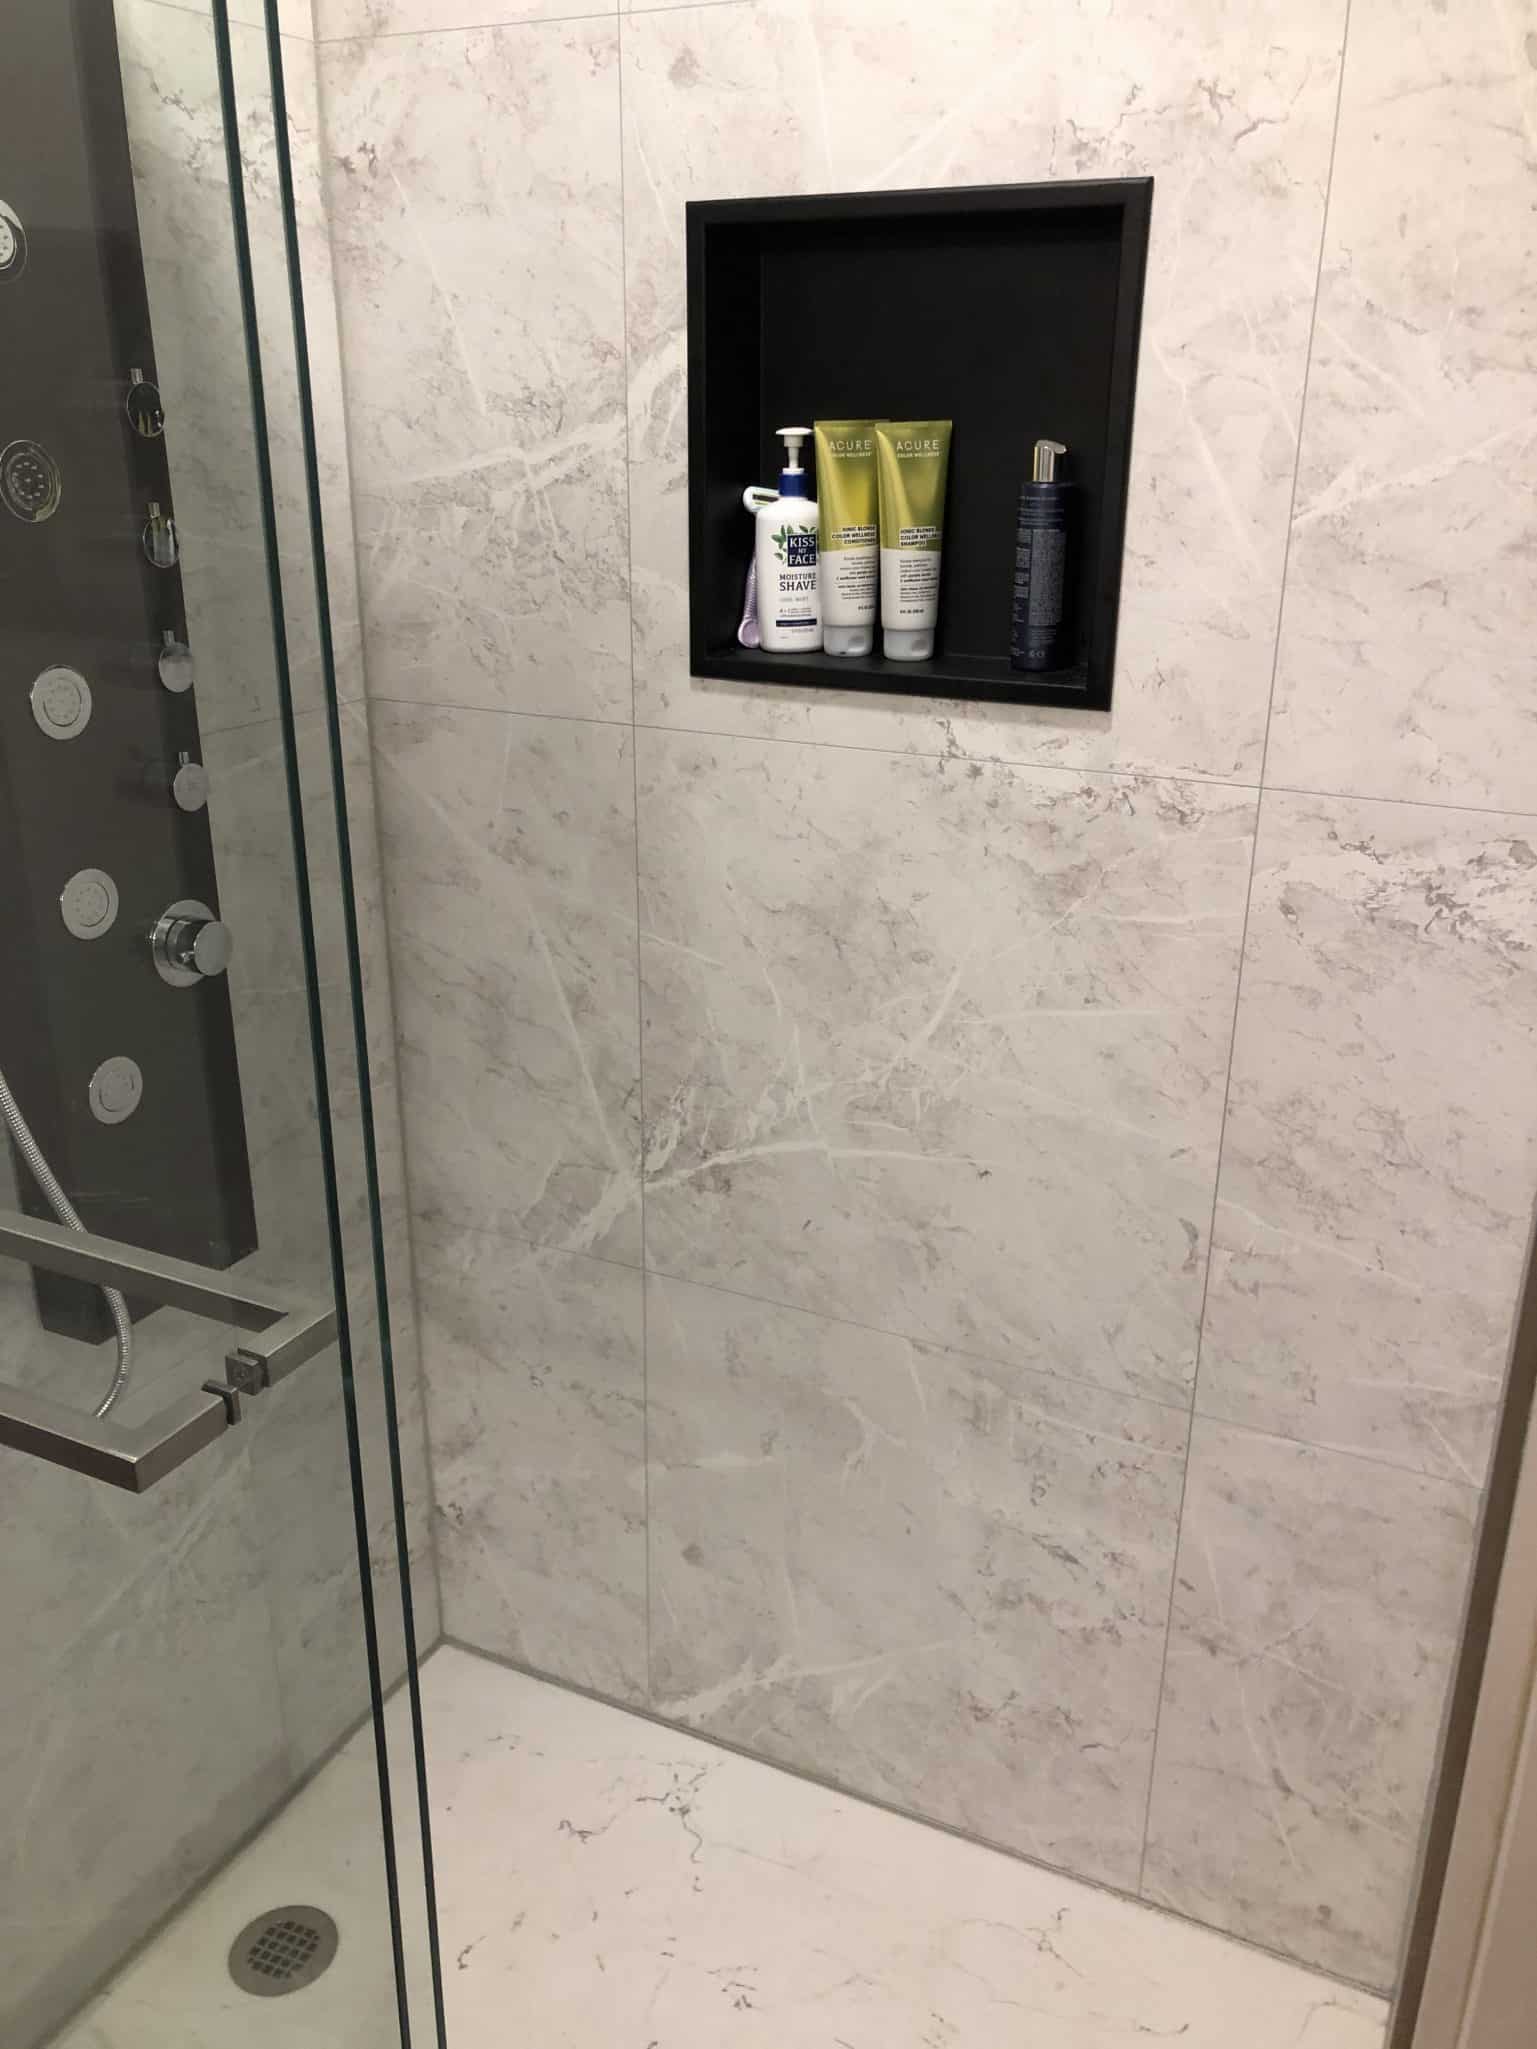
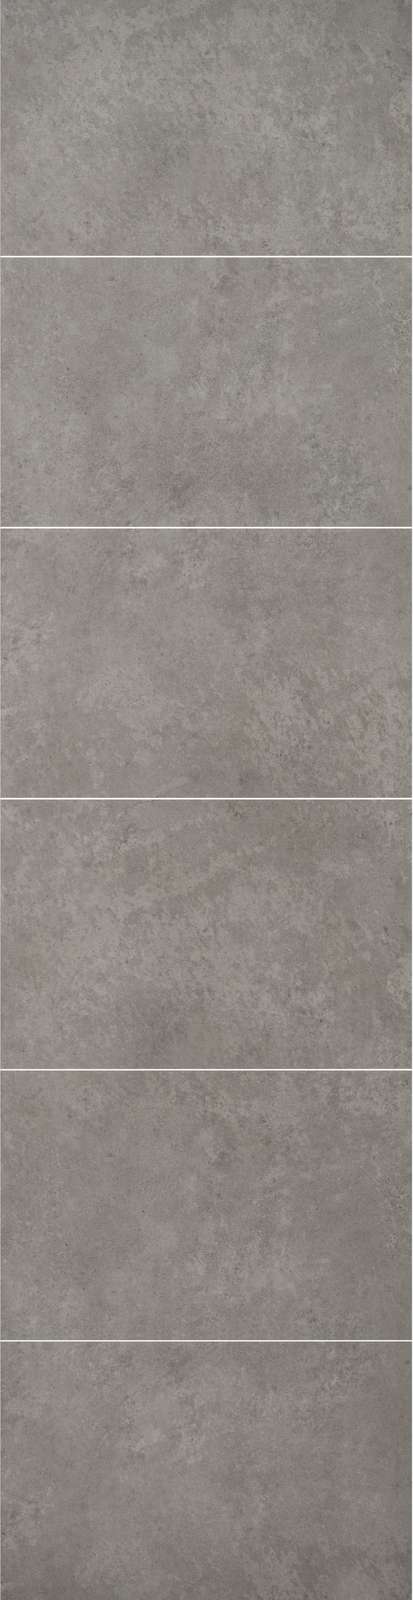
Large tile designs for a contemporary look
Large ‘tile’ designs for a contemporary look. Using laminate shower panels, you can go for modern large-format faux tile designs in 24” x 12”, 24” x 16”, 24” x 24” and 12” x 16” sizes.
-
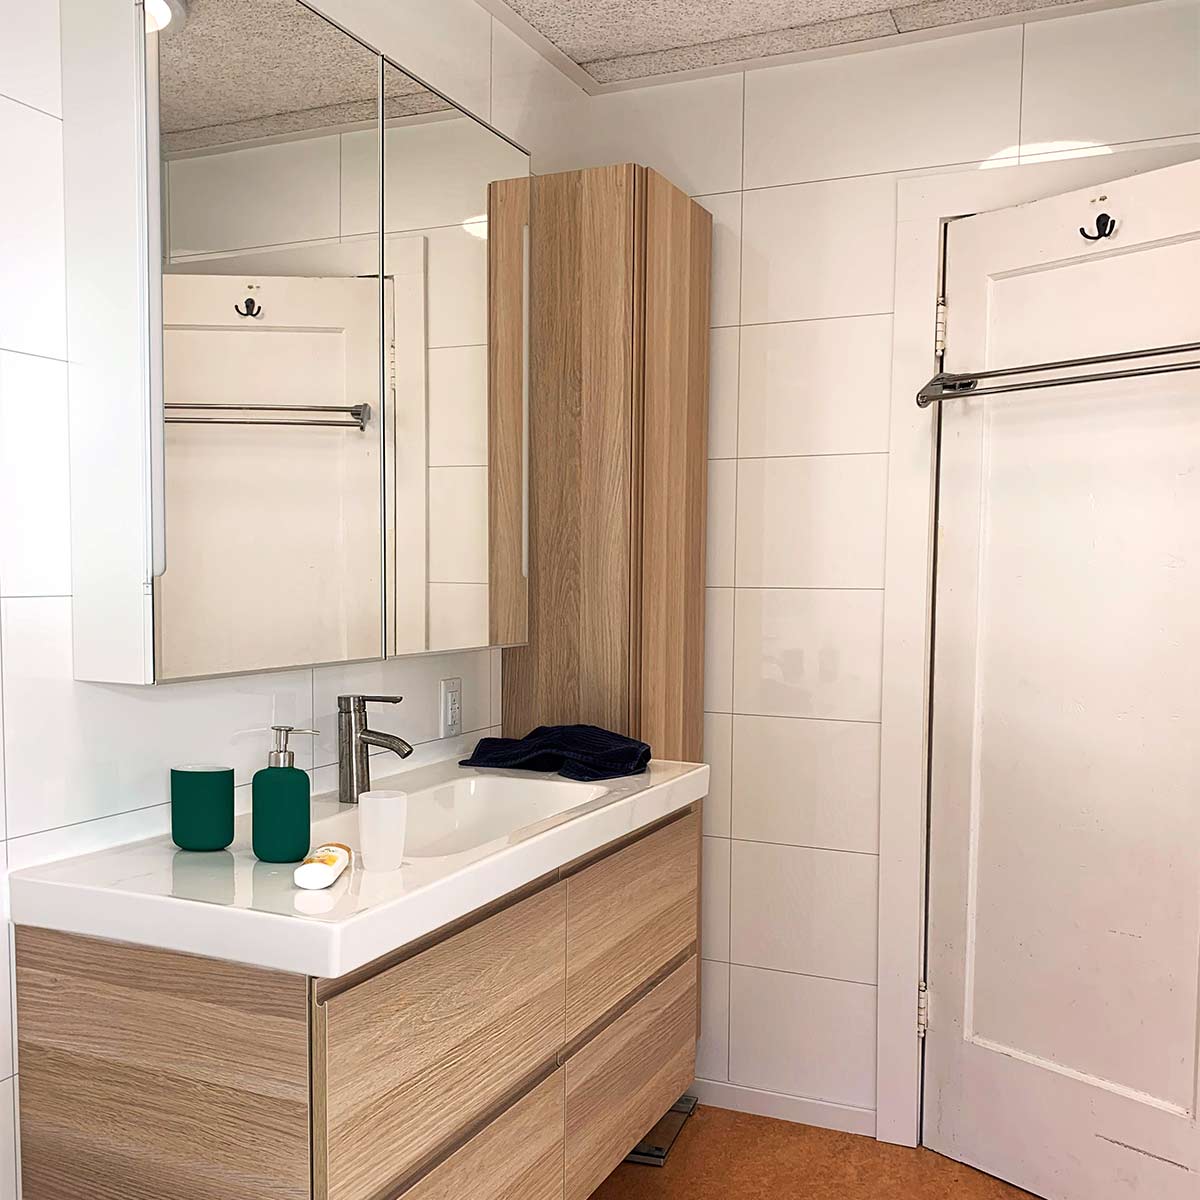
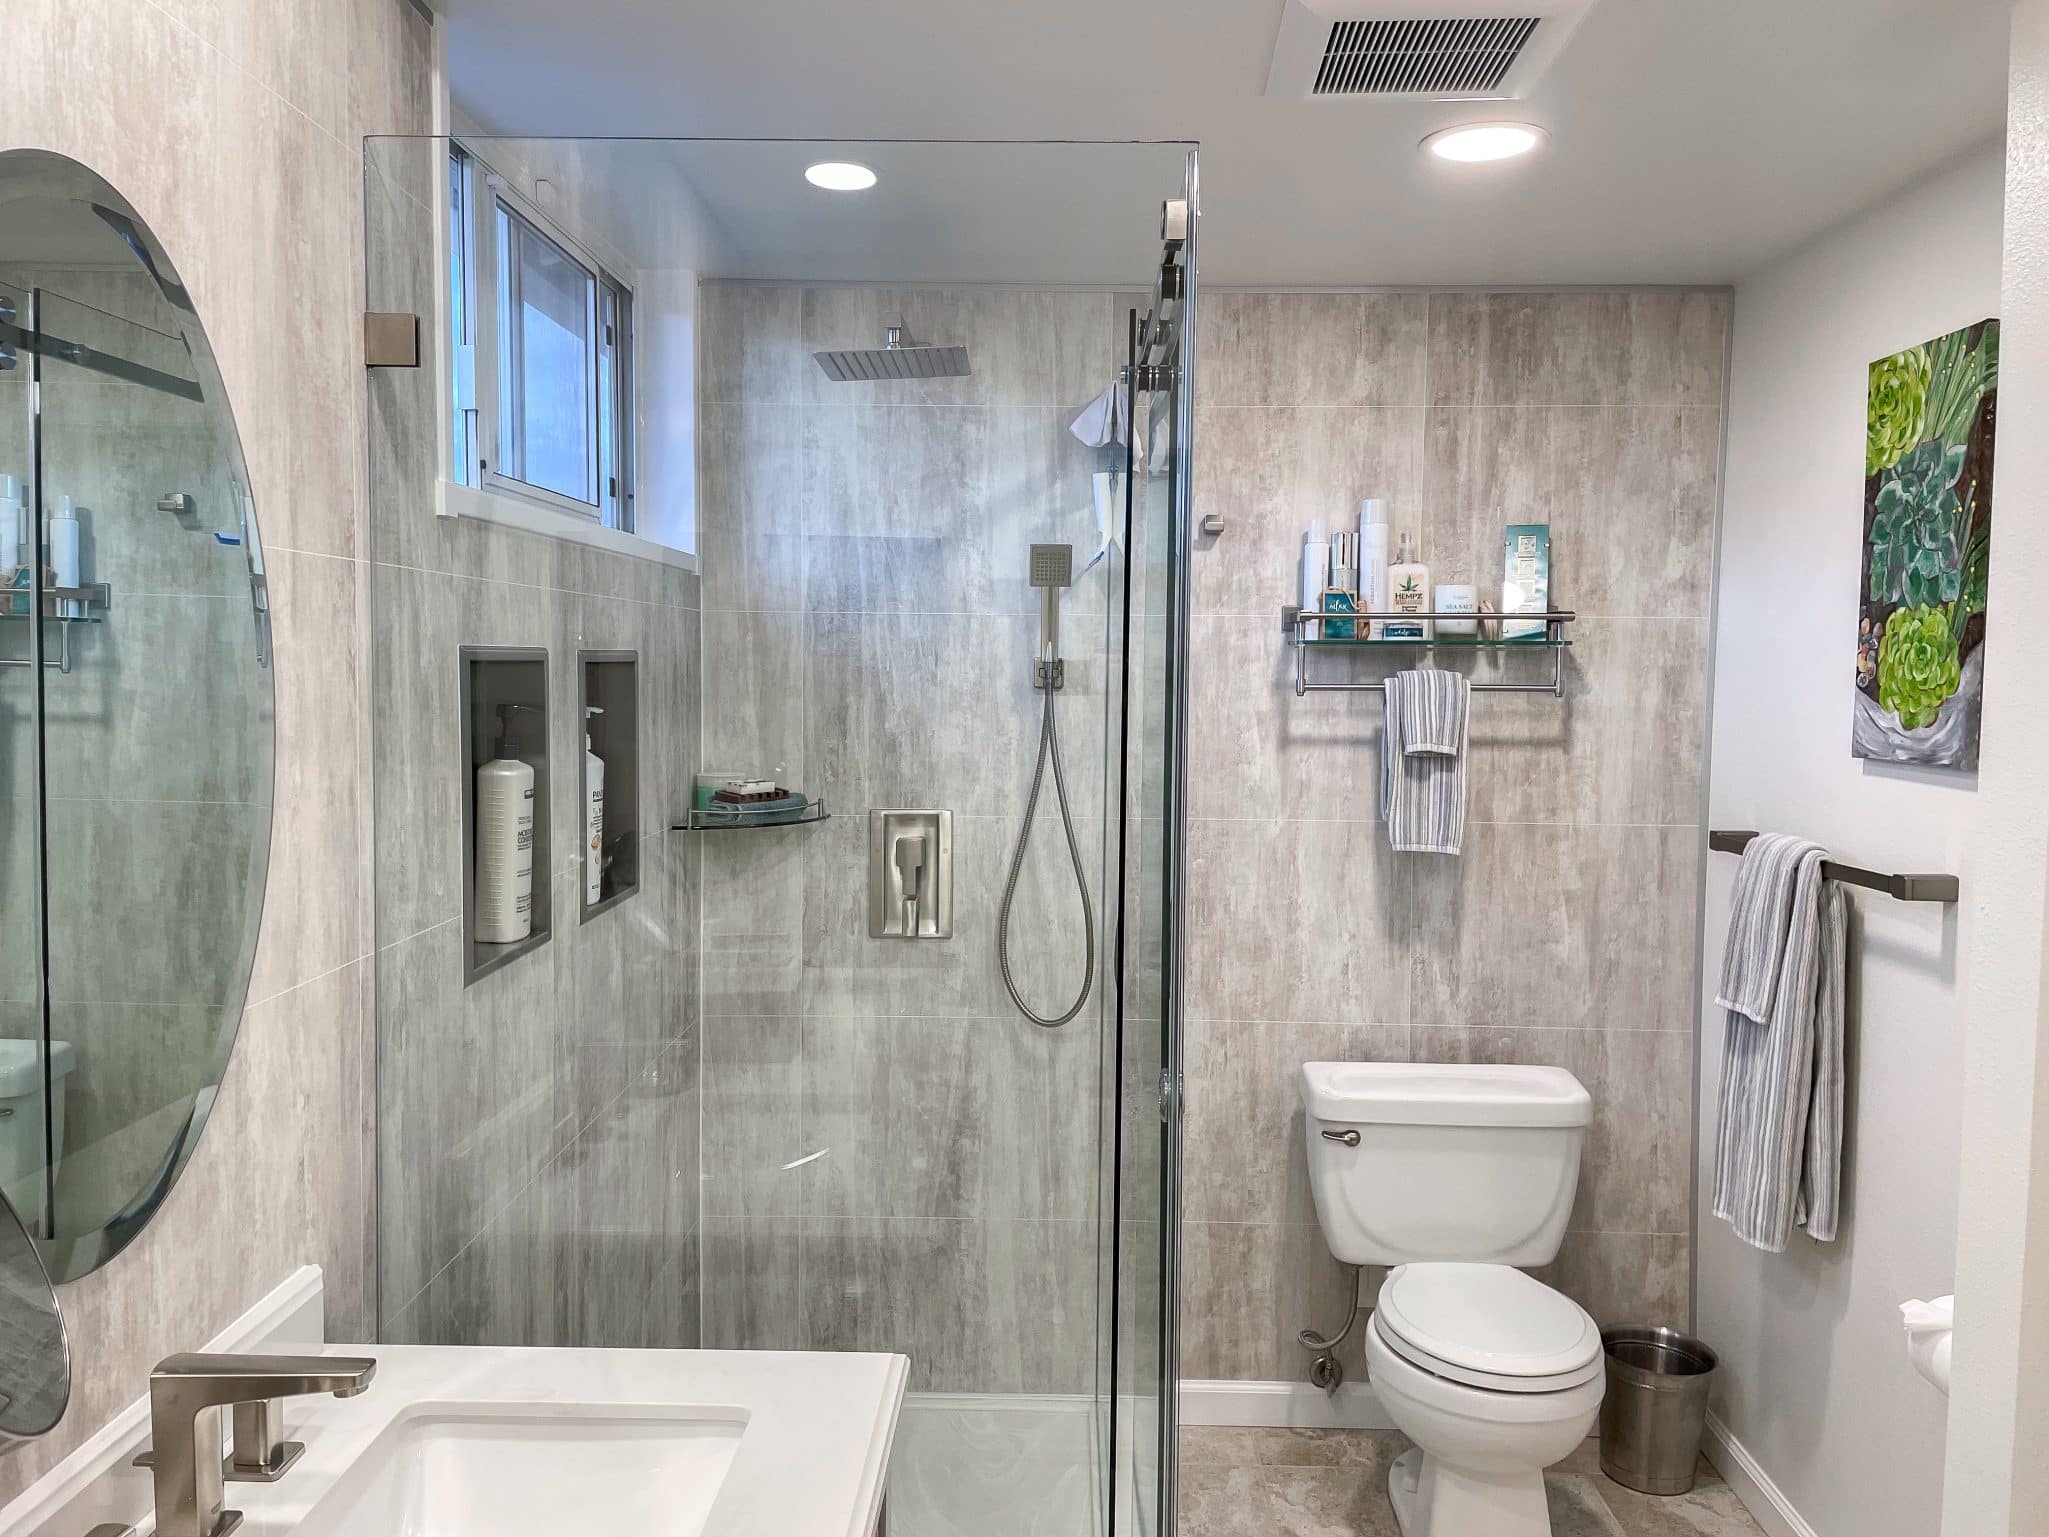
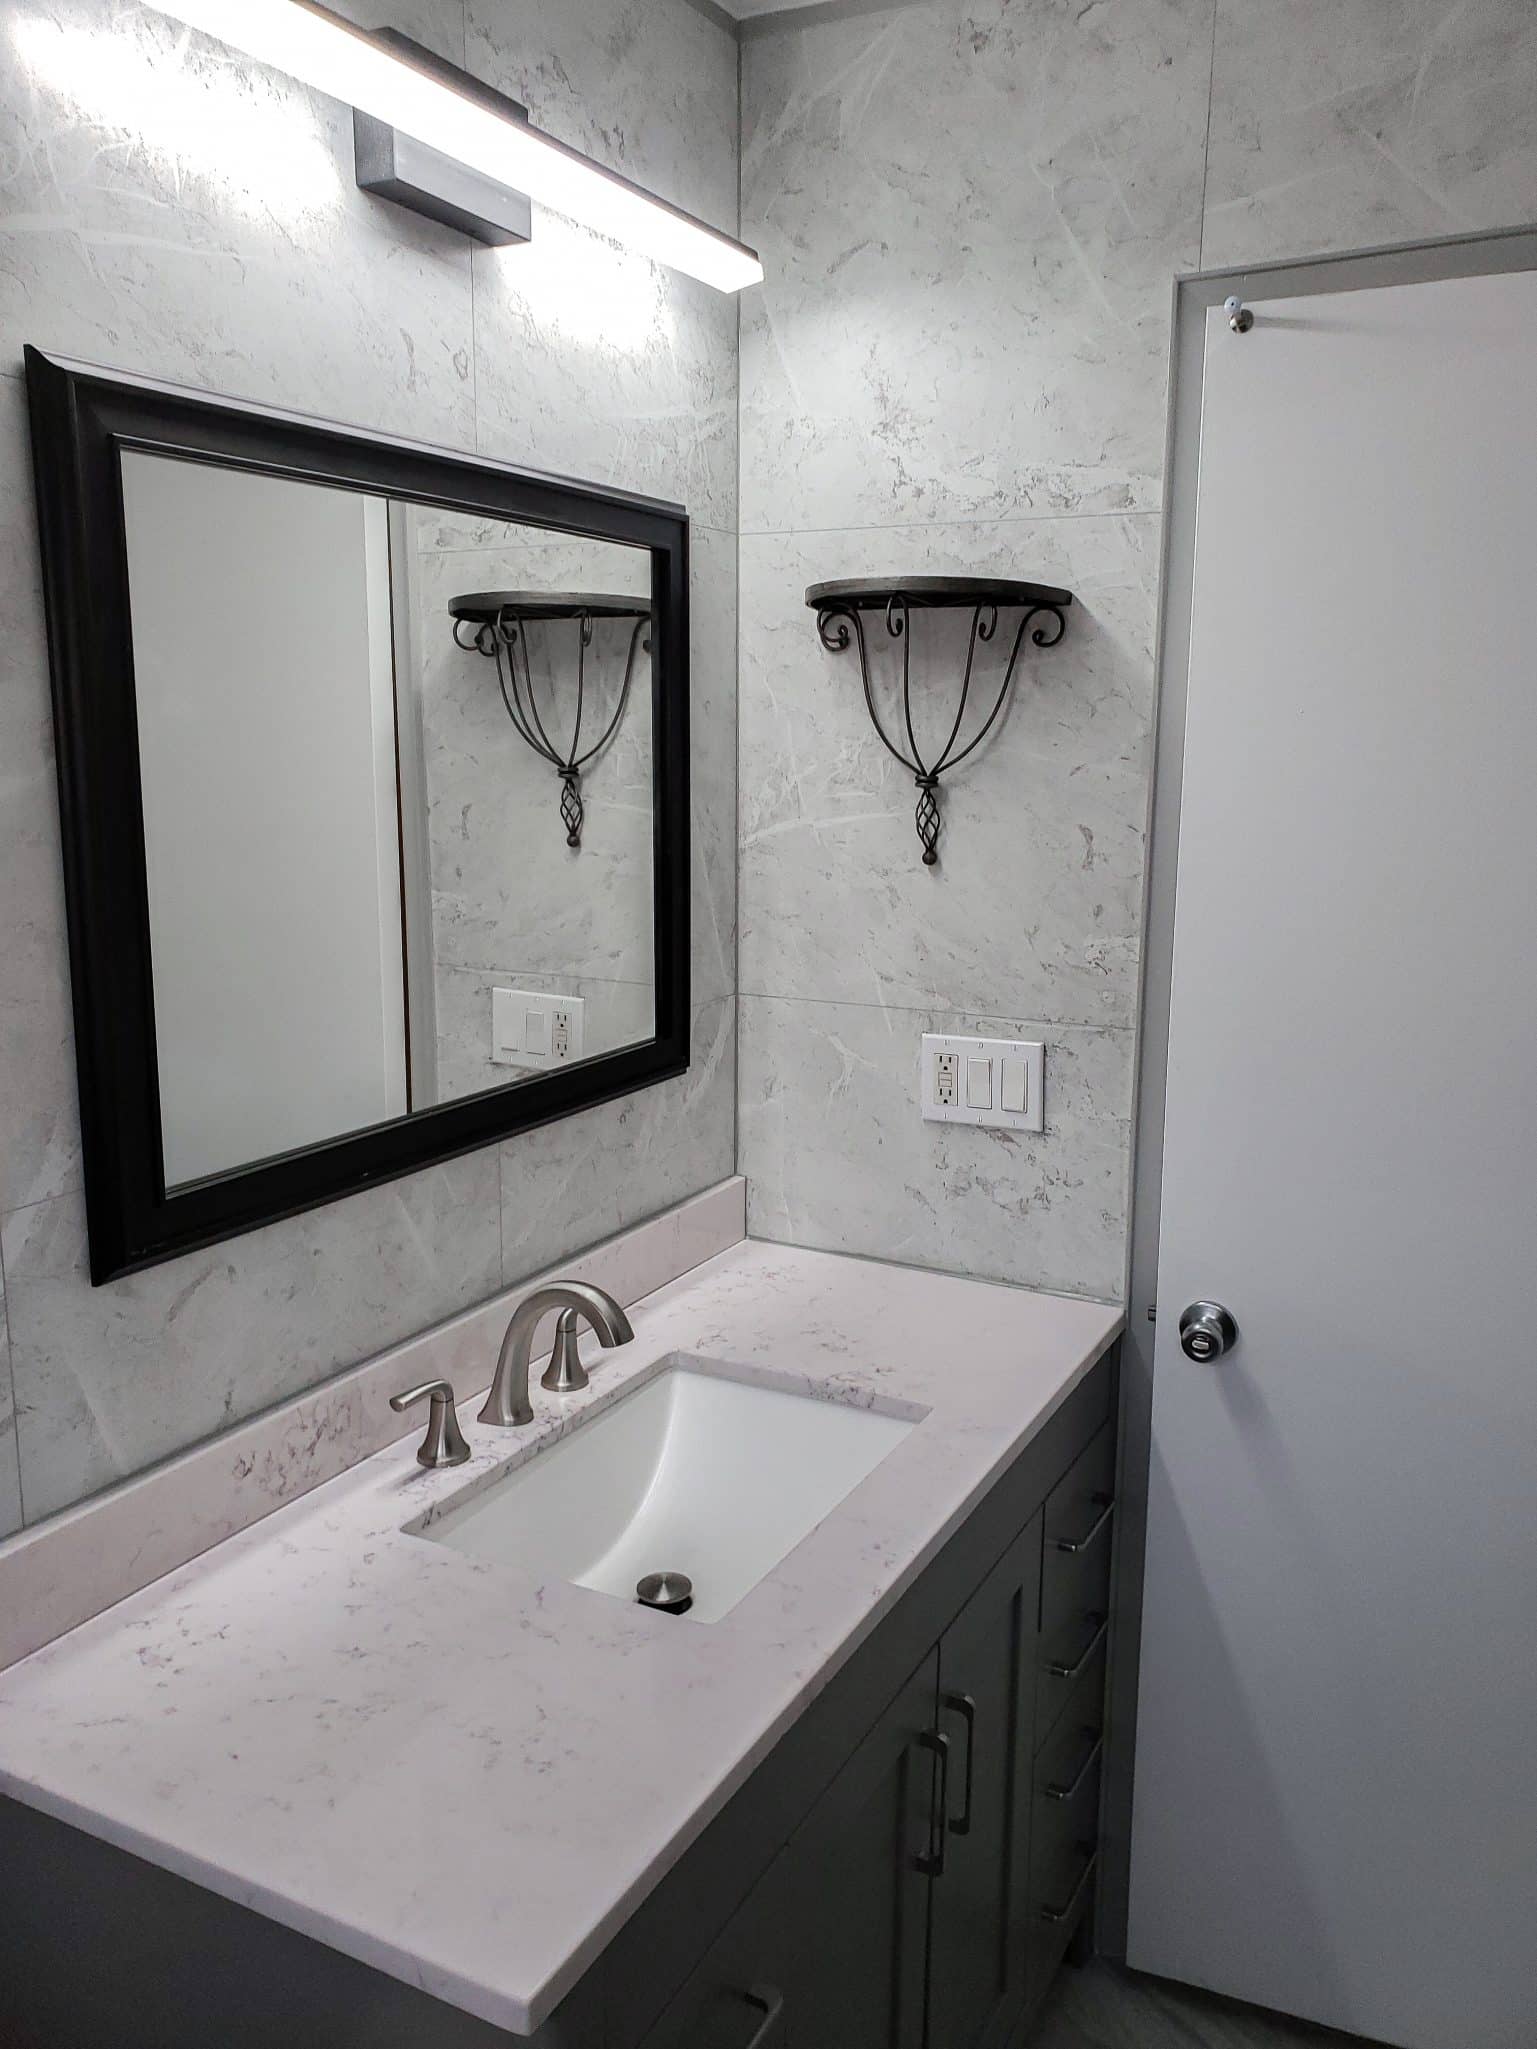
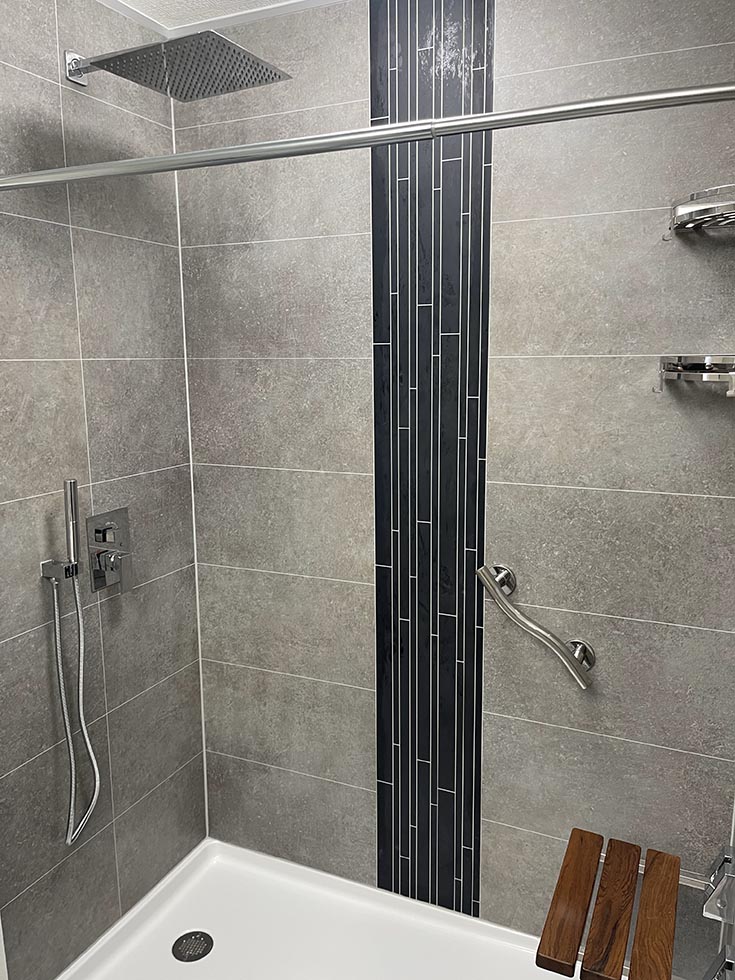
Design styles that fit today’s bathrooms
Don’t settle for shower panels that look fake, behind the times and are made of cheap plastic materials. With 26 different colors, matte and gloss finishes and patterns you can create any look you desire!
-
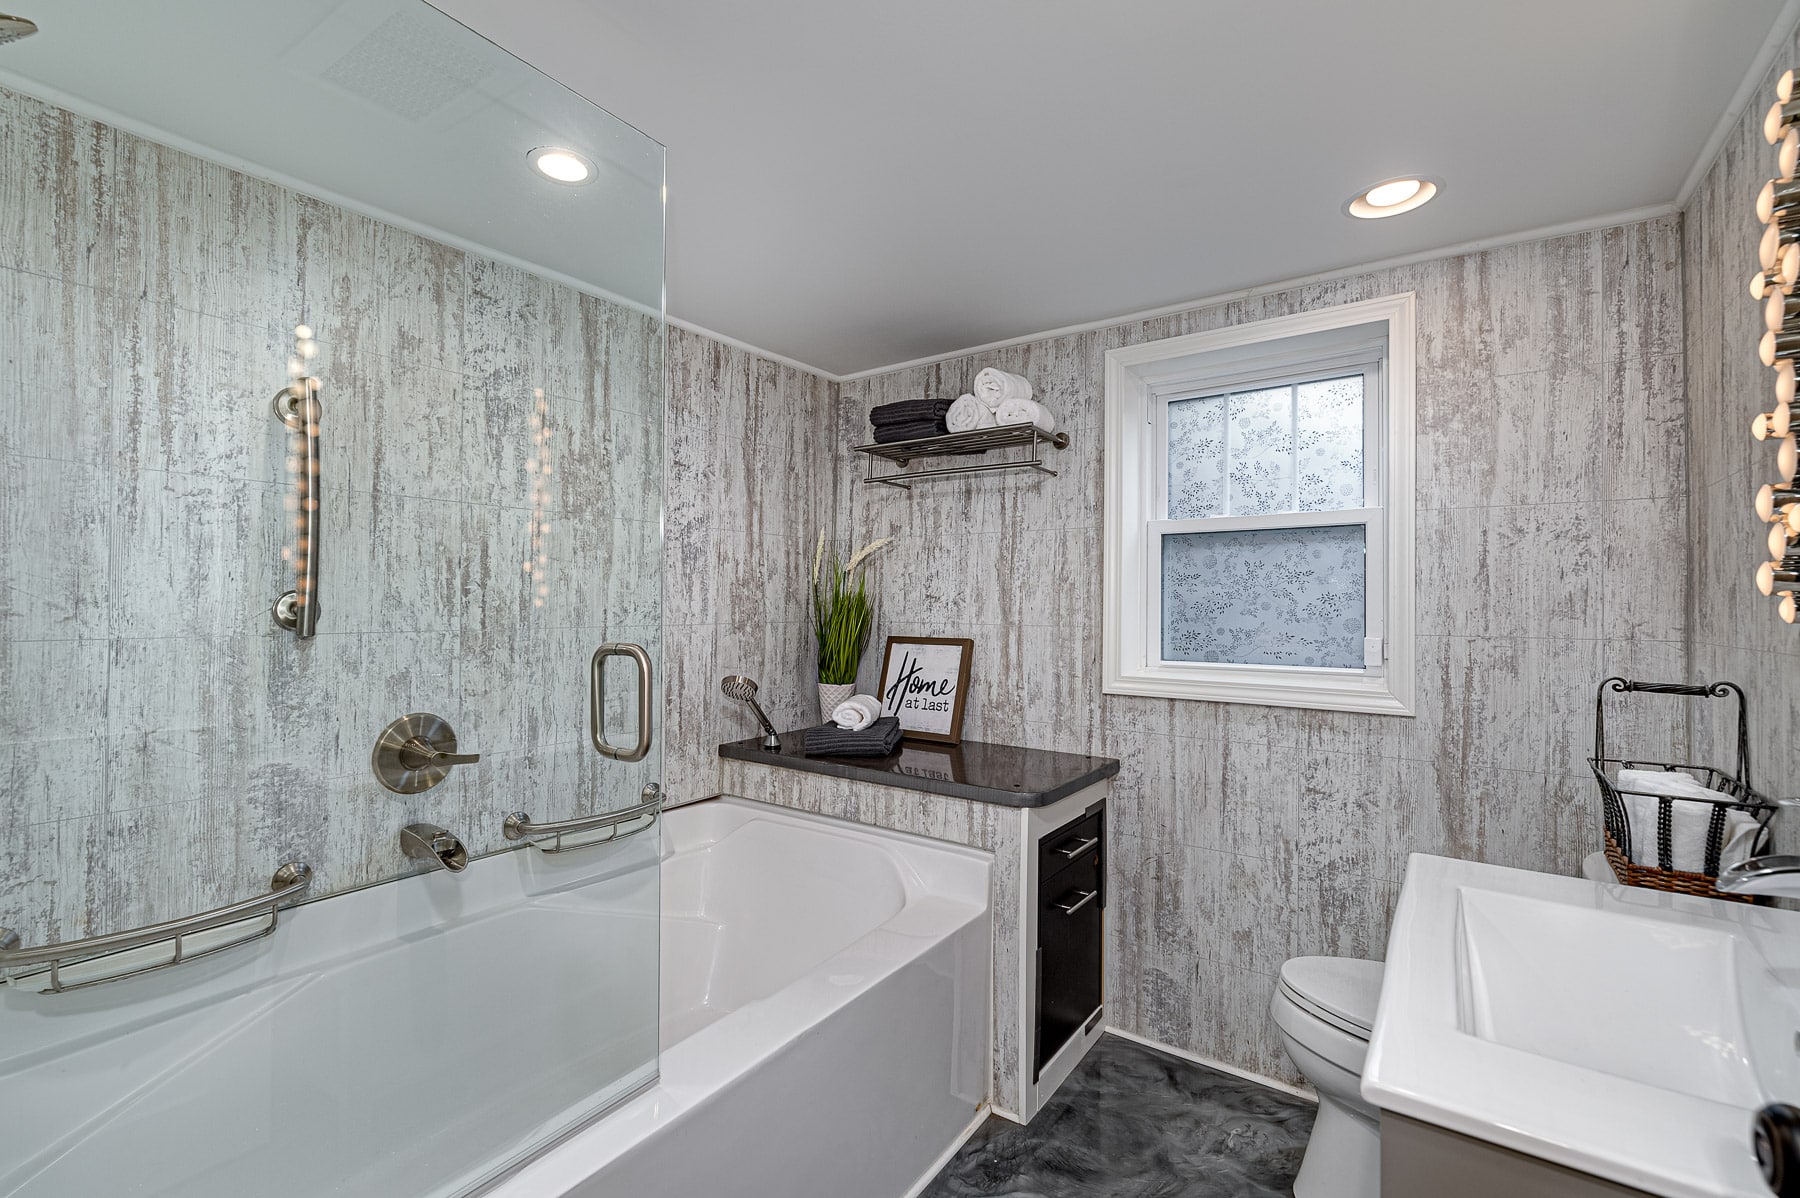
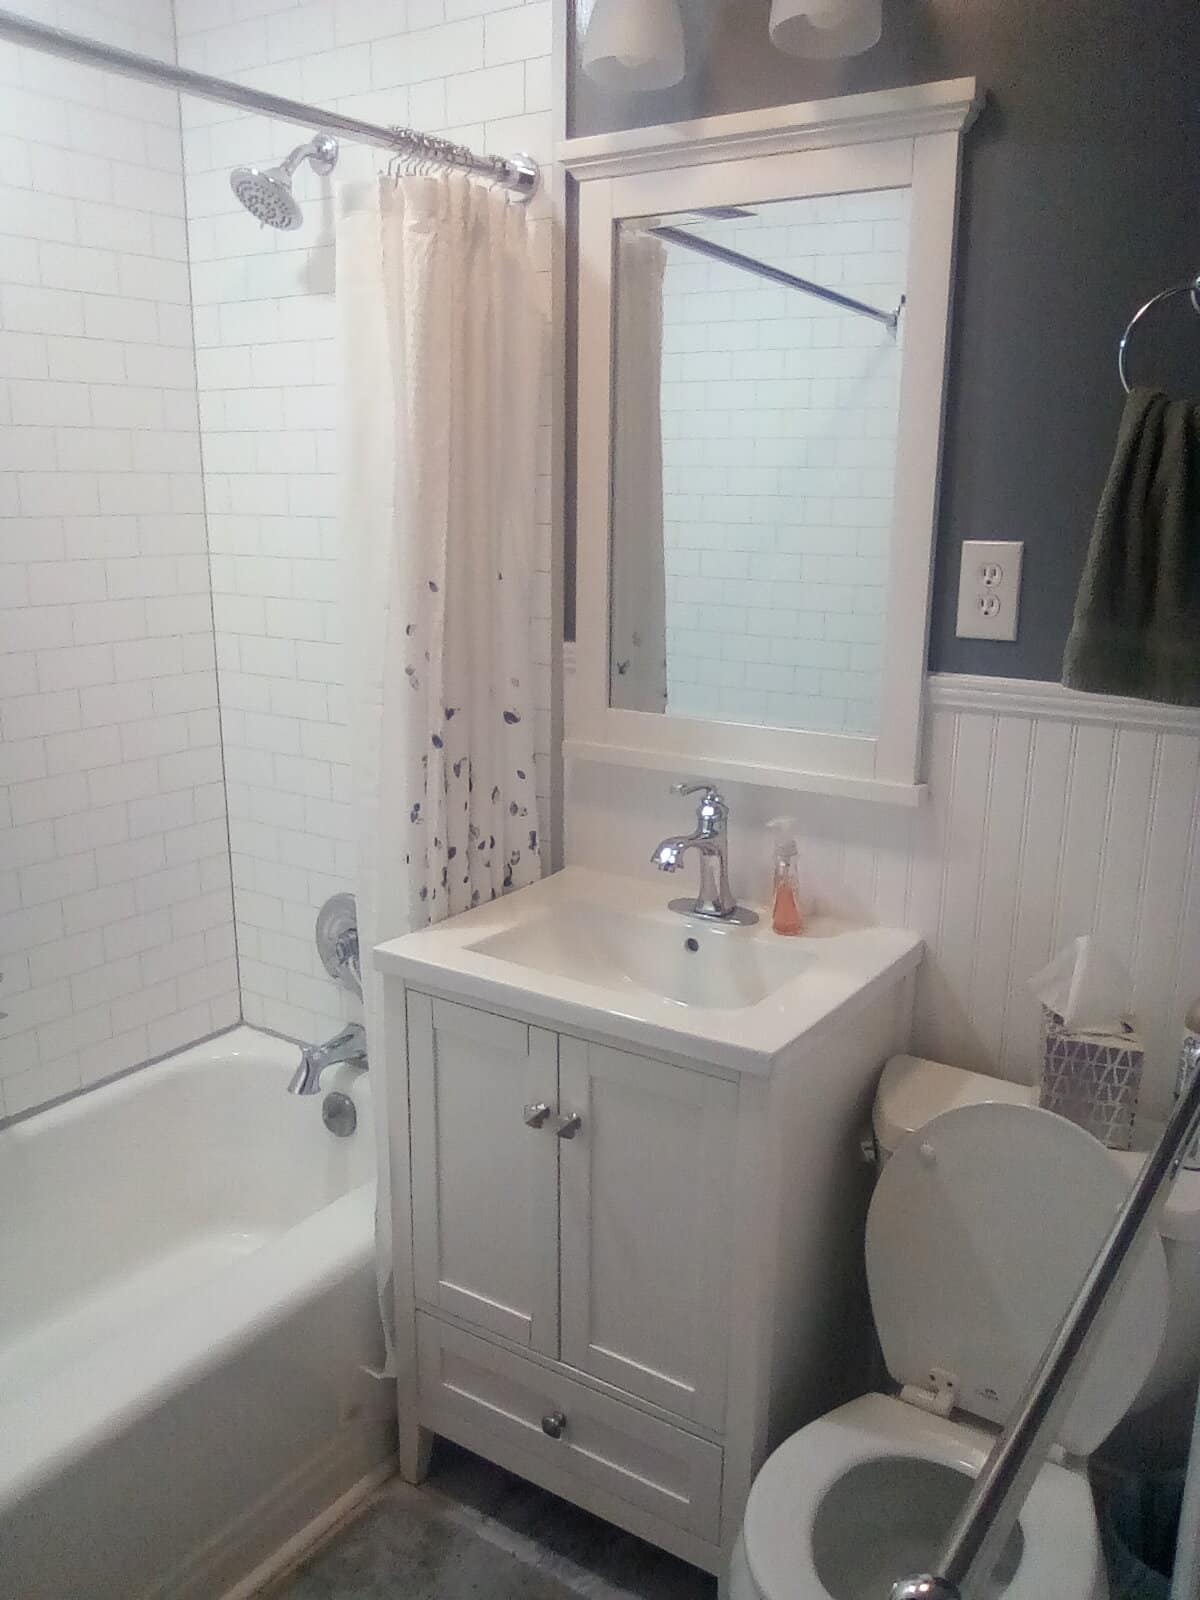
Multiple looks to fit your individual uniqueness
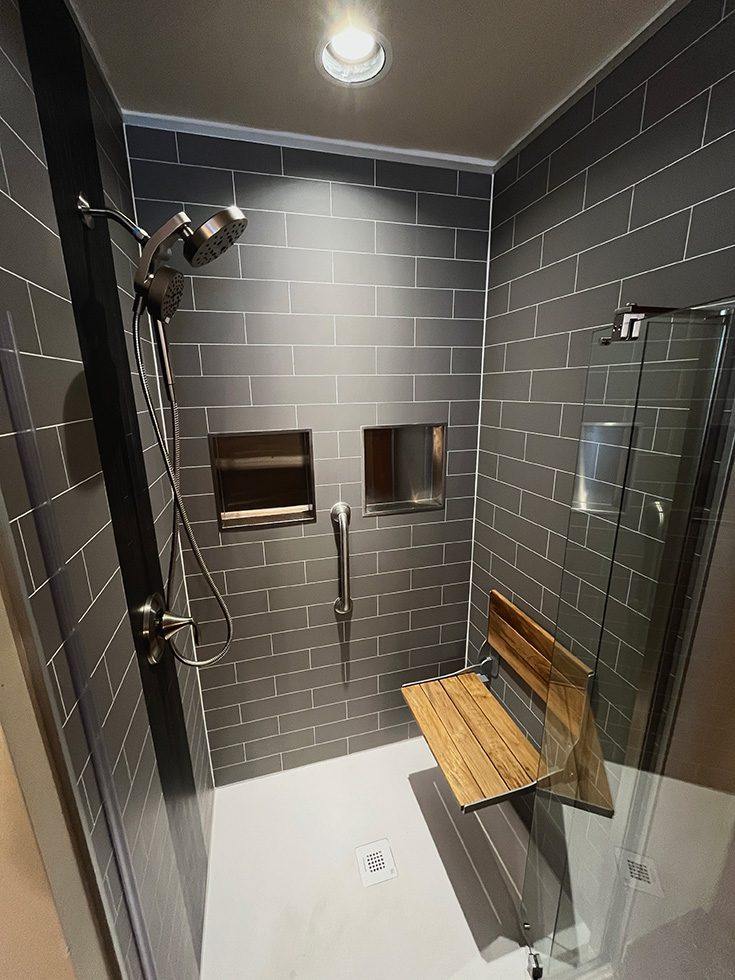
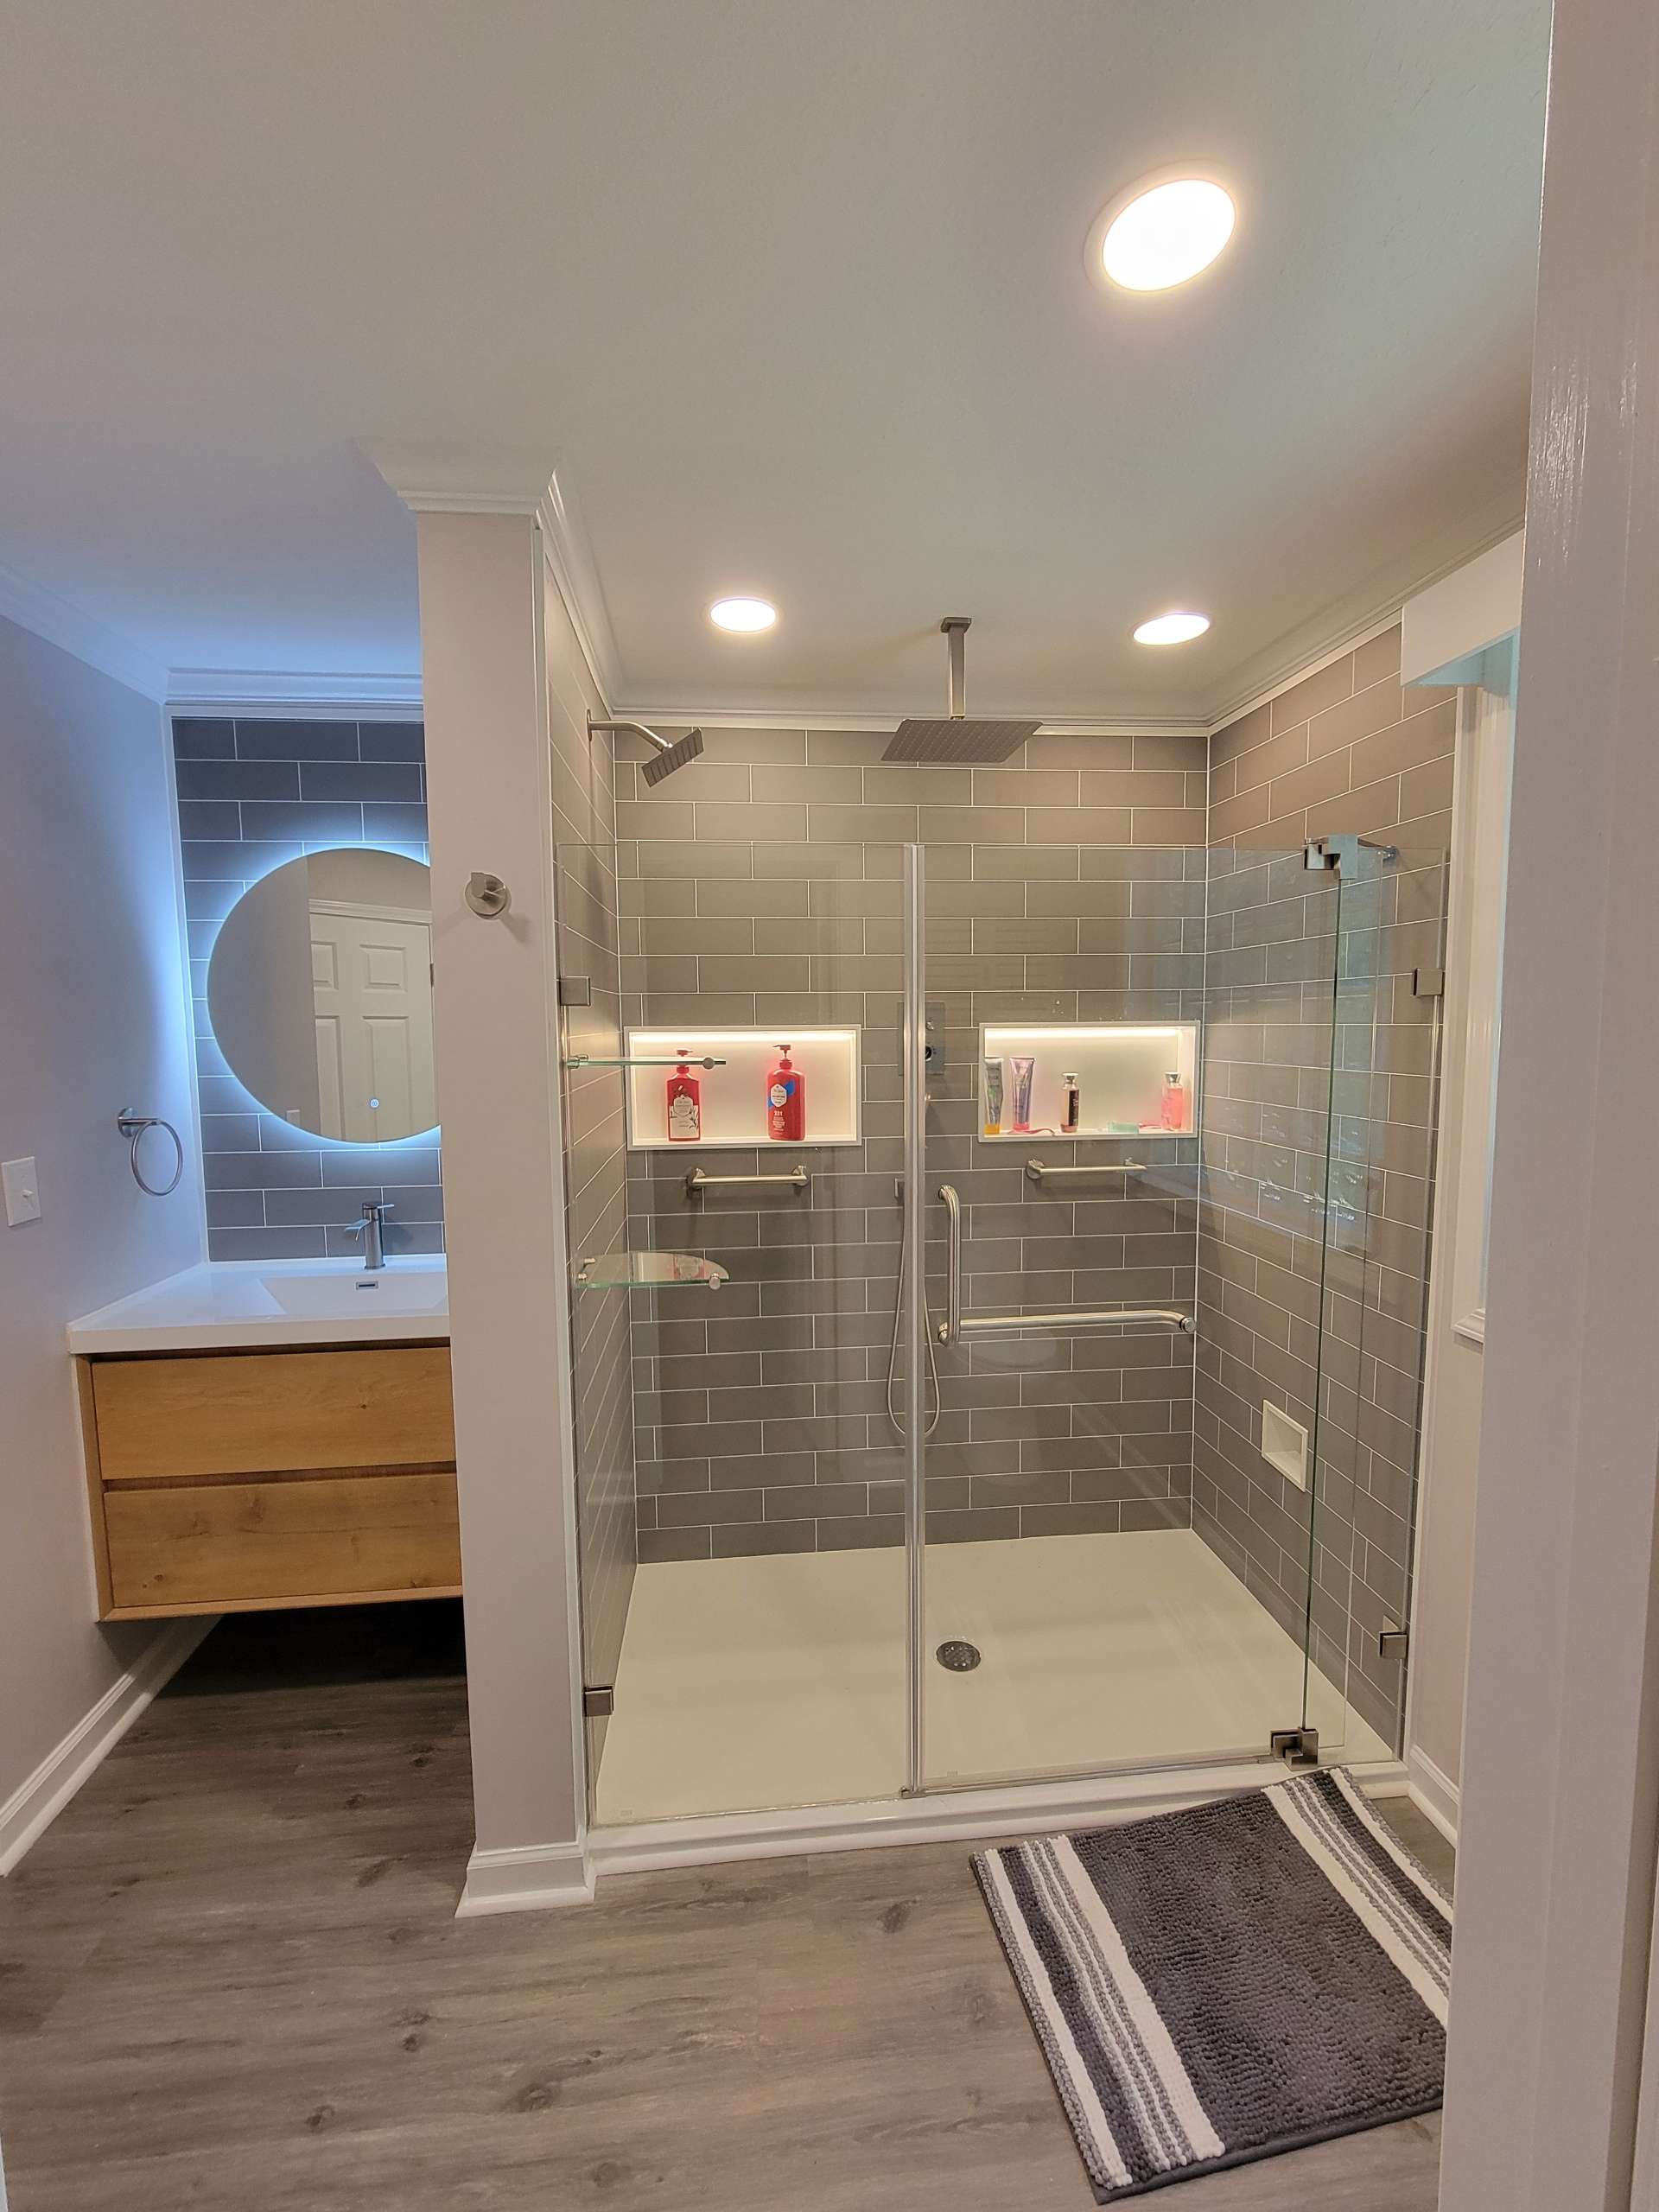
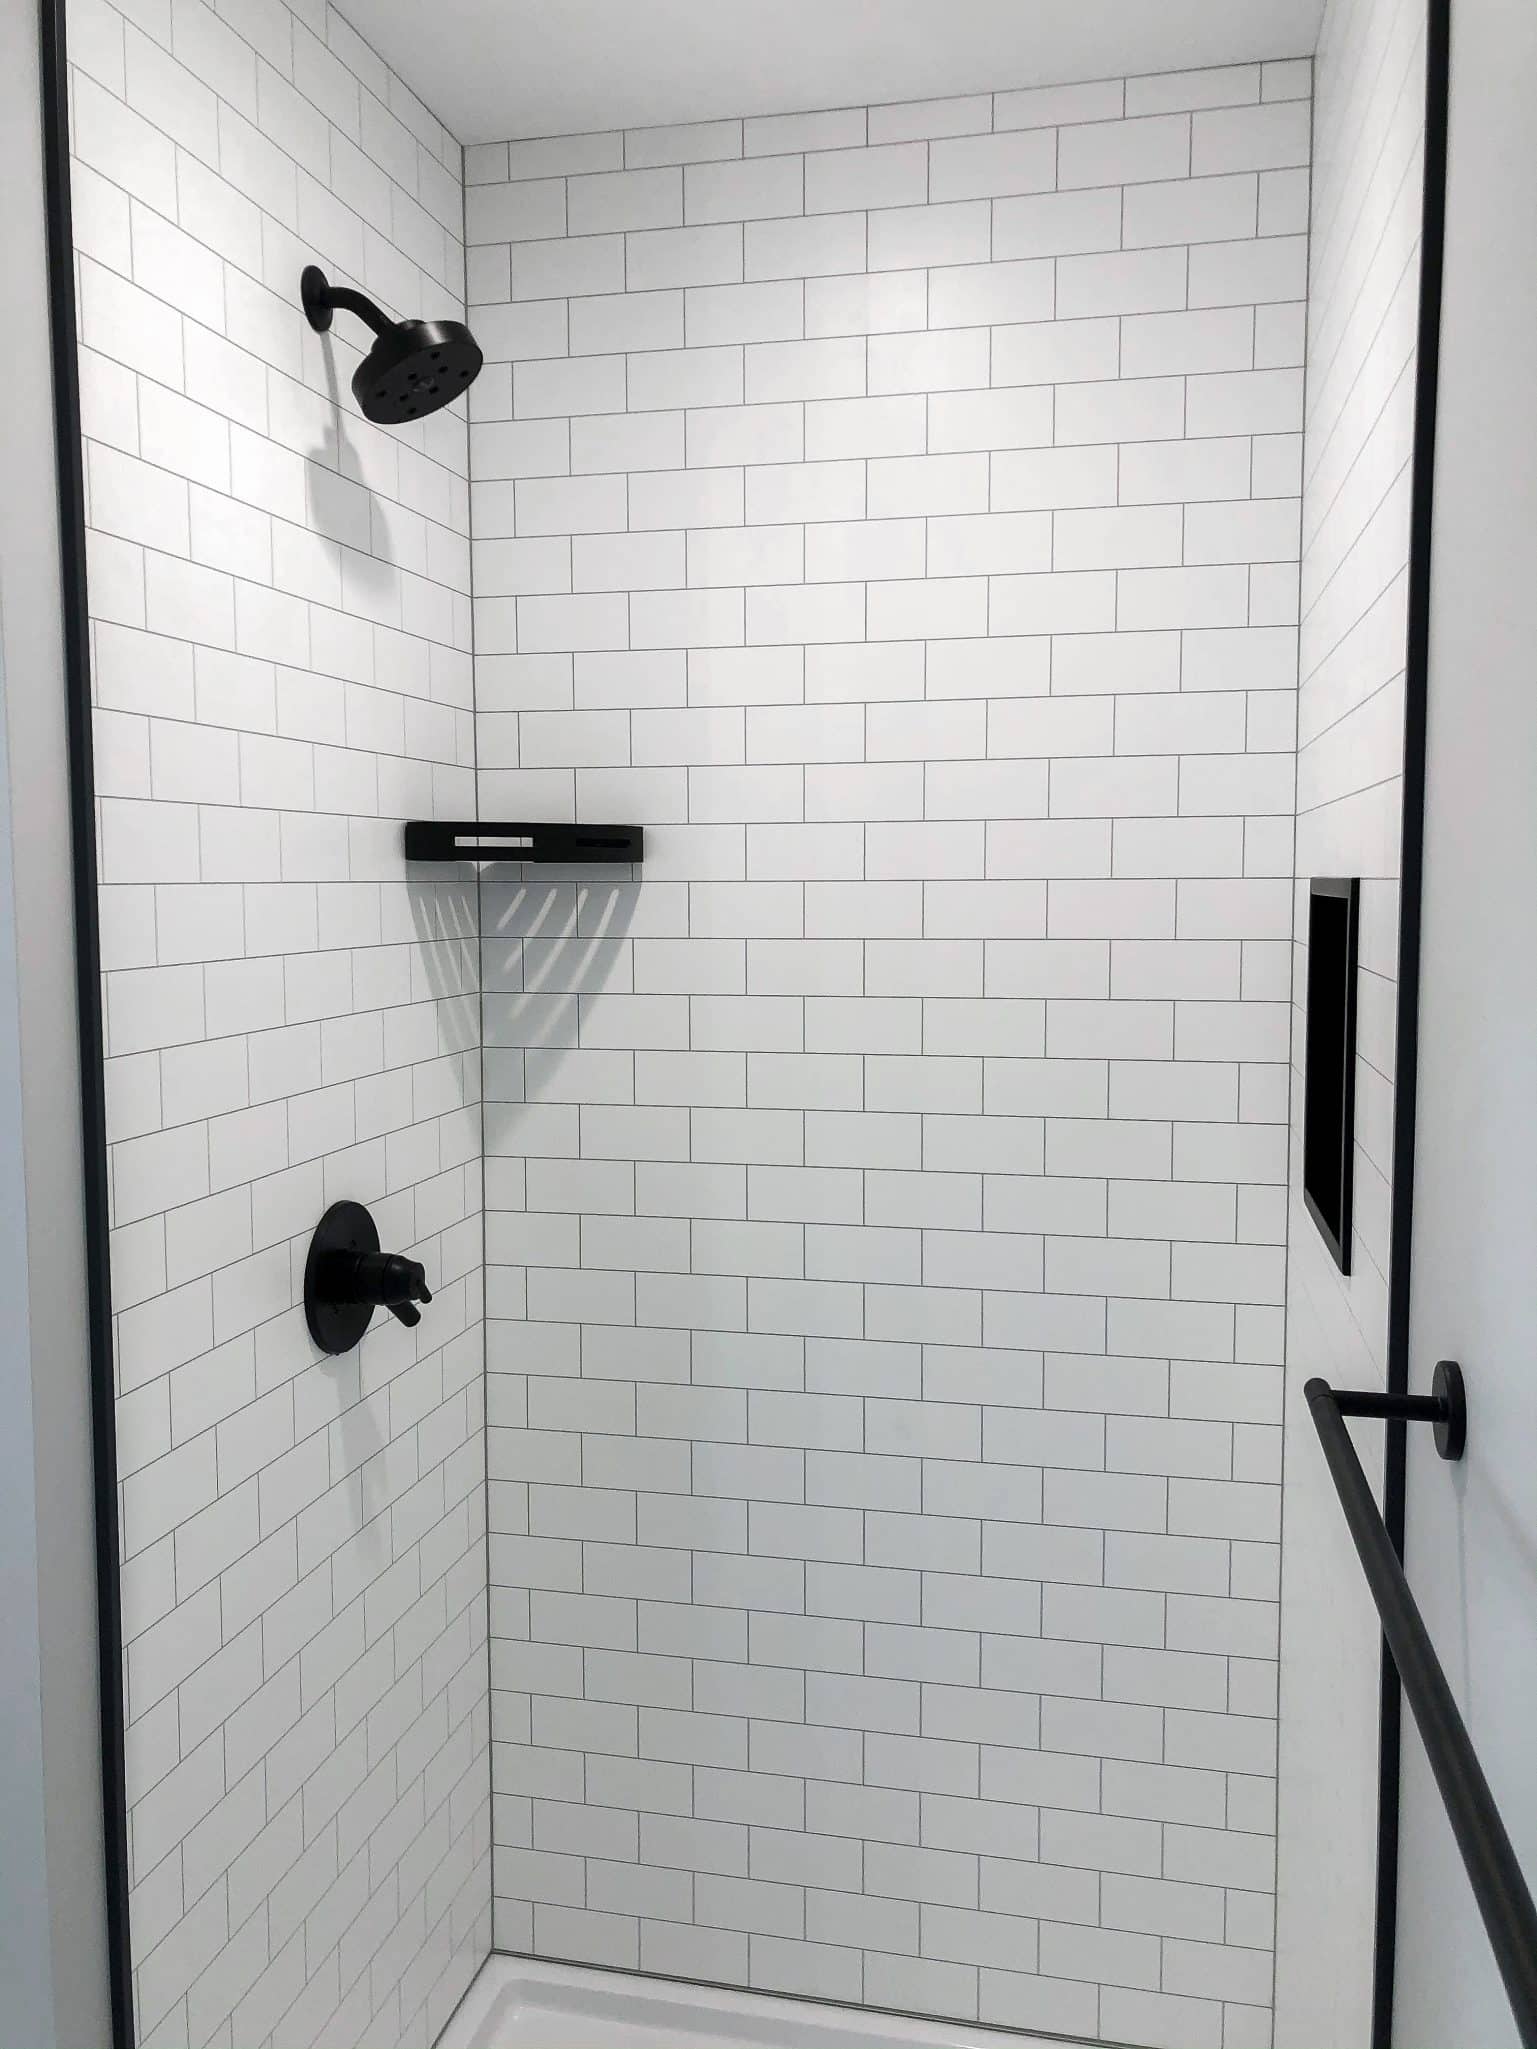
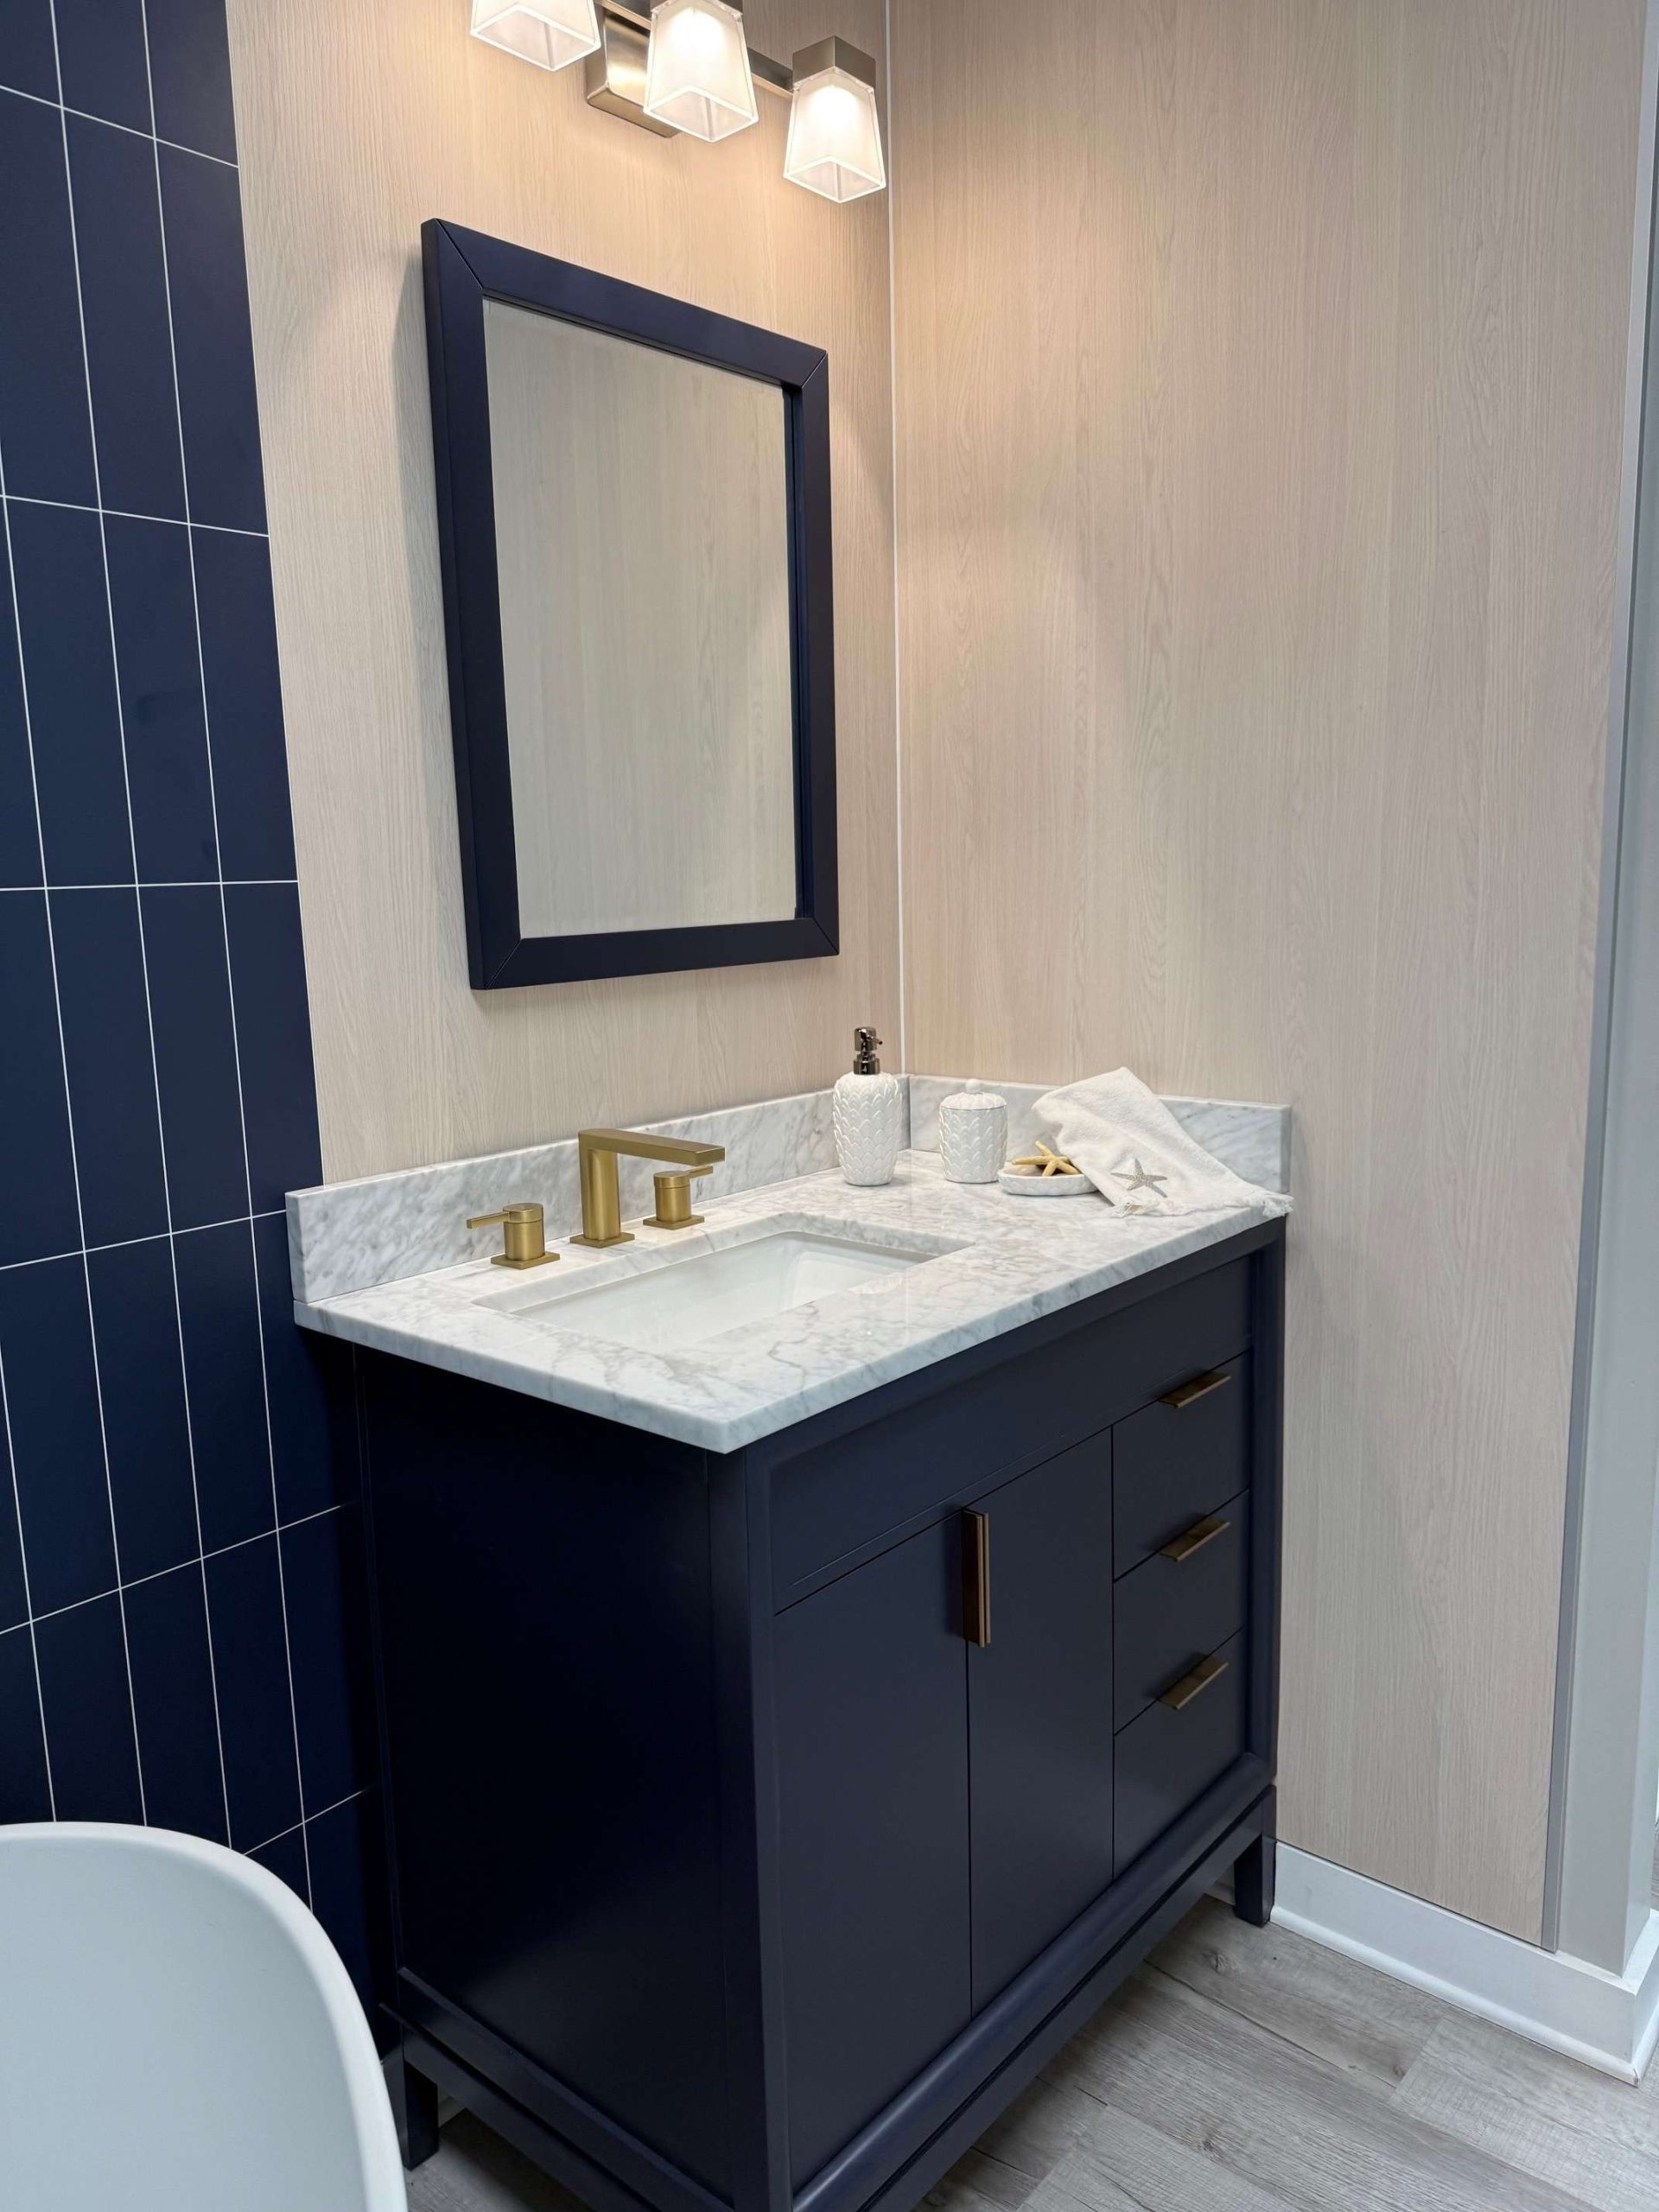
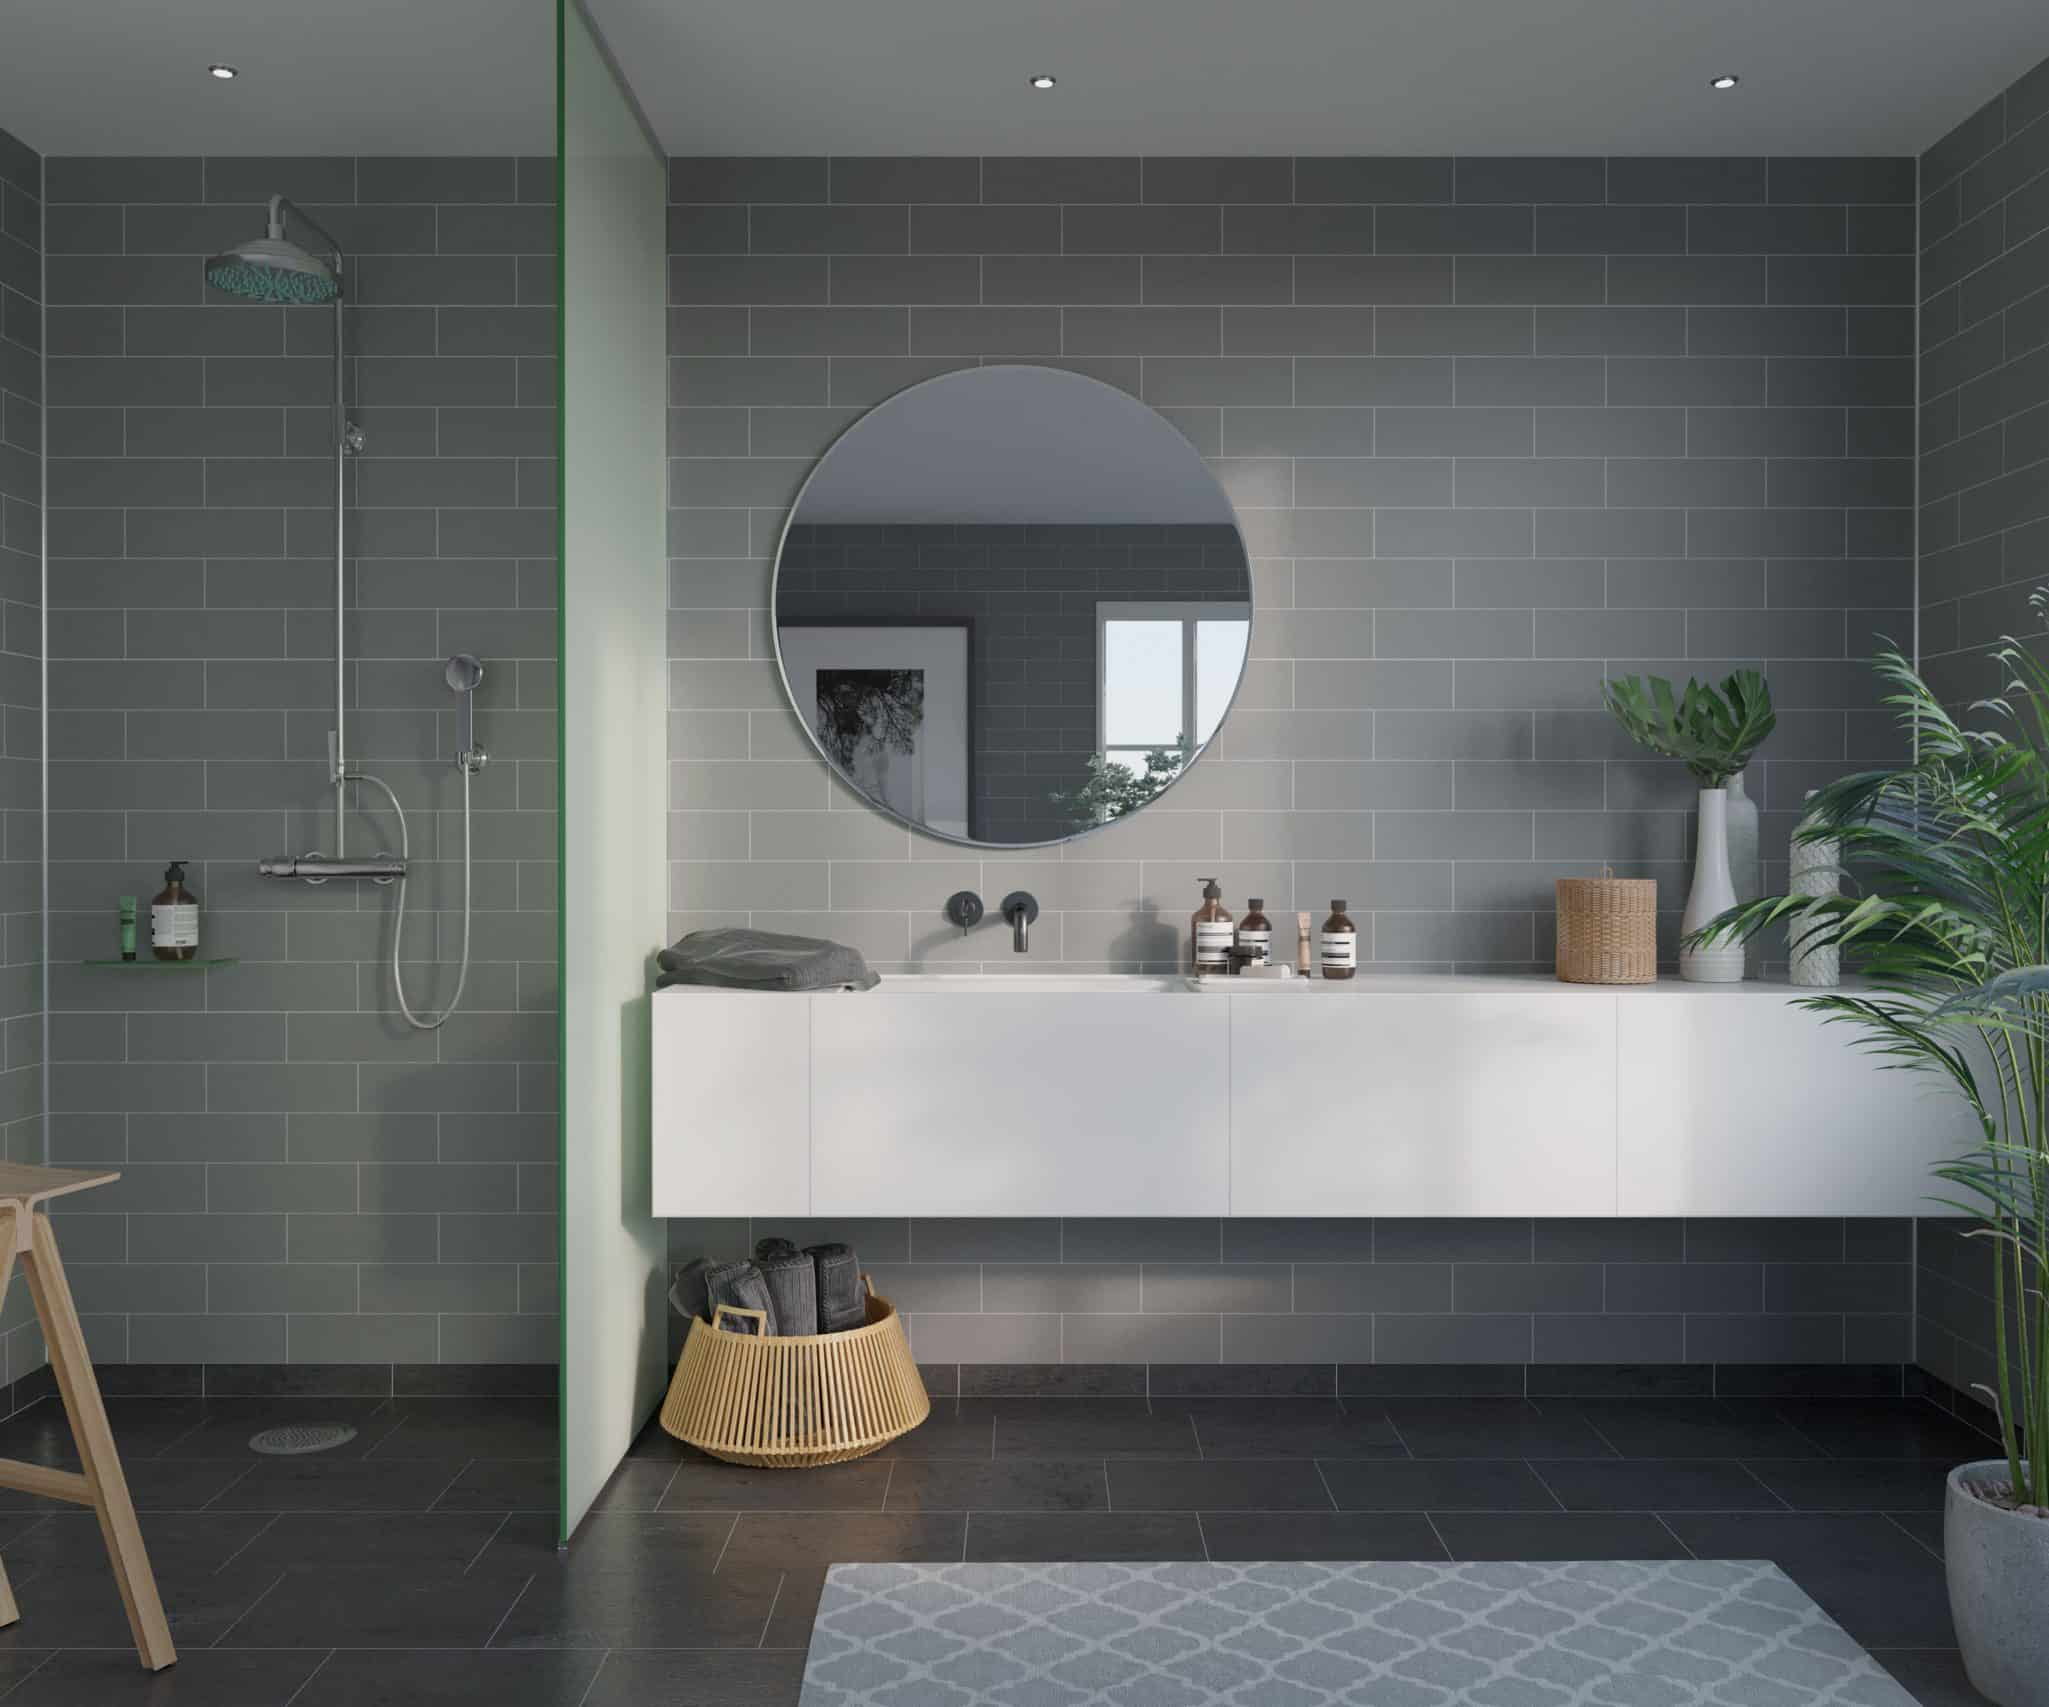
Whether you want a bathtub or shower panel with a subway tile look, a Modern Minimalist vibe, or a spa bathroom feel with our matte finish, we’ll have you covered (literally).
-
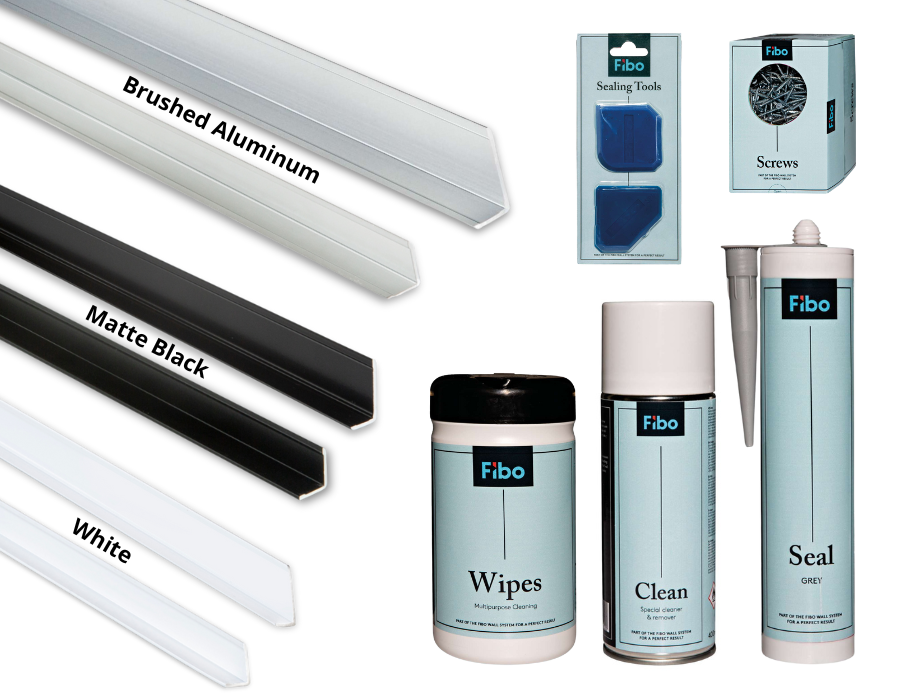
Prepackaged DIY wall kits have everything you need
There’s no need to run around town the find the right adhesives to make sure your shower panels are waterproofed correctly. Everything you need – including trim profiles, adhesives, wipes and screws will be included in your DIY wall panel kit. -

Save money and effort on installation
These shower panels save money during installation – and over the lifetime you own your home or business. Eliminate the time, hassle and costs of grout repair and cleaning.
-
Hygienic for your family
With no mold build-up you don’t need to be concerned about your family’s health with these shower panels. -
Easy installation & DIY friendly
These DIY wall panels are 100% waterproof and click together like a wood flooring system. They’re simple for one person to install. If you’re not a DIY’er ask about our network of bathroom wall paneling installers.
-

Free Shipping
With our nationwide supply network you’ll get your bathroom, shower and tub wall kit delivered directly to your home without extra transportation fees. -
Get free design help from our team of experts
Since Innovate Building Solutions is not only an experienced nationwide wholesaler of wall panels and shower bases– but also an authorized installer (with a network of installing dealers)- we can help you through any design, installation or construction questions.


If you want style and unique selections for your bathroom you’ll find them in the laminated wall panels below. Whether you love the traditional look of tile, the depth of a slate finish, a contemporary high-gloss aesthetic, a modern minimalist look or the warmth of a modern farmhouse or shabby chic there is a choice for you.
What’s even more exciting is you can mix and match these panels (and create a fun feature wall) to fit a unique design or personality. The options are endless!
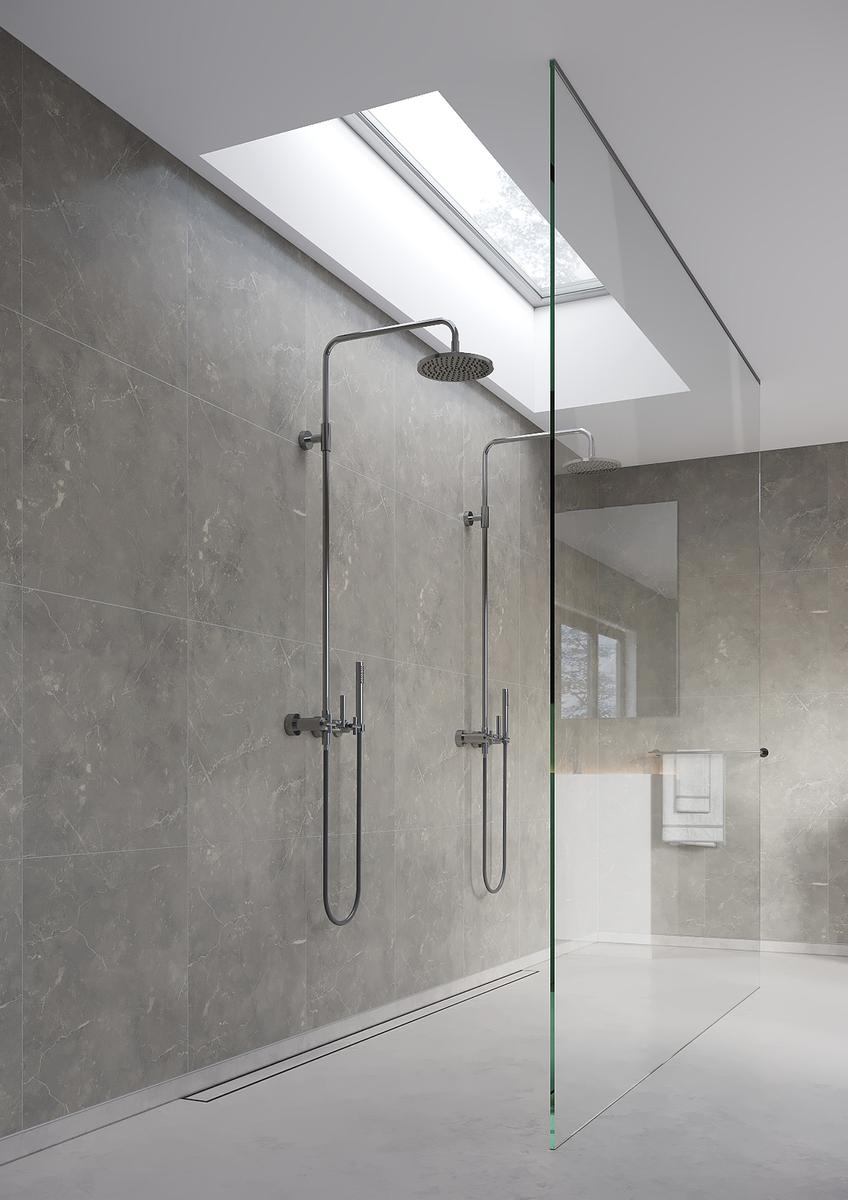
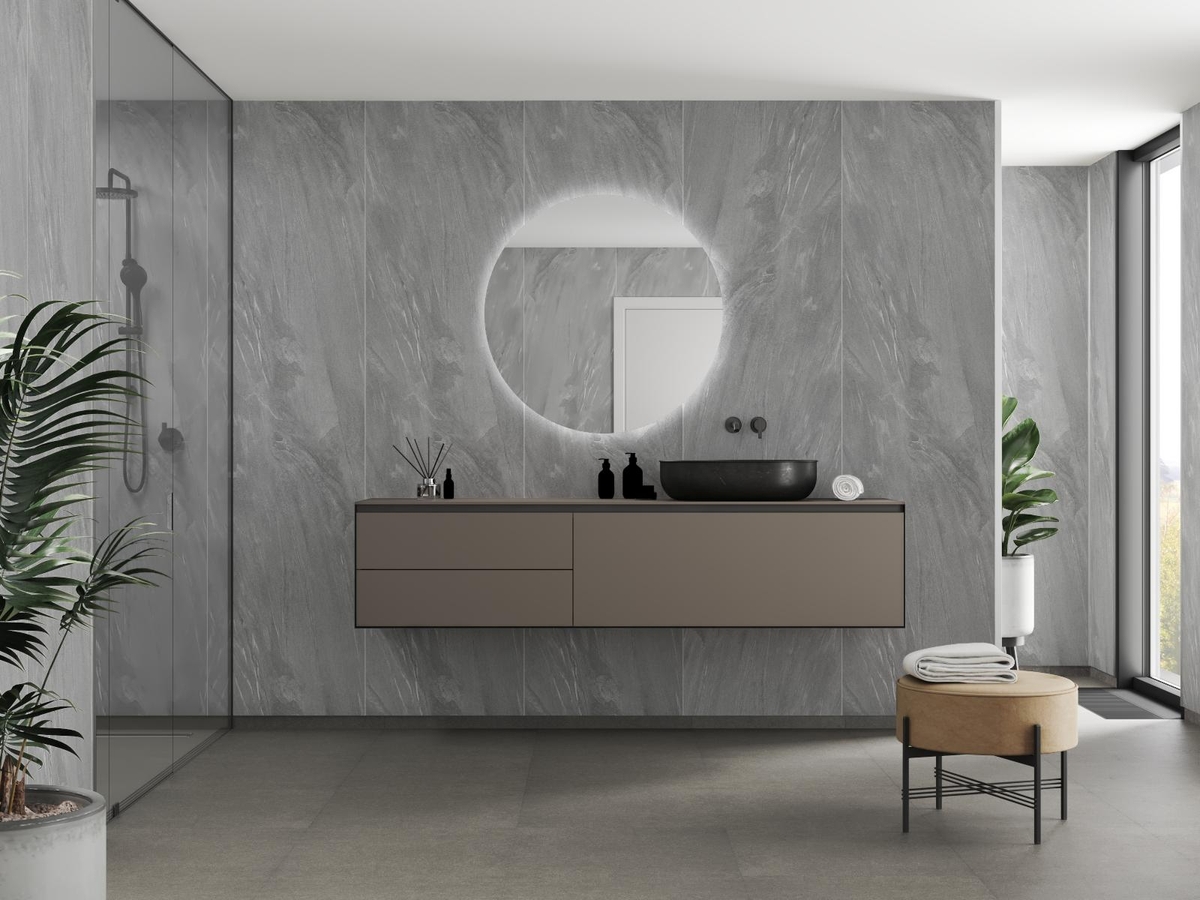
Transitionalist Collection
Whether you have a traditional or transitional design style these patterns will be the perfect compliment for your bathroom. Get your Transitionalist Collection samples, today!


| Name/Description | Model # |
|---|---|
| High gloss white – 24” x 12” – 1/16″ grey joints | Trans-WH-2412 |
| Grey Sahara 24 x 16 – 1/16″ grey joint | Trans-GR-2416 |
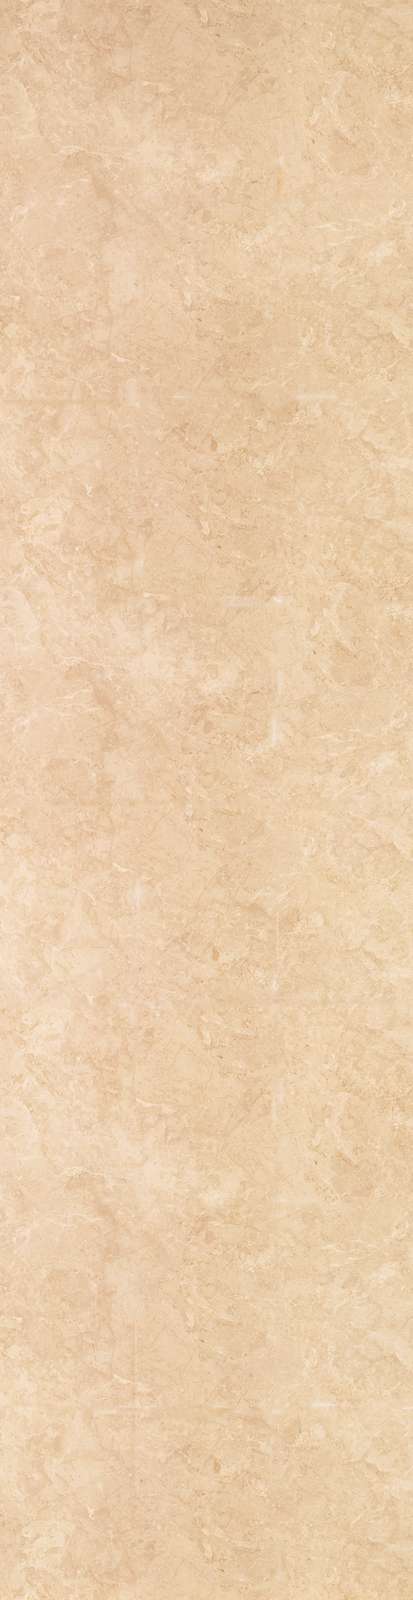
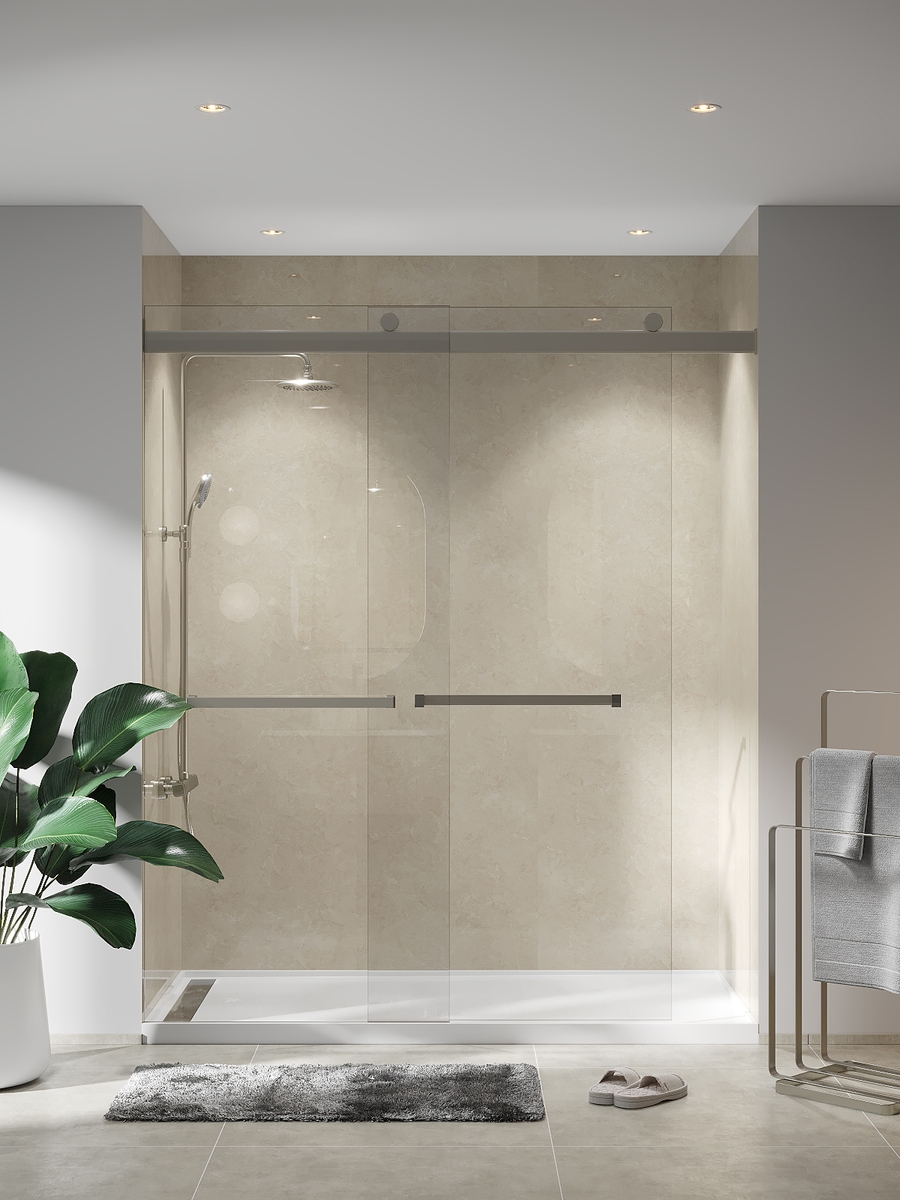
| Travertine – no faux tile pattern (glossy) | Trans-TR-0000 |
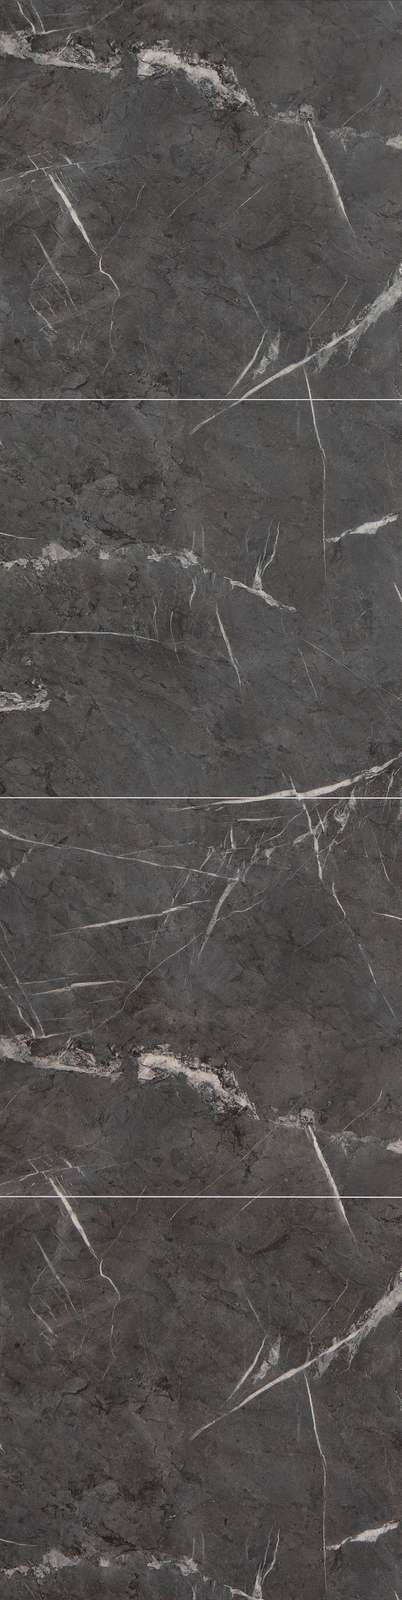
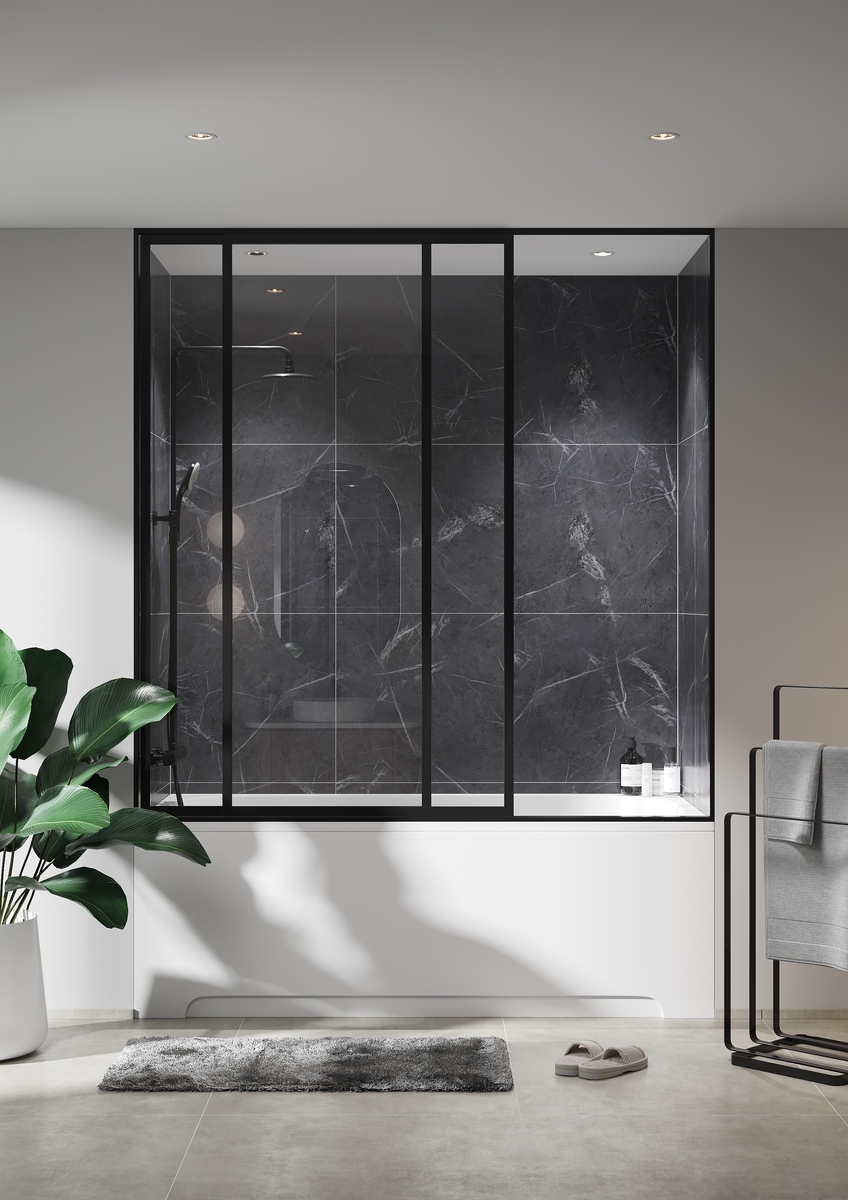
| Black Marble – 24 x 24 | Trans-BL-2424 |
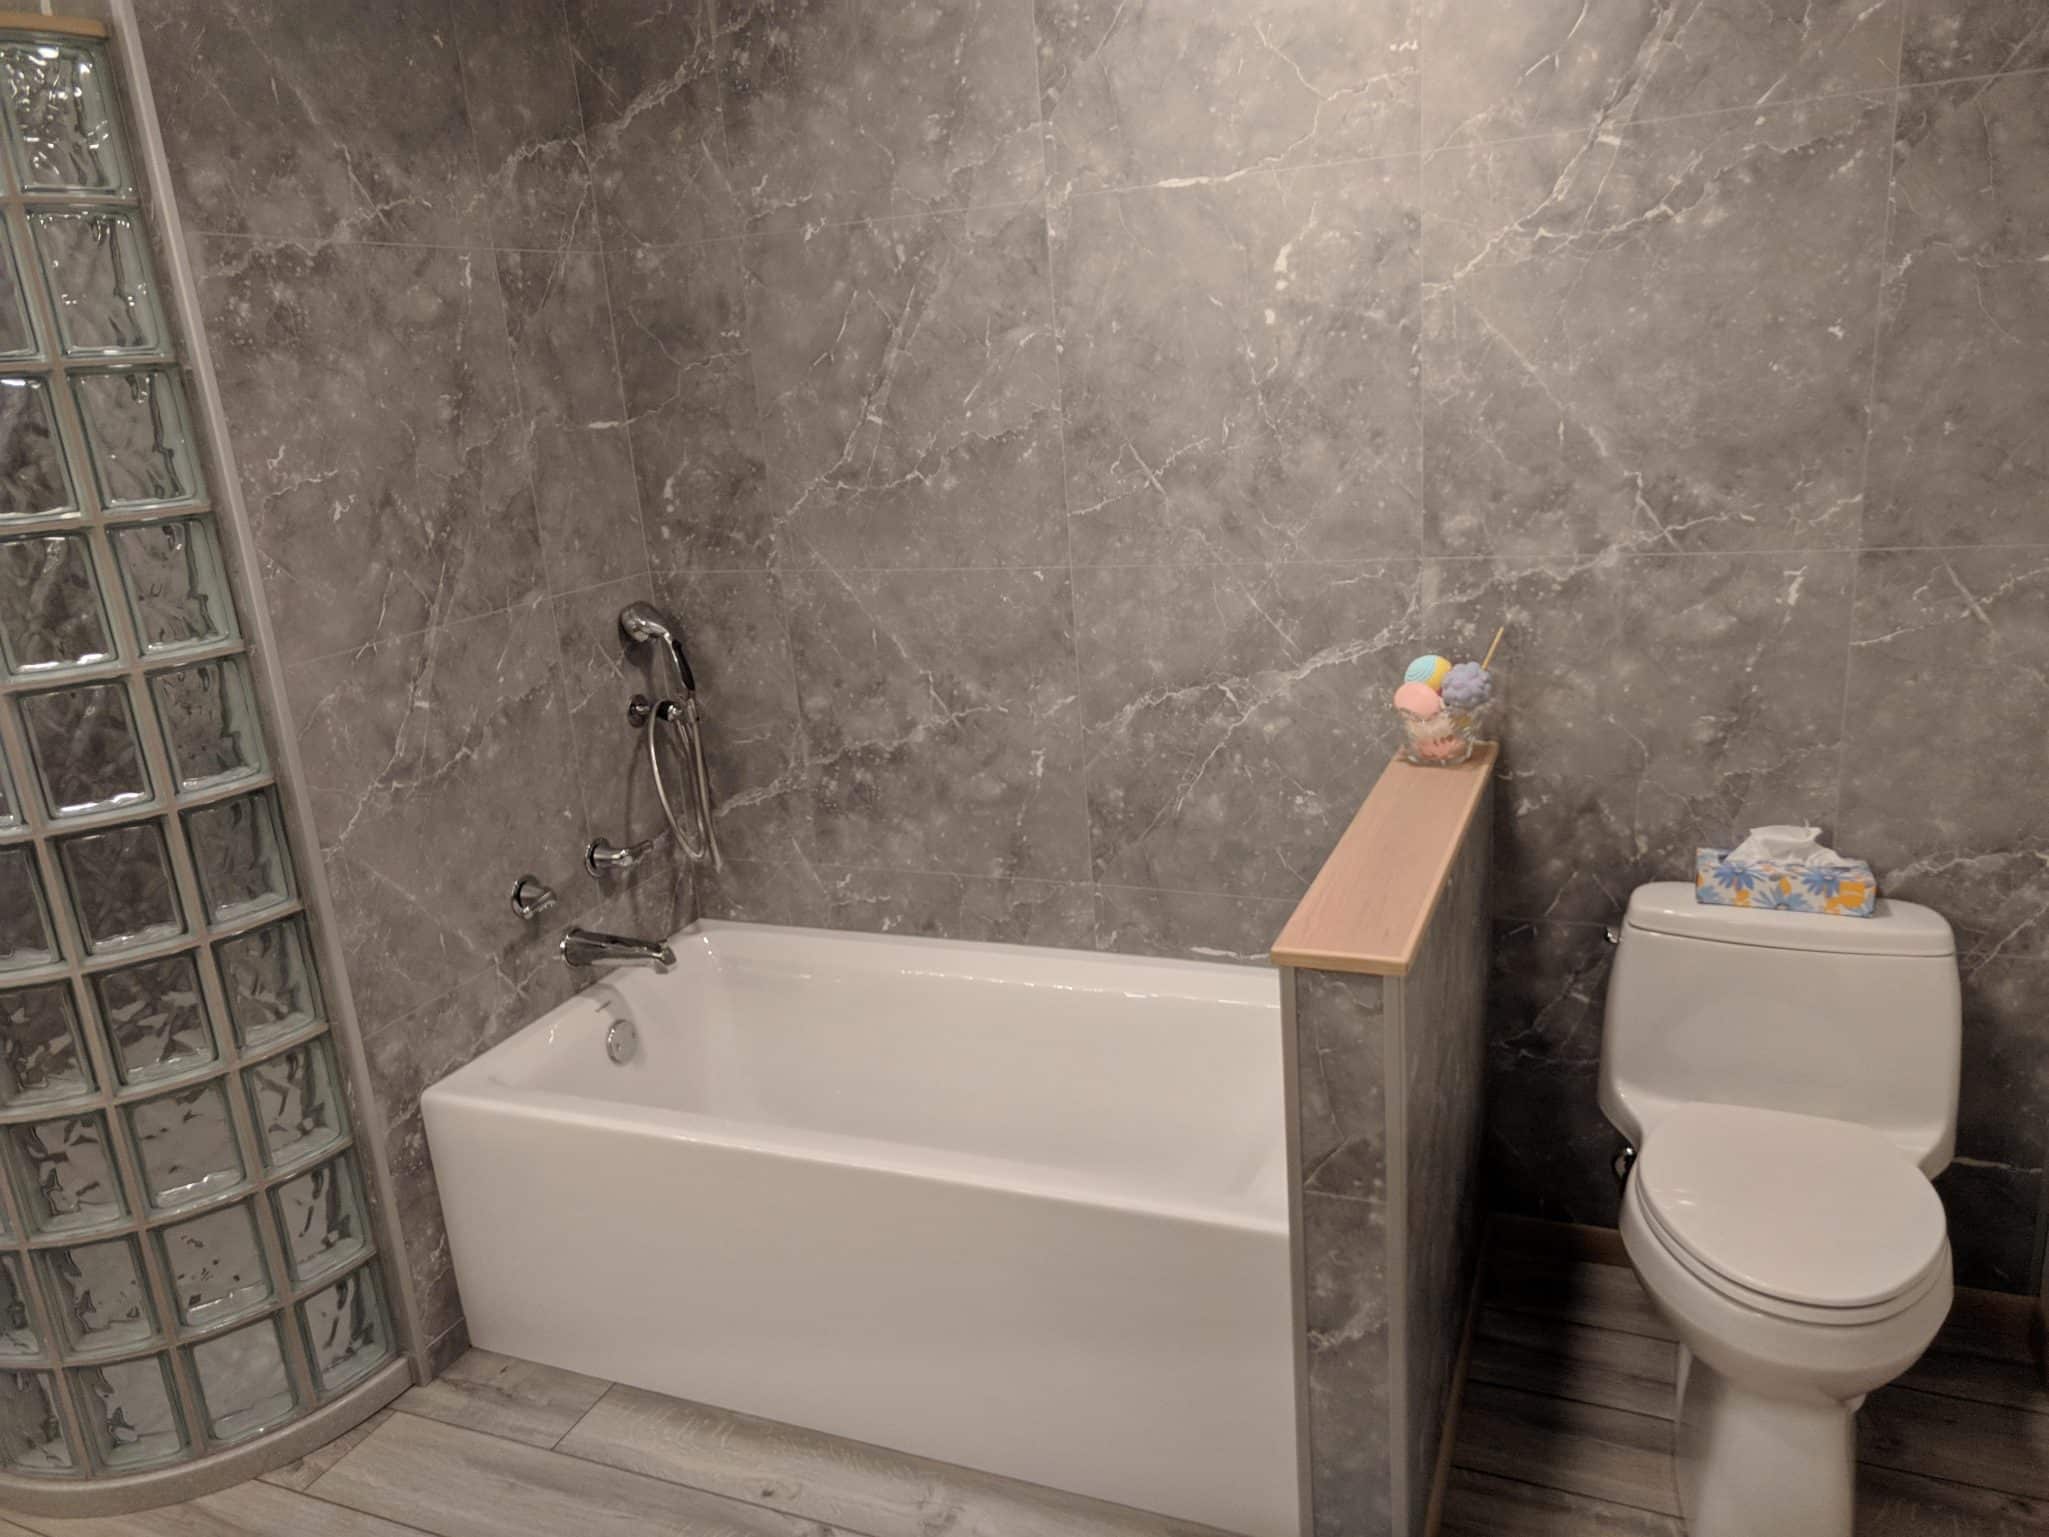
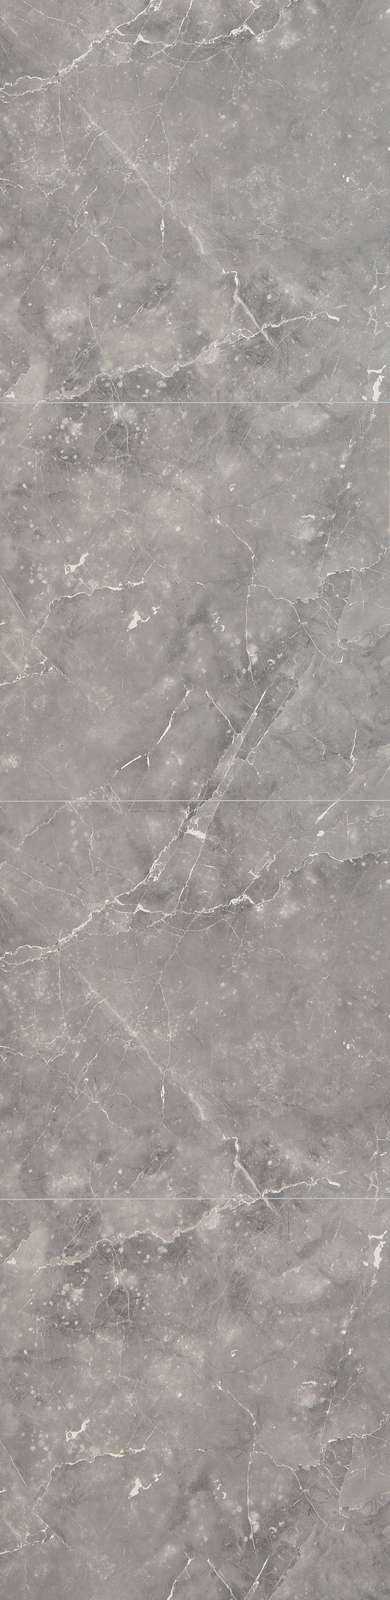
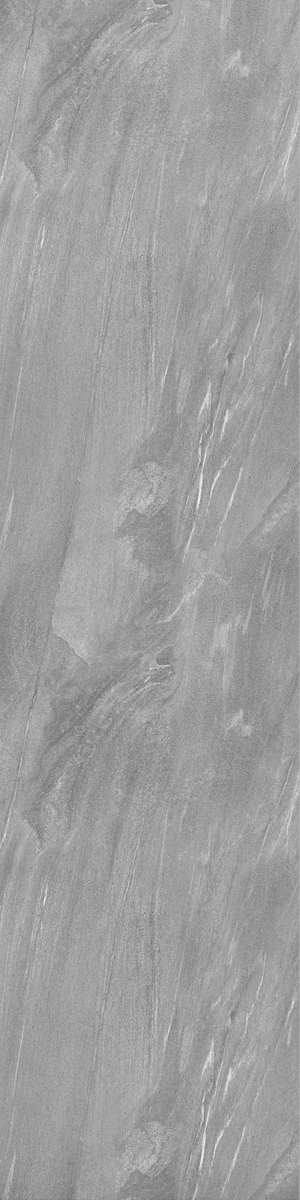
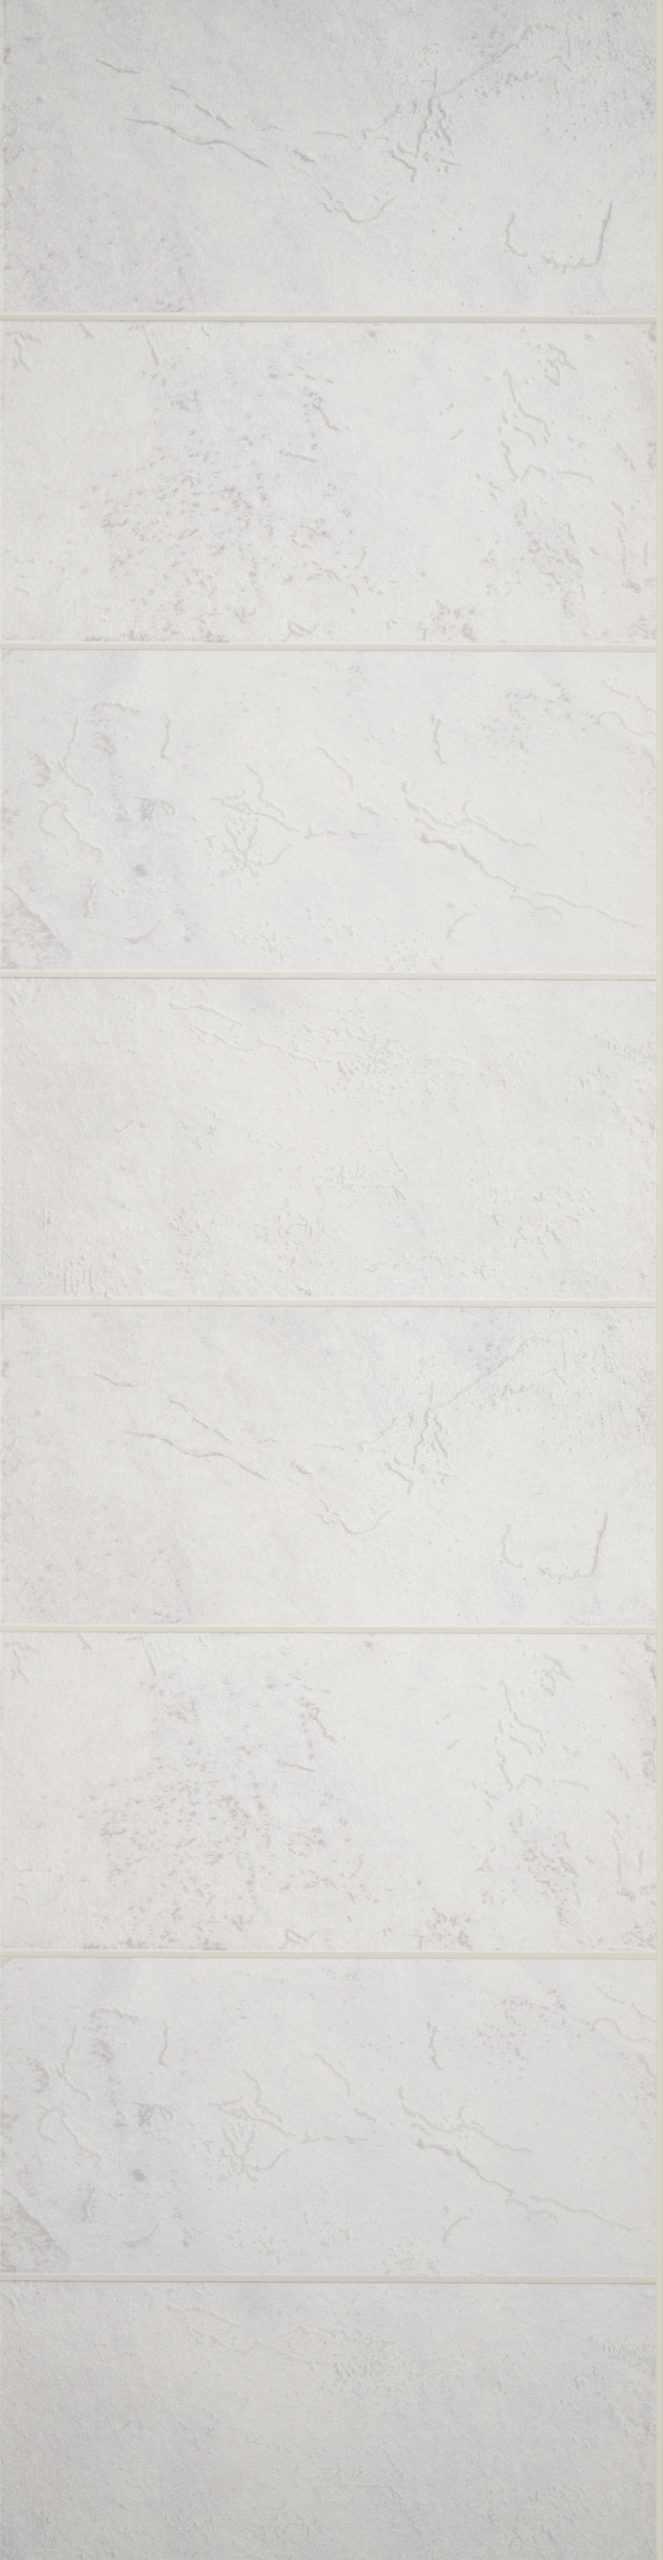
| Silver Grey Marble 24 x 24 – 1/16″ grey joints | Trans-SG-2424 |
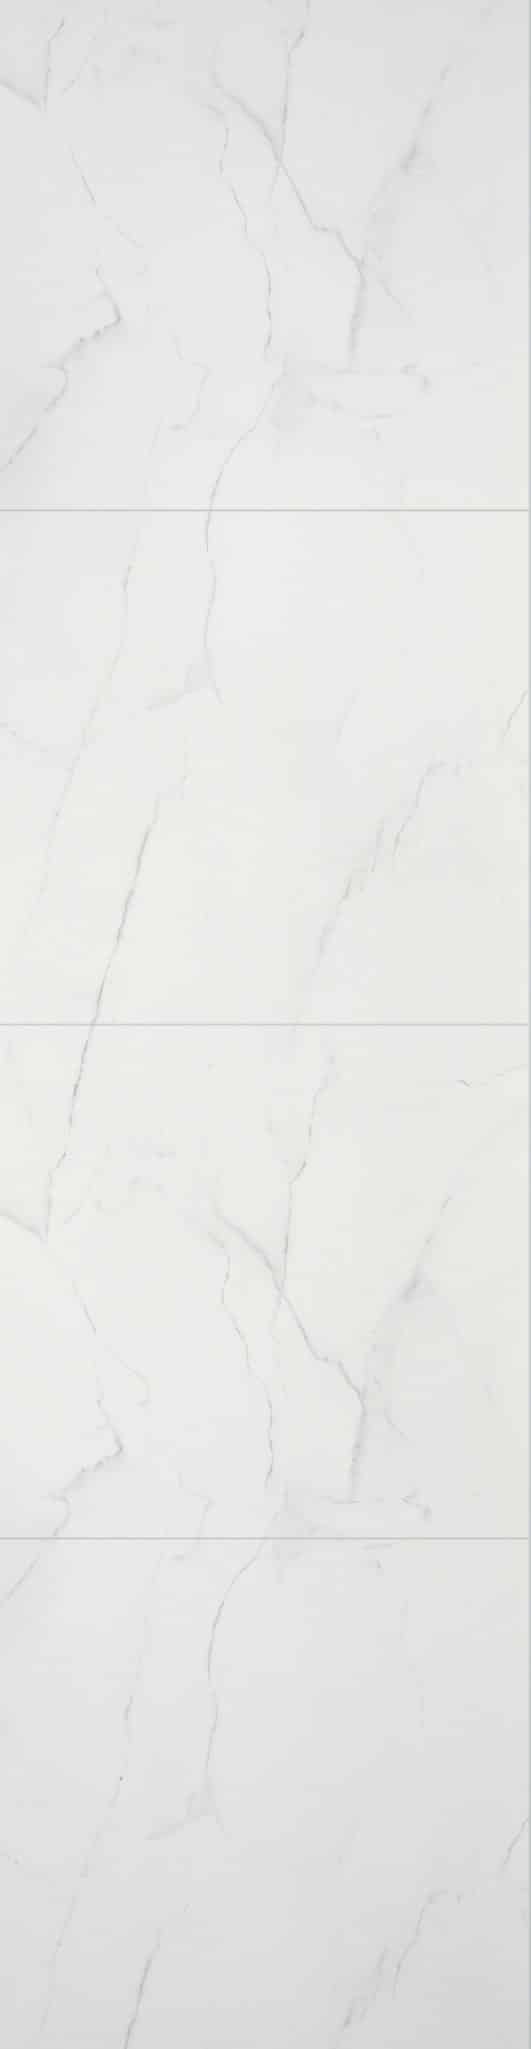
| White Marble 24 x 24 – 1/16″ grey joints | Trans-WM-2424 |
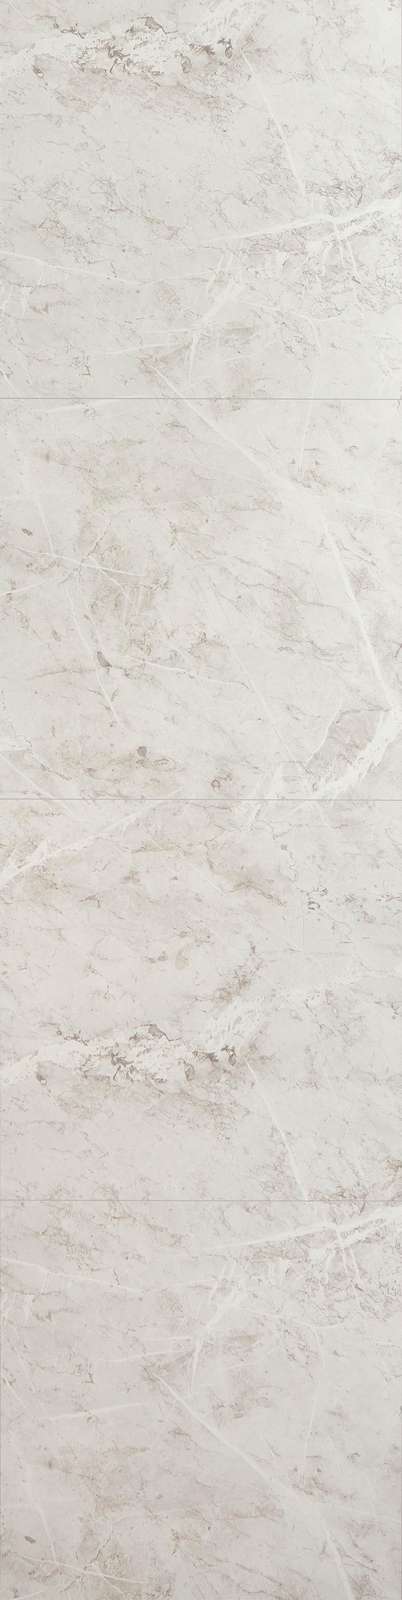
| Bianco Marble 24 x 24 – 1/16″ grey joints | Trans-BM-2424 |
| Grey Stone – grey grout line right edge | Trans-GS-0010 |
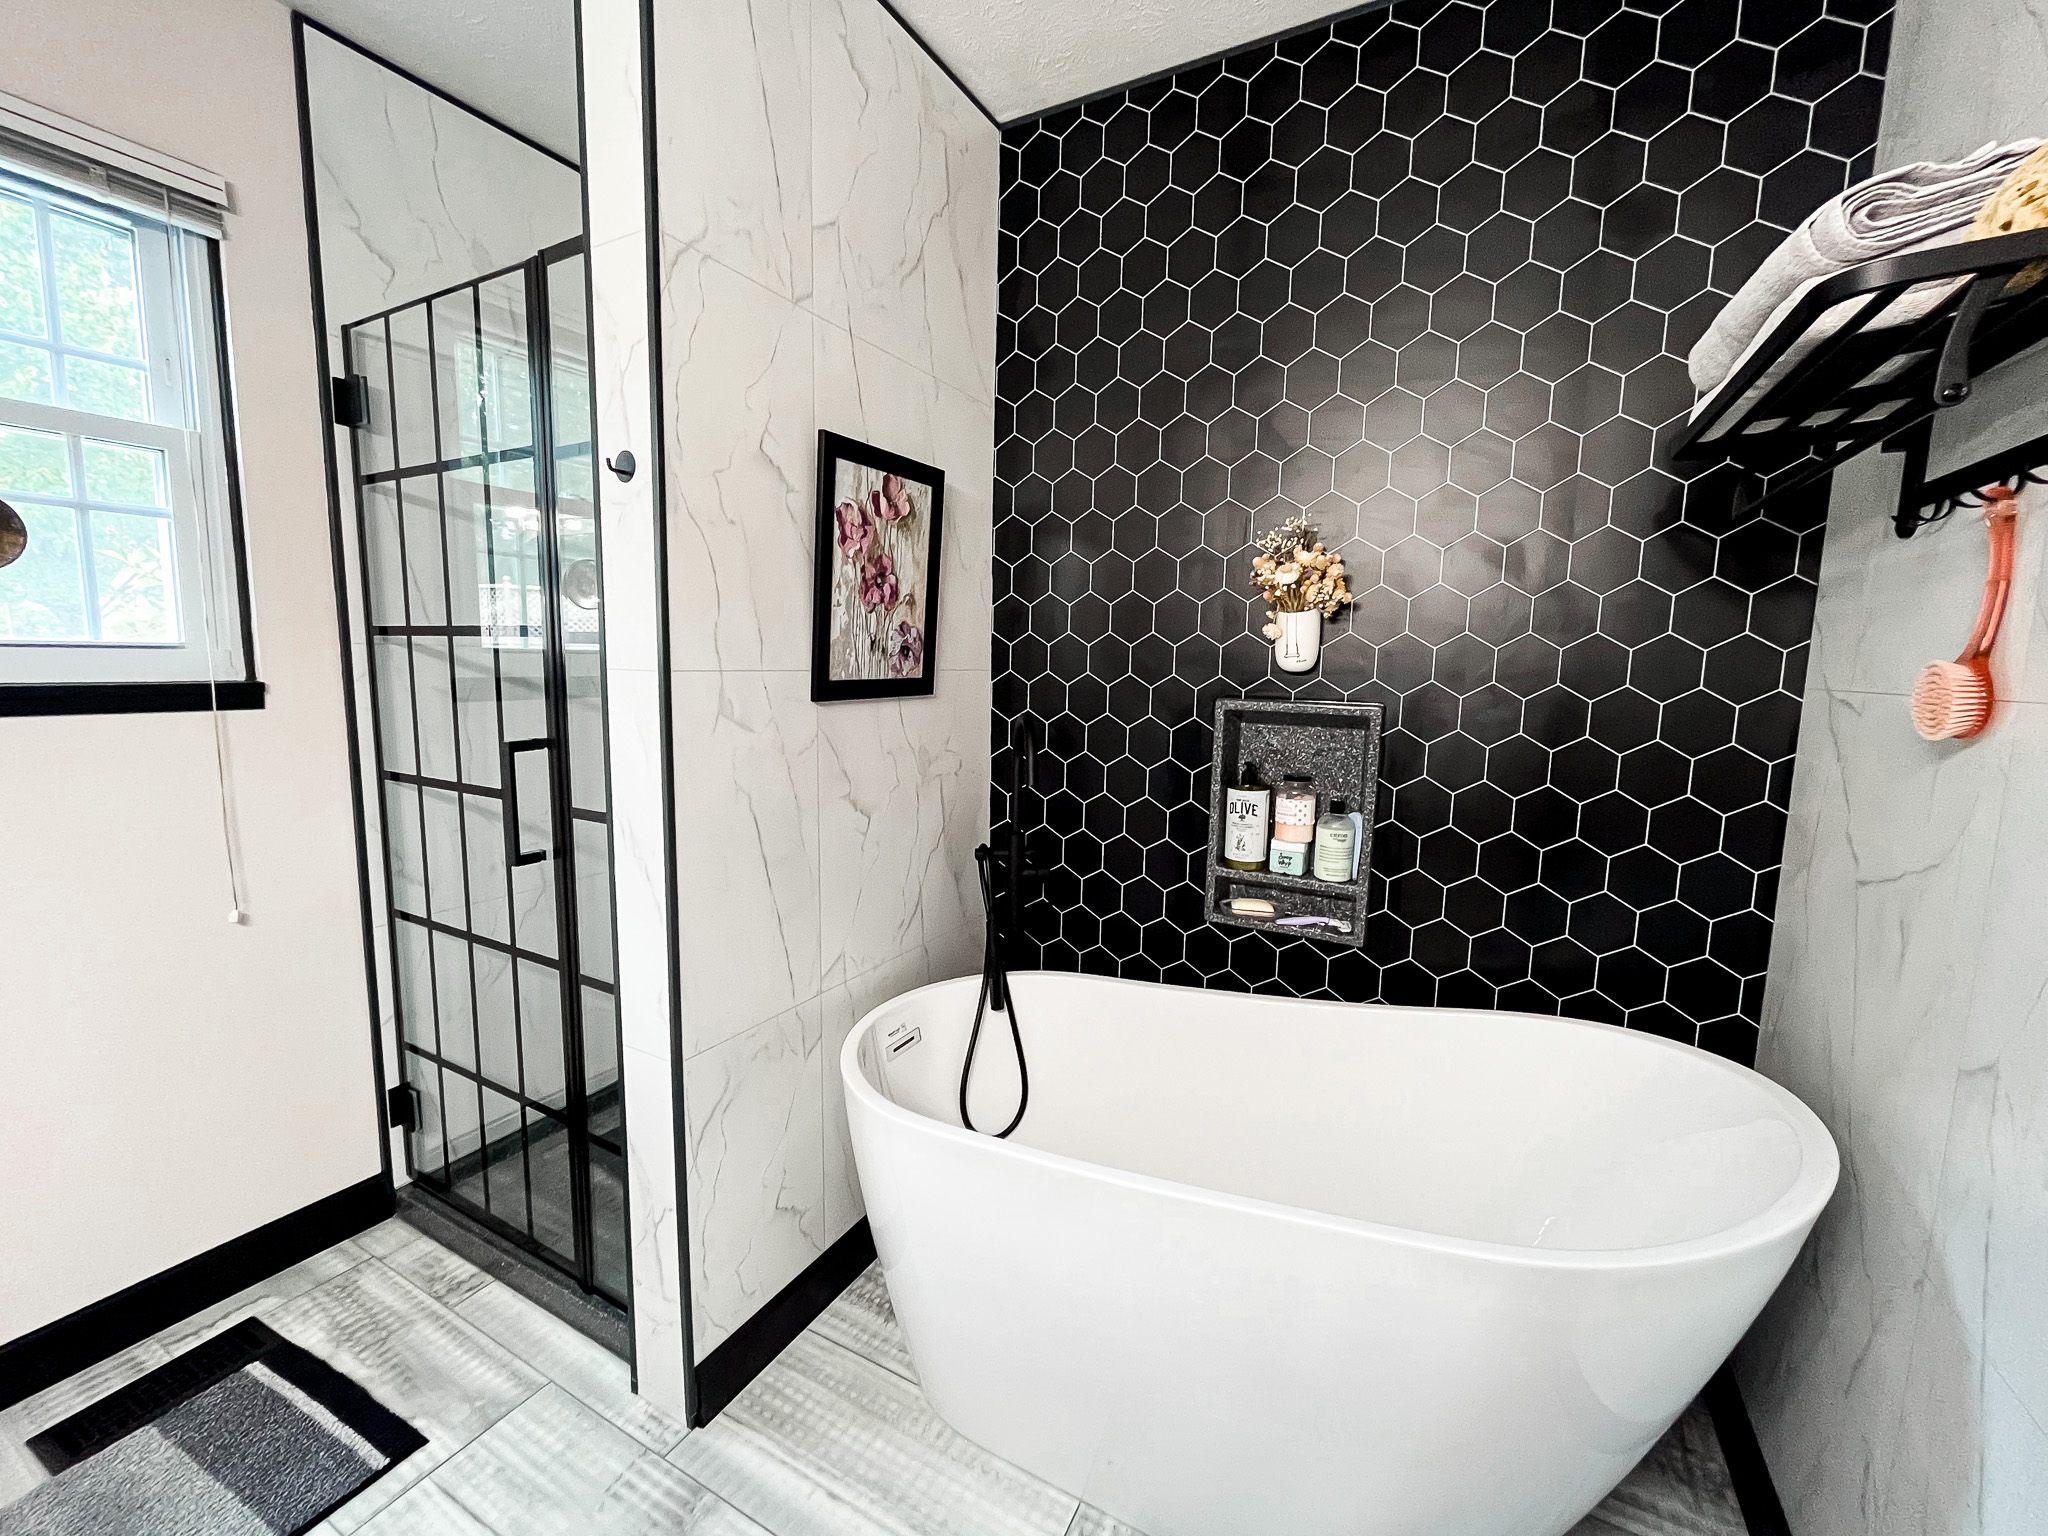
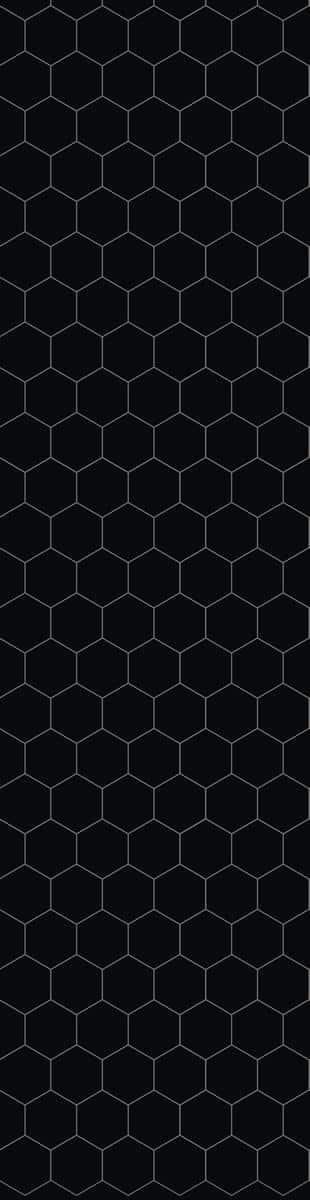
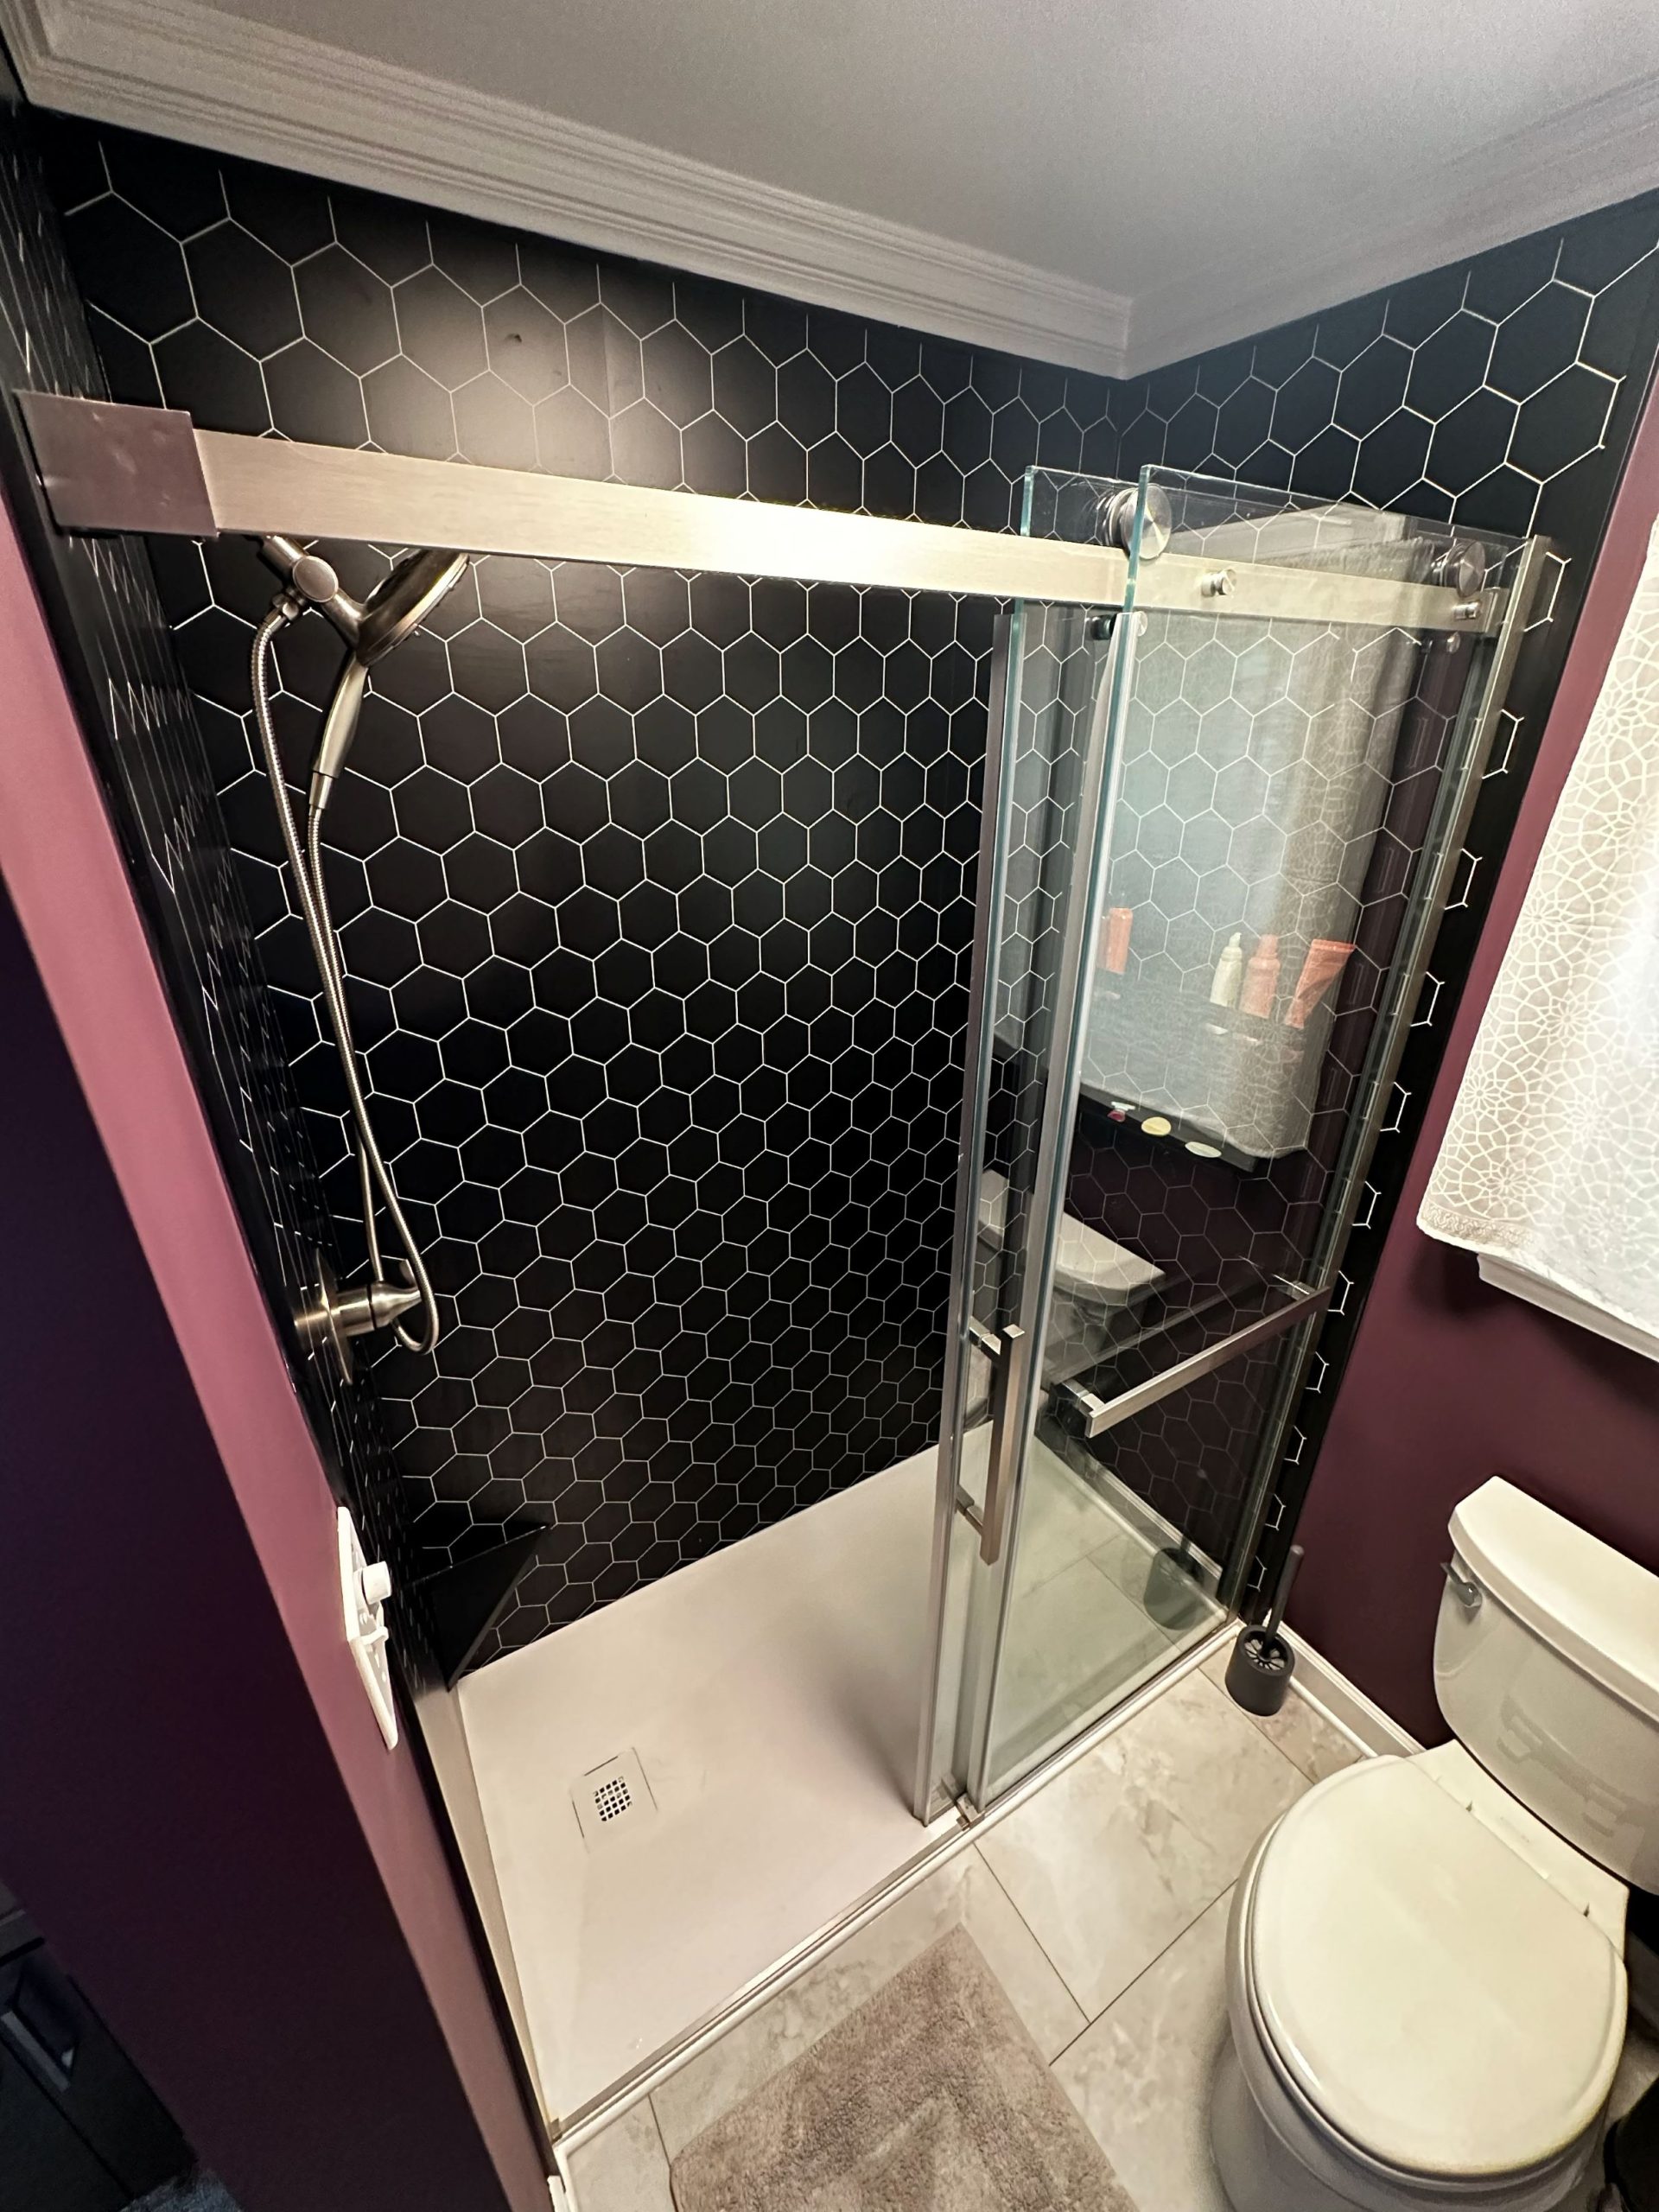
| Black Hexagon | Trans-BH-4444 |
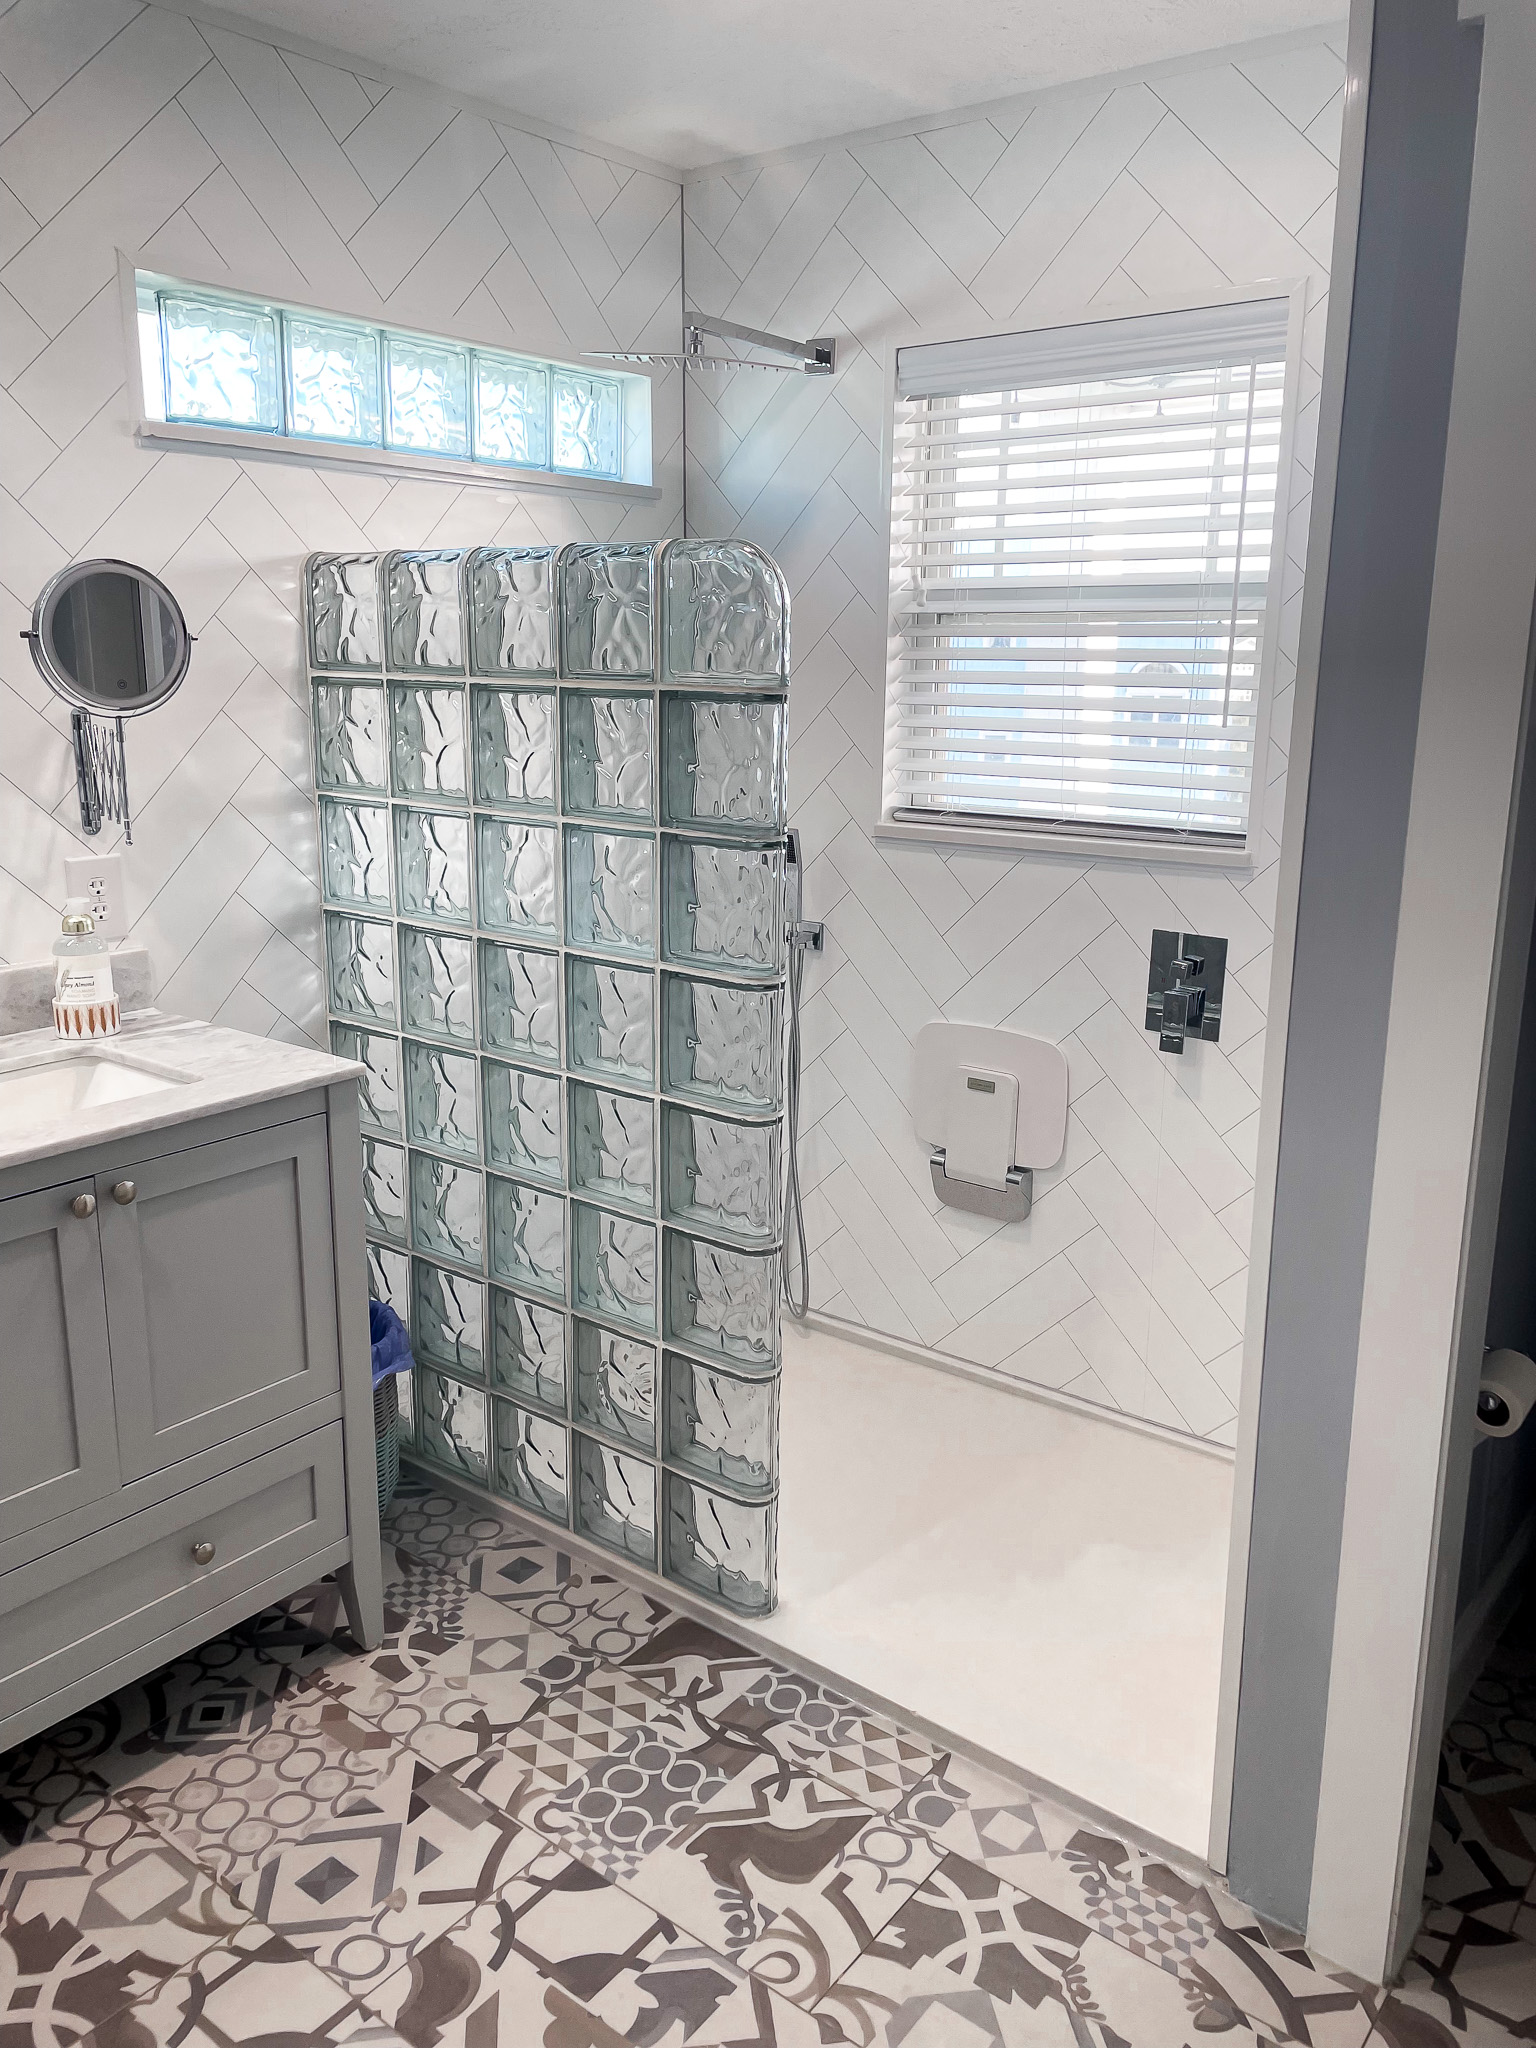
| Herringbone White | Trans-HW-9999 |
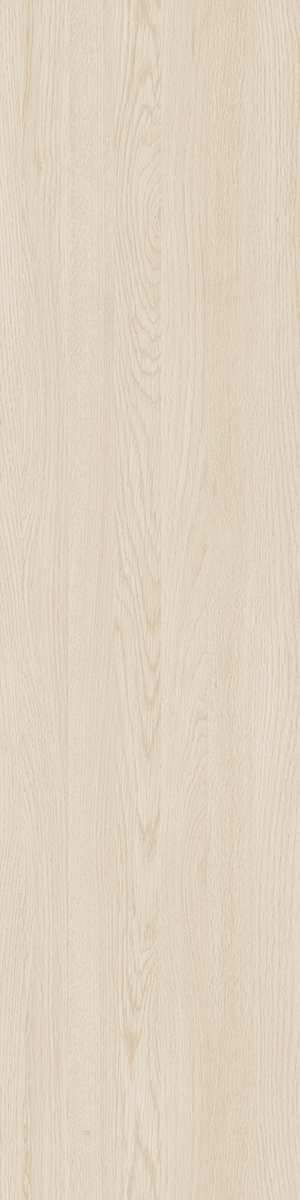
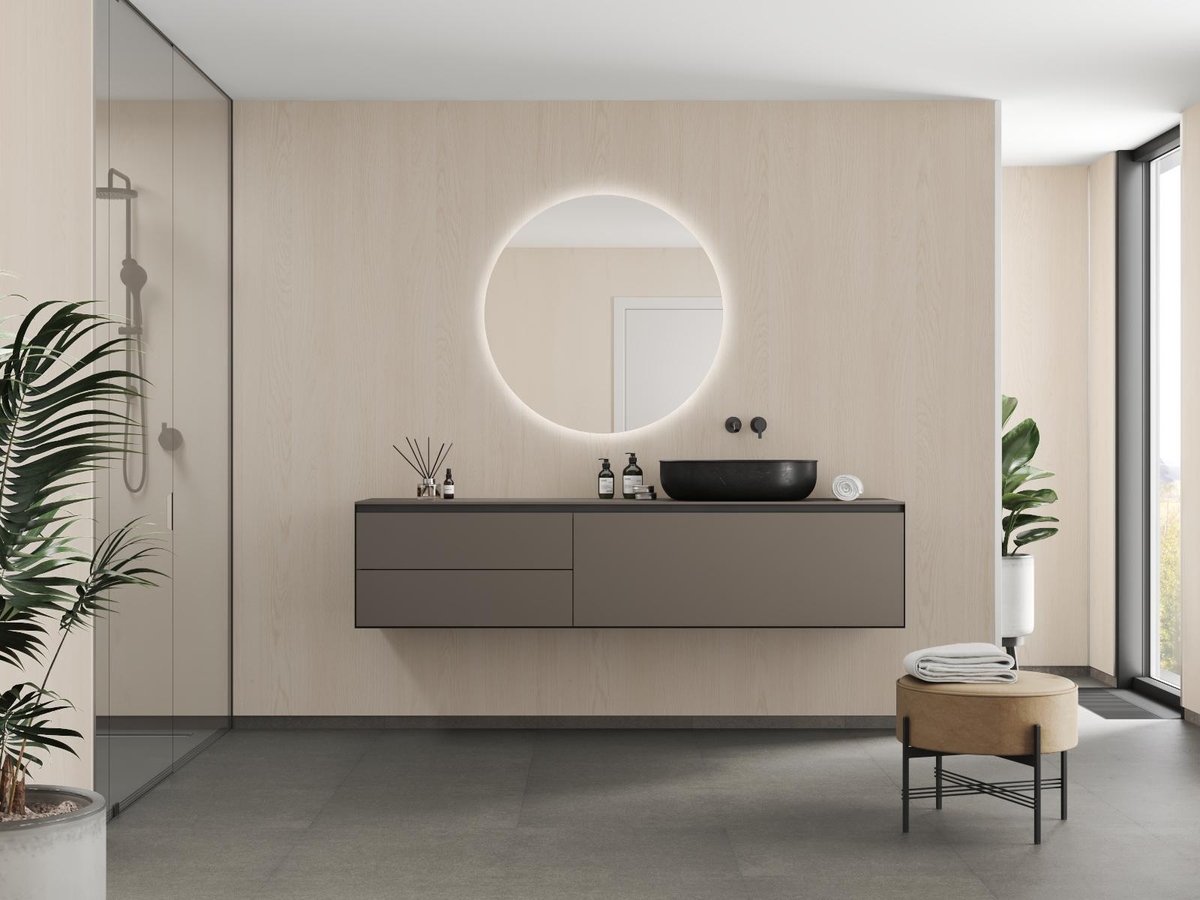
Scandinavian Collection
Introducing our new Scandinavian Collection of shower wall panels. Inspired by the timeless elegance of Scandinavian interior design, this collection embodies minimalist sophistication. Clean lines, natural light, and airy spaces converge to create a serene bath and shower experience. Get your Scandinavian Collection samples, today!

| Name/Description | Model # |
|---|---|
| Light Wood – no grout | SCAN-LW-0000 |
| Moonstone – grout line right edge | SCAN-MN-0010 |
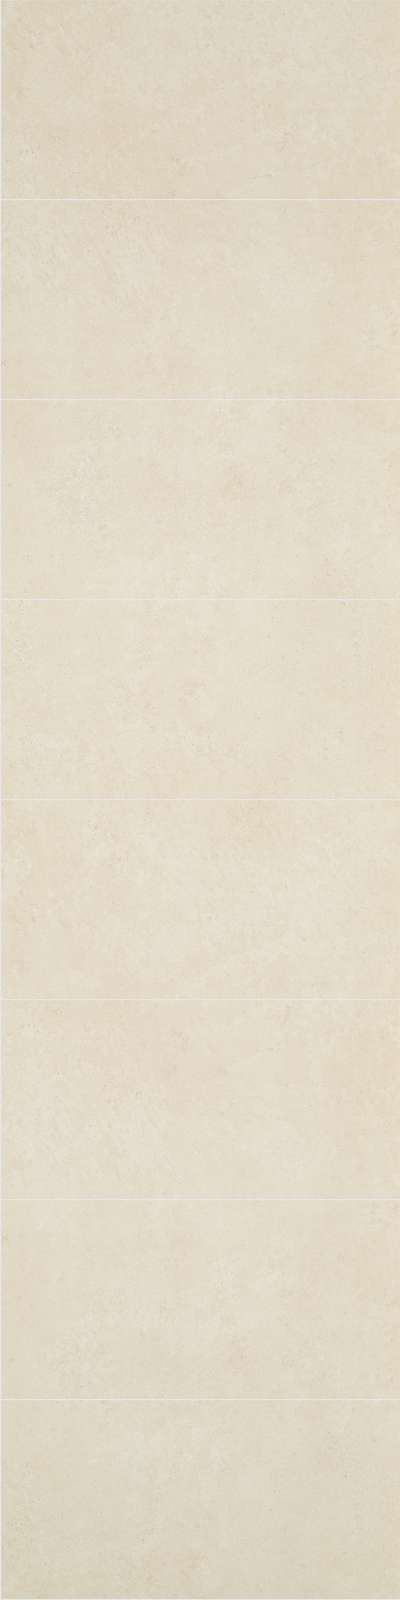
Oasis Collection
Check out the newest waterproof wall panels – the ‘matte finish’ Oasis collection. The colors will remind you of the breezes in your cabin by the lake, or the warm silvery sandy beaches or the greenish hue of the sea. Get your Oasis Collection samples, today!

| Name/Description | Model # |
|---|---|
| Silver Strand/Matte Finish | OAMT-SS-0000 |
Decorative Accent Panels


| Name/Description | Model # |
|---|---|
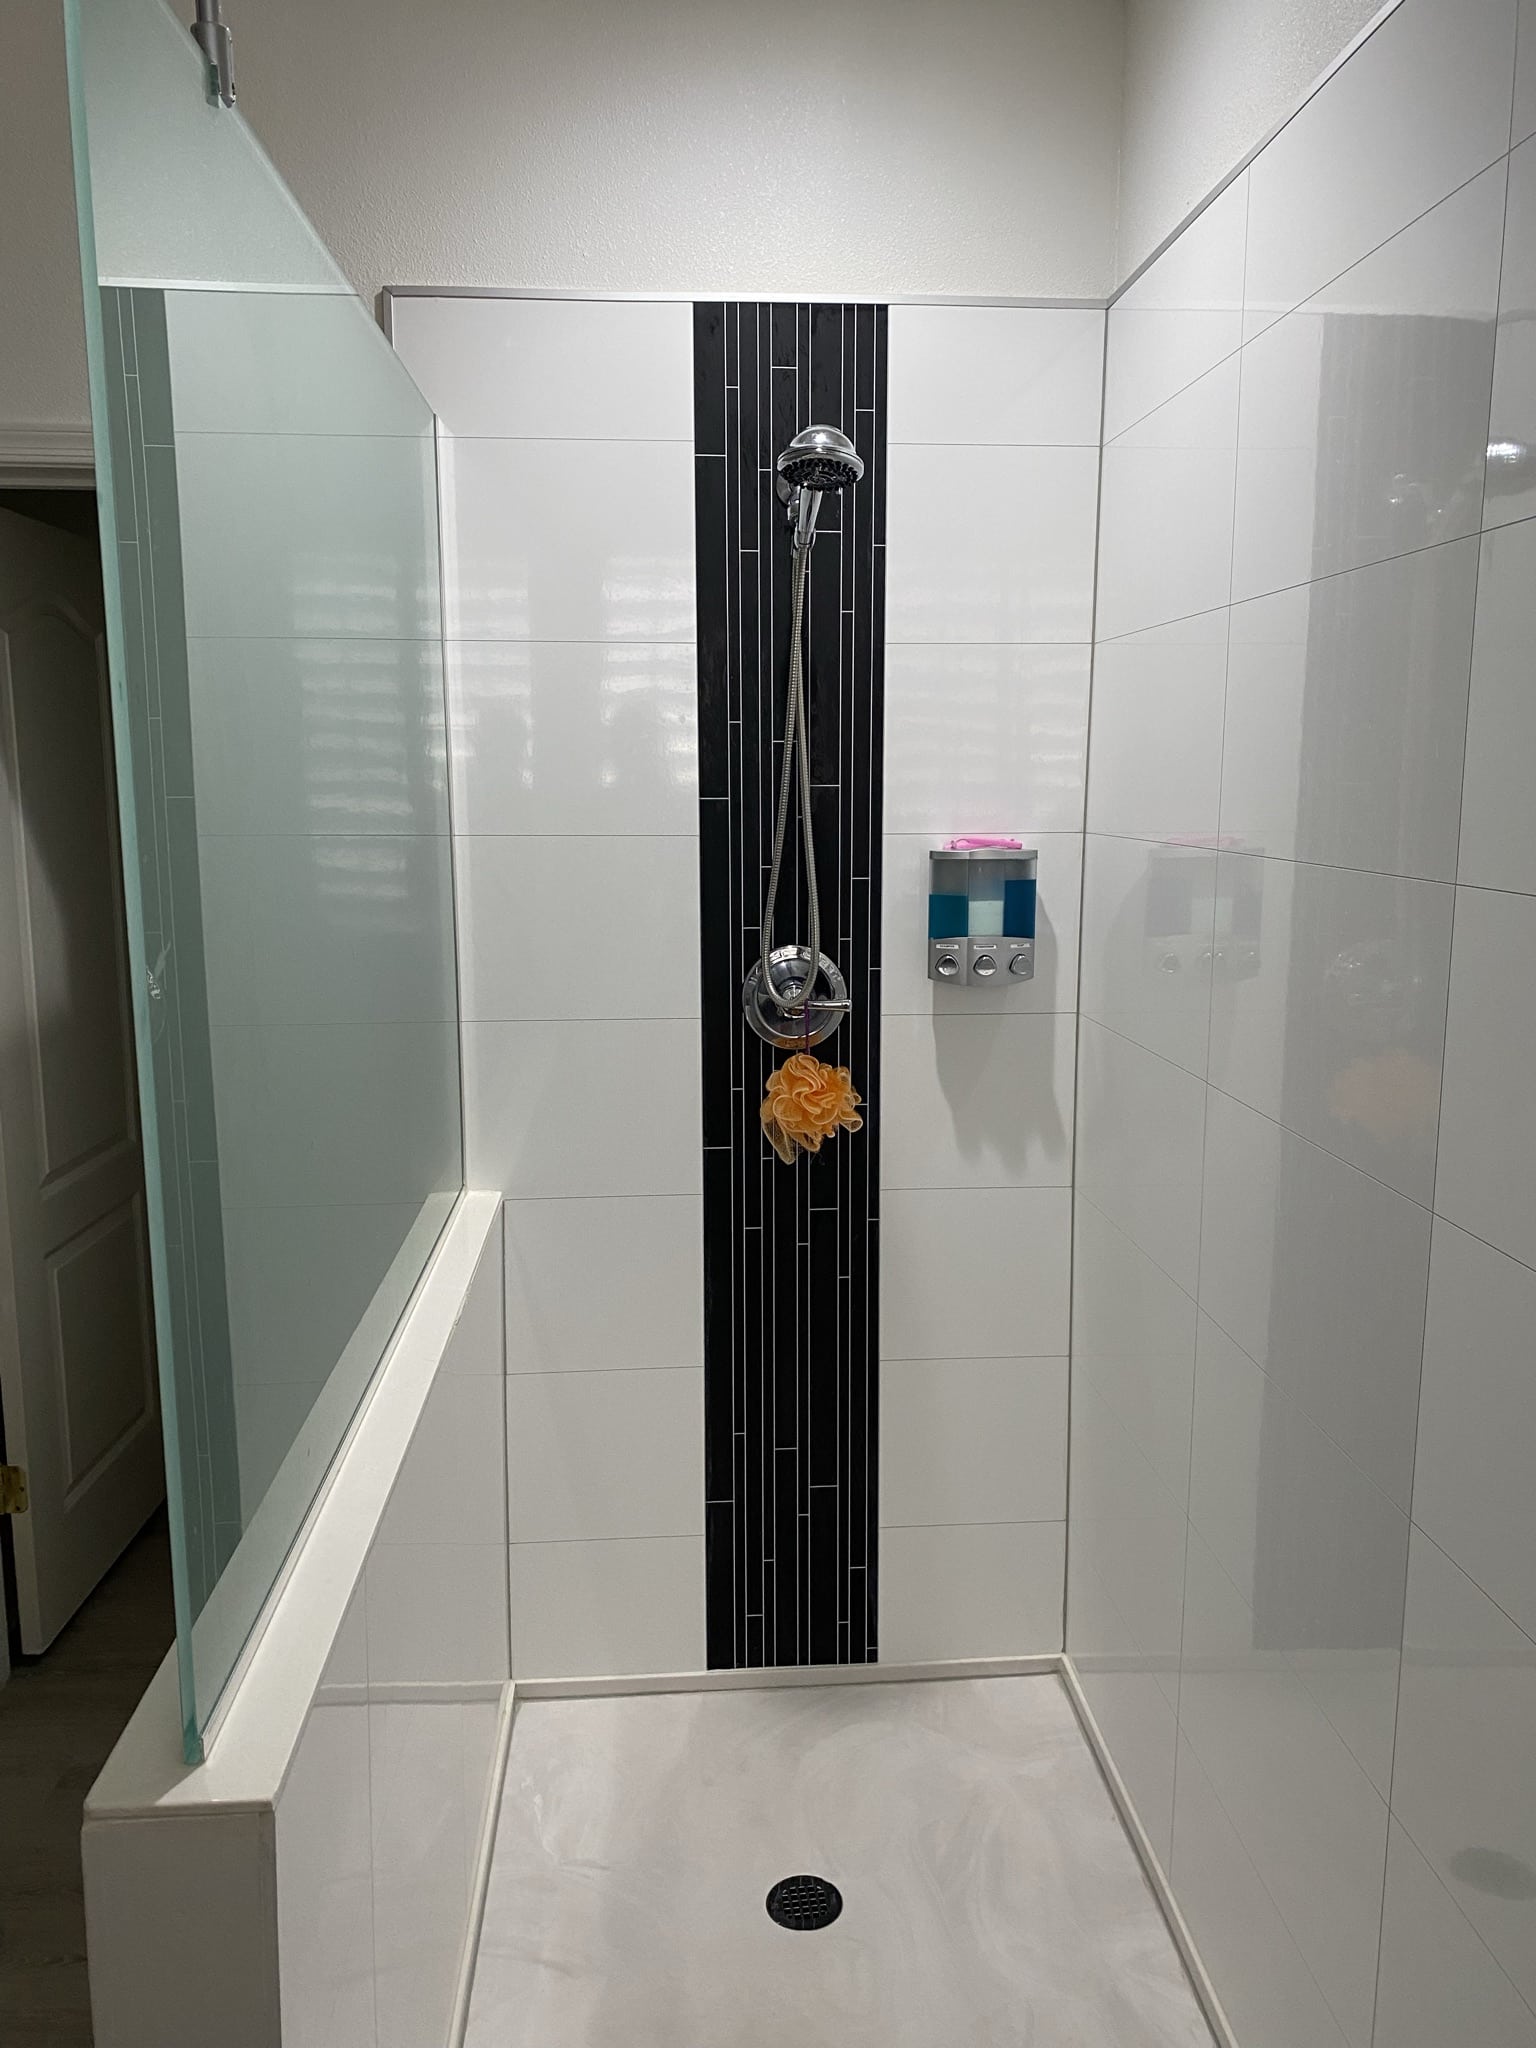
| Decorative Accent – Vertical White – Vertical joints | Deco-VW-8888 |

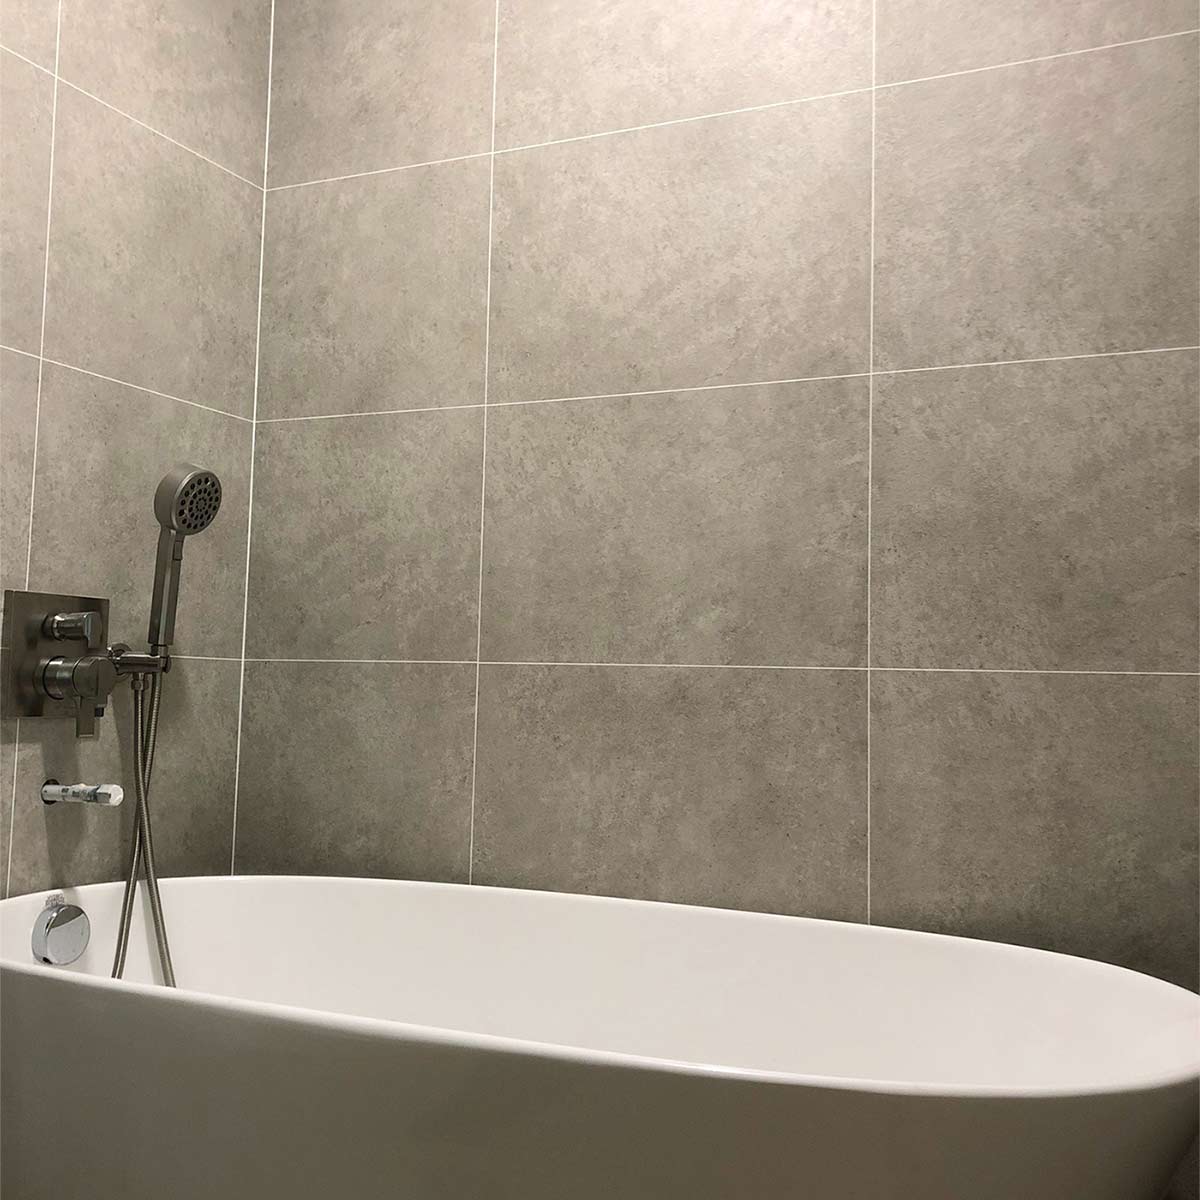
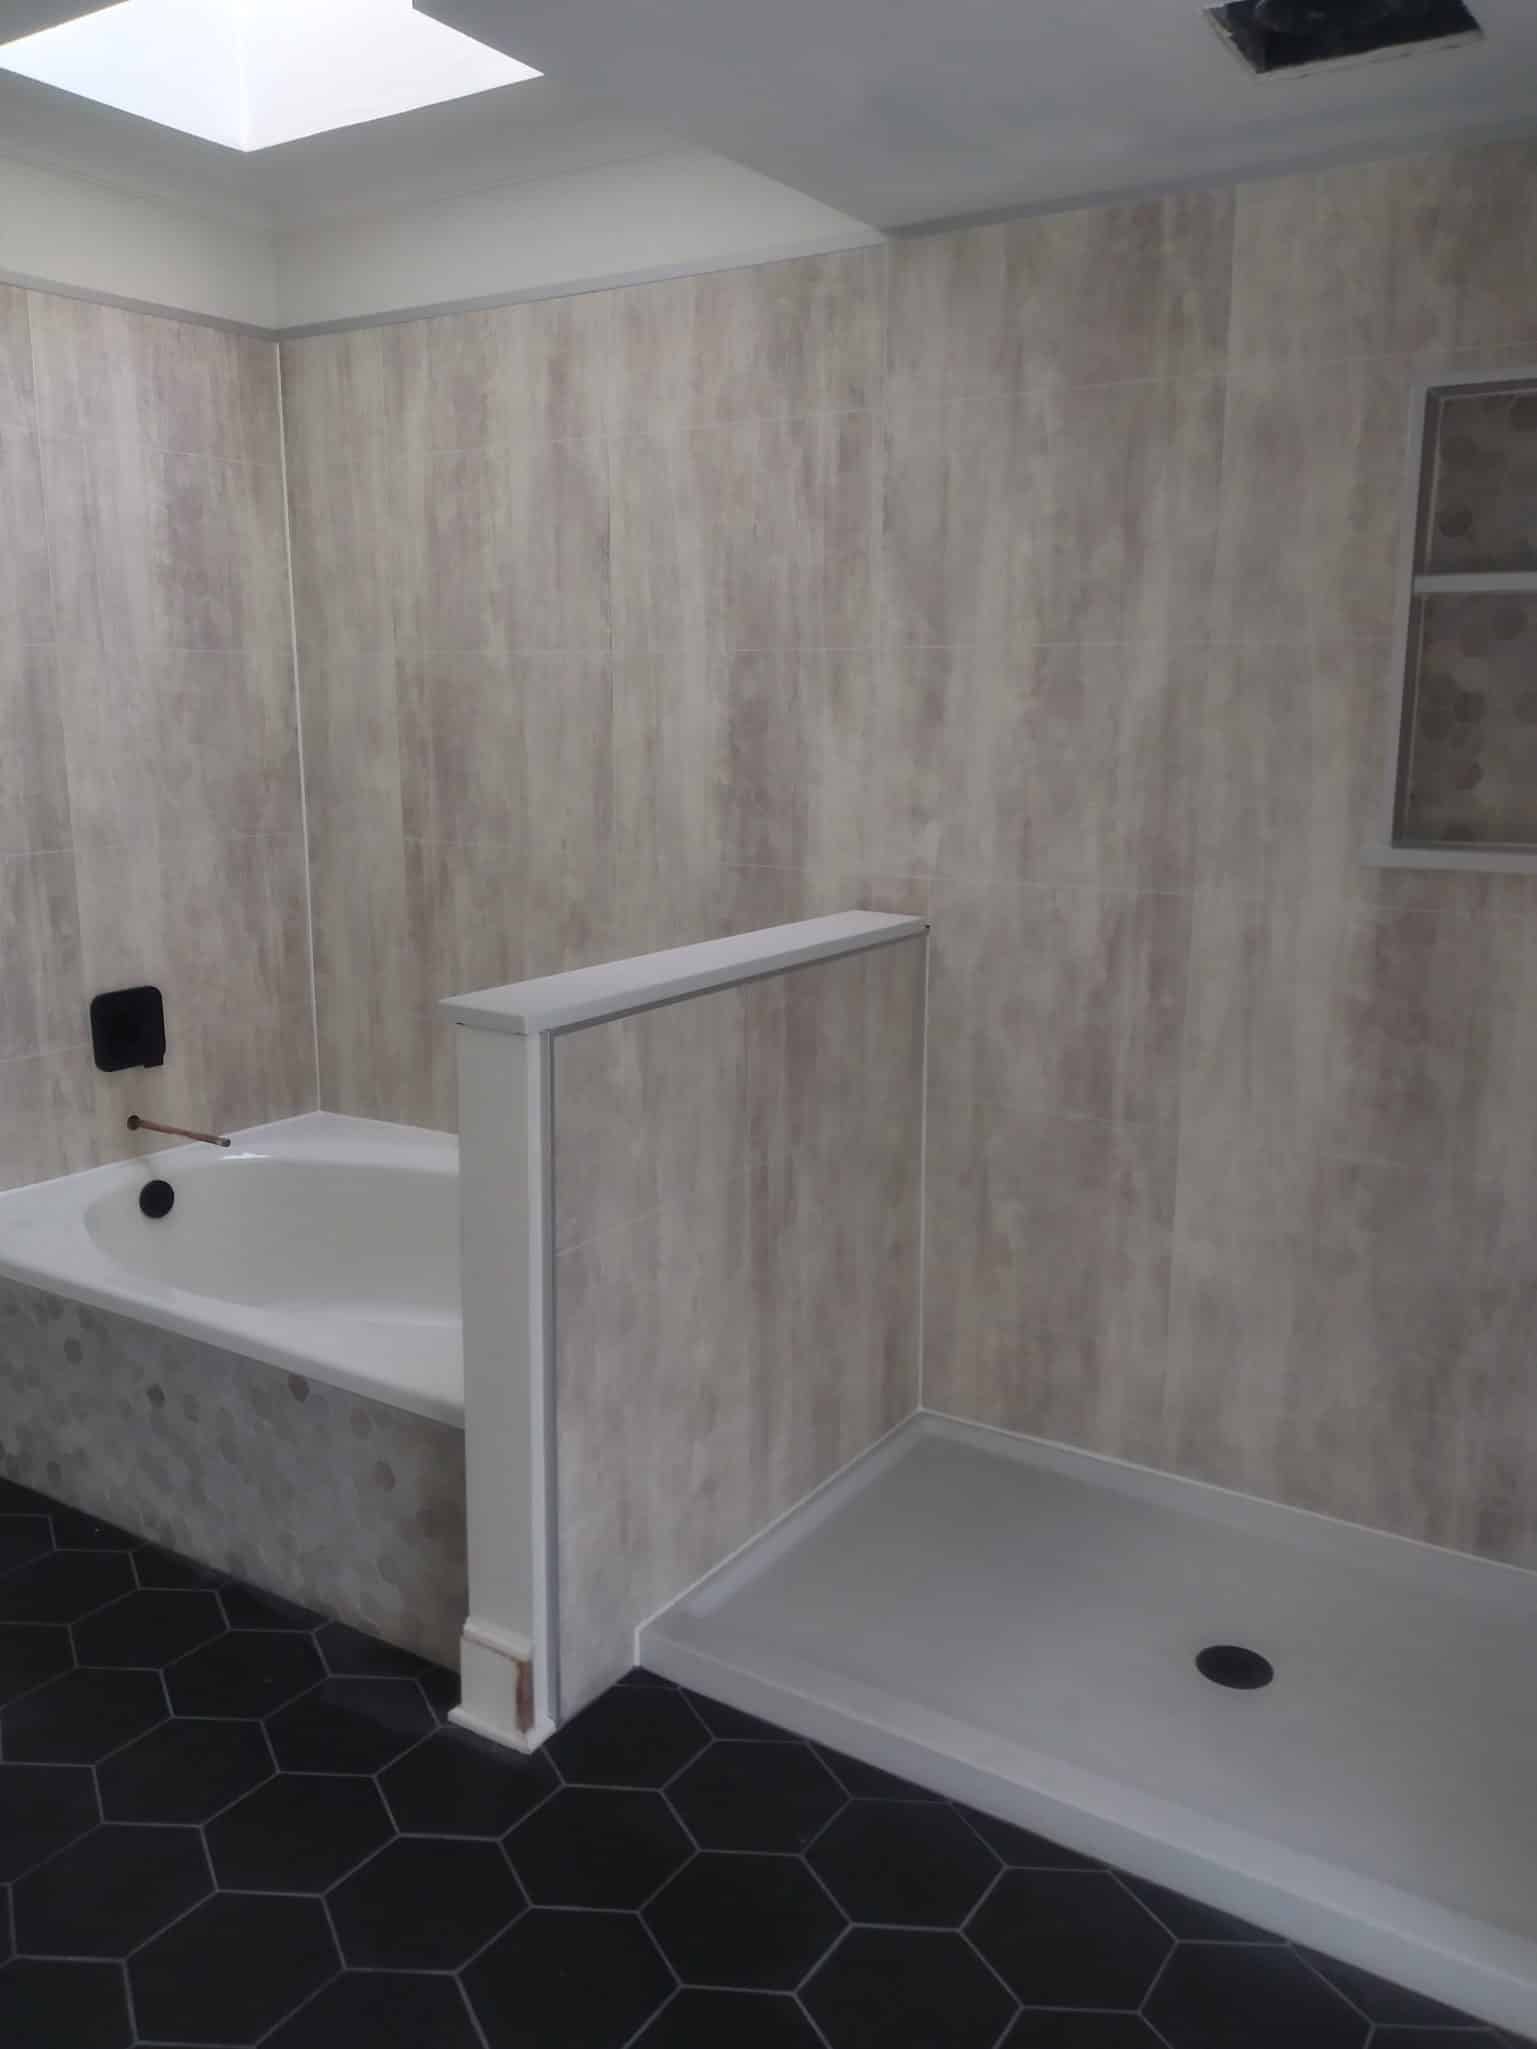
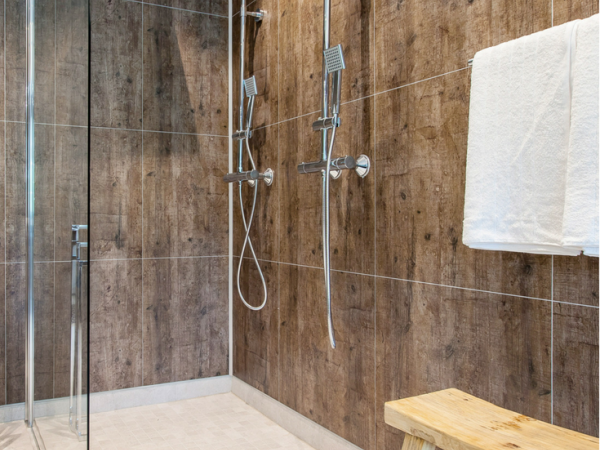
Modern Farmhouse & Shabby Chic Collection
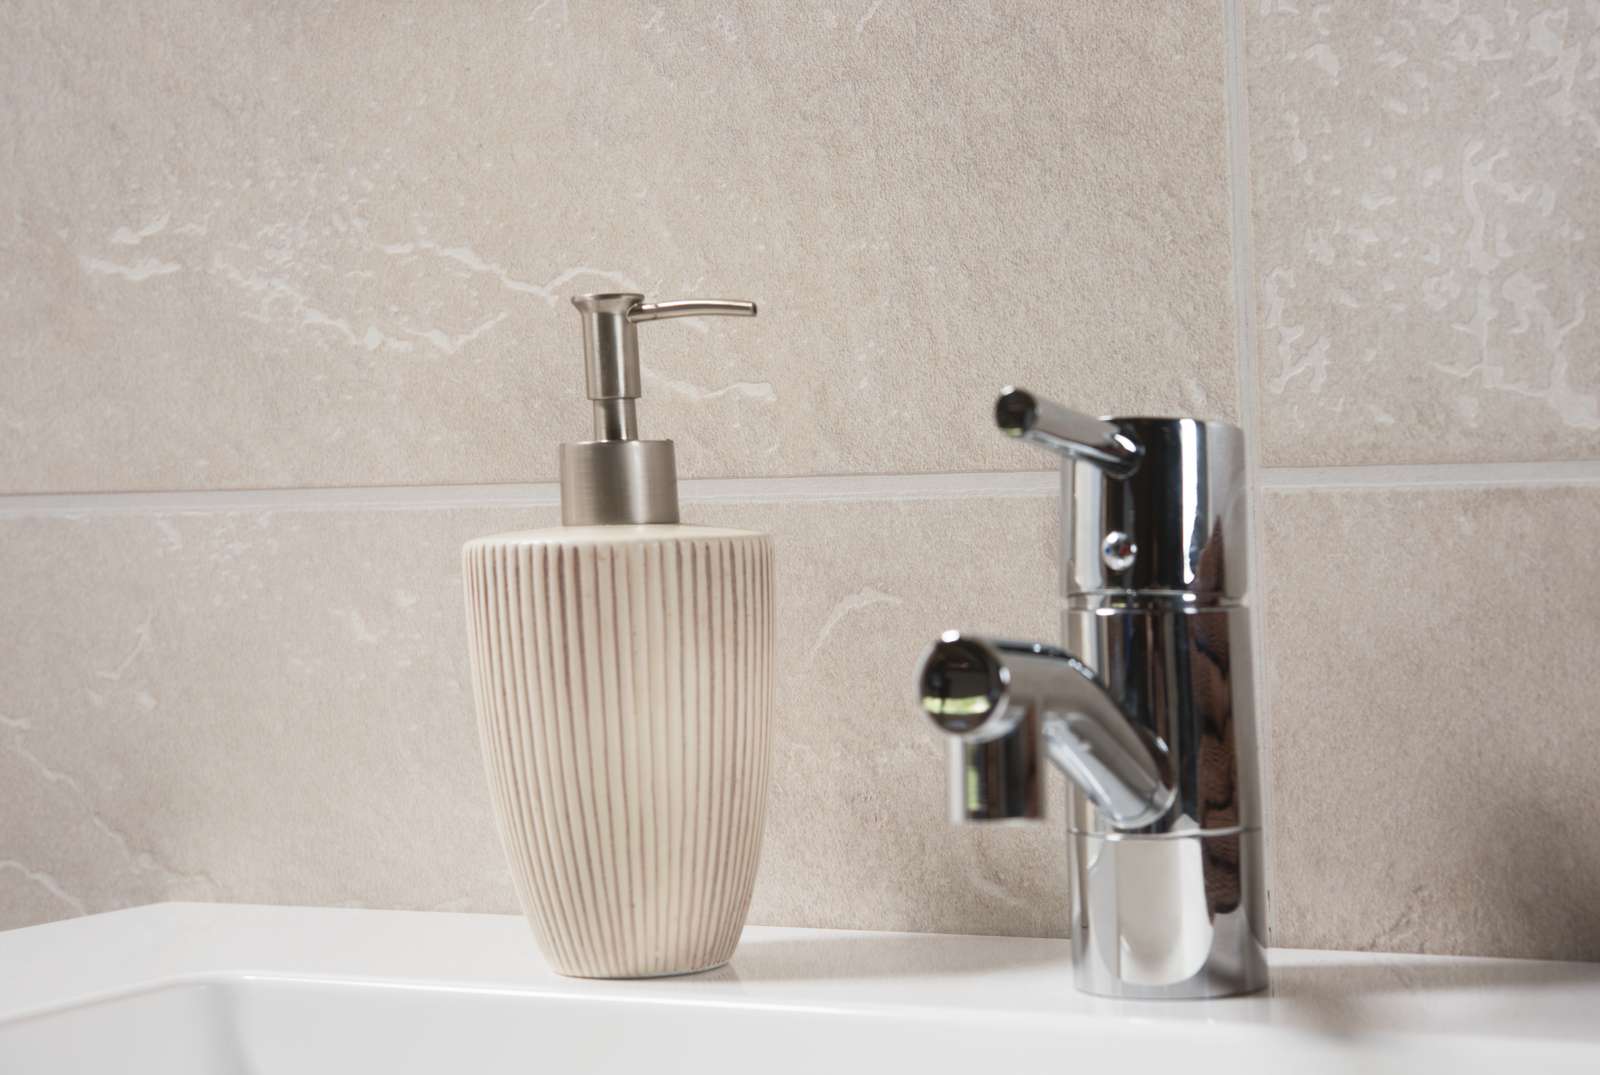
You want a relaxing bathroom away from the stress of the day. Combine modern farmhouse and shabby chic walls with some candles and a freestanding bathtub and take your worries away. Get your Modern Farmhouse & Shabby Chic Collection samples, today!


| Name/Description | Model # |
|---|---|
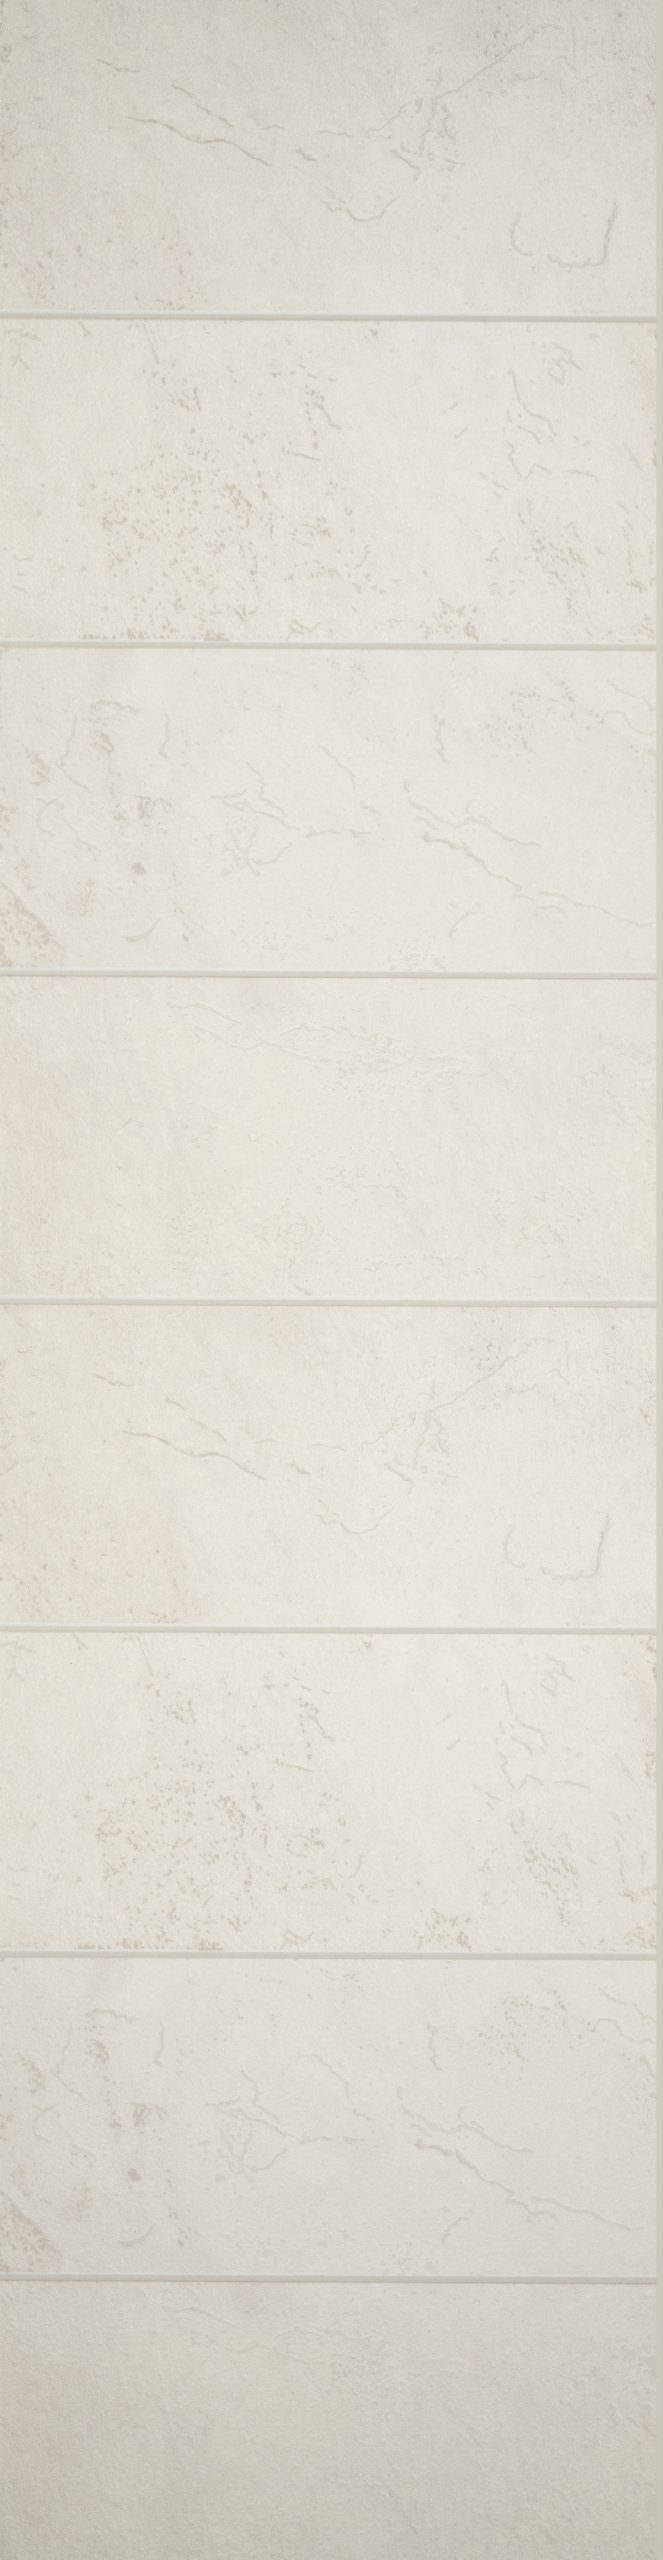
| Abbey Shale – 24 x 16 – 1/16″ white joints | Mofa-AS-2416 |
| Sahara 24 x 12 – 1/16″ grey grout joints | Mofa-SA-2412 |
| Rough Wood – 24 x 24 – 1/16″ grey joints | Mofa-RW-2424 |
| Antique Grey – 24 x 12 – 1/16″ grey joints | ShCh-AG-2412 |
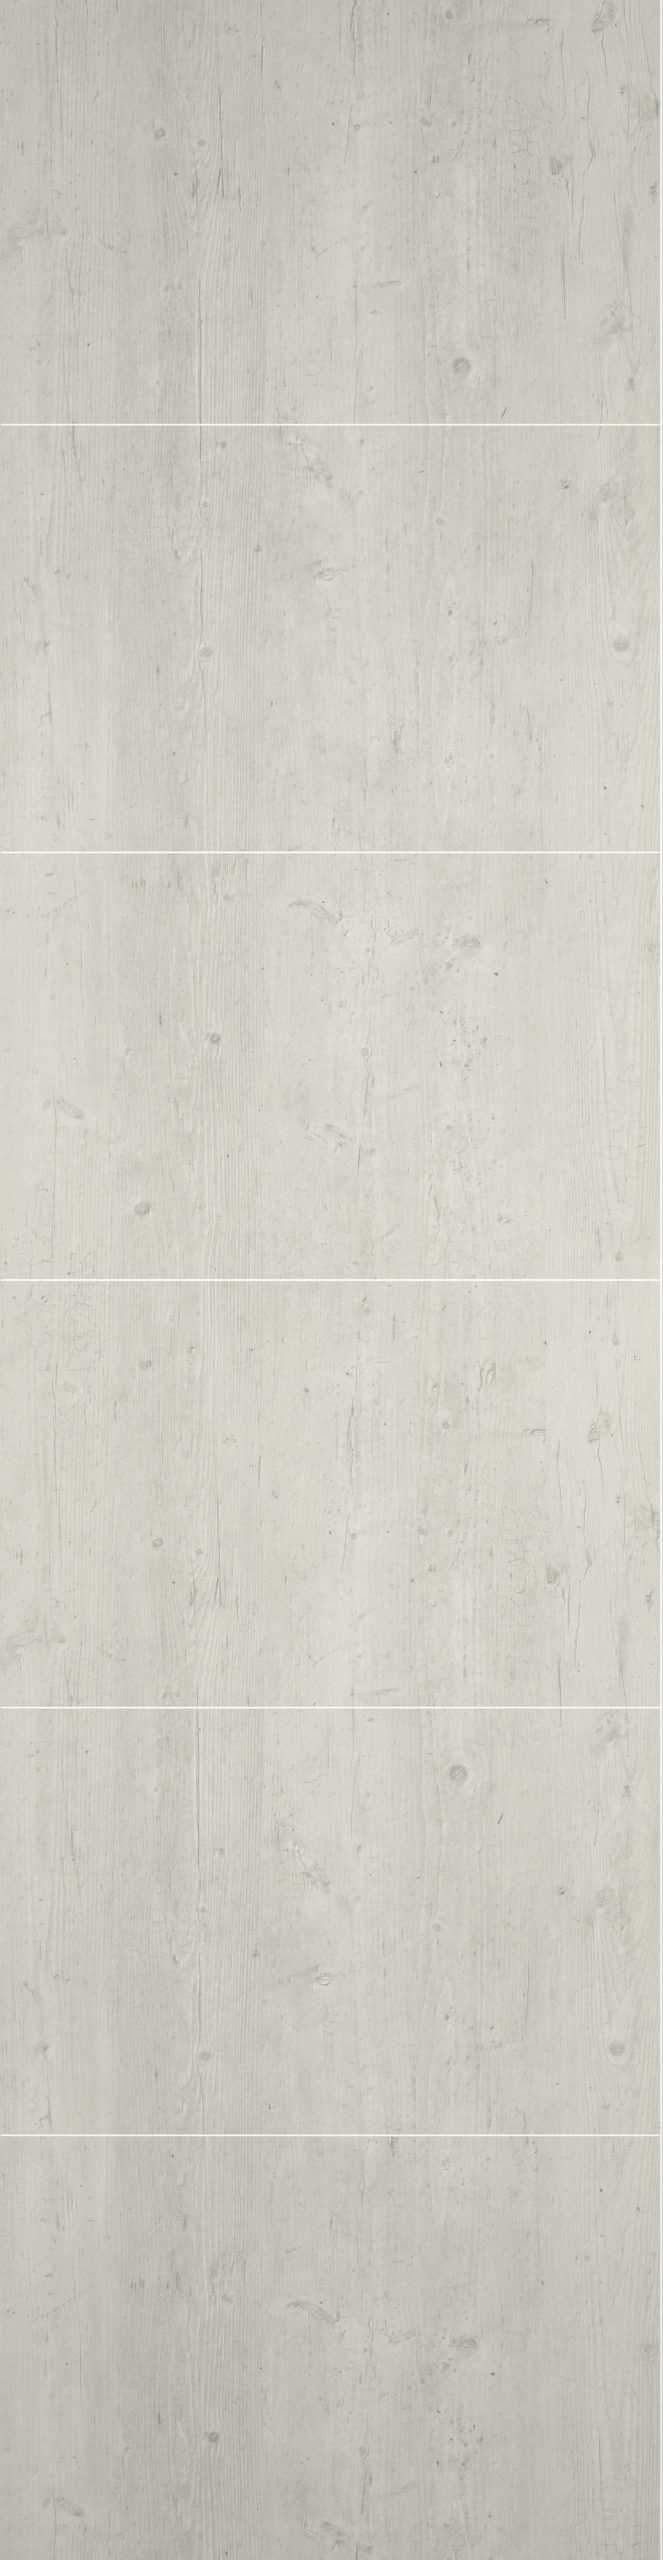
| Avalon Pine 24 x 16 – 1/16″ white joints | Mofa-AP-2416 |
| White Subway Tile 6 x 3 – 1/16″ grey joints | Mofa-WS-0603 |
| Aberdeen Brick 12 x 4 | MOFA-AB-1204 |
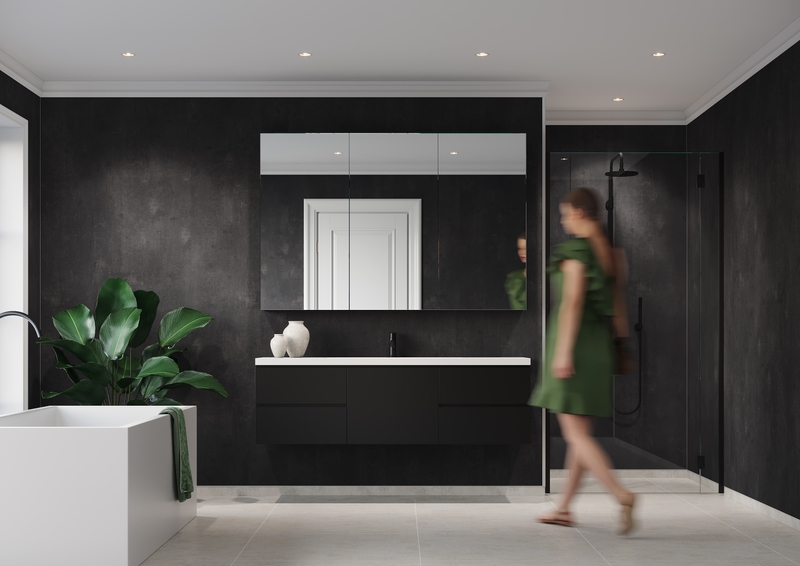
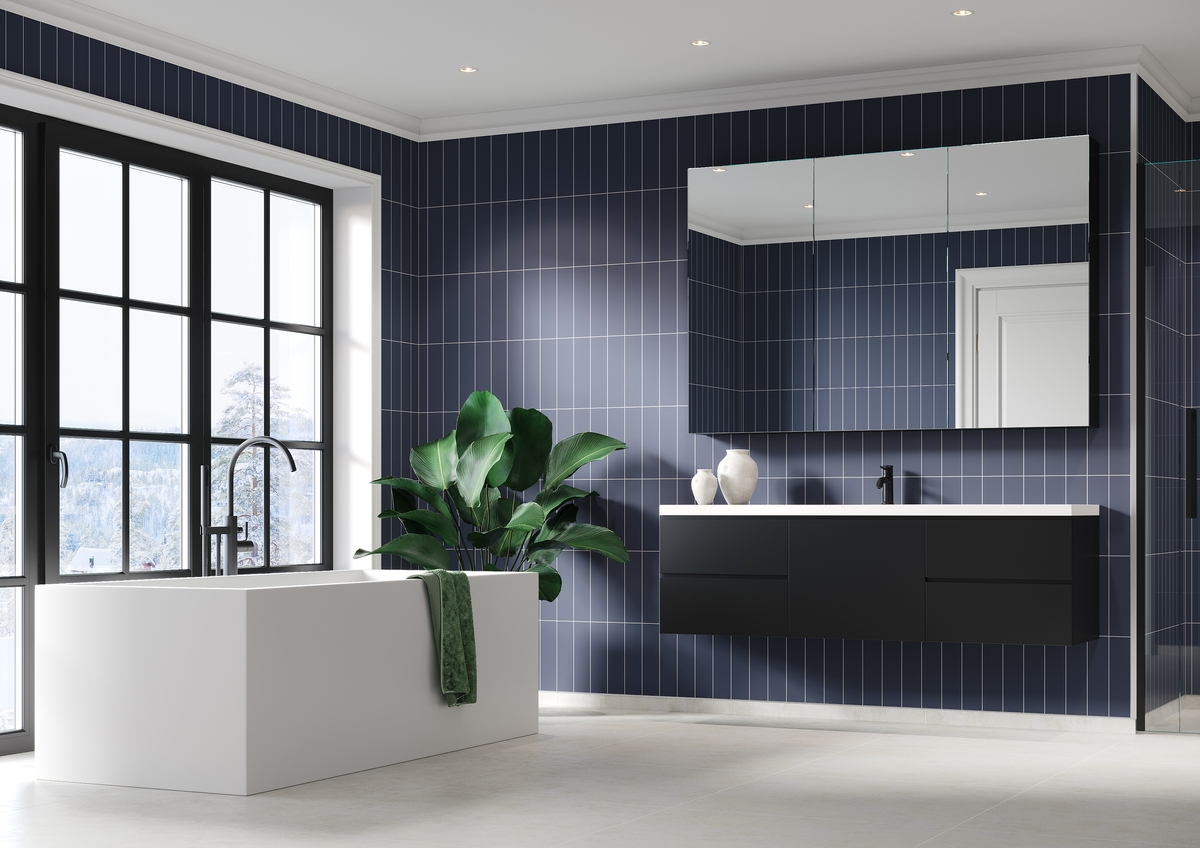
Maximalist Collection
Unleash your inner maximalist with our new Maximalist Collection of wall panels. Embrace unique colors, patterns, and textures to create a shower space that reflects your unique style and personality. Make a statement that’s as bold as you are. Get your Maximalist Collection samples, today!

| Name/Description | Model # |
|---|---|
| Charcoal Gray – No Grout | MAXI-CG-0000 |
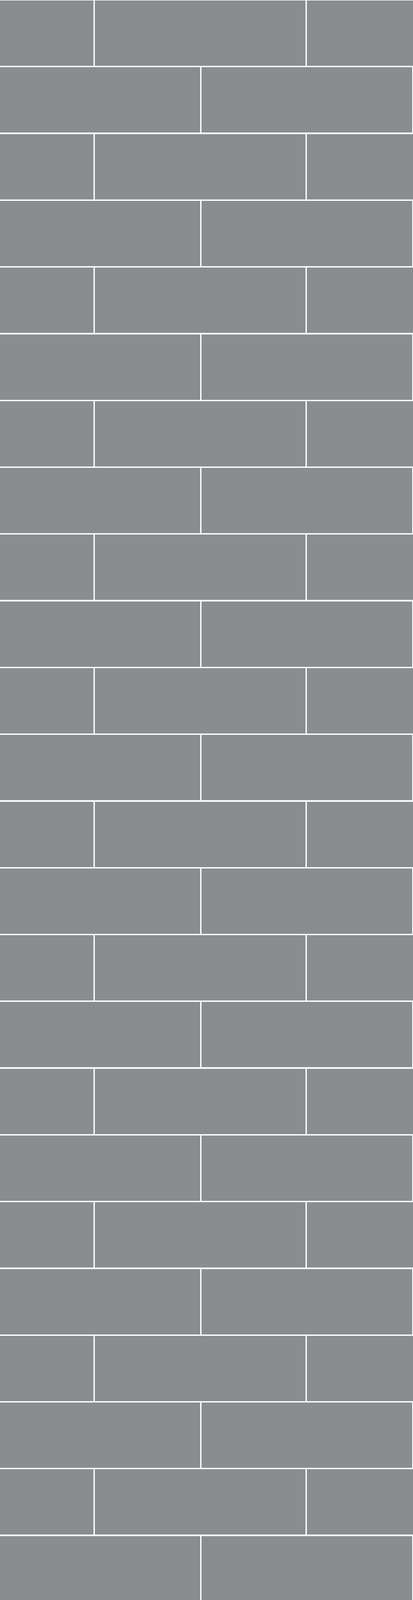
| Smokey Blue Stacked Subway Tile – 3 x 12 | MAXI-SB-0312 |
Contemporary High Gloss Collection
Sleek and contemporary doesn’t need to be expensive or limited to downtown loft apartments. Create an easy-to-clean, fresh look (without spending a ton of money) with these popular high gloss shower, tub, and bathroom wall collections. Get your Contemporary High Gloss Collection samples, today!

| Name/Description | Model # |
|---|---|
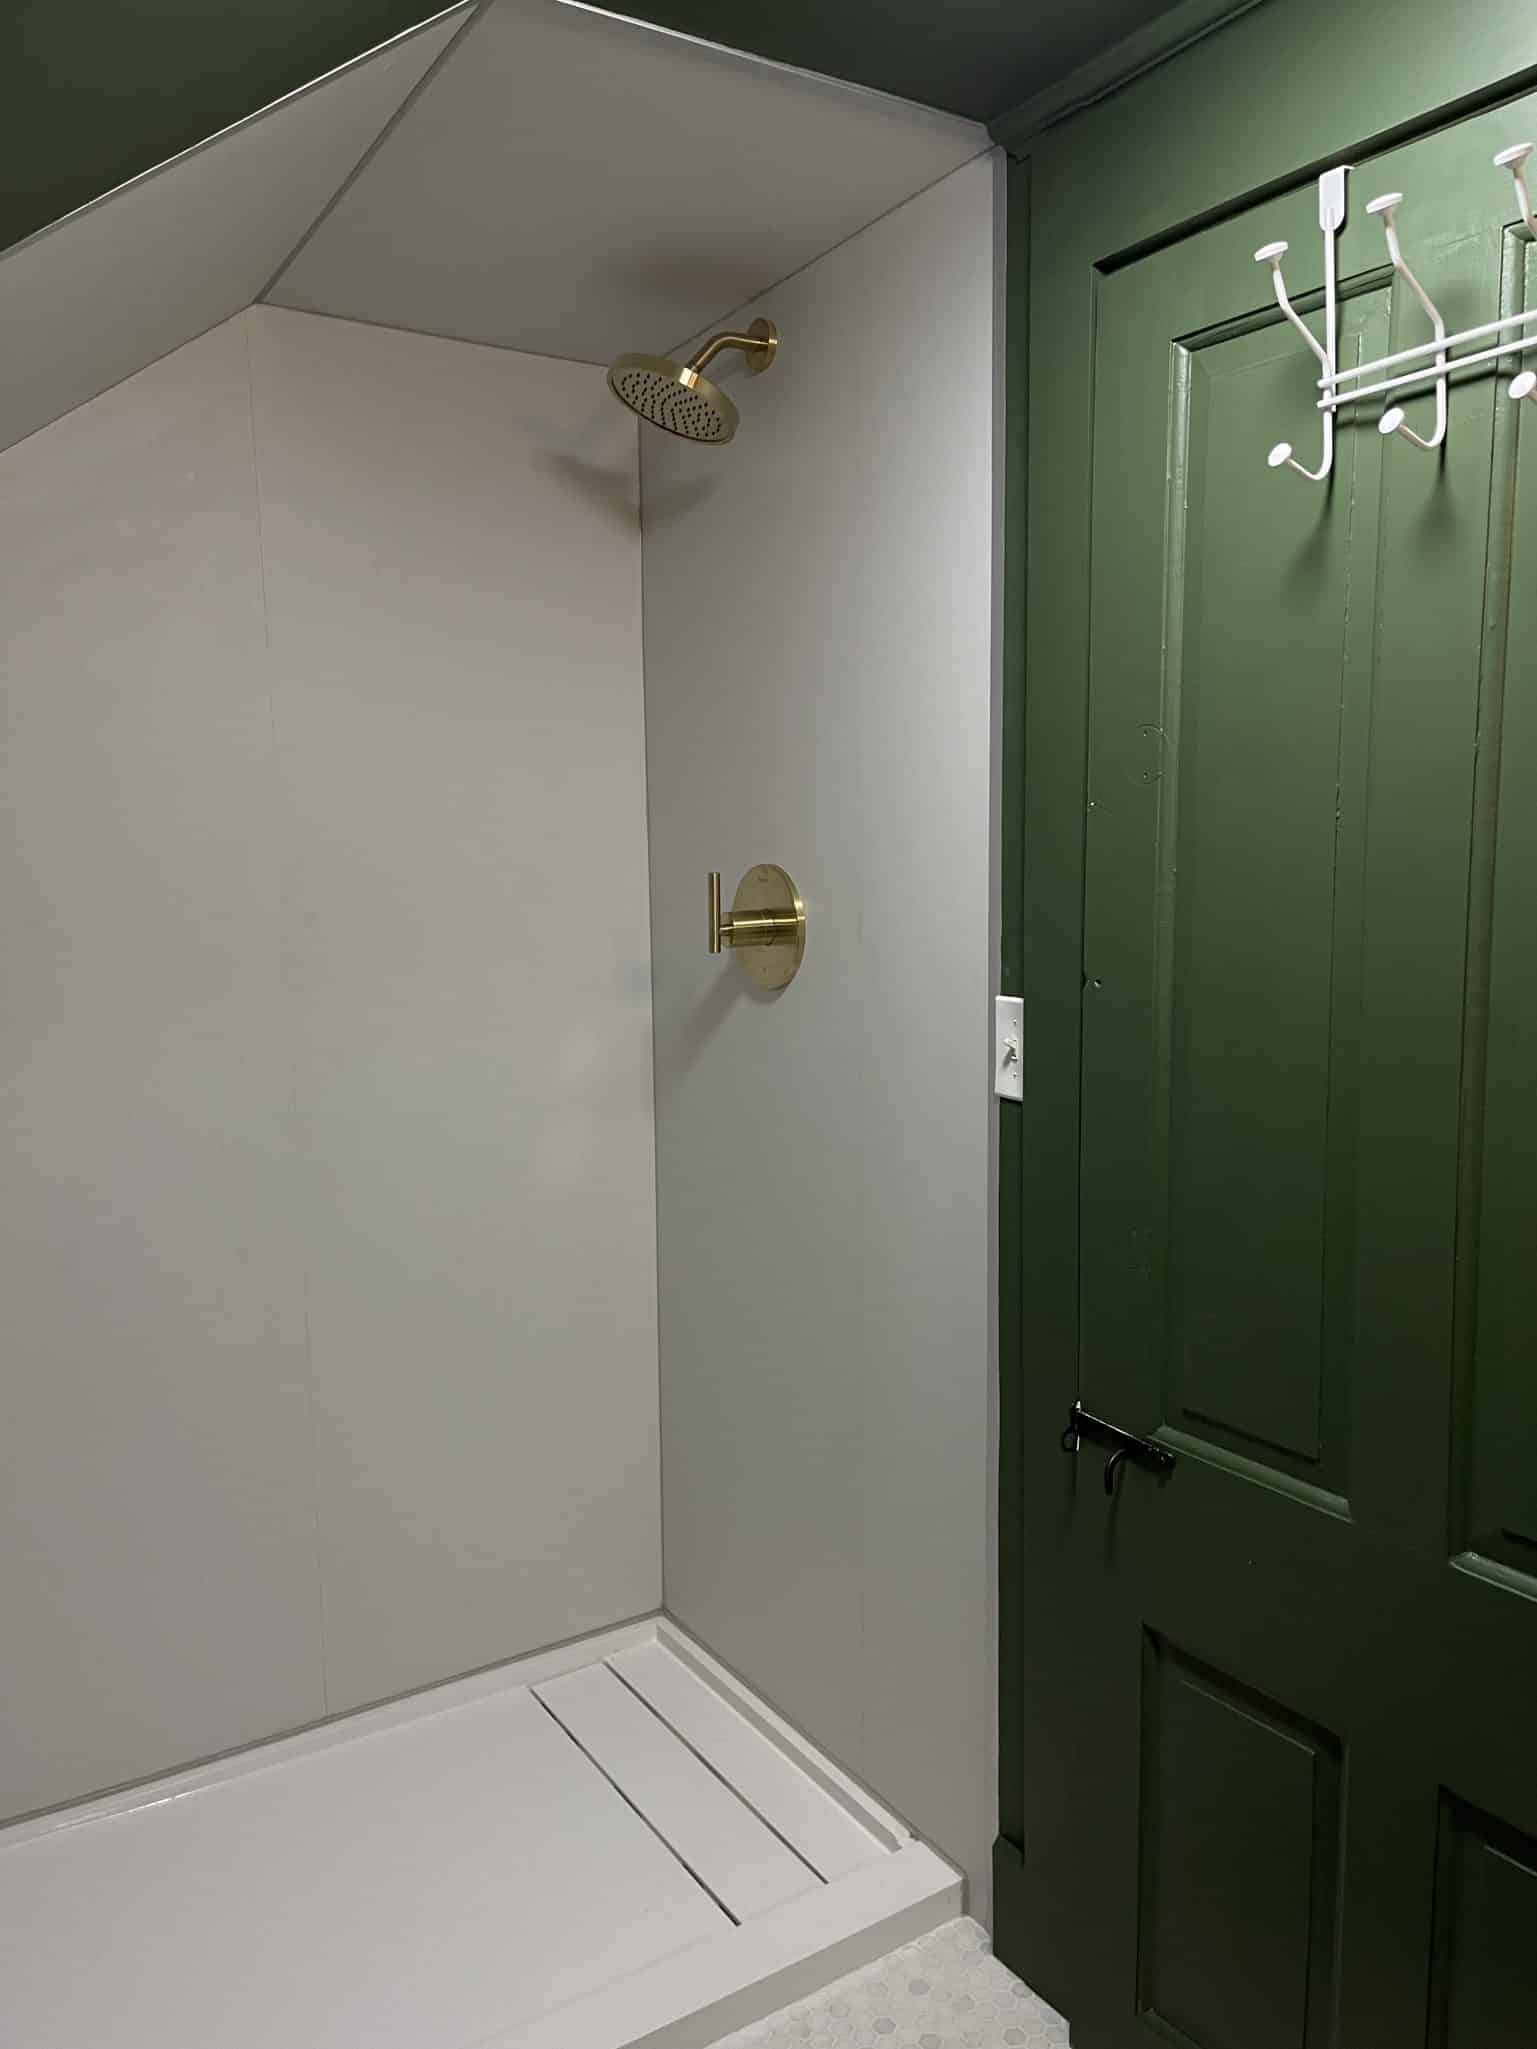
| High Gloss White – no tile pattern | CoHg-WH-0000 |
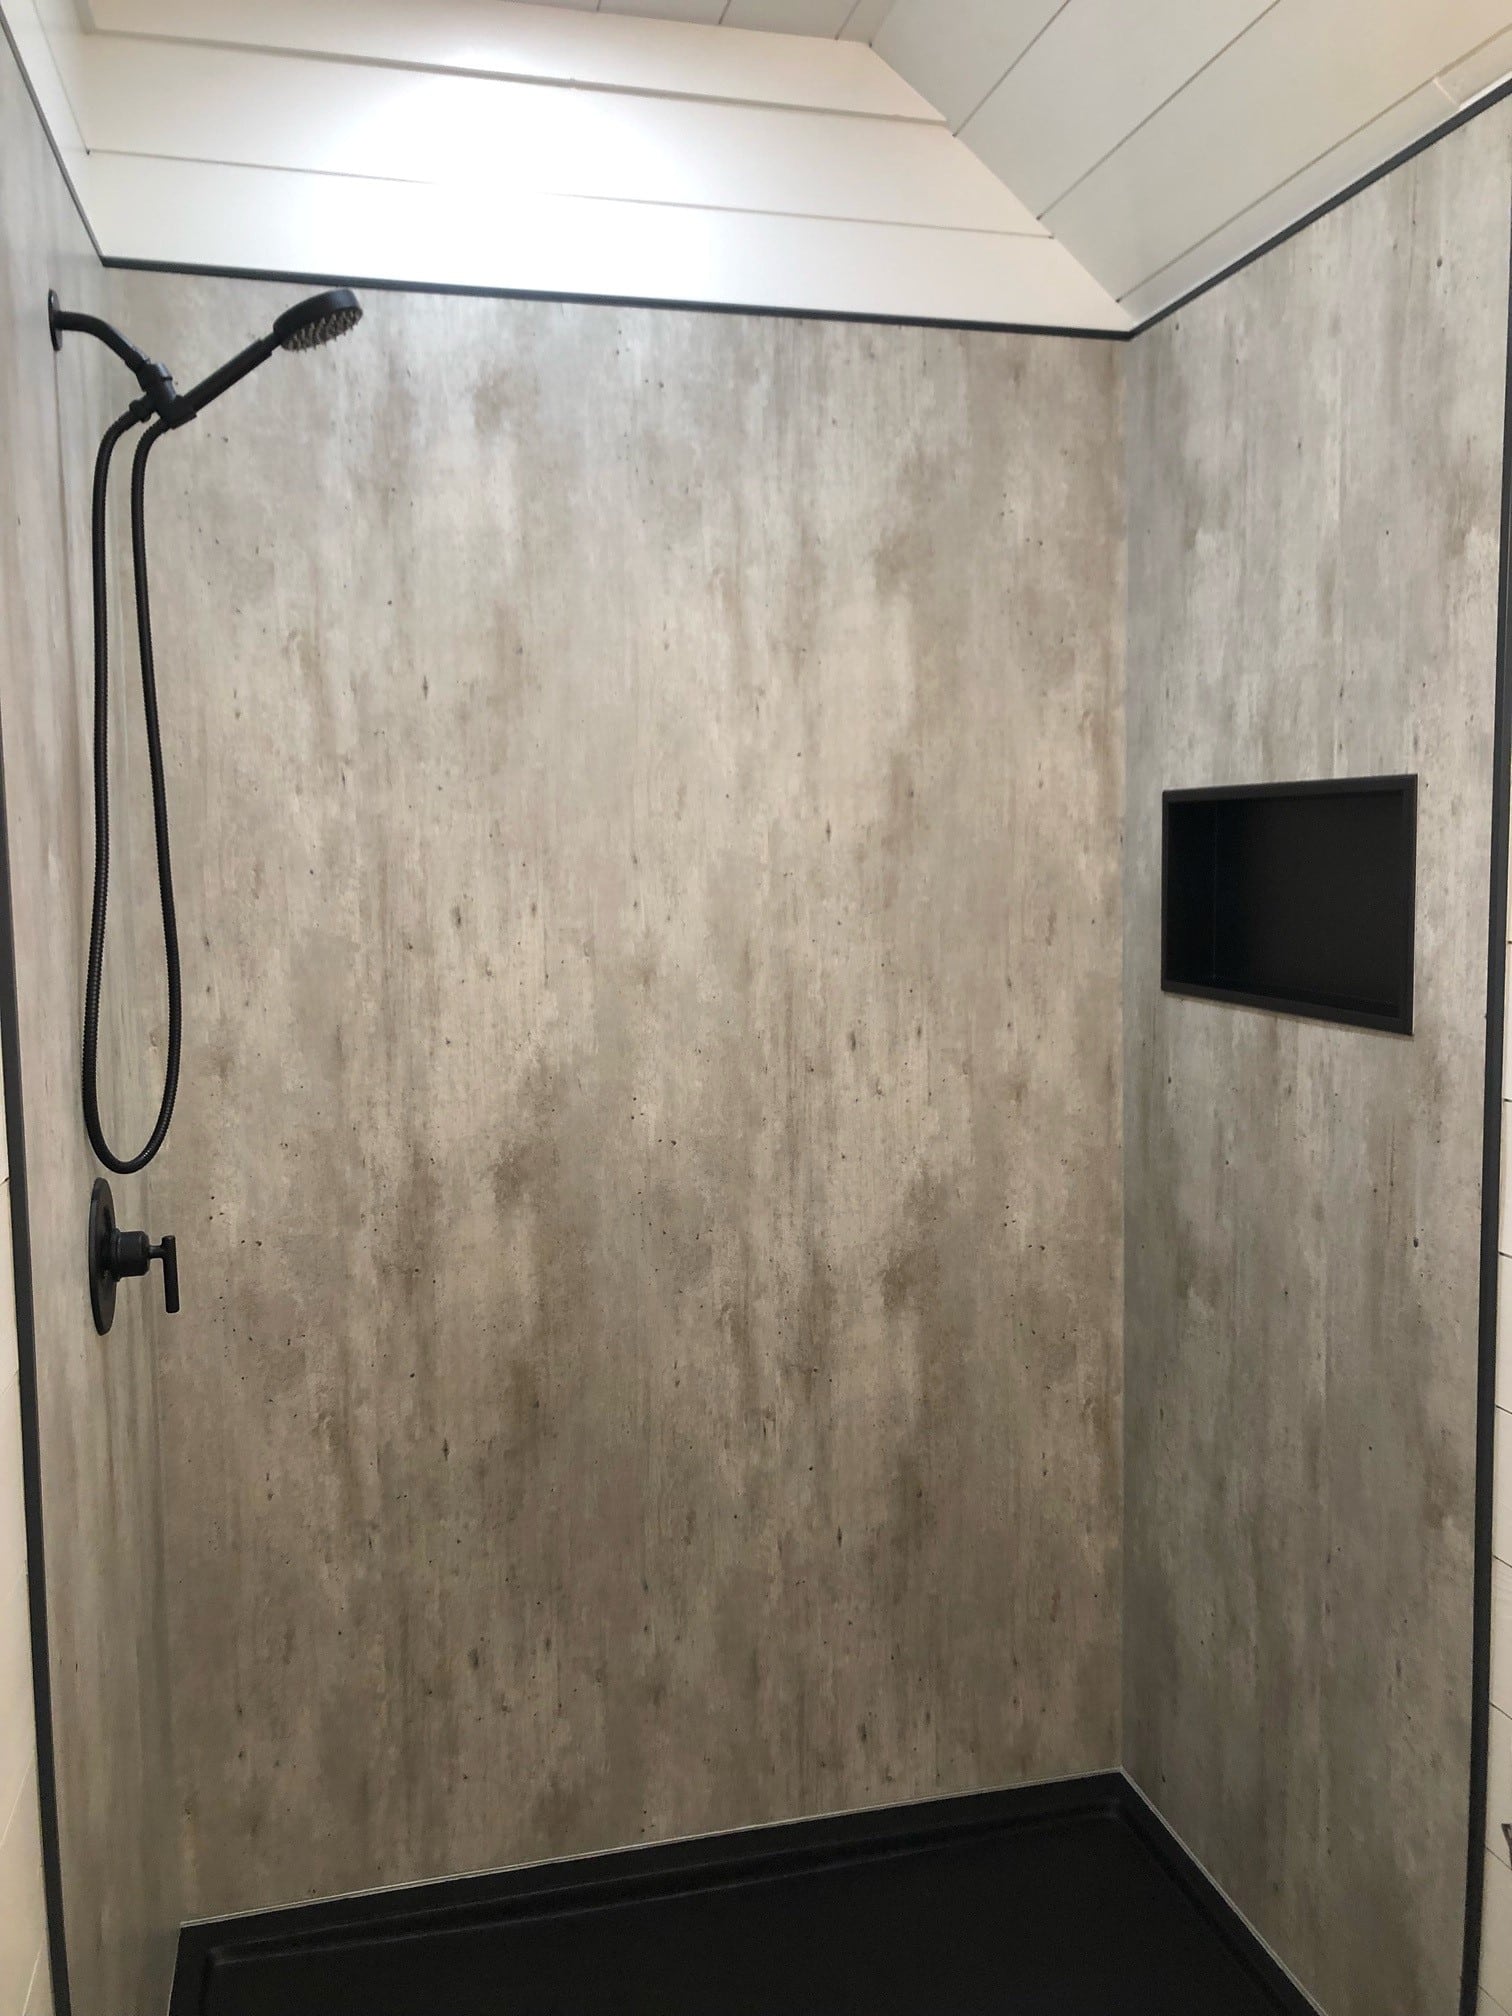
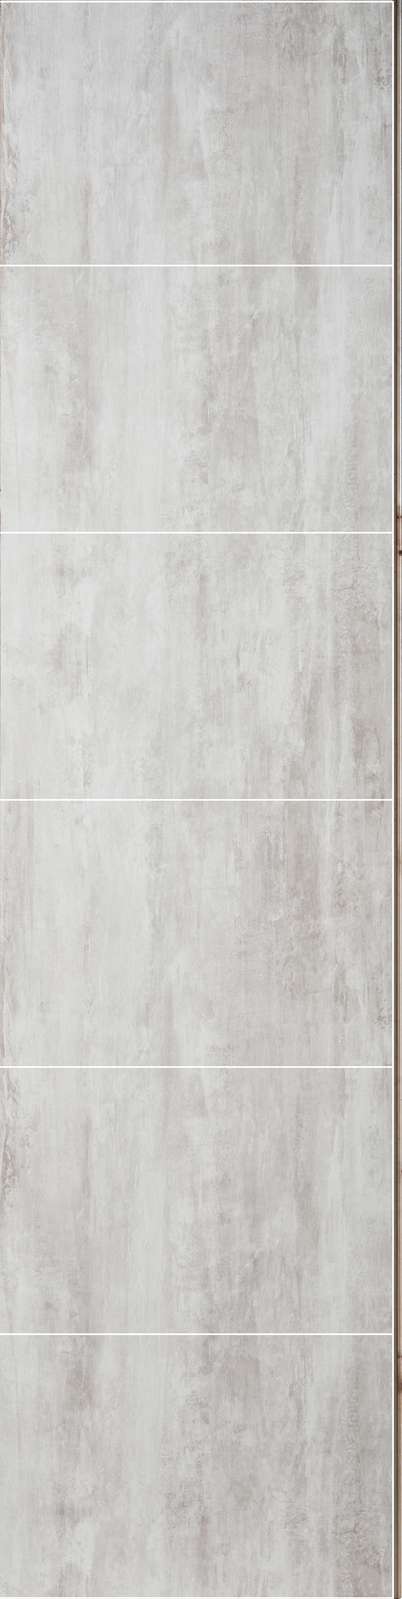
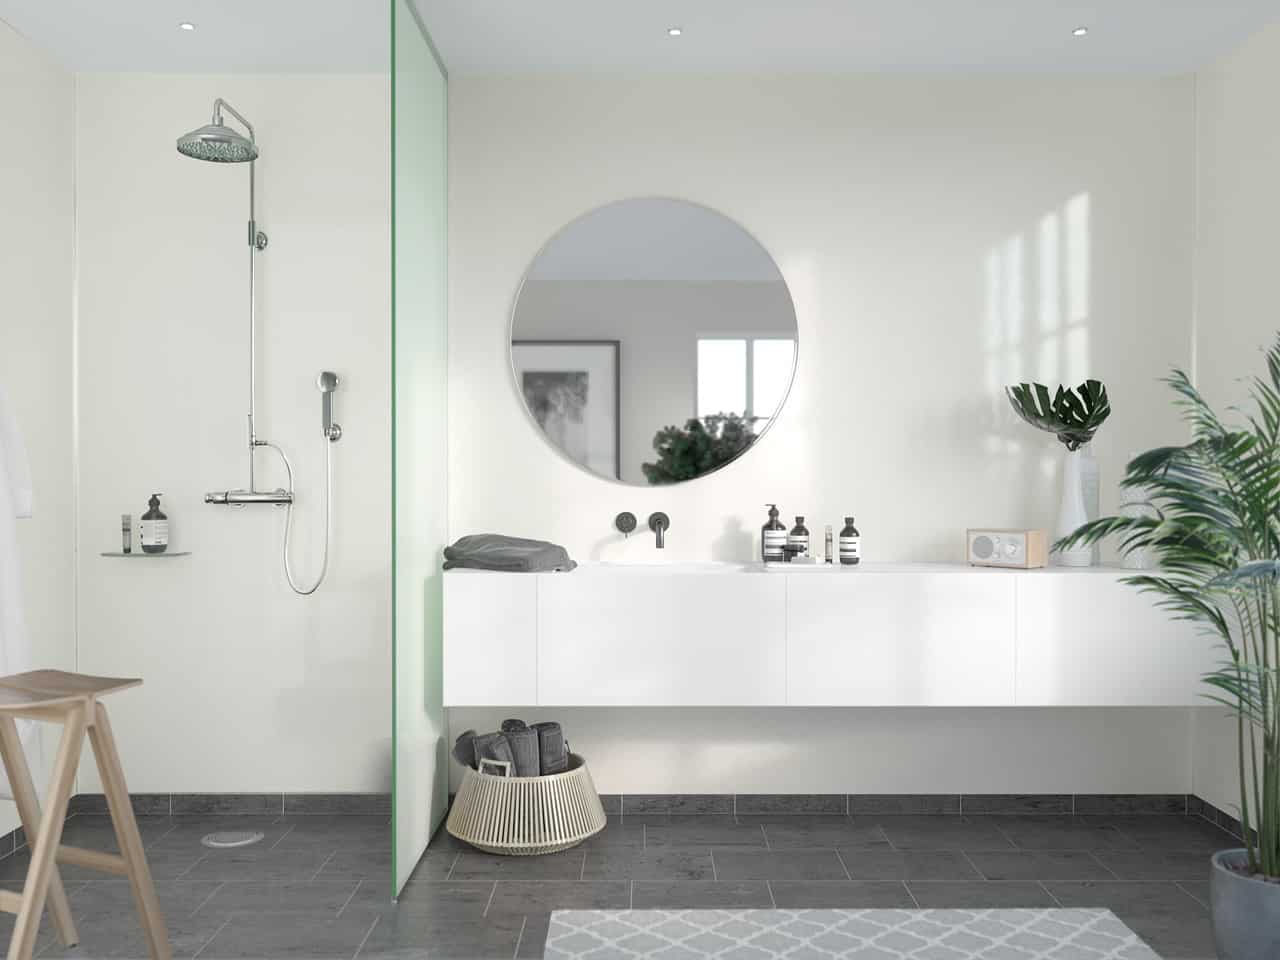
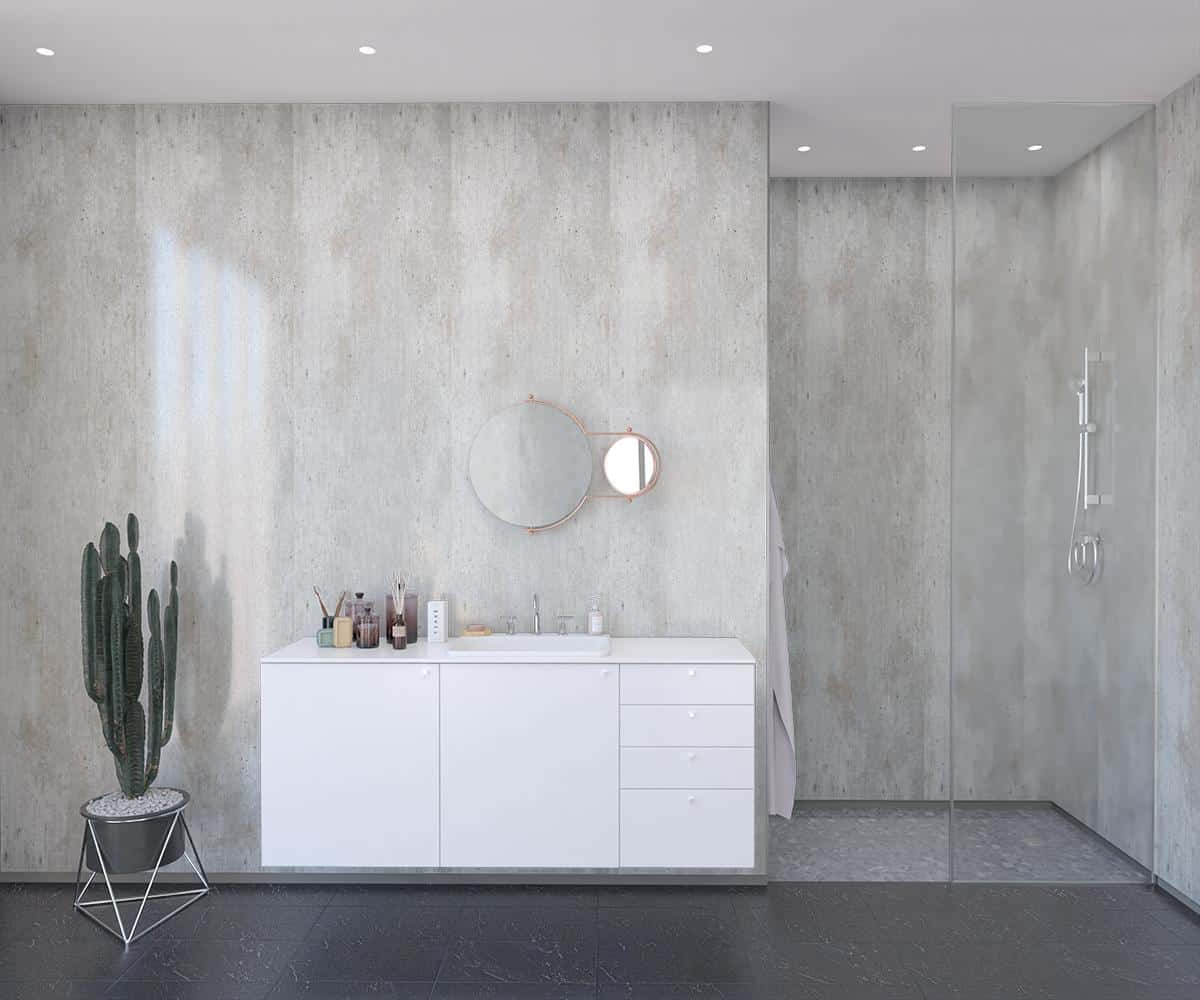
Modern Minimalist Collection
| Name/Description | Model # |
|---|---|
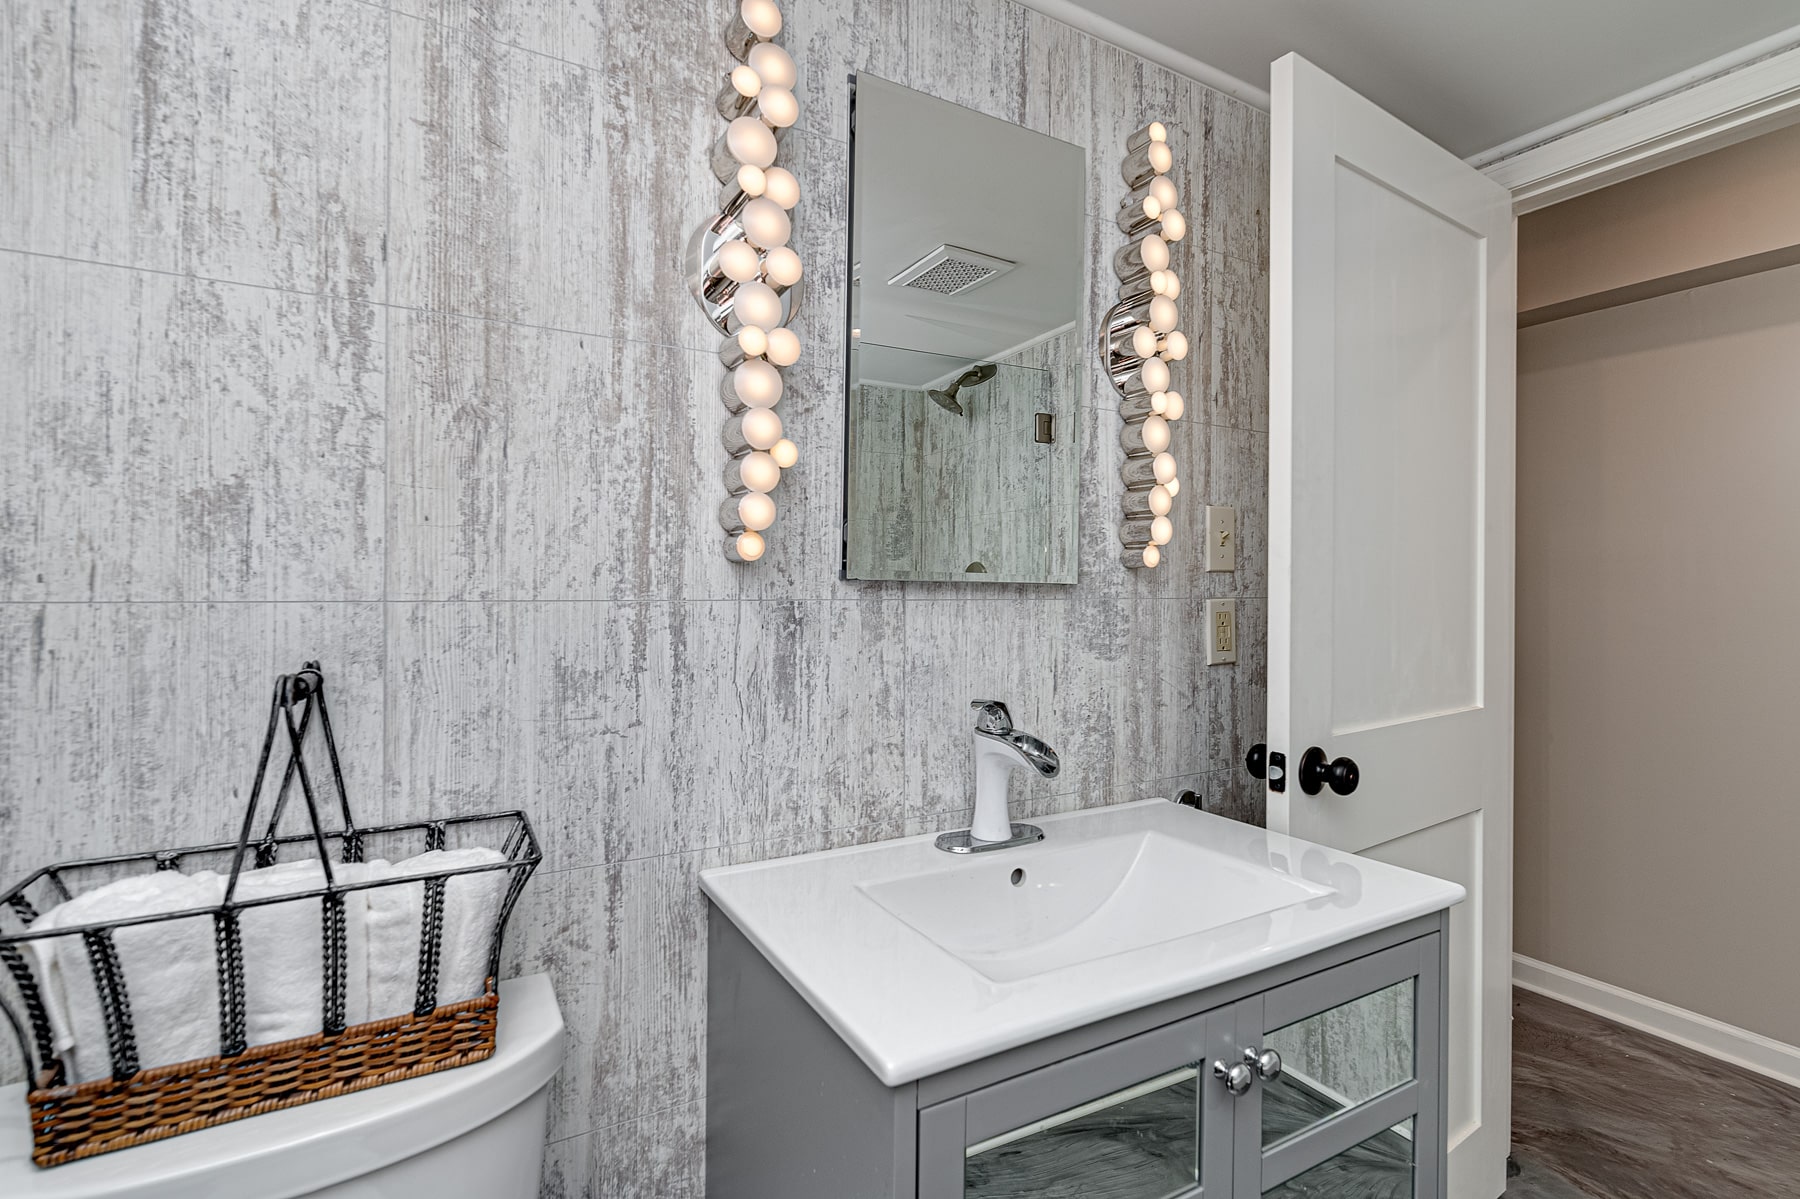
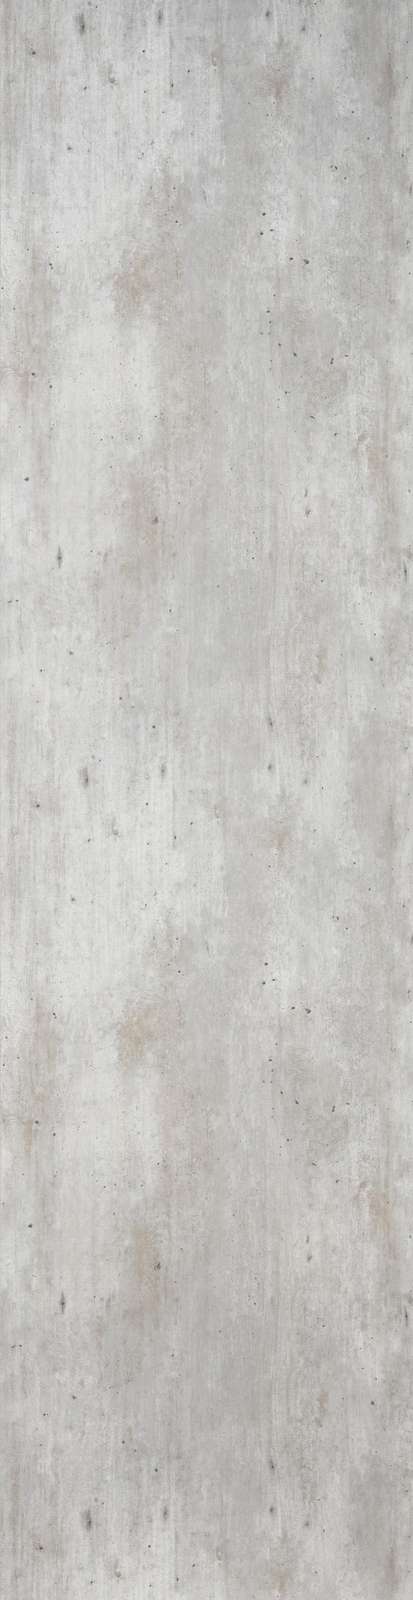
| Cracked Cement – no grout joints | MoMi-CC-0000 |
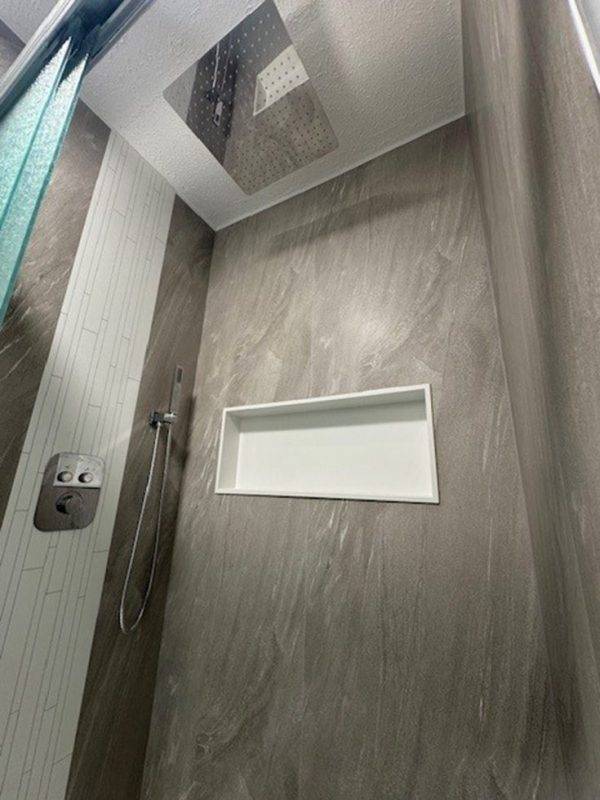
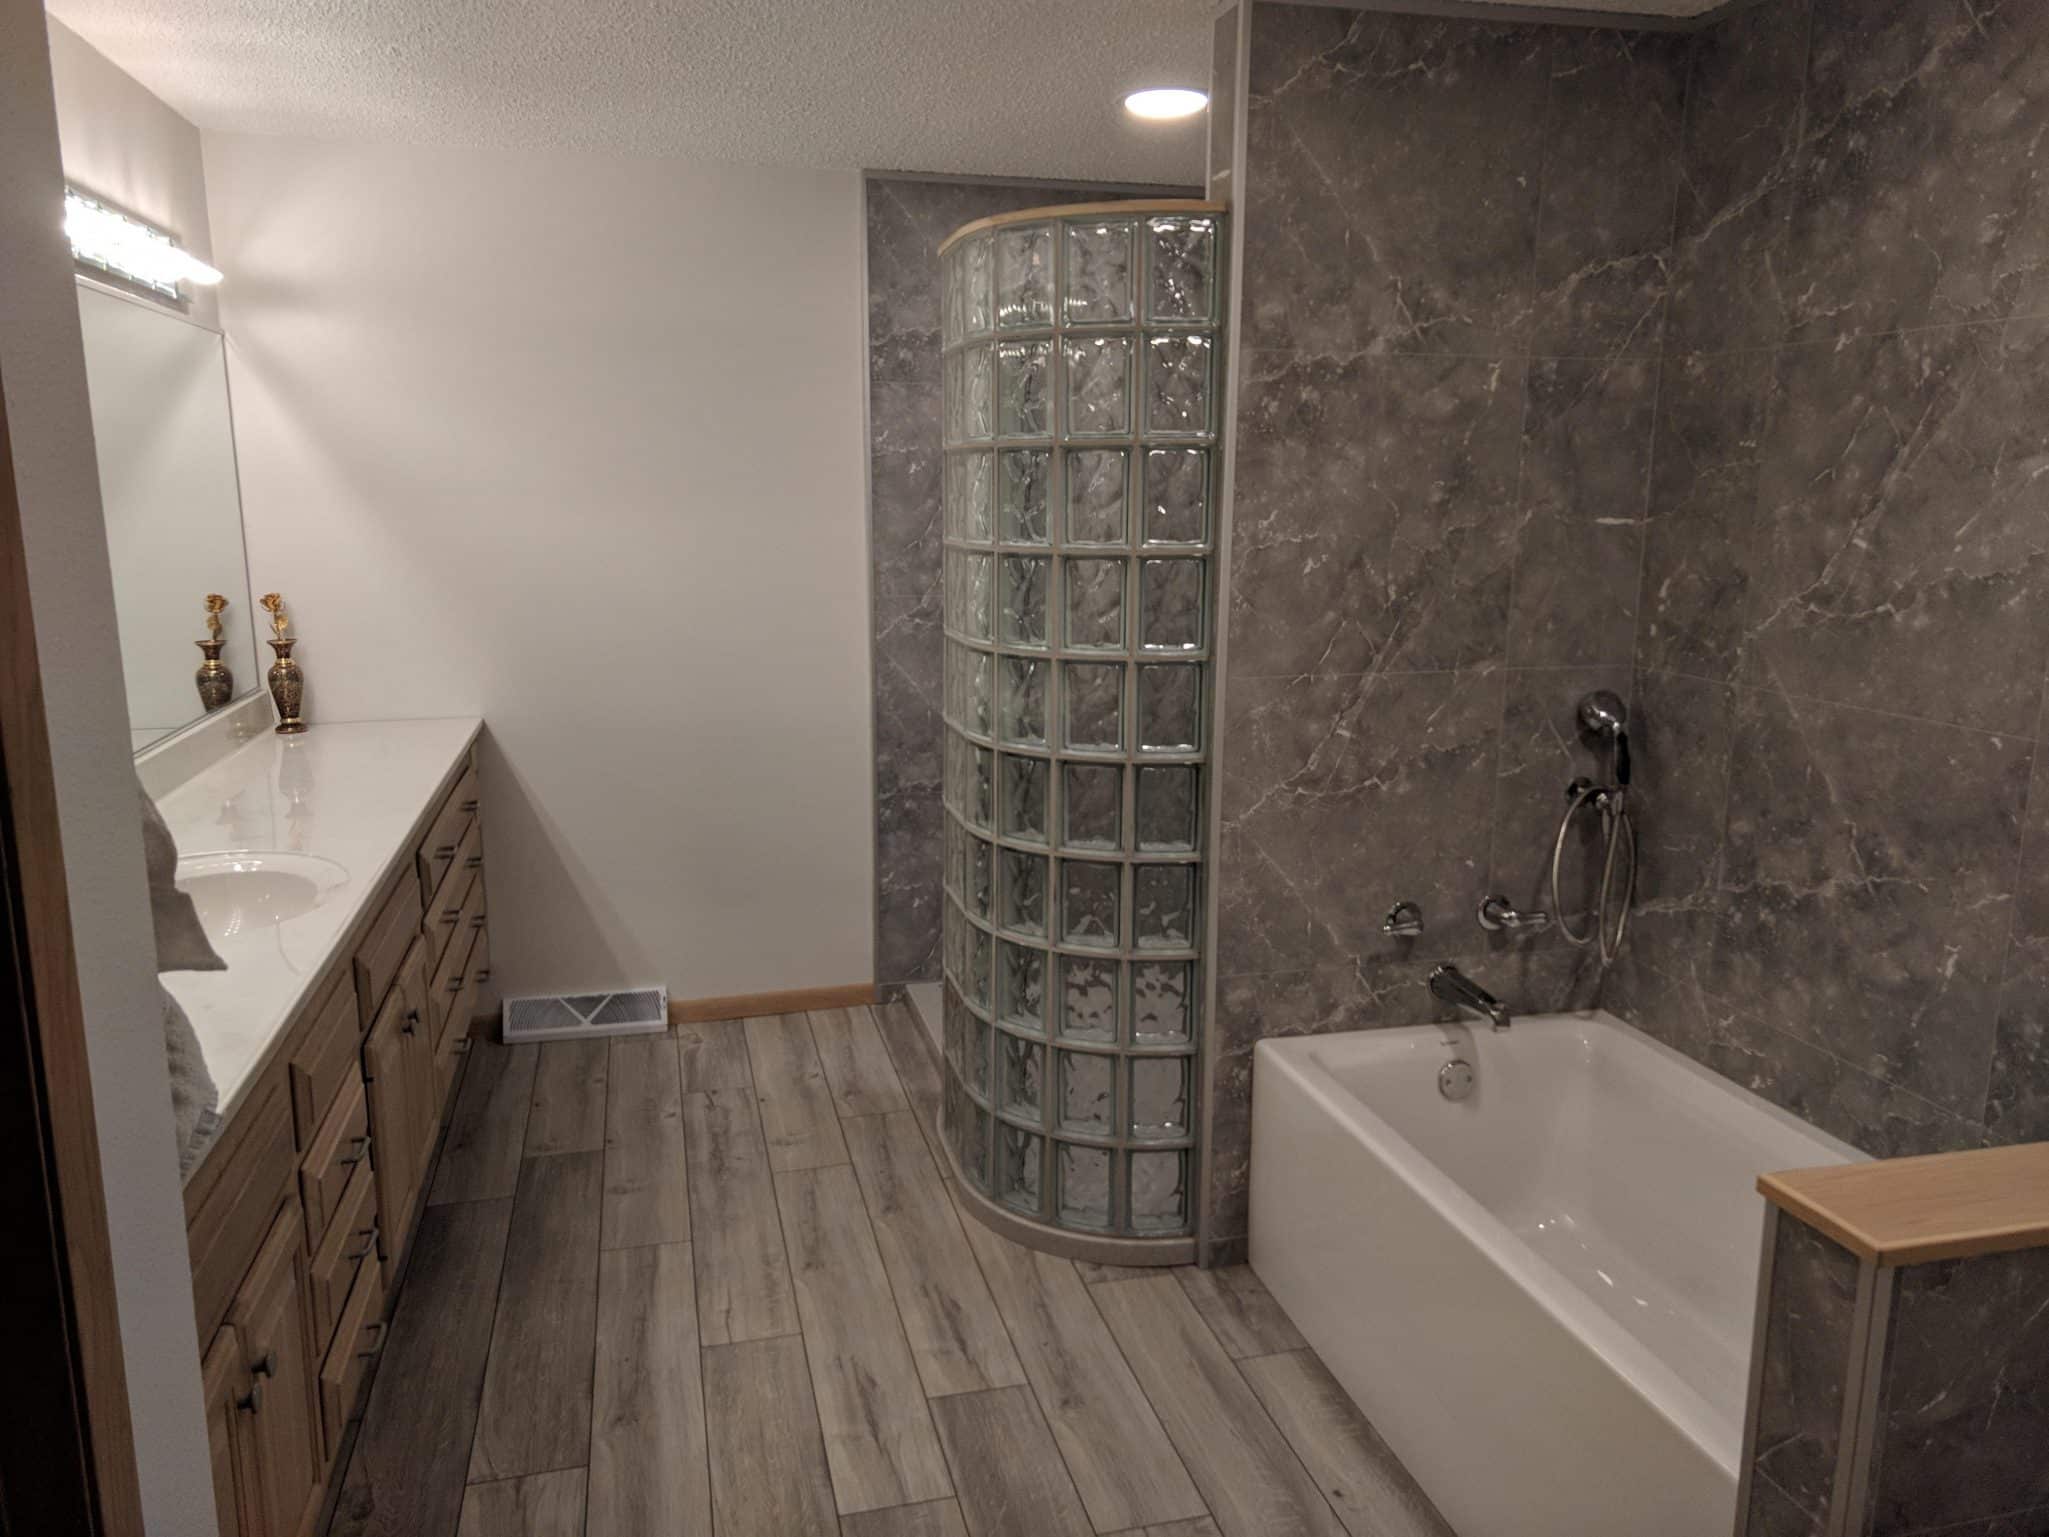
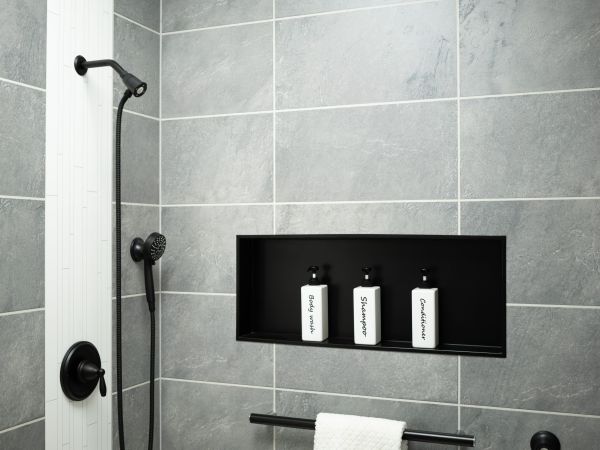
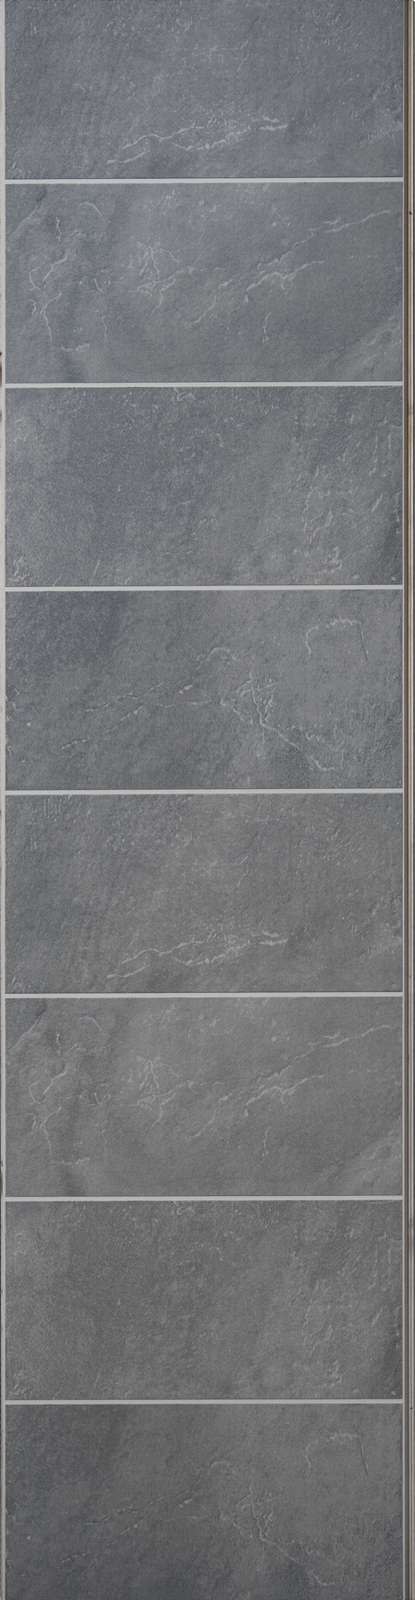
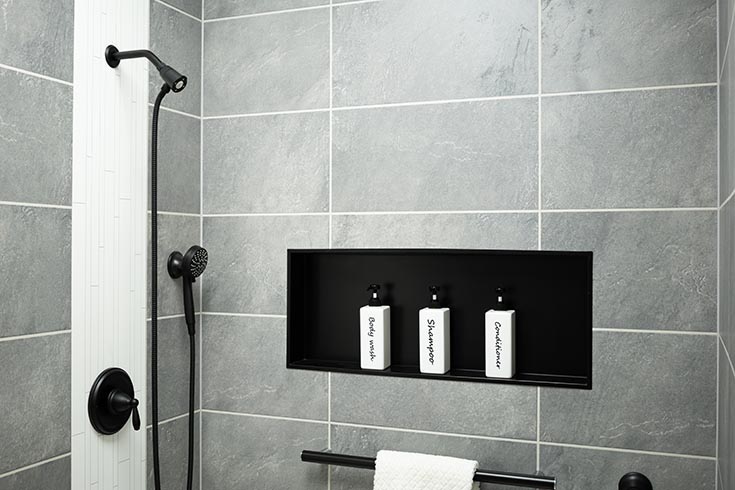
3D Textured Slate Collection
There is nothing quite as classic and elegant as a slate roof or bathroom wall tile, but what can be even more elegant is a slate wall – with NO maintenance hassles. Check out these selections. Get your 3D Textured Slate Collection samples, today!

| Name/Description | Model # |
|---|---|
| Black Slate 24 x 12 | Text-BS-2412 |
| Greige Slate 24 x 12 | Text-GS-2412 |
| Sandstone Slate 24 x 12 | Text-SS-2412 |
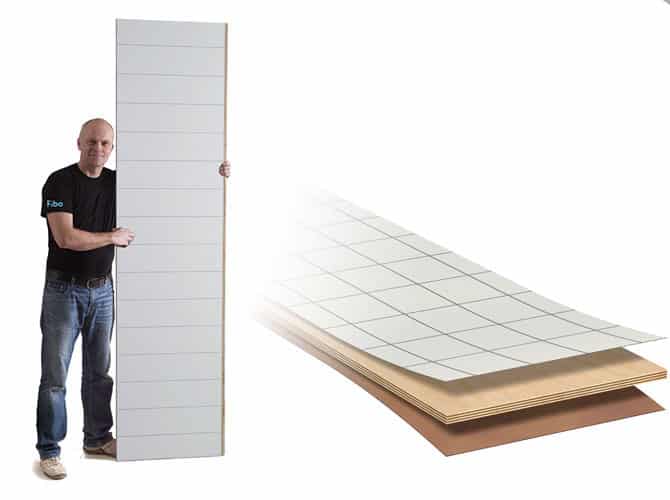
Product Line
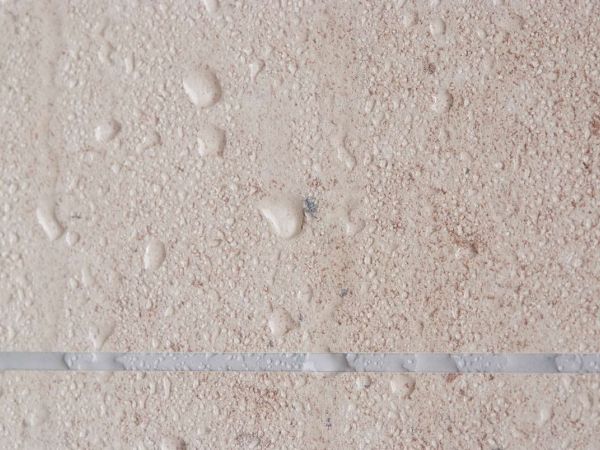
- It has a durable high pressure laminate top surface. For the ‘decorative tile’ walls the ‘faux grout joint’ is milled out for a 1/16” or 1/8” spacing. They have the look of tile without the maintenance hassle.
- The high-pressure laminate surface is applied on a 7-layer marine grade birch plywood backing for a durable 3/8” total thickness.
- On the back of the laminated panels is a vapor barrier backing.
- The wall panels are approximately 2’ x 8’ in size (actual size is 23.6” x 94.4”)
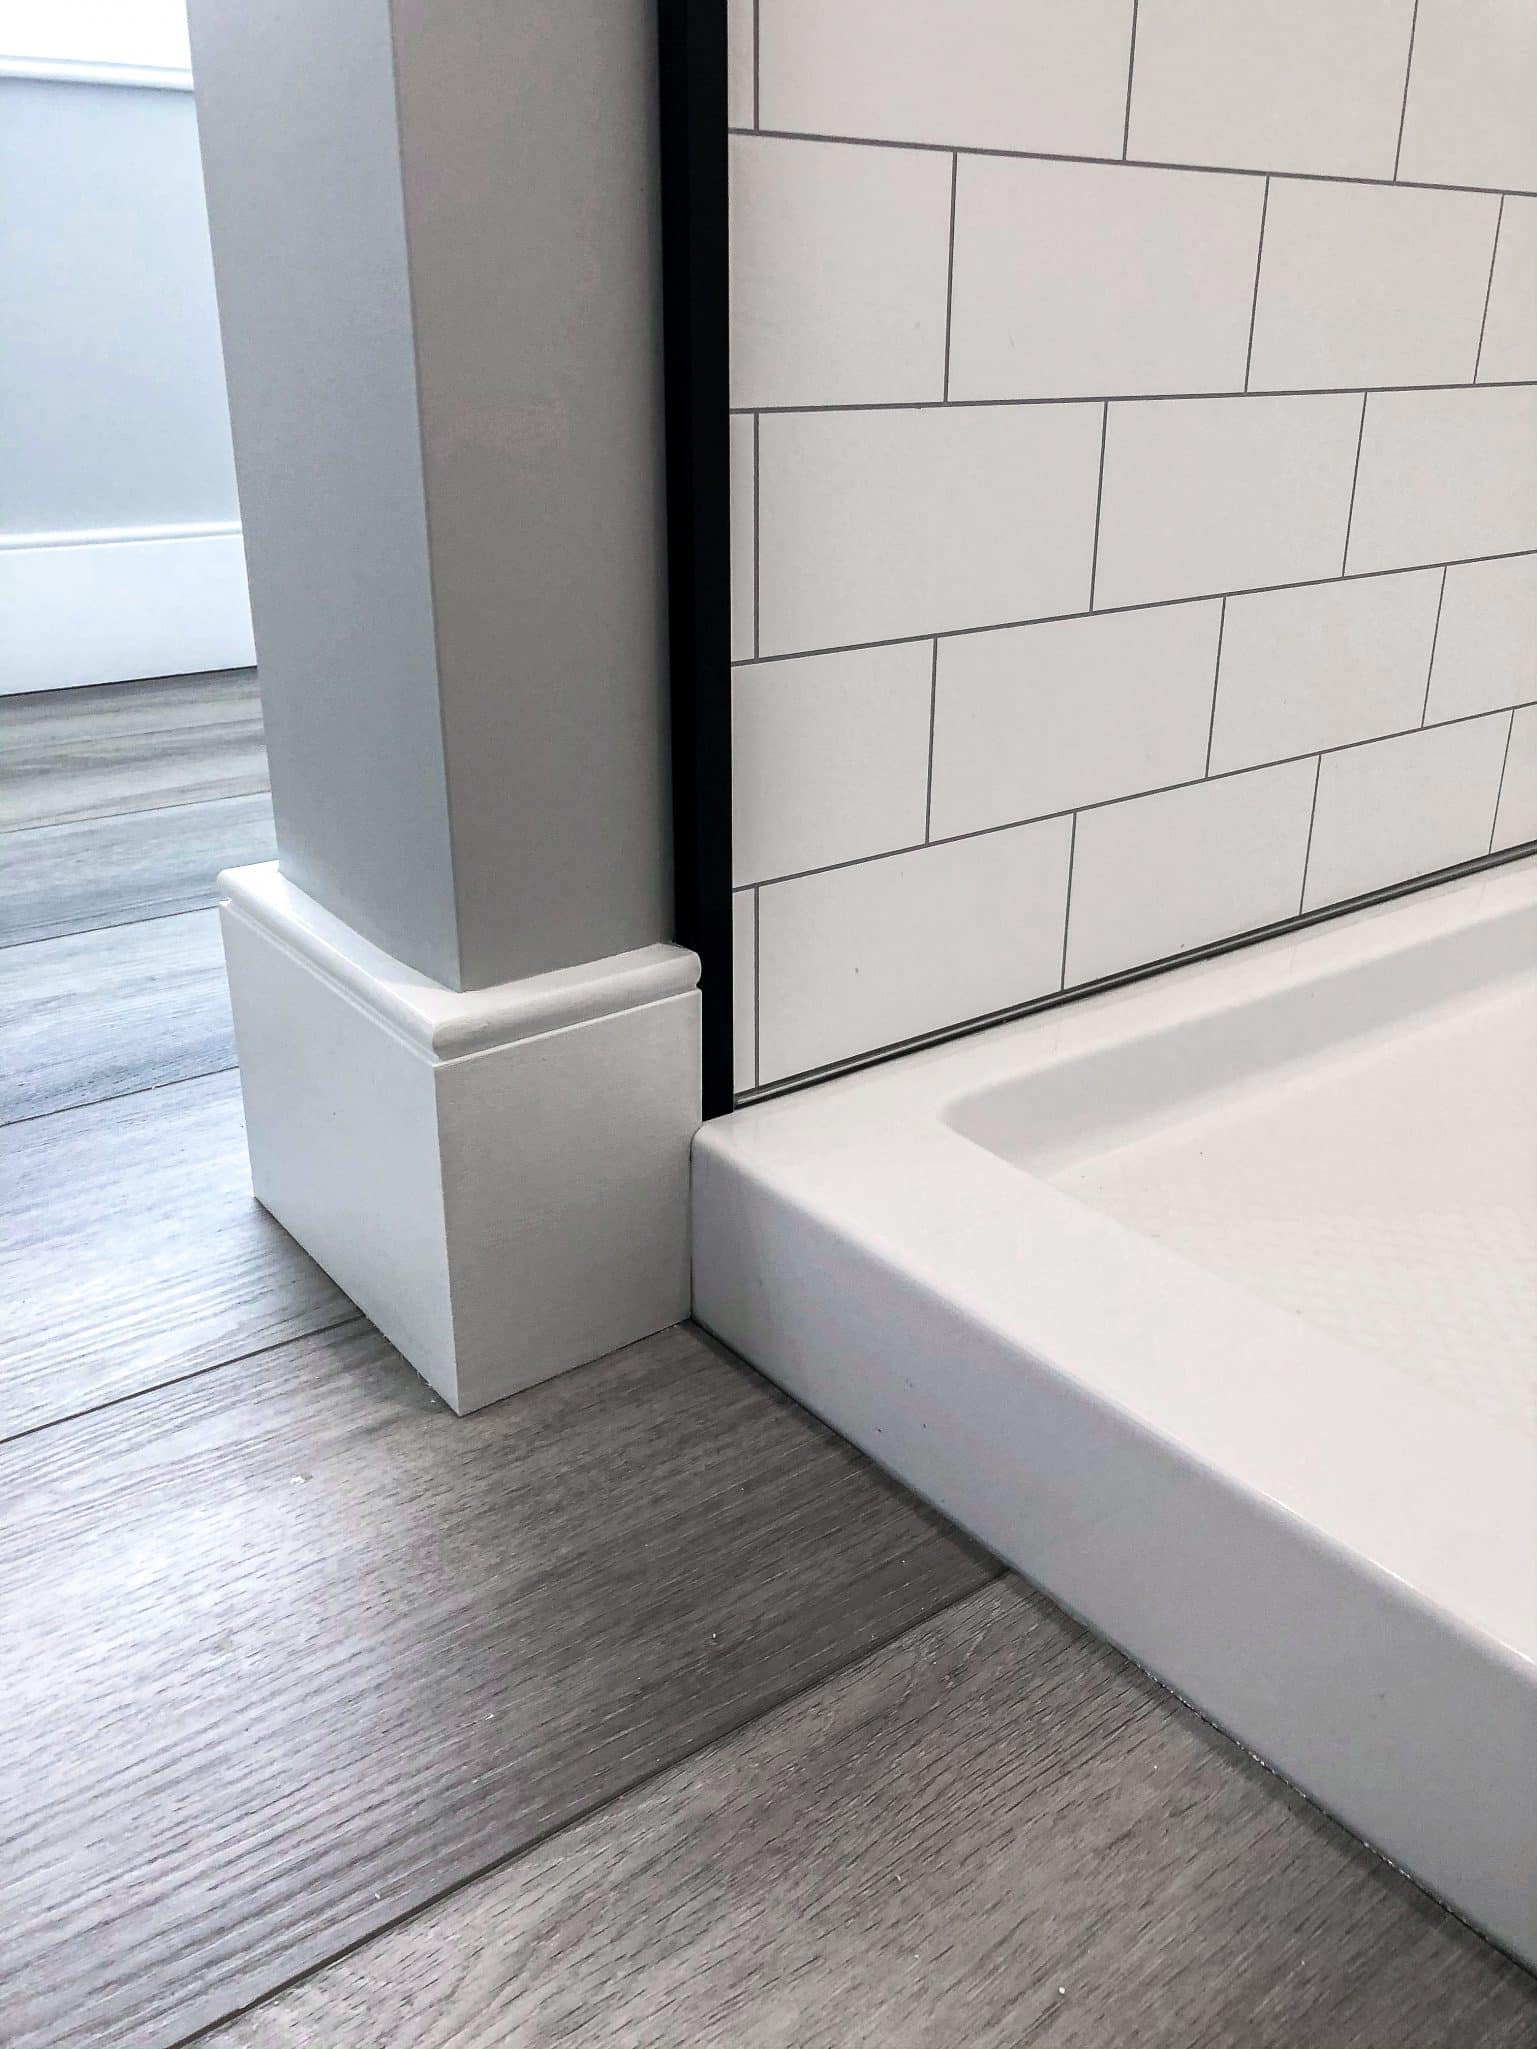
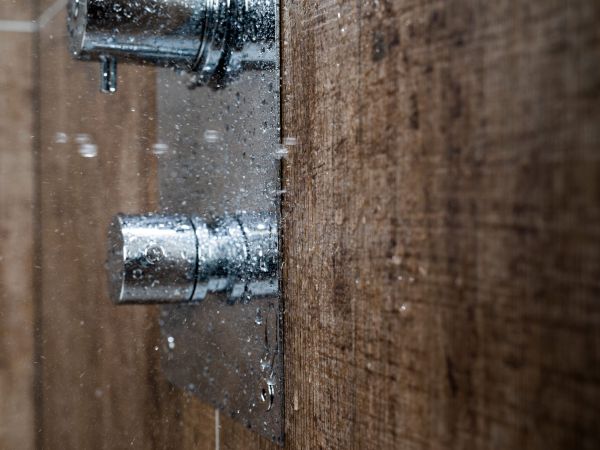
- The bathtub and shower panels are 100% waterproof and joined with a patented Aqualock click system and sealant. There is no need for waterproof membranes behind the panels with the nearly-invisible seams between panels.


Popular Uses


Sizes & Options – Standard 23.6” wide x 94.4” tall panels
Whether you’ve got a standard sized tub, shower or bathroom or an odd sized alcove or custom shower we can assist you with wall panel kits in a wide range of patterns. For most showers, tubs, and bathrooms the following standard kits are all you need to transform your ugly fiberglass, acrylic, or tile walls into a maintenance free area you’ll love.
NOTE: Depending on the size of the shower and the chosen pattern option, an additional panel may be necessary to achieve a symmetrical aesthetic.
Two-Wall Small Corner Shower & Tub Kit (3 Panel Kit)
This kit is popular in small corner, right angle or NEO angle showers in mid-sized bathrooms. Popular sizes include: 32 x 32, 34 x 34, 36 x 36
Kit includes:
- 3 wall panels approximately 24” x 96” (actual size is 23.6” x 94.4”)
- 1 internal hidden corner profile
- 1 pre-drilled aluminum base profile (94.4” long)
- 1 tube wall panel sealant
- 1 standard installation kit
Two-Wall Mid-Sized Corner Shower & Tub Kit (4 Panel Kit)
This kit is popular in small corner, right angle or NEO angle showers in mid-sized bathrooms. Popular sizes include: 38 x 38, 40 x 40, 42 x 42, 48 x 36, 48 x 48
Kit includes:
- 4 wall panels approximately 24” x 96” (actual size is 23.6” x 94.4”)
- 1 internal hidden corner profile
- 1 pre-drilled aluminum base profile (94.4” long)
- 1 tube wall panel sealant
- 1 standard installation kit
Two-Wall Large Corner Shower & Tub Kit (5 Panel Kit)
This kit is used most around soaking tubs or showers located in the corner of a bathroom. These showers are also called corner, right angle or NEO angle showers or tubs. Popular sizes include: 54 x 54, 60 x 60
Kit includes:
- 5 wall panels approximately 24” x 96” (actual size is 23.6” x 94.4”)
- 1 internal hidden corner profile
- 2 pre-drilled aluminum base profile (94.4” long)
- 2 tubes wall panel sealant
- 1 standard installation kit
Three-Wall Small Alcove Shower & Tub Kit (5 Panel Kit)
This kit is used most to cover 3 walls around a small tub or shower space set off in an alcove. These showers are often called stand up showers because they are small in size. Popular sizes include: 32 x 32, 36 x 32, 36 x 42, 42 x 32, 42 x 36, 48 x 30, 48 x 32, 48 x 34, 48 x 36
Kit Includes:
- 5 wall panels approximately 24” x 96” (actual size is 23.6” x 94.4”)
- 2 internal hidden corner profile
- 2 pre-drilled aluminum base profile (94.4” long)
- 2 tubes wall panel sealant
- 1 standard installation kit
Three-Wall Mid-Sized Alcove Shower & Tub Kit (6 Panel Kit)
This kit is used most to cover 3 walls around a standard sized tub or shower space set into an alcove. Popular sizes include: 48 x 48, 54 x 30, 54 x 32, 54 x 36, 60 x 30, 60 x 32, 60 x 34, 60 x 36, 72 x 36
Kit Includes:
- 6 wall panels approximately 24” x 96” (actual size is 23.6” x 94.4”)
- 2 internal hidden corner profile
- 2 pre-drilled aluminum base profile (94.4” long)
- 2 tubes wall panel sealant
- 1 standard installation kit
Three-Wall Large Alcove Shower & Tub Kit (7 Panel Kit)
This kit is used most to cover 3 walls around a standard sized tub or shower space set into an alcove. Popular sizes include: 60 x 42, 60 x 48
Kit Includes:
- 7 wall panels approximately 24” x 96” (actual size is 23.6” x 94.4”)
- 2 internal hidden corner profile
- 2 pre-drilled aluminum base profile (94.4” long)
- 3 tubes wall panel sealant
- 1 standard installation kit
Three-Wall Extra Large Alcove Shower & Tub Kit (8 Panel Kit)
This kit is used most to cover 3 walls around a standard sized tub or shower space set into an alcove. Popular sizes include: 60 x 60, 72 x 60
Kit Includes:
- 8 wall panels approximately 24” x 96” (actual size is 23.6” x 94.4”)
- 2 internal hidden corner profile
- 3 pre-drilled aluminum base profile (94.4” long)
- 3 tubes wall panel sealant
- 1 standard installation kit
Four-Wall Bathroom Small Kit (9 Panel Kit)
This kit is used most for various sized walk in showers or small bathrooms
Kit Includes:
- 9 wall panels approximately 24” x 96” (actual size is 23.6” x 94.4”)
- 3 internal hidden corner profile
- 3 pre-drilled aluminum base profile (94.4” long)
- 4 tubes wall panel sealant
- 1 external corner profile
- 1 standard installation kit
Four-Wall Bathroom Medium Kit (10 Panel Kit)
This kit is used most for various sized walk in showers or small bathrooms
Kit Includes:
- 10 wall panels approximately 24” x 96” (actual size is 23.6” x 94.4”)
- 3 internal hidden corner profile
- 3 pre-drilled aluminum base profile (94.4” long)
- 4 tubes wall panel sealant
- 1 external corner profile
- 1 standard installation kit
Four-Wall Bathroom Large Kit (11 Panel Kit)
This kit is used most for various sized walk in showers or small bathrooms
Kit Includes:
- 11 wall panels approximately 24” x 96” (actual size is 23.6” x 94.4”)
- 3 internal hidden corner profile
- 3 pre-drilled aluminum base profile (94.4” long)
- 4 tubes wall panel sealant
- 1 external corner profile
- 1 standard installation kit
Four-Wall Bathroom Extra Large Kit (12 Panel Kit)
This kit is used most for various sized walk in showers or small bathrooms
Kit Includes:
- 12 wall panels approximately 24” x 96” (actual size is 23.6” x 94.4”)
- 3 internal hidden corner profile
- 3 pre-drilled aluminum base profile (94.4” long)
- 5 tubes wall panel sealant
- 1 external corner profile
- 1 standard installation kit
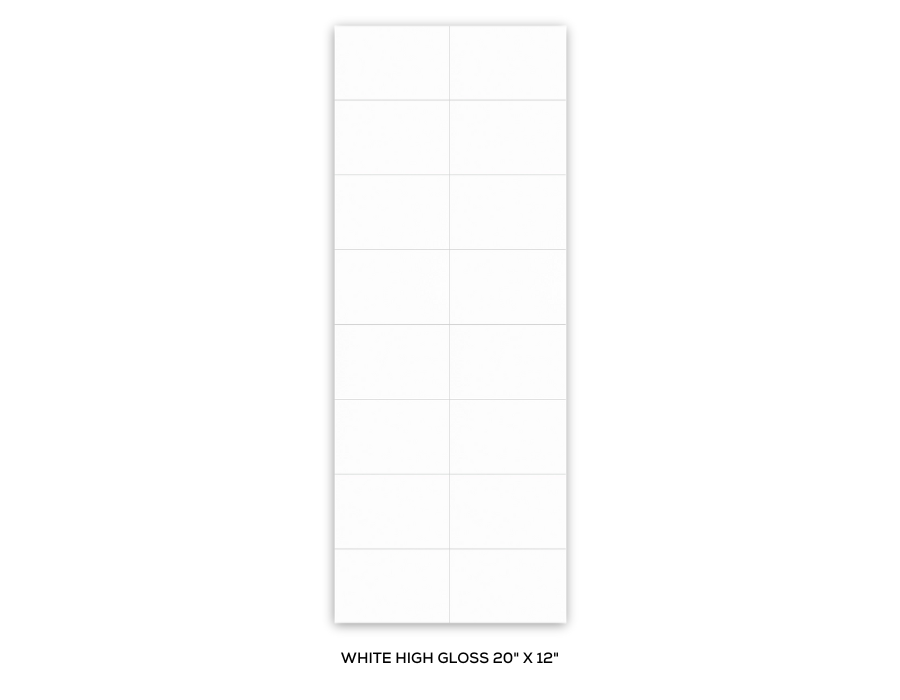
New Sizes & Options – Extra-wide QI (Quick Install) Series 40.1” wide x 94.4” tall panels
Is time of the essence for your bathroom remodeling project because you need the project done quickly, or labor costs in your area are high? If so, consider the Innovate QI (Quick Install) Series. Available in only two popular patterns (including ‘cracked cement’ and ‘white high gloss with a 20” wide x 12” high design) these sturdy – yet stylish – wall panels are also built for the quickest installation possible.
QI Two-Wall Small Corner Shower & Tub Kit (2 Panel Kit)
This kit is popular in small corner, right angle or NEO angle showers in mid-sized bathrooms. Popular sizes include: 32 x 32, 34 x 34, 36 x 36, 40 x 40
Kit includes:
- 2 wall panels approximately 40.1” x 96” (actual size is 40.1” x 94.4”)
- 1 internal hidden corner profile
- 1 pre-drilled aluminum base profile (94.4” long)
- 1 tube wall panel sealant
- 2 tubes of adhesive
- 1 standard installation kit
QI Three-Wall Small Alcove Shower & Tub Kit (3 Panel Kit)
This kit is used most to cover 3 walls around a small tub or shower space set off in an alcove. These showers are often called stand up showers because they are small in size. Popular sizes include: 32 x 32, 36 x 32, 36 x 36, 36 x 40, 40 x 30, 40 x 32, 40 x 36, 40 x 40
Kit Includes:
- 3 wall panels approximately 40.1” x 96” (actual size is 40.1” x 94.4”)
- 2 internal hidden corner profile
- 2 pre-drilled aluminum base profile (94.4” long)
- 1 tubes wall panel sealant
- 3 tubes of adhesive
- 1 standard installation kit
QI Three-Wall Large-Sized Alcove Shower & Tub Kit (4 Panel Kit)
This kit is used most to cover 3 walls around a standard-sized alcove tub, shower space set into an alcove, or a large shower surround. Popular sizes include: 60 x 30, 60 x 32, 60 x 34, 60 x 36, 72 x 32, 72 x 36, 72 x 40, 80 x 36, 80 x 40
Kit Includes:
- 4 wall panels approximately 40.1” x 96” (actual size is 40.1” x 94.4”)
- 2 internal hidden corner profile
- 2 pre-drilled aluminum base profile (94.4” long)
- 2 tubes wall panel sealant
- 4 tubes of adhesive
- 1 standard installation kit
QI Three-Wall Extra Large Alcove Shower & Tub Kit (5 Panel Kit)
This kit is used most to cover 3 walls around a standard sized tub or shower space set into an alcove. Popular sizes include: 72 x 42, 72 x 48, 72 x 56, 72 x 60, 80 x 42, 80 x 48, 80 x 56, 80 x 60
Kit Includes:
- 5 wall panels approximately 40.1” x 96” (actual size is 40.1” x 94.4”)
- 2 internal hidden corner profile
- 3 pre-drilled aluminum base profile (94.4” long)
- 2 tubes wall panel sealant
- 5 tubes of adhesive
- 1 standard installation kit
QI Four-Wall Bathroom Medium Kit (6 Panel Kit)
This kit is used most for various sized walk in showers or small bathrooms
Kit Includes:
- 6 wall panels approximately 40.1” x 96” (actual size is 40.1” x 94.4”)
- 3 internal hidden corner profile
- 3 pre-drilled aluminum base profile (94.4” long)
- 2 tubes wall panel sealant
- 1 external corner profile
- 6 tubes of adhesive
- 1 standard installation kit
Frequently Asked Questions about Laminated DIY Shower and Tub Kits
Pattern choices are driven by the design style you like. There are options for traditional or transitional bathrooms, for a minimalist look, shabby chic, modern farmhouse and even high gloss acrylic.
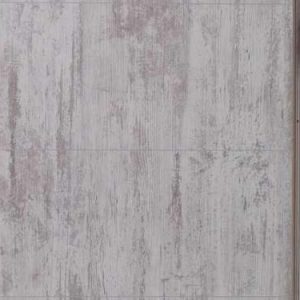 Shabby Chic
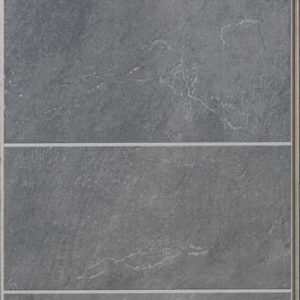 Textured Slate
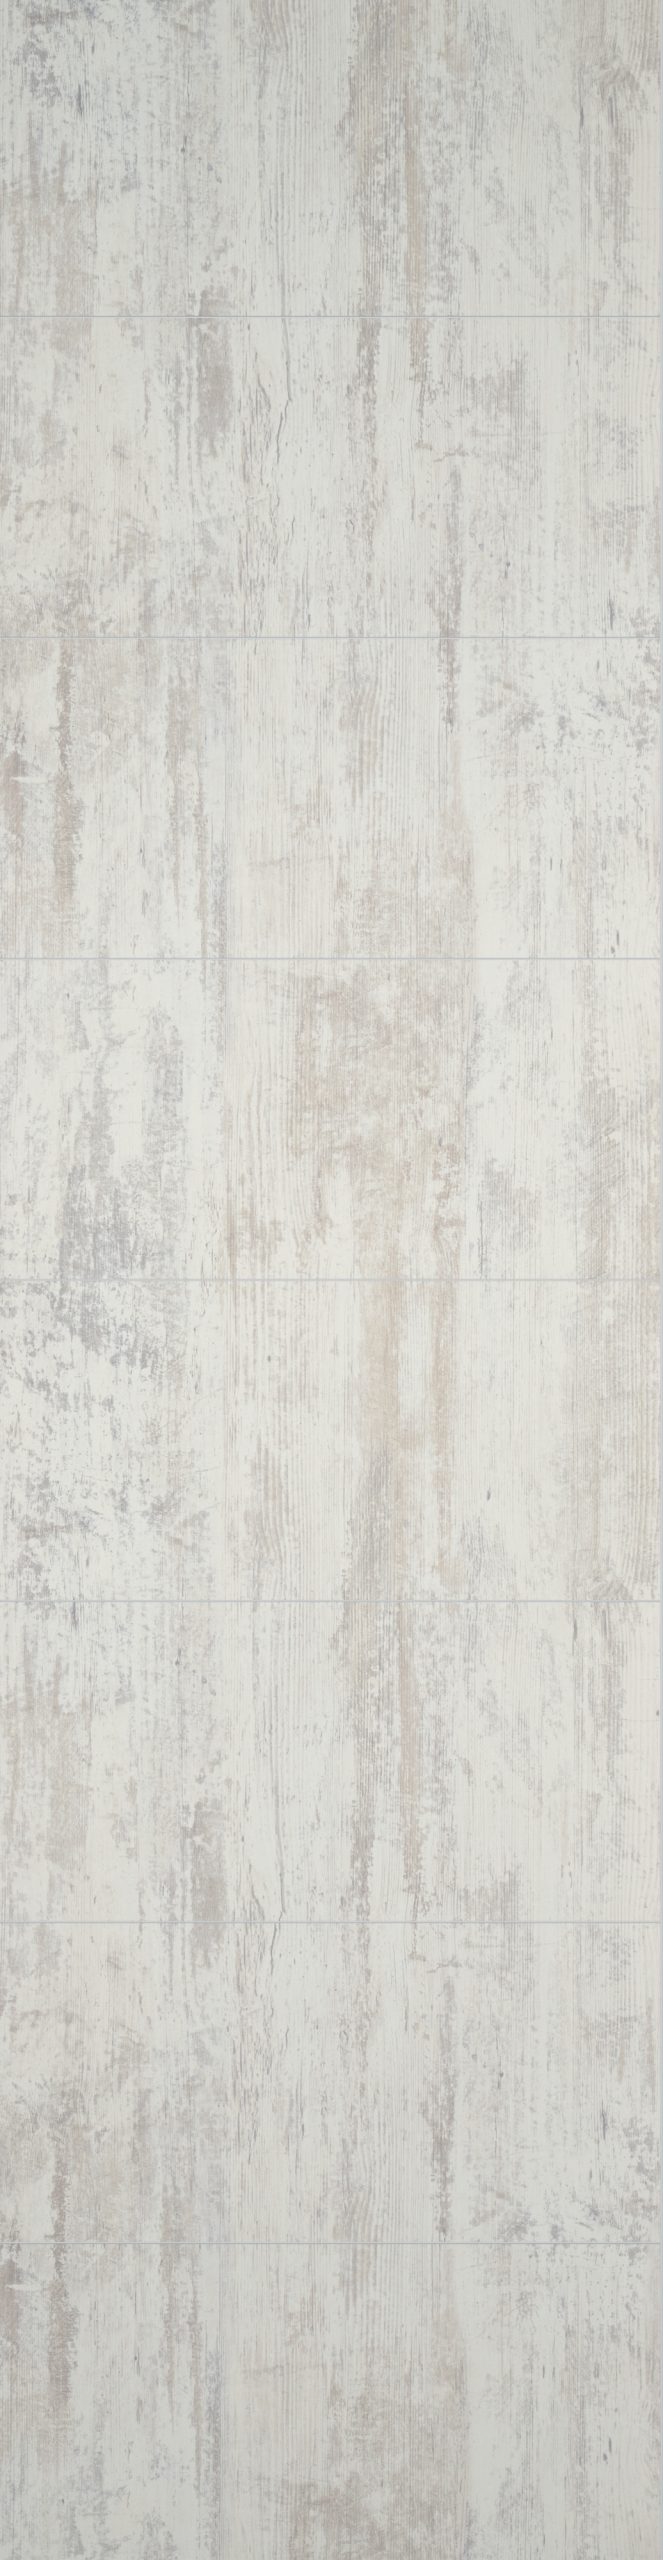
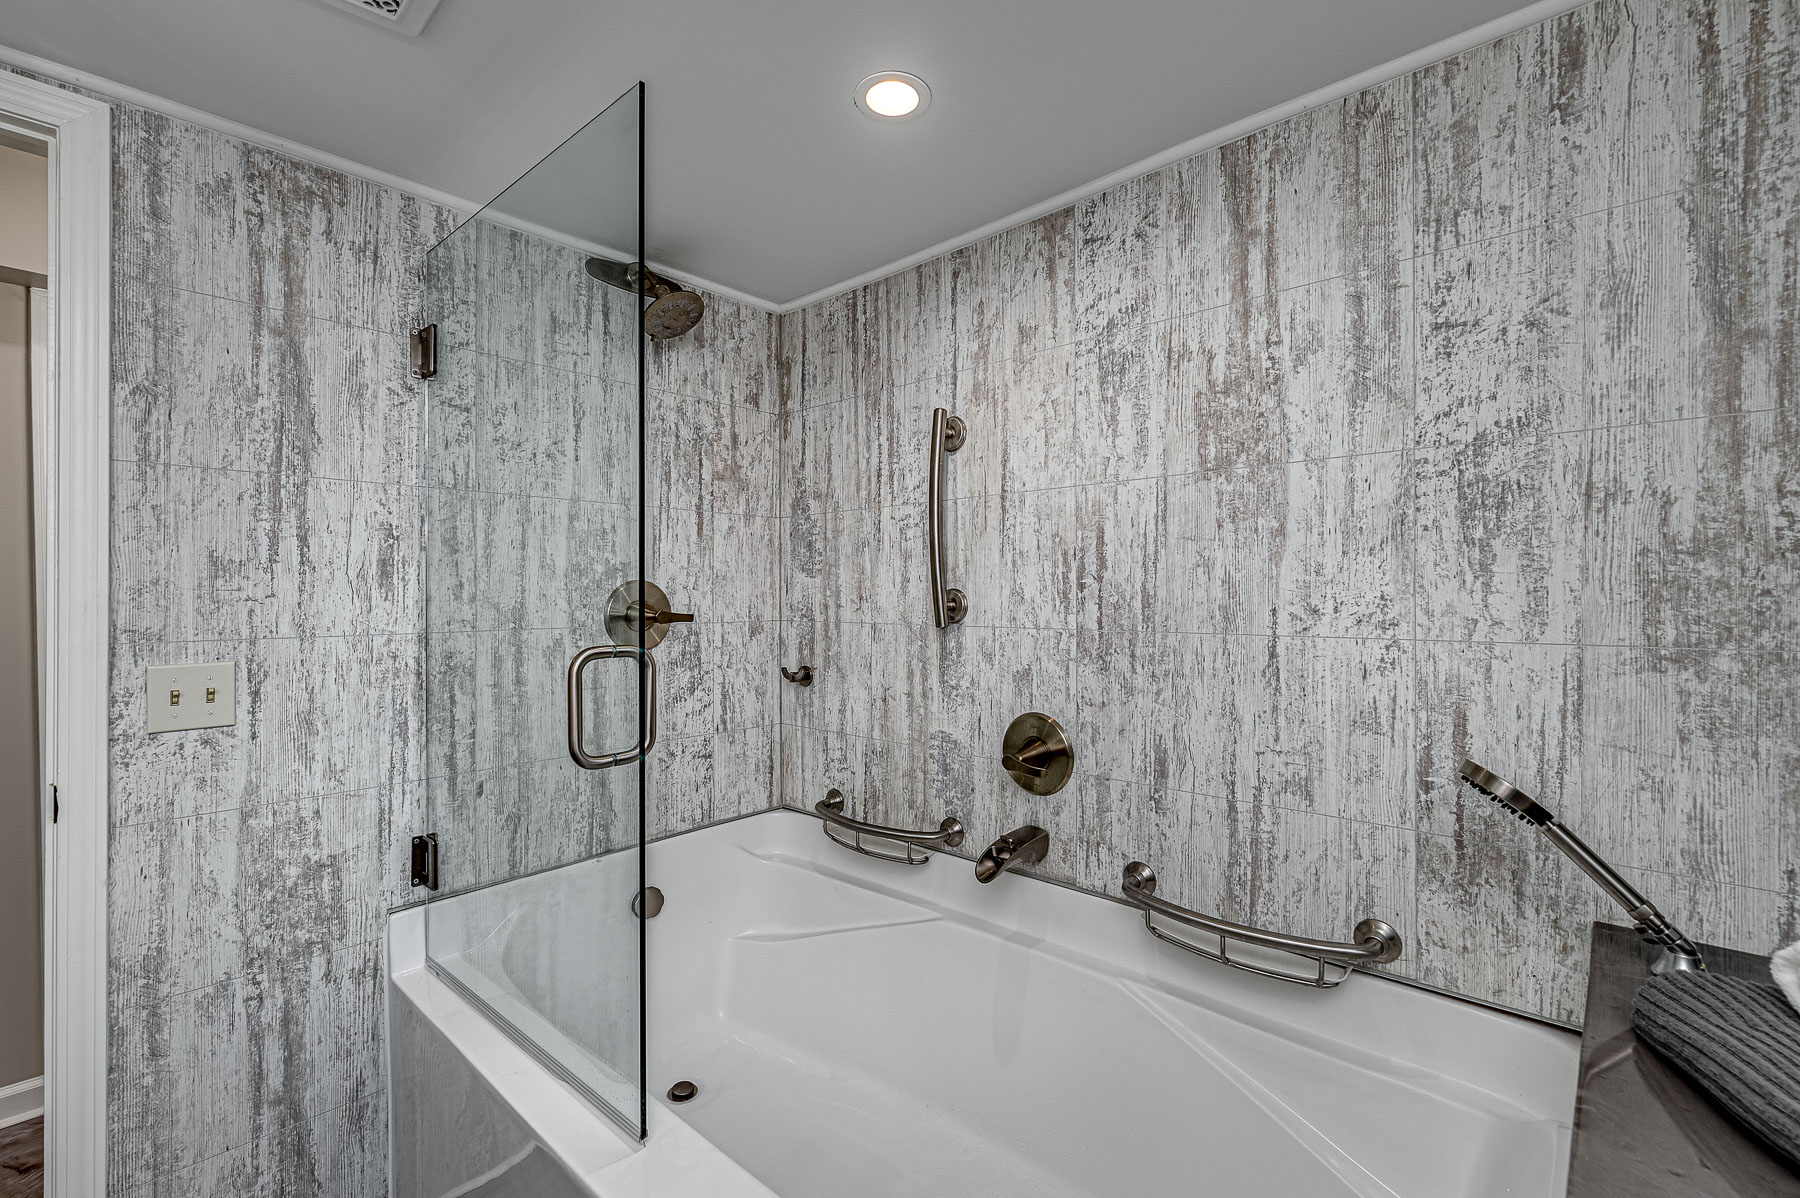
 White Tile
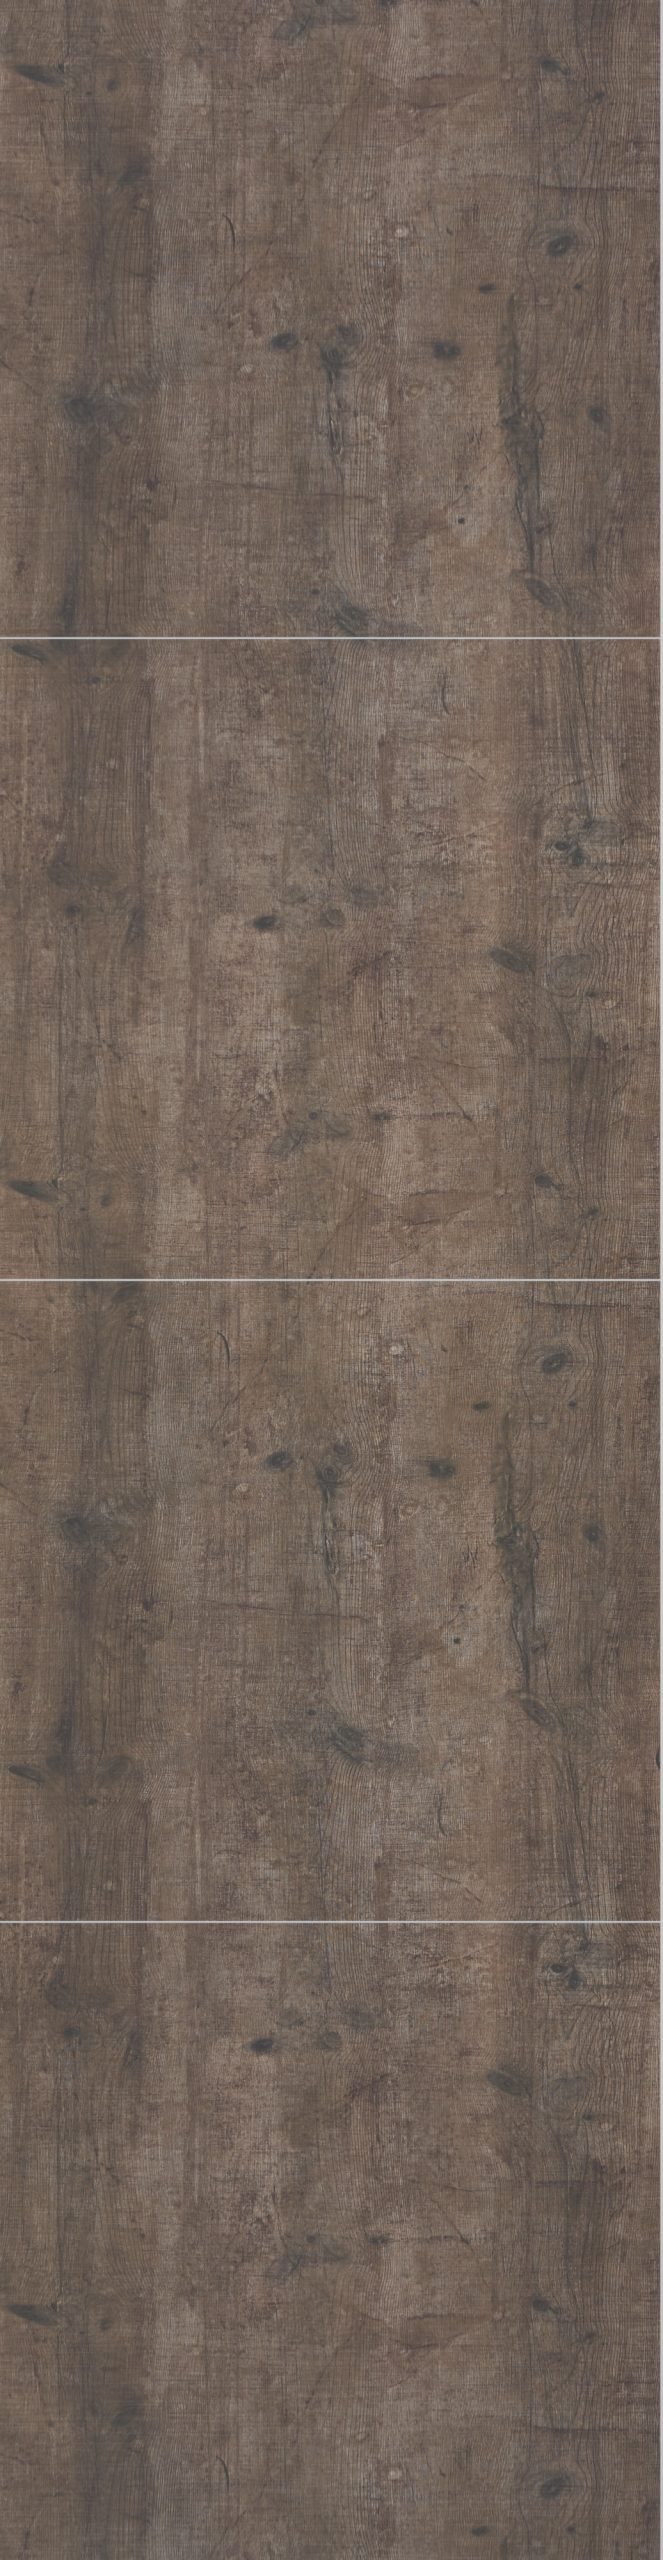
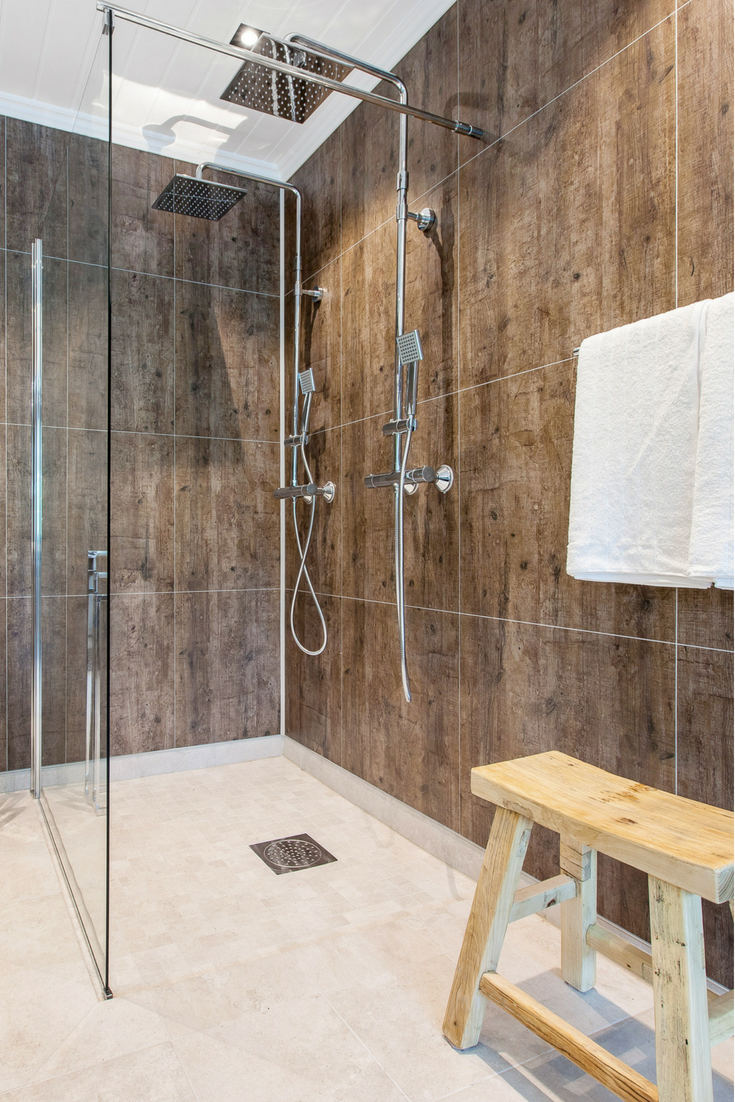
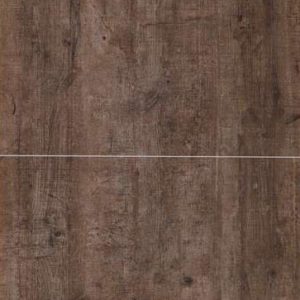 Rustic Wood
Yes – these laminate wall panels (which were developed 40 years ago) are 100% waterproof and can be used in ‘wet areas’ (like showers, tubs, bathroom walls and kitchen backsplashes). They have a high-pressure laminate top surface applied on a 7-layer marine grade, 3/8” thick plywood backing with a vapor barrier backing. They are joined together with a 100% waterproof Aqualock click system with nearly invisible seams between the panels. Bathroom wall panels eliminate maintenance – yet look exactly like tile (that’s why they’re called the ‘no tile, tile wall). They’re more durable and life-like than acrylic or fiberglass walls (which have a tendency to crack or yellow).
Yes. Many wall panel lines only offer matte OR gloss finish – but not in this laminate line. For the calming feel of matte finish, you’ll want to check out the ‘Oasis Collection.’ You’ll find many gloss patterns in the ‘Transitionalist’ and ‘High Gloss’ collections.
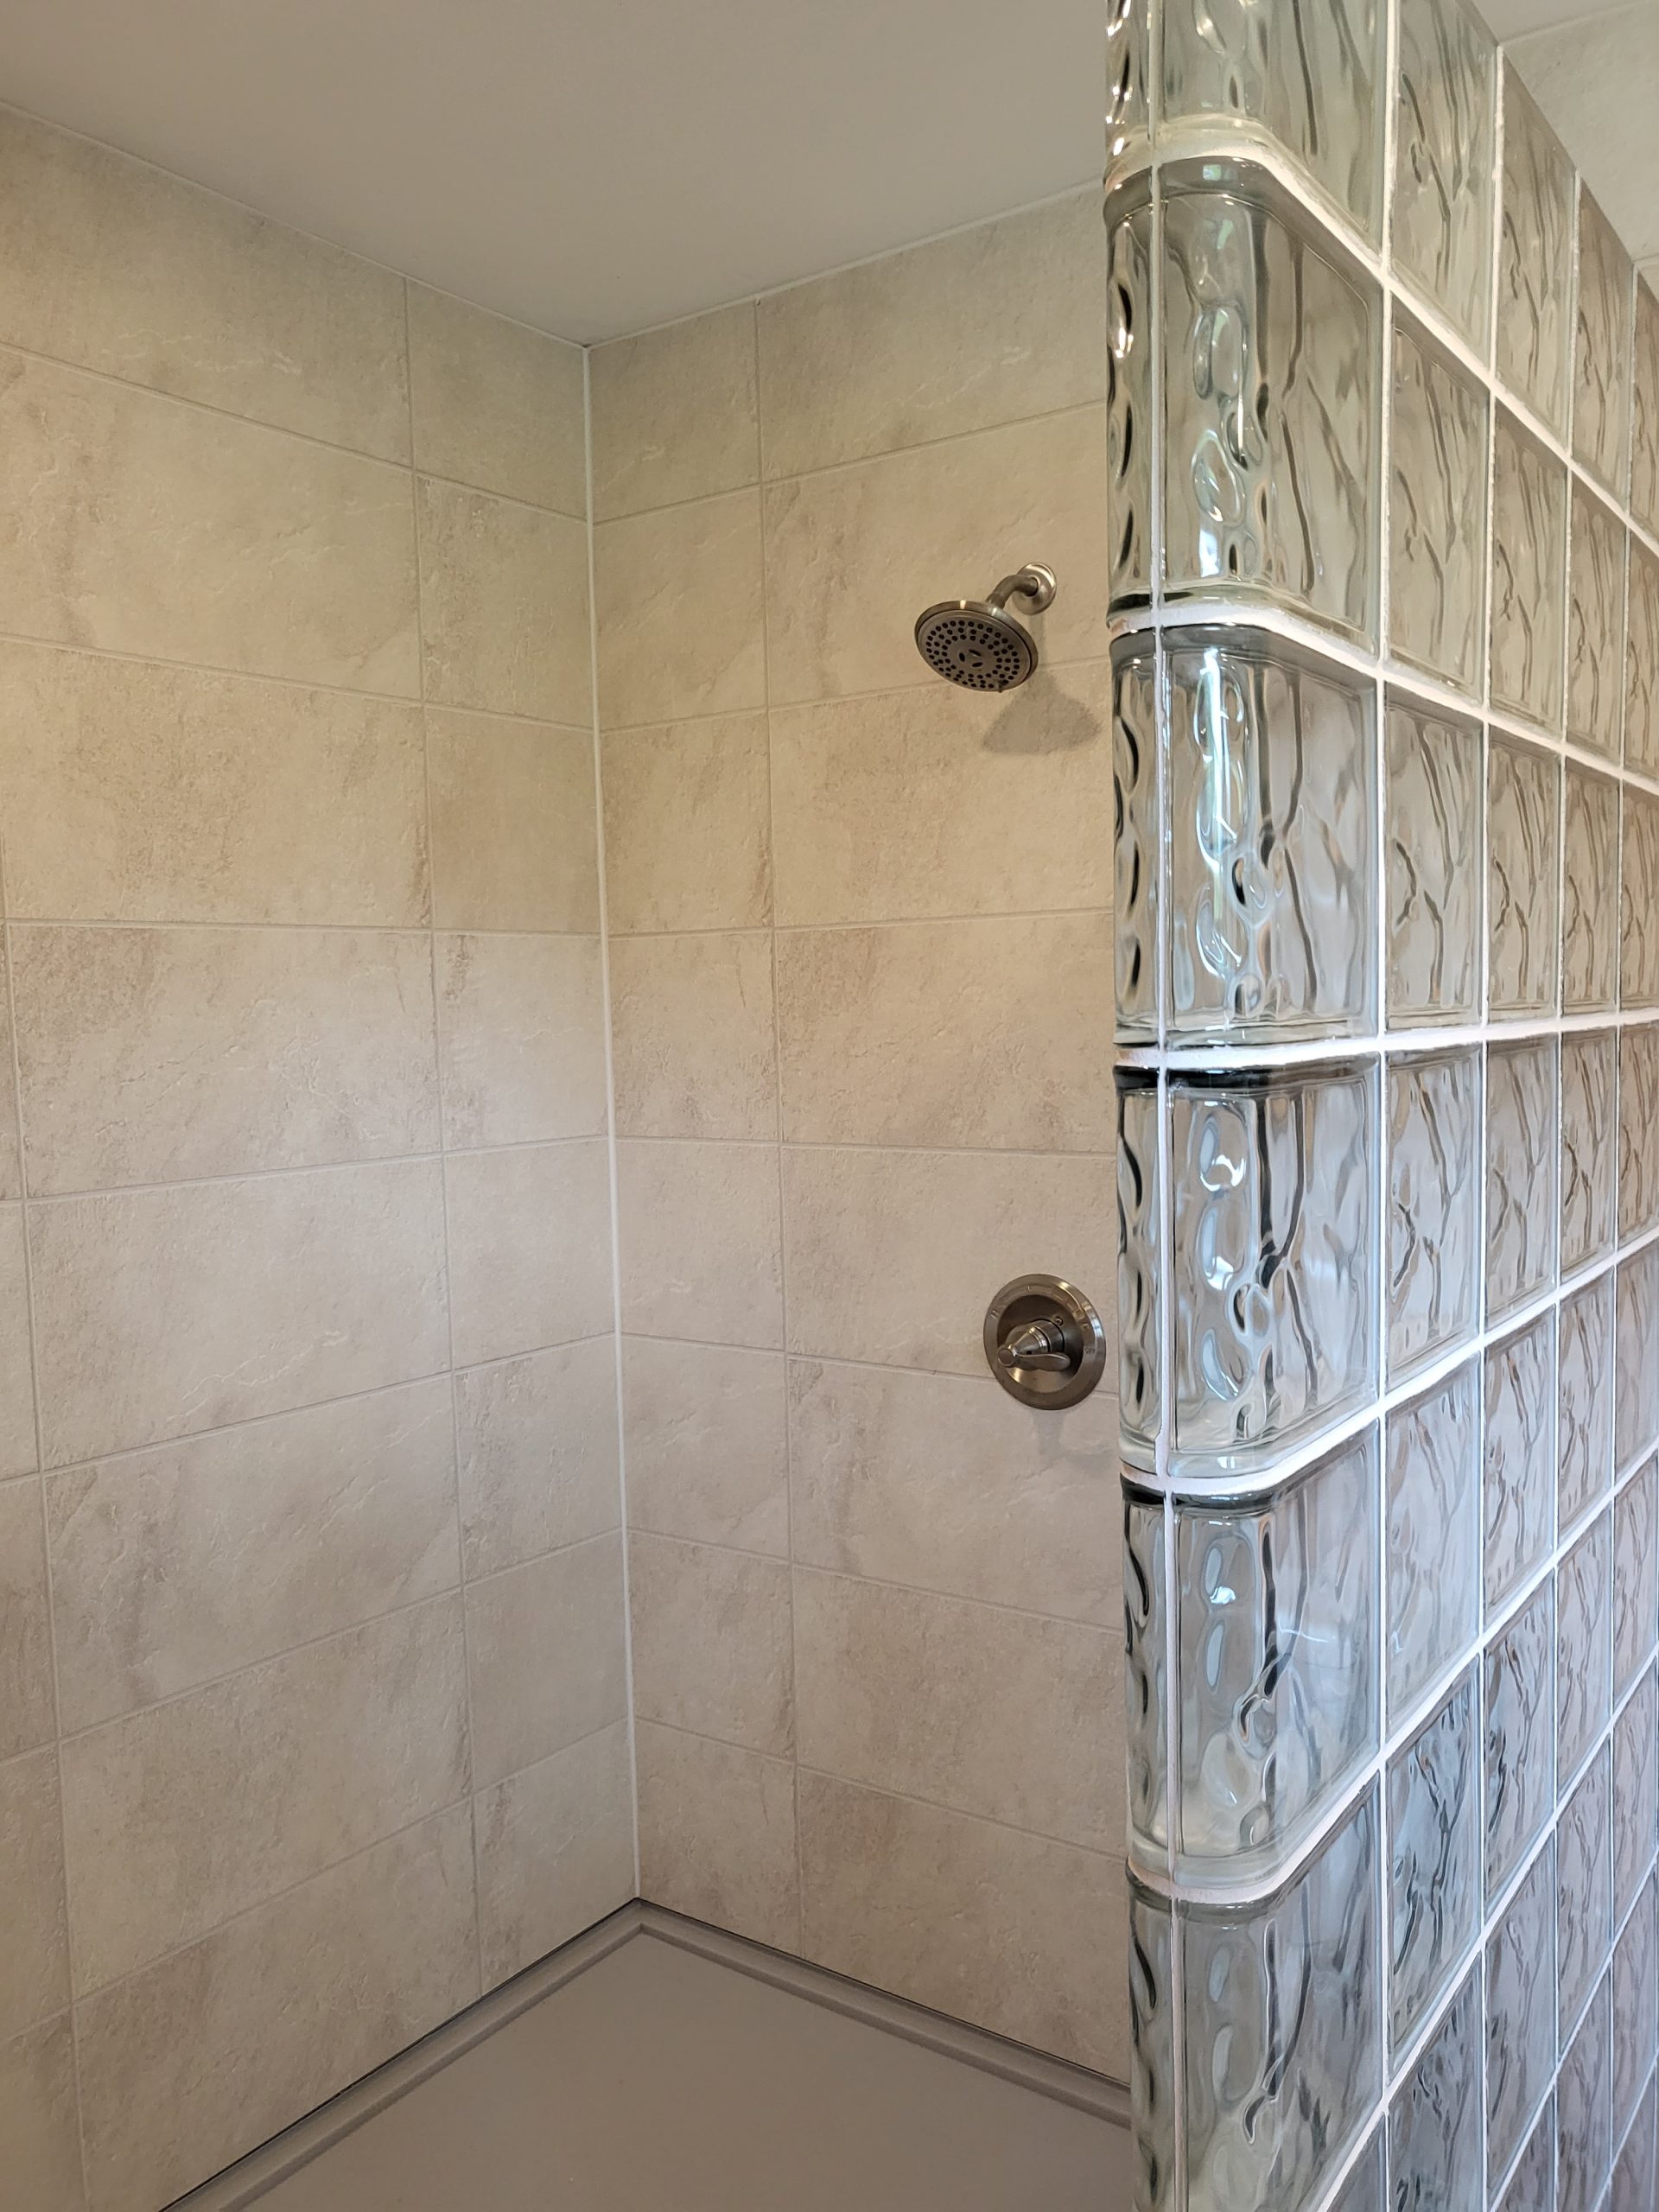
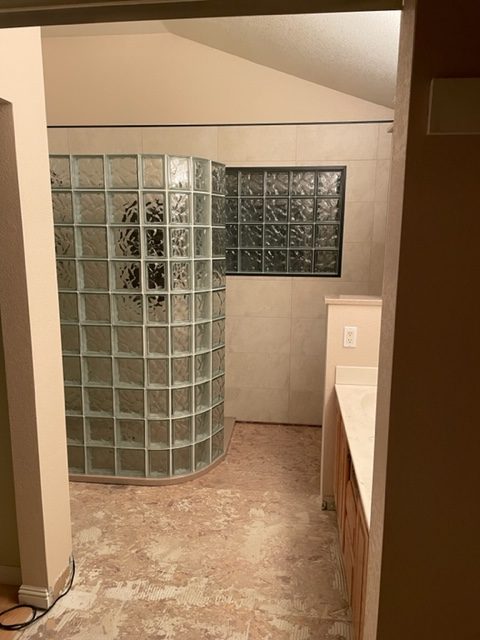
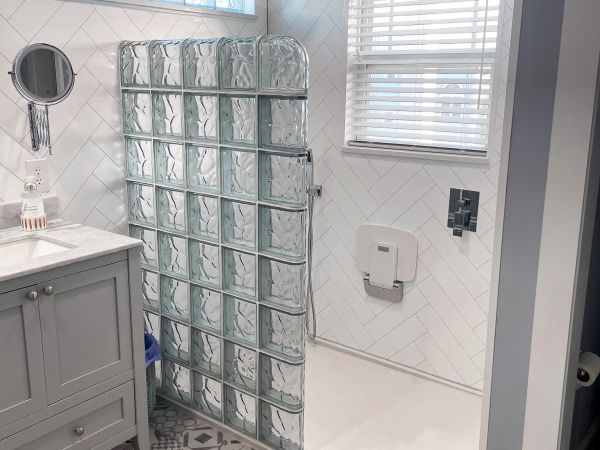
Innovate Building Solutions is much more than a nationwide shower and tub wall supplier. We offer many bathroom remodeling products (including shower bases and glass block shower wall systems and contemporary shower accessories) at wholesale direct prices. In addition, our company is a professional installer and contractor in our local markets, so we know how these panels are installed and can guide you through the process. The materials you purchase from us are also the materials we install daily in our regional markets (we have qualified people to help with your questions!). If you don’t want to DIY the project, as about our network of professional installing shower wall panel dealers.
This material has a lifetime warranty covering water resistance, maintaining consistent product color and stain resistance. It does not cover accidental damage or misuse through improper cleaning (i.e. don’t use abrasive chemicals to clean these wall panels).
If the wallboard products covered are found to be defective by Innovate Building Solutions (or one of our authorized representatives) we will repair, or at our option replace, the product with a similar panel or trim piece. Our option to repair or replace does not cover any labor or costs associated with the removal or installation. We will not be responsible for any other incidental or consequential damages attributed to a product defect or to the repair or exchange of a defective product.
Use clean soft cloth with warm water or non-abrasive cleaners like Fantastic, Windex, Green Works, 409, Tilex Spray, Pine Sol and Lime Away spray. Do not use abrasive or gritty cleaners (like Comet, Scotch Brite Pads, Magic Eraser etc.).
These panels are 600 mm x 2400 mm (which is 23.6” x 94.4”) and are 3/8” thick.
No – it is not recommended to use these panels in a sauna or steam room.
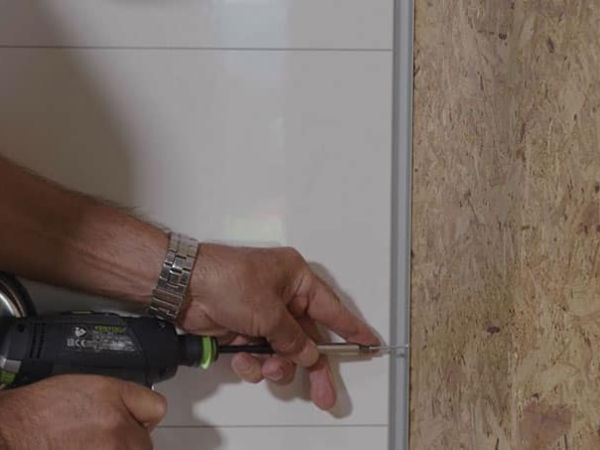
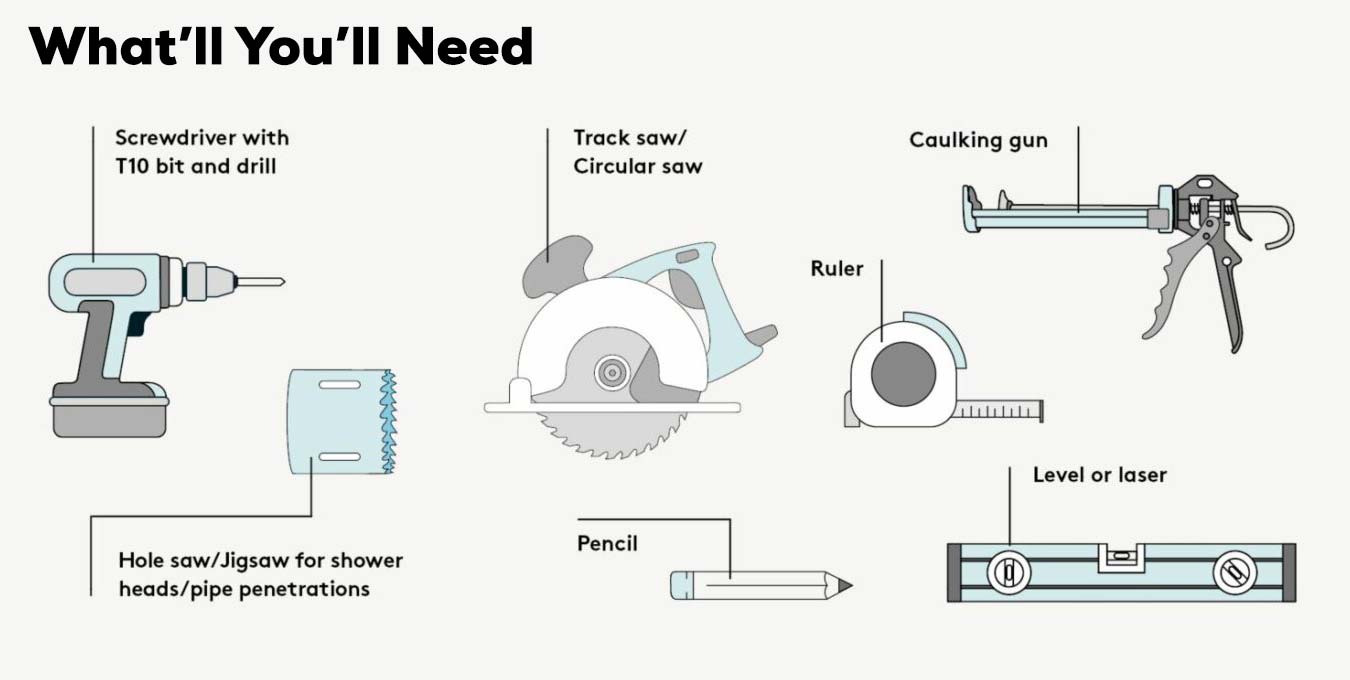
Since these panels literally ‘click and seal’ together (like a snap-together flooring system) they are straightforward for someone with no prior experience to install. They can be cut with standard woodworking equipment with a fine-tooth blade. There are no specialized blades you need to buy. They can be installed by one person. Also – since our company (Innovate Building Solutions) uses them on our own jobs we can guide you through any installation questions you may have.
For most of your walls the answer is no. The panels can be installed directly to horizontal furring strips attached to your studs. Where you will want a ½” thick construction plywood backing (or OSB – Oriented Strand Board) is behind the walls with your plumbing fixtures, or where there is a wall mounted sink or wall mounted toilet.
The panels should be stored flat for 3 days at room temperature prior to installation. They need to be ‘acclimated’ like laminate flooring.
Yes – these panels can be installed over drywall or stud partitions. Make sure the screws are long enough to properly grip the studs behind the drywall.
Since it is not recommended to have more than one moisture barrier in a shower – it is recommended in a shower to remove the old tile before installing our panels. In a kitchen backsplash – it is possible to go over the old tile.
No. Old fiberglass or acrylic walls will need to be removed and brought back to the studs before installing these 3/8” thick panels.
Only use the sealant provided with the installation kit between the Aqualock ‘click-together’ wall panels or between the wall panels and the profile trim pieces. They are color matched based on the panel joints and have been tested with this system.
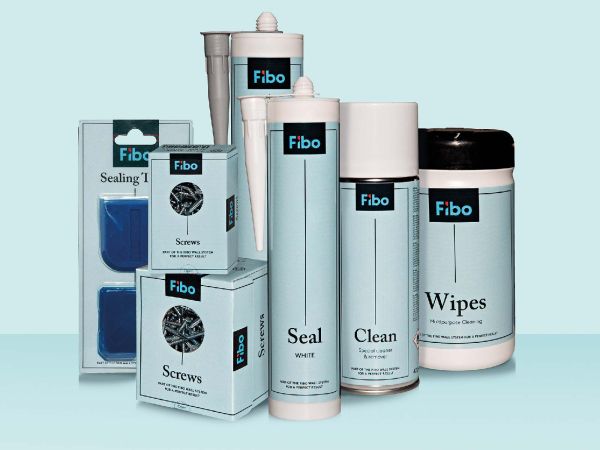
Yes – the standard installation kit comes with any wall panel system. It includes 2 large L profiles or 2 small L profiles, 1 tube sealant, 1 box wall panel wipes, 1 can of cleaning solution and 1 package with sealant finishing tools.