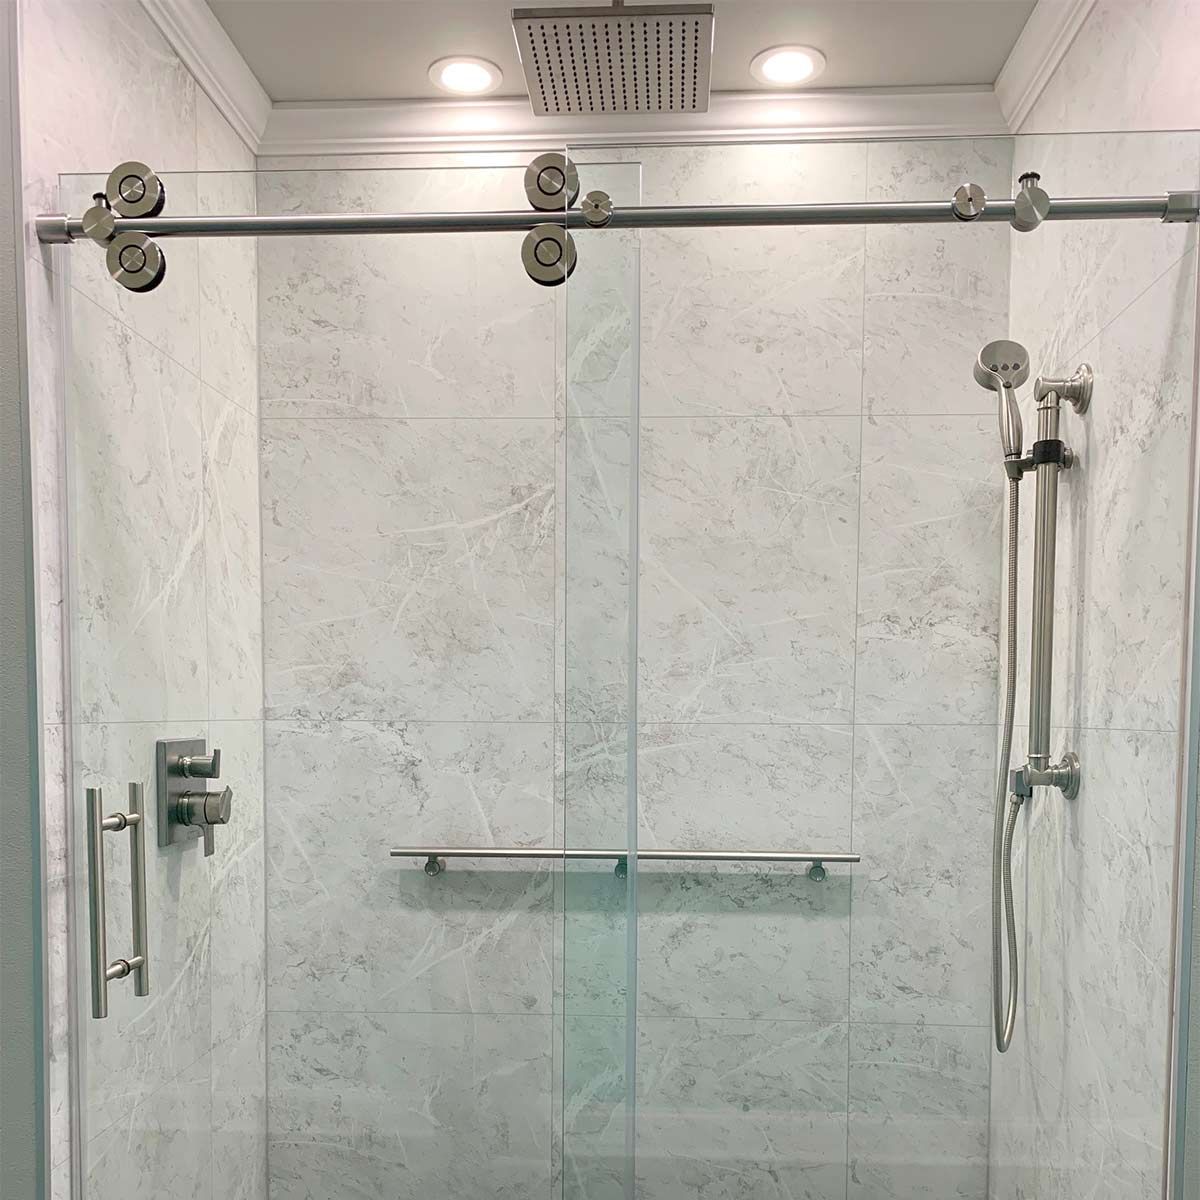
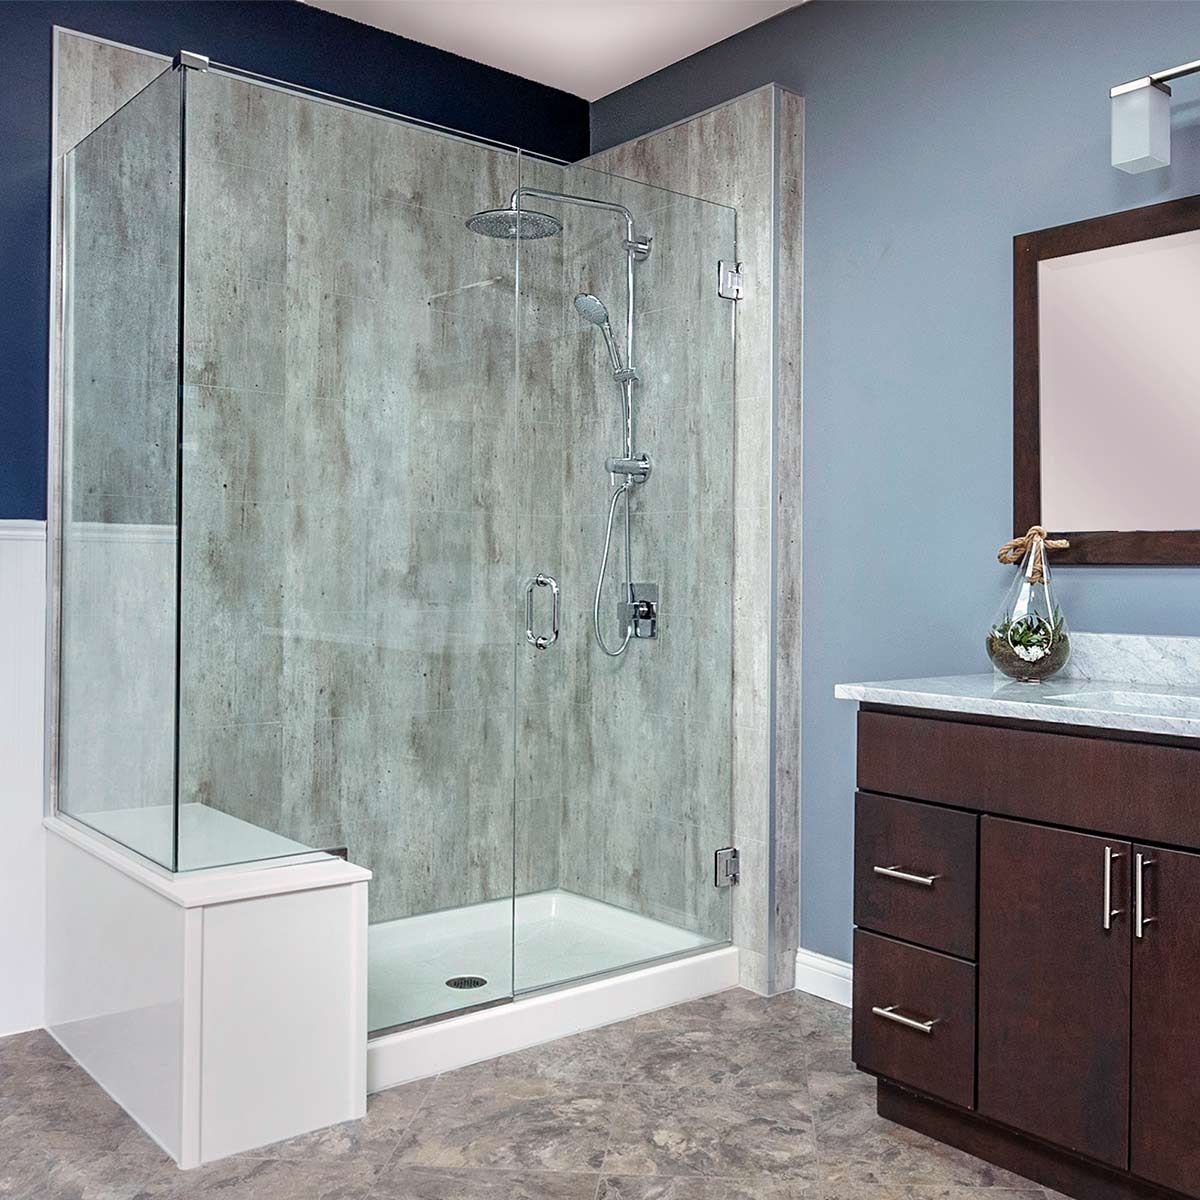
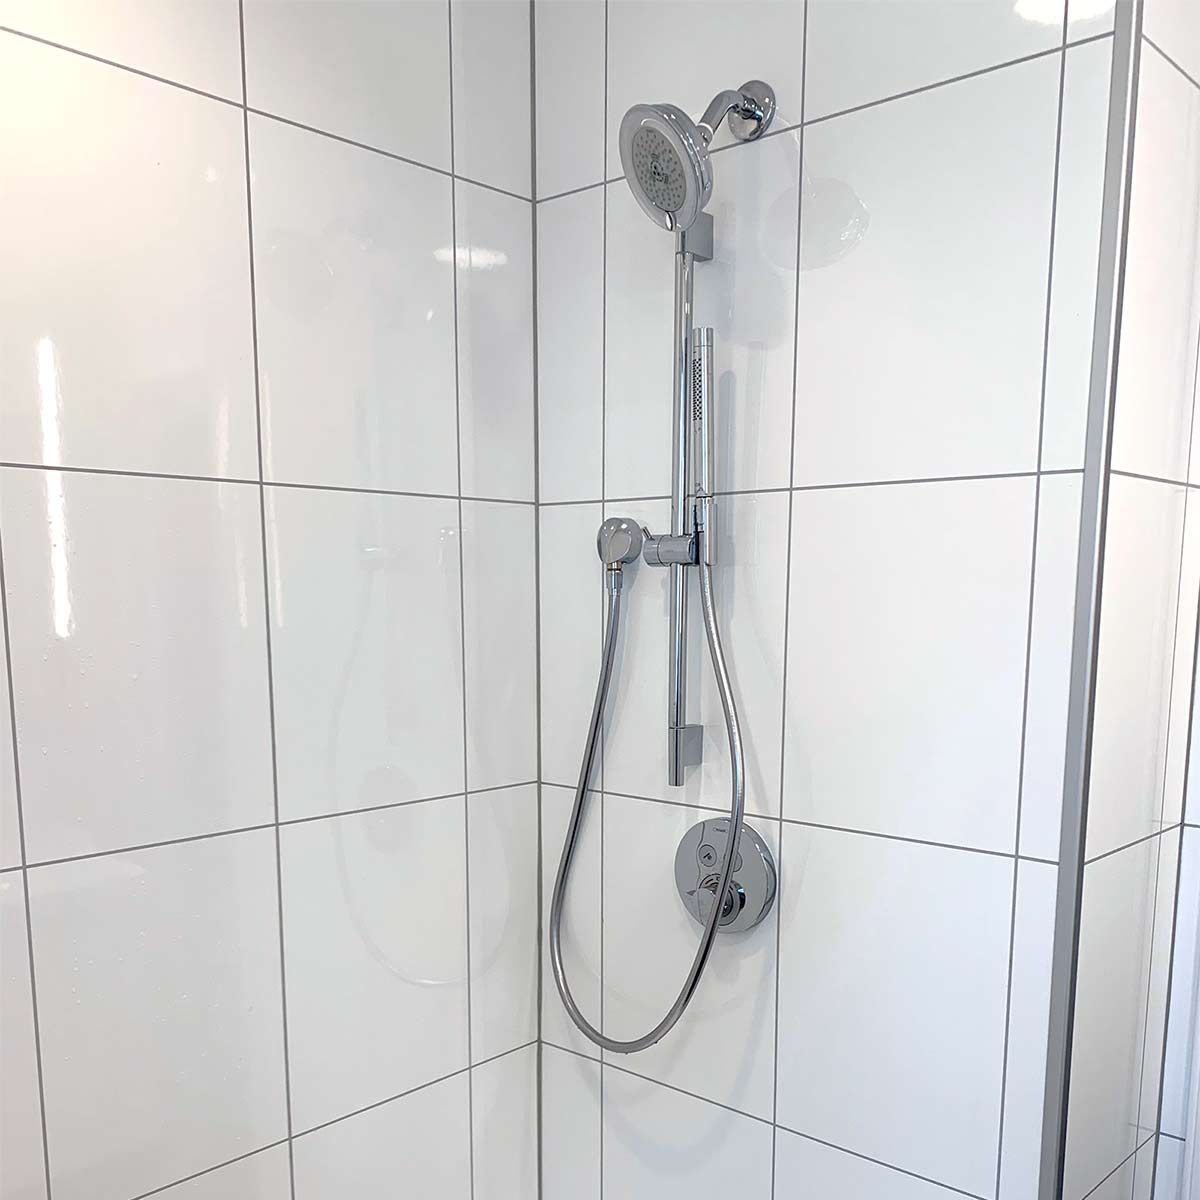
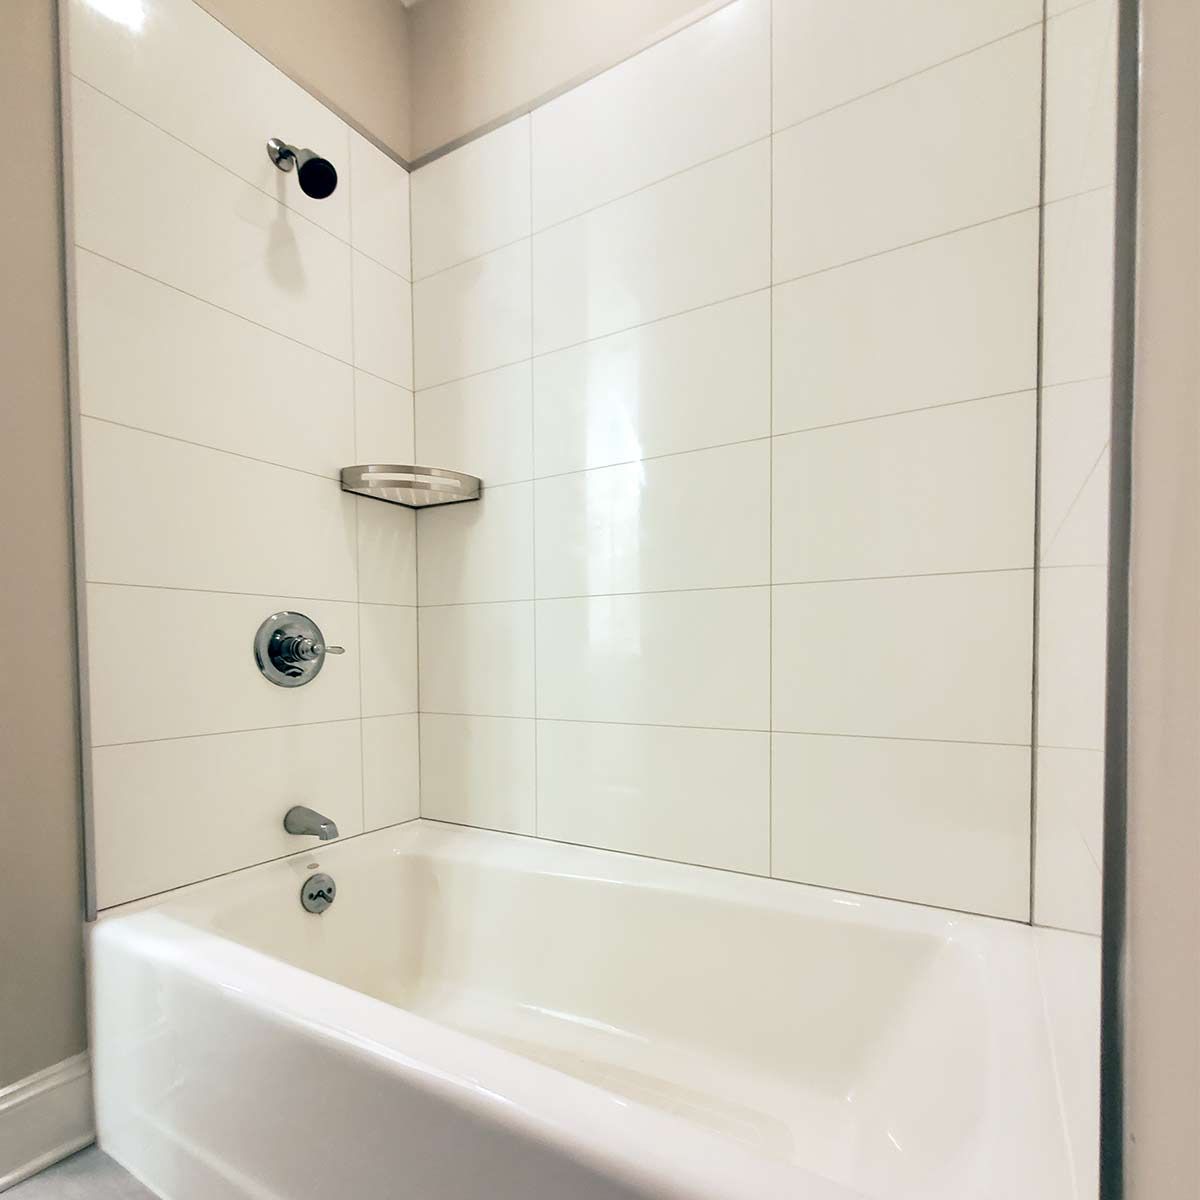
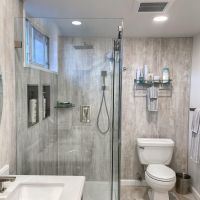
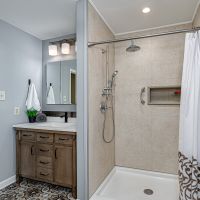
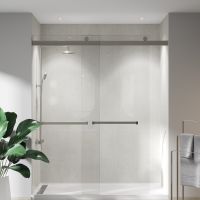
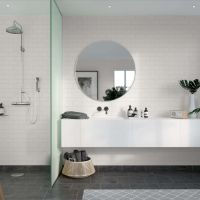
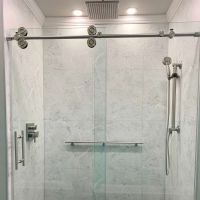
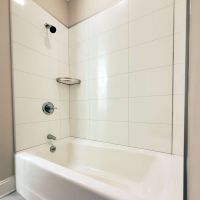
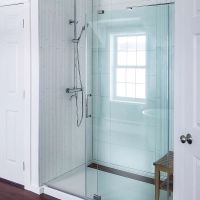
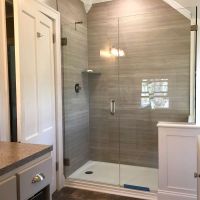
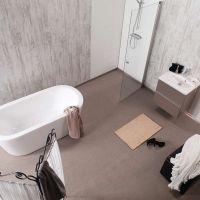
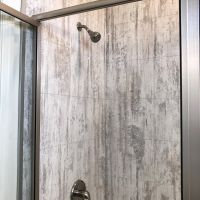
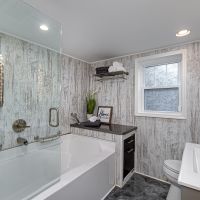
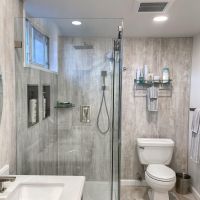
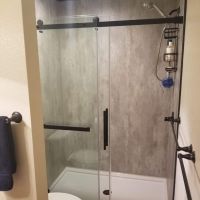
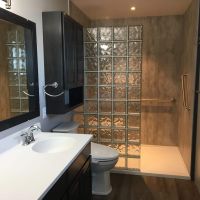
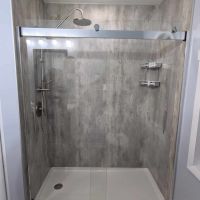
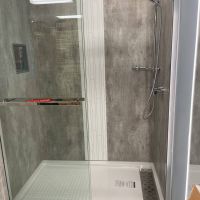
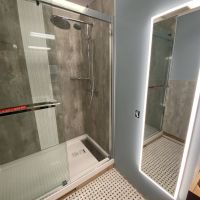
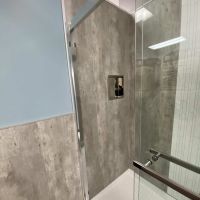
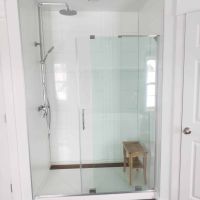
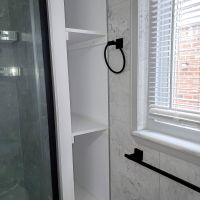
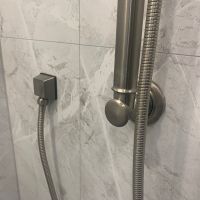
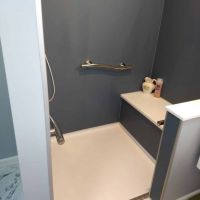
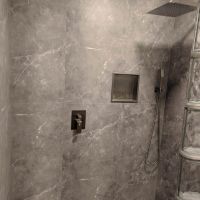
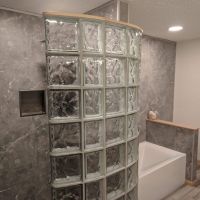
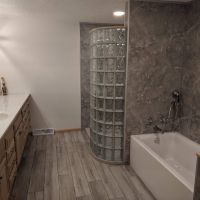
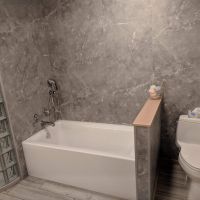
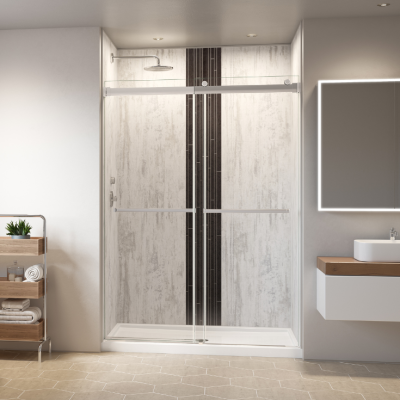
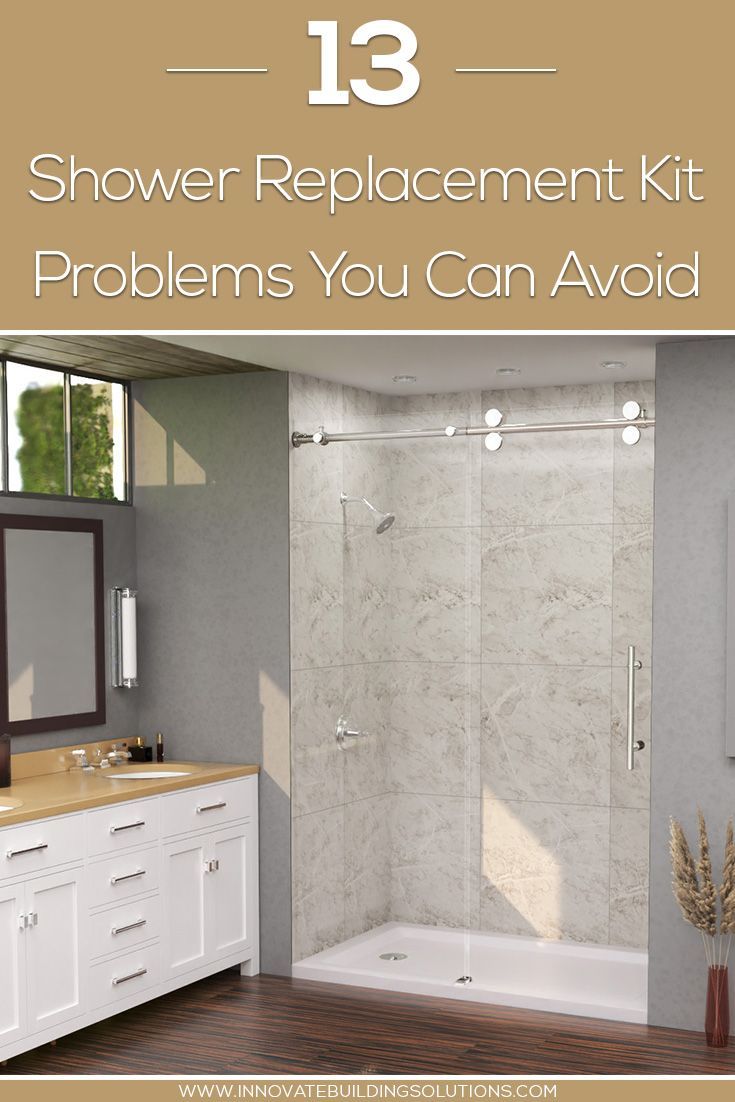
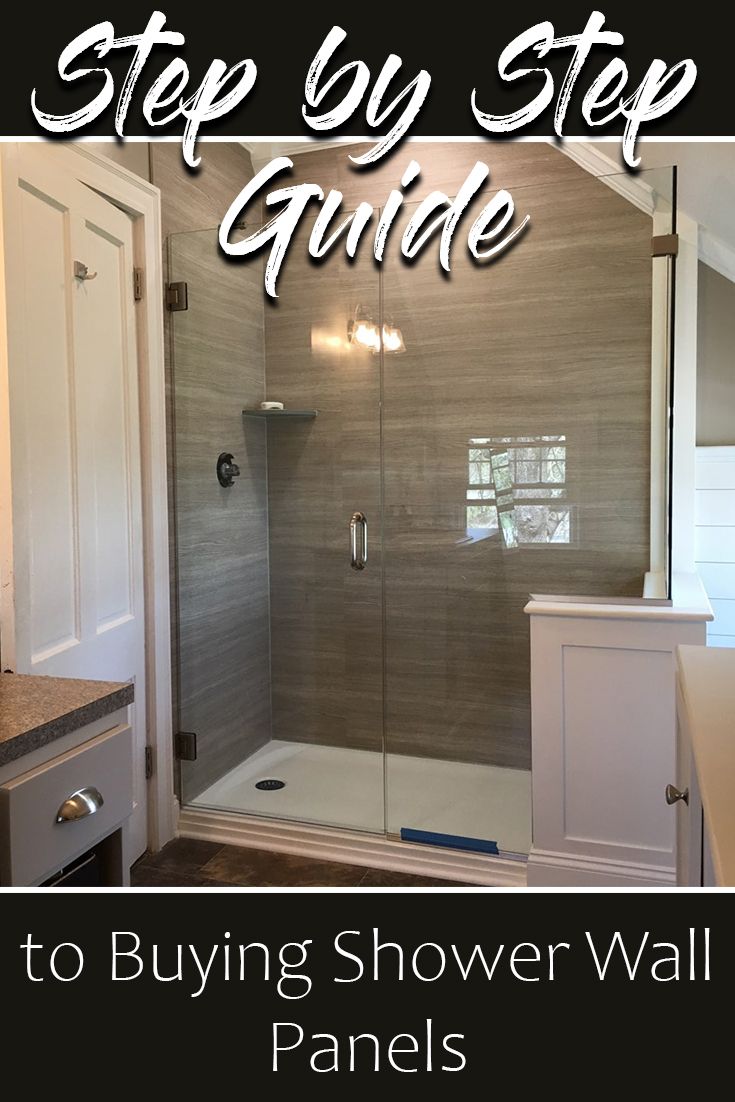
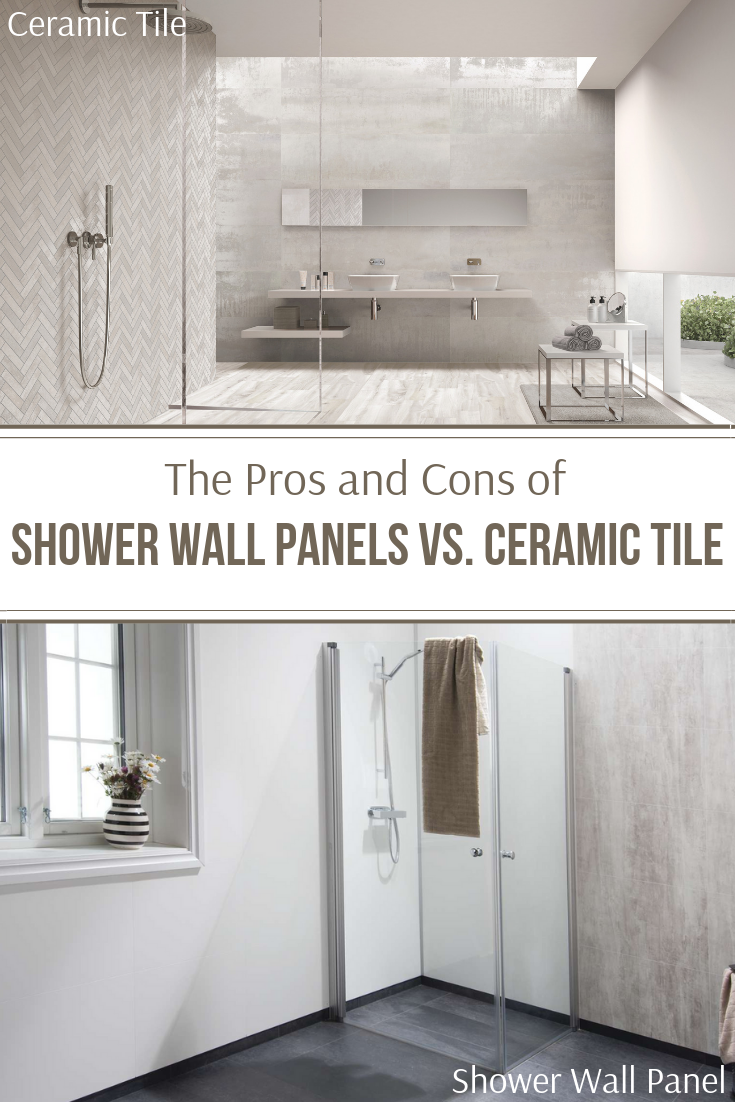
Waterproof Laminate Bathroom & Shower Wall Panels
Benefits of Laminate DIY Bathroom and Shower Wall Panels
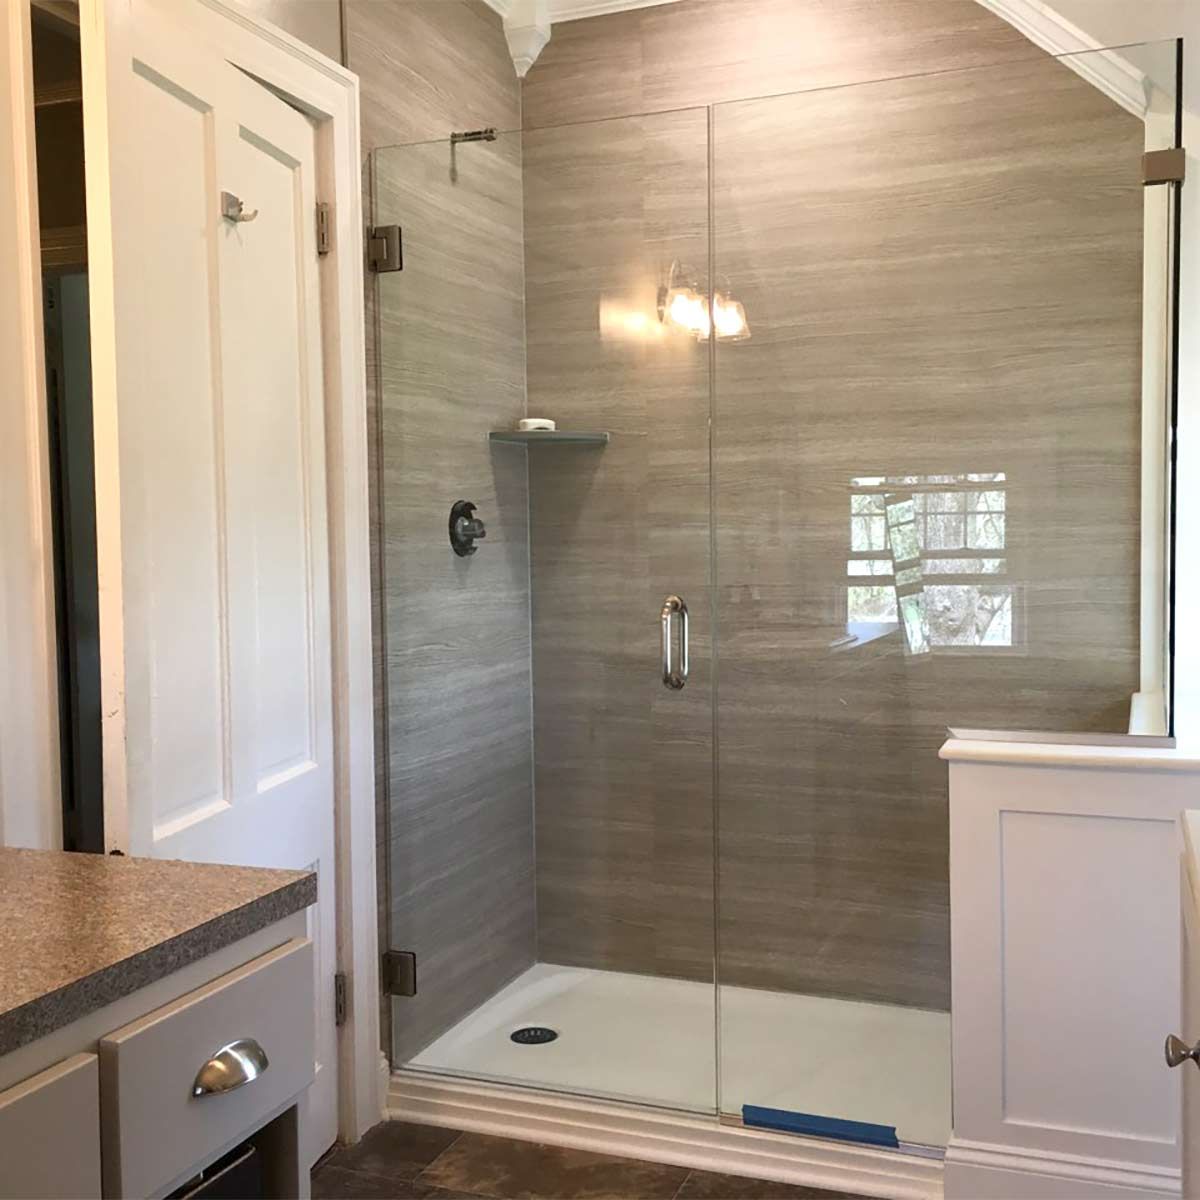
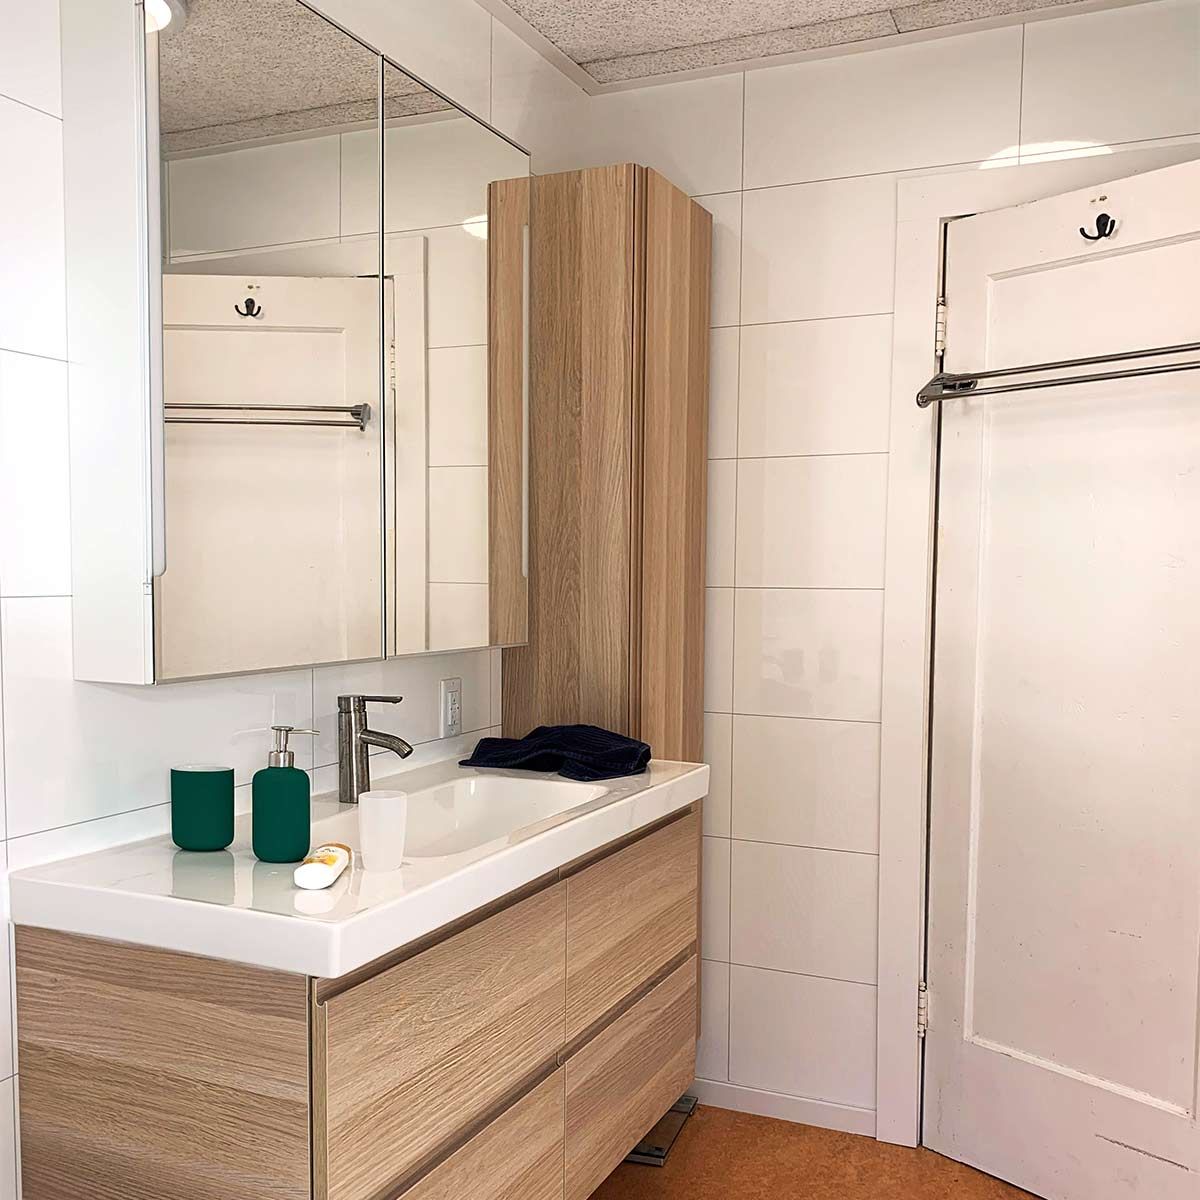
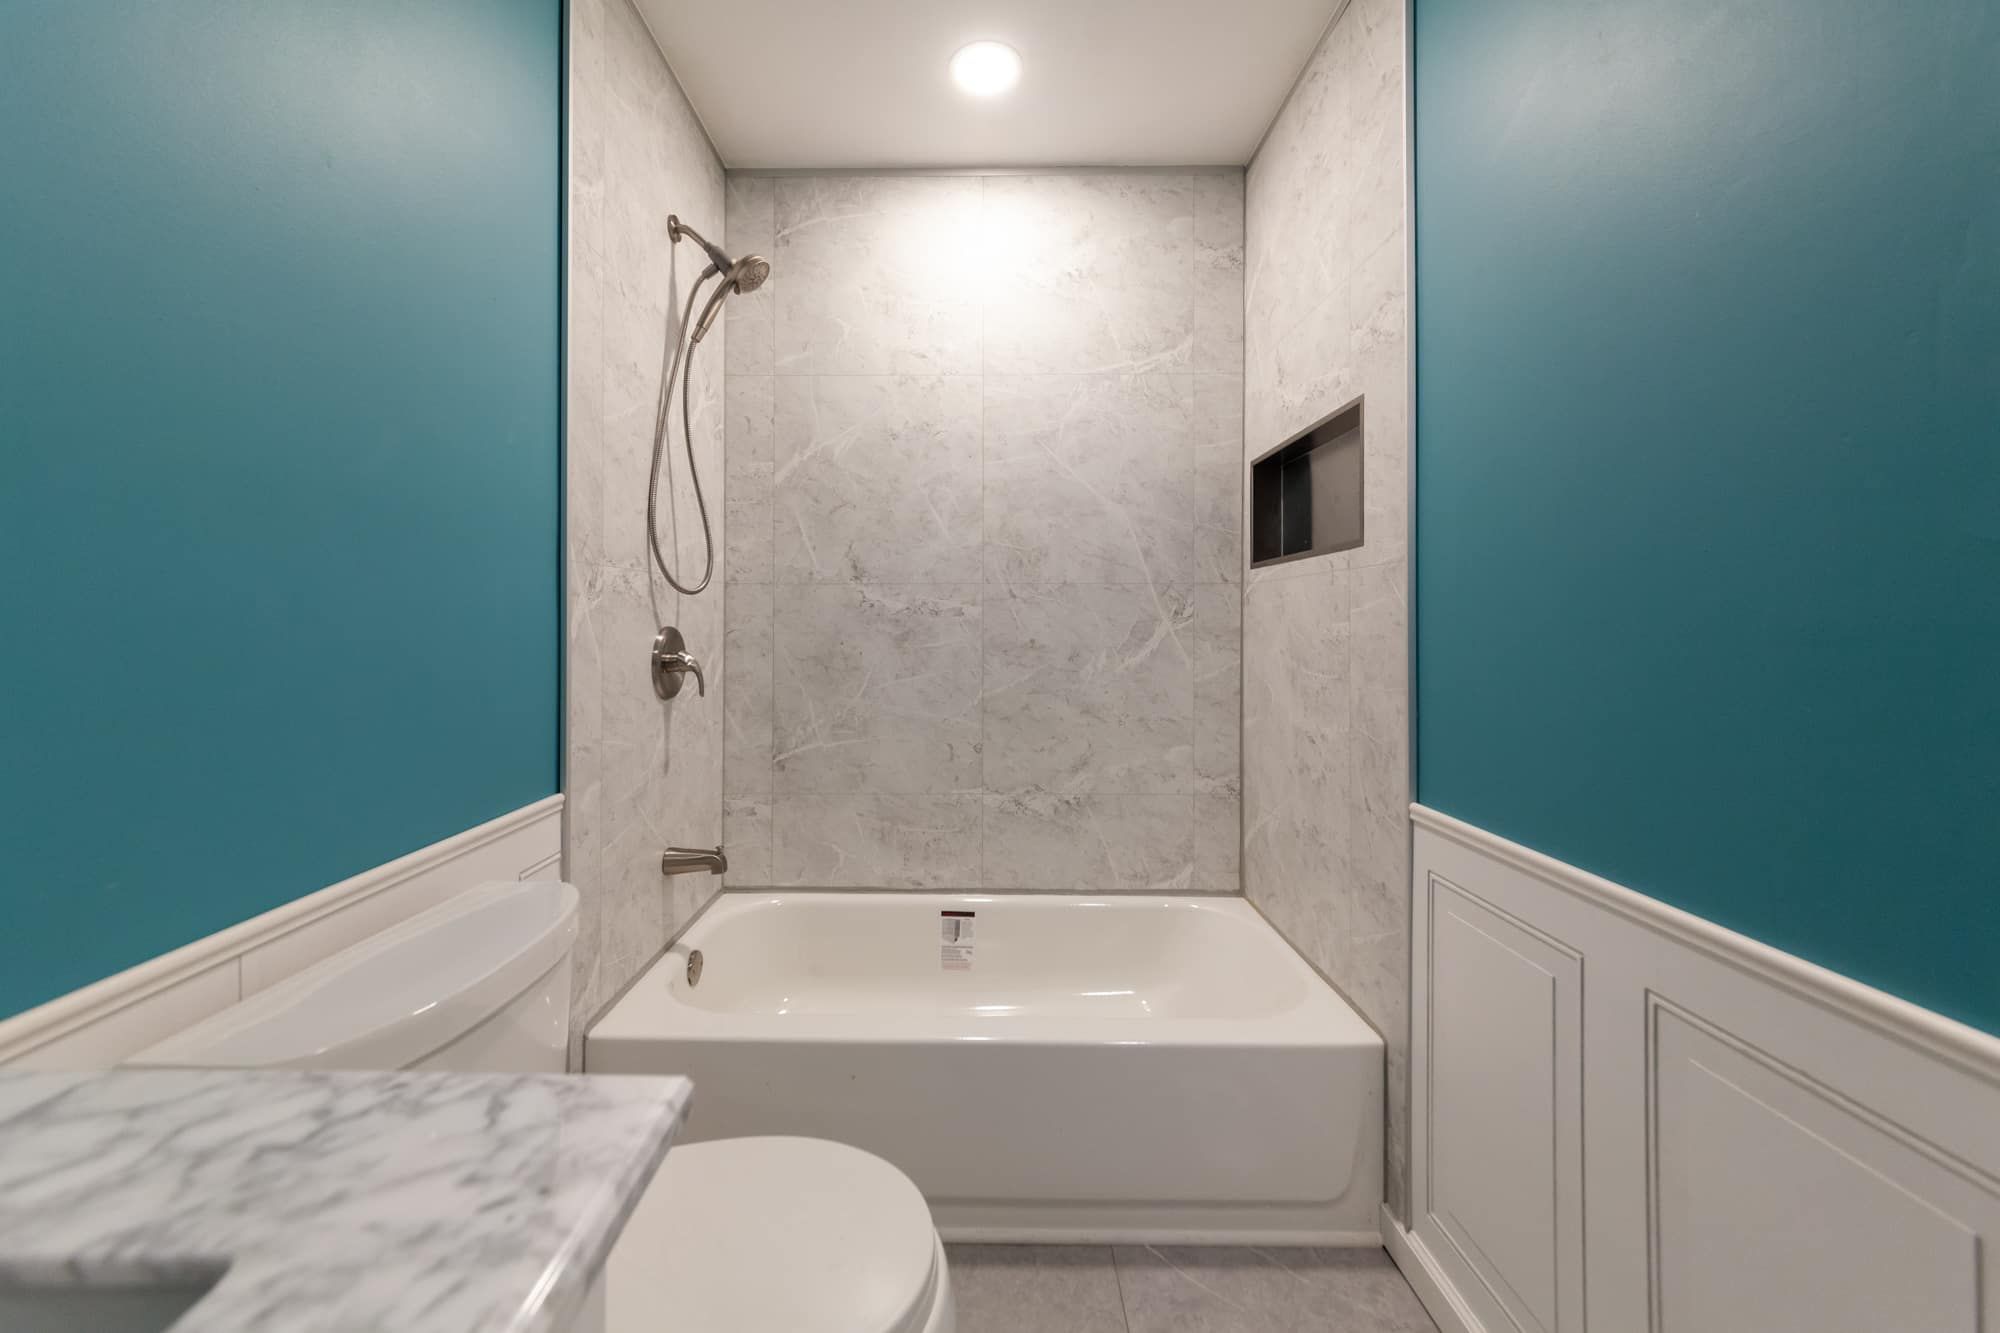
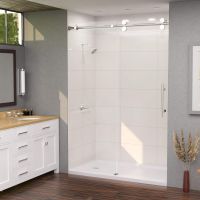
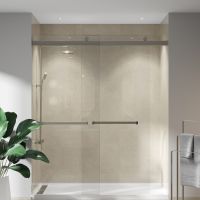
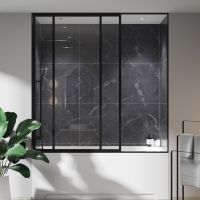
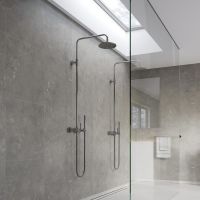
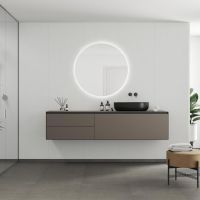
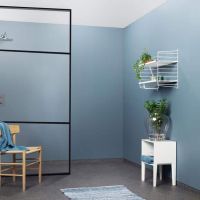
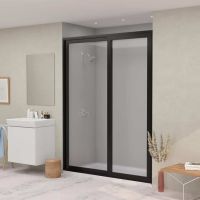
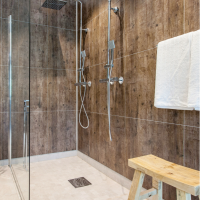
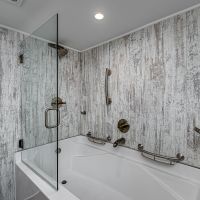
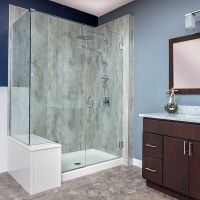
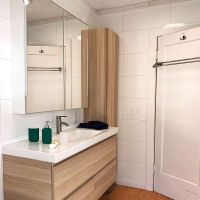
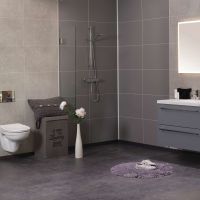
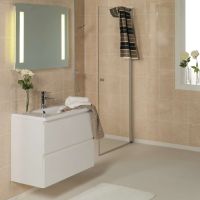
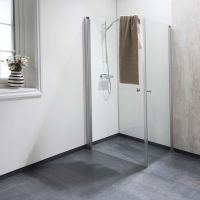
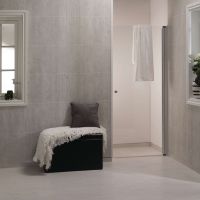
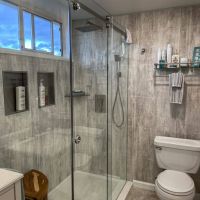
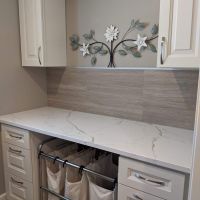
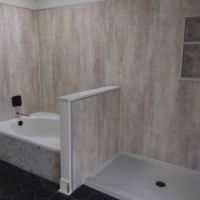
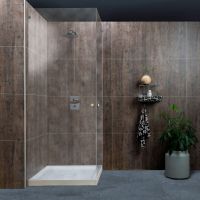
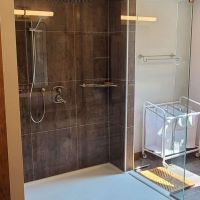
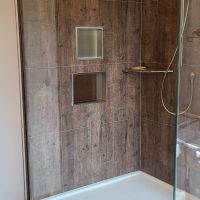
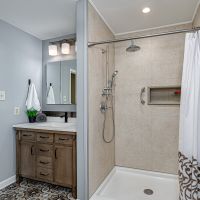
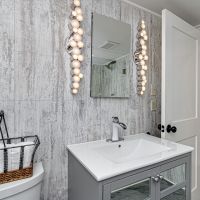
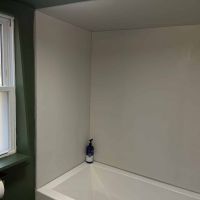
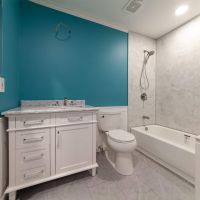
Minimize your costs for remodeling by reducing material costs and saving time! Our 100% waterproof laminate wall panel system is an affordable, durable solution to give your bathroom and kitchen a makeover, and gives your room a new and inspiring impression .
Swipe or click and drag to view all cards.
-
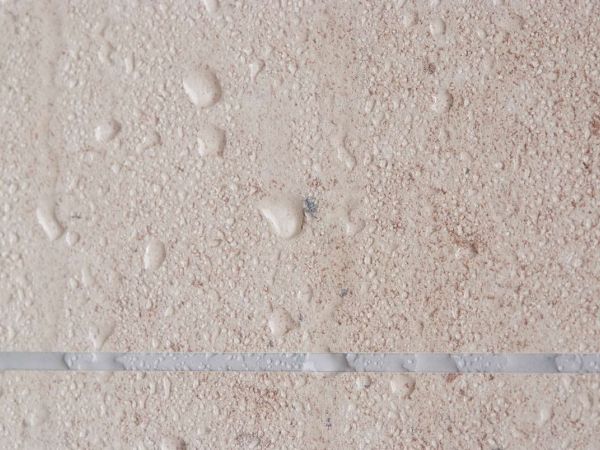
The “No Tile, Tile Wall”
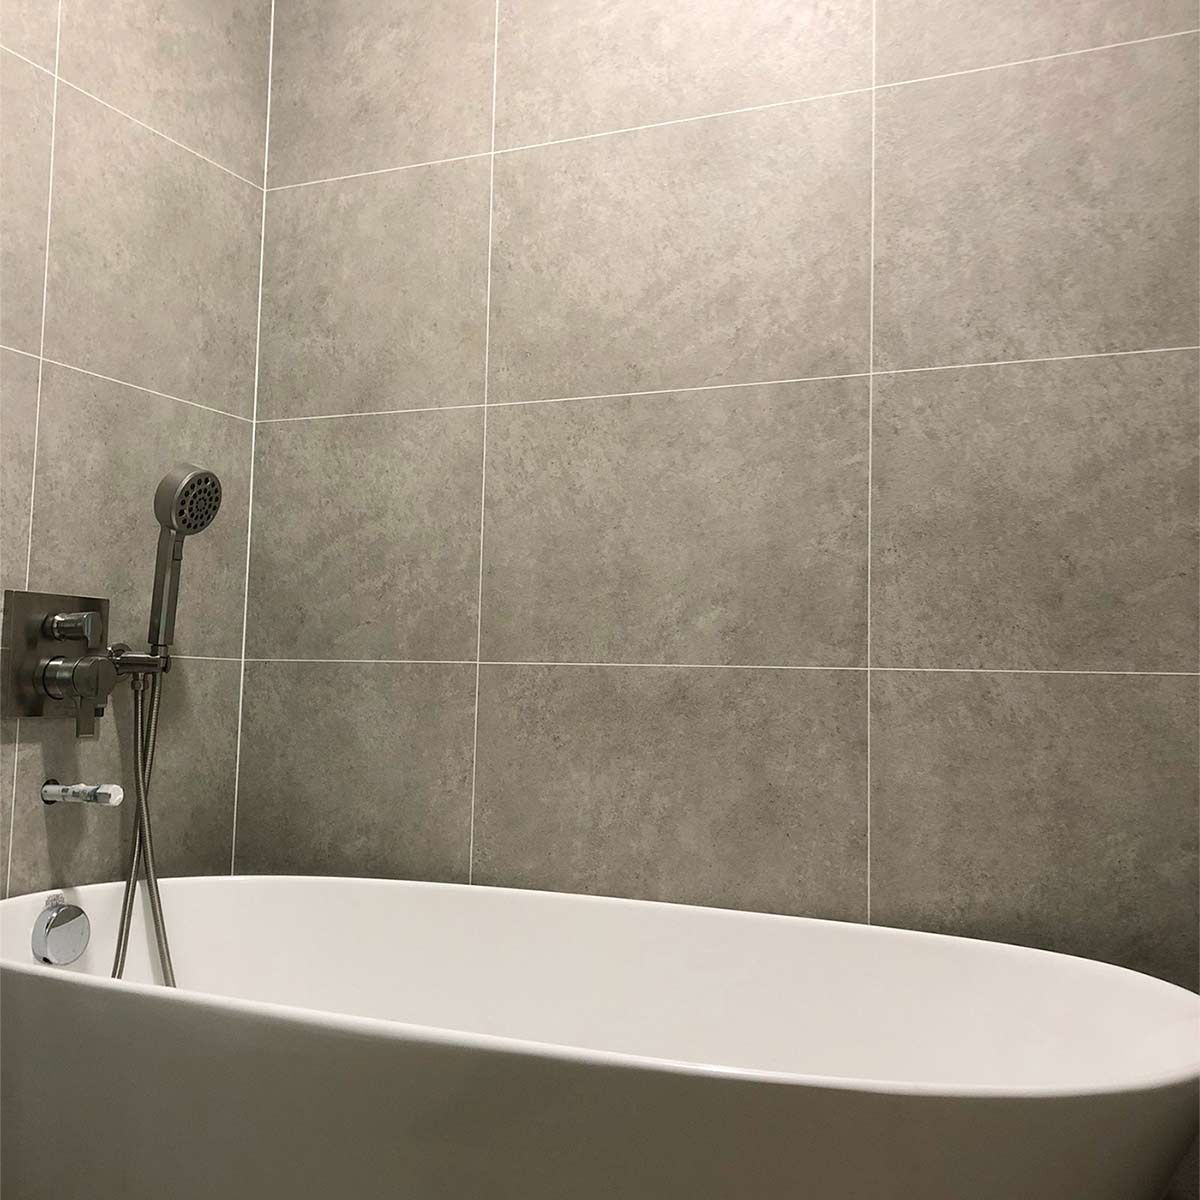
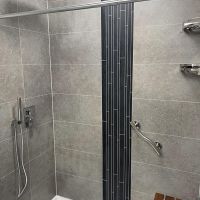
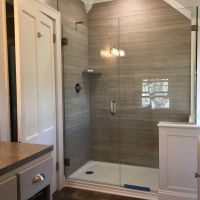
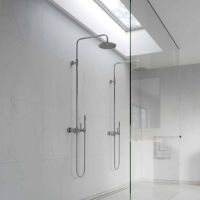
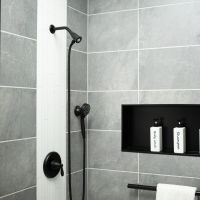
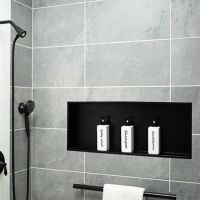
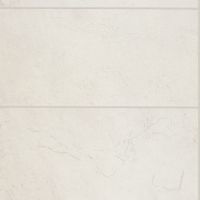
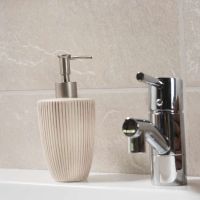
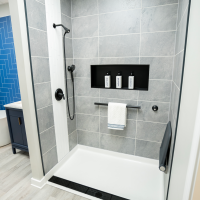
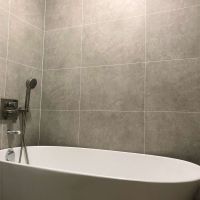
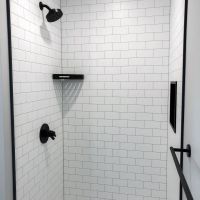
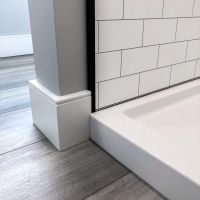
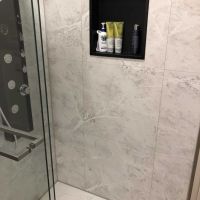
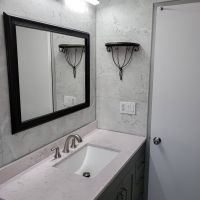
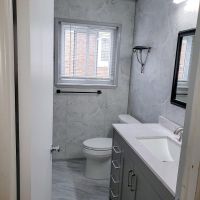
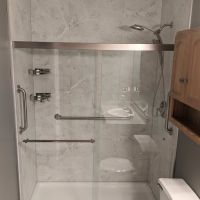
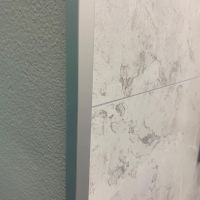
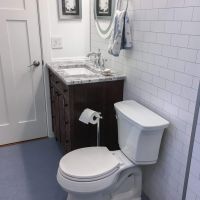
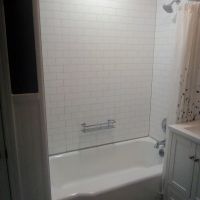
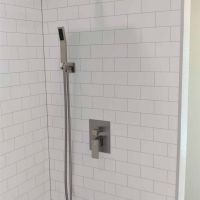
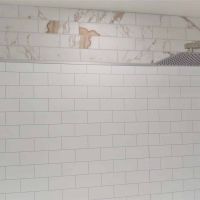
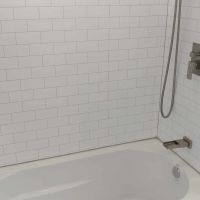
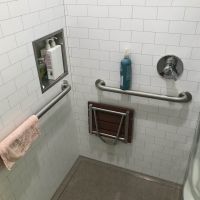
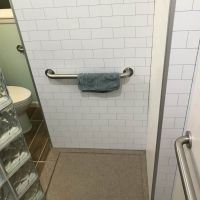
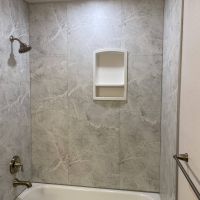
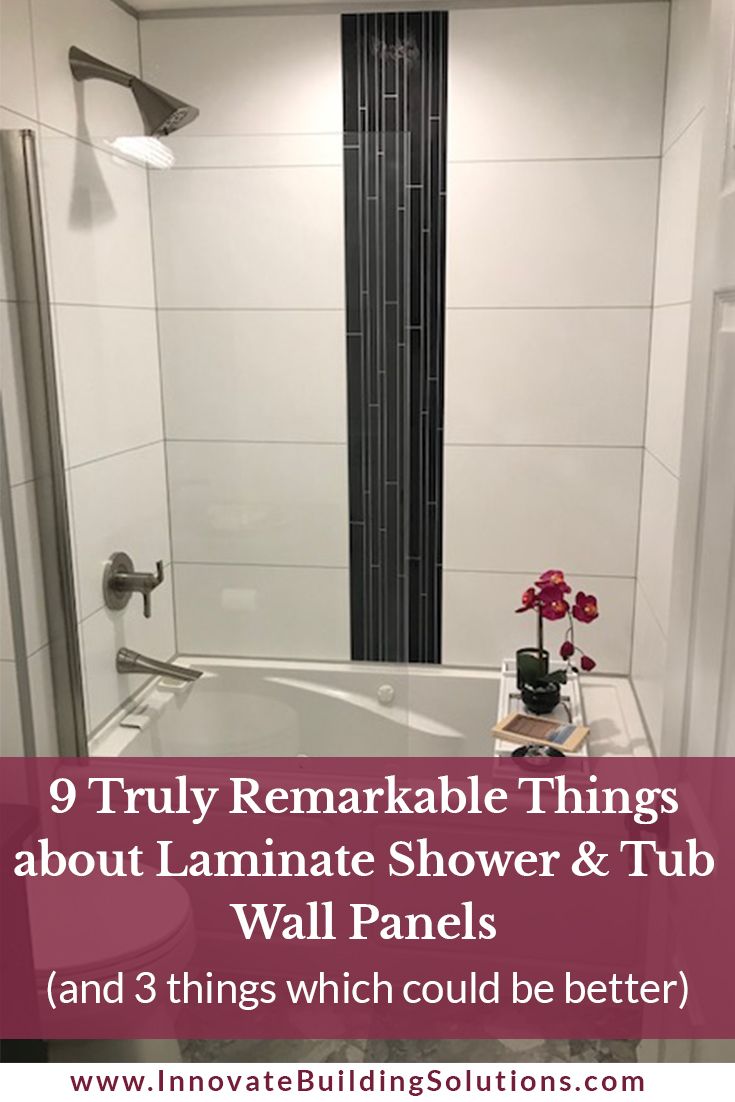
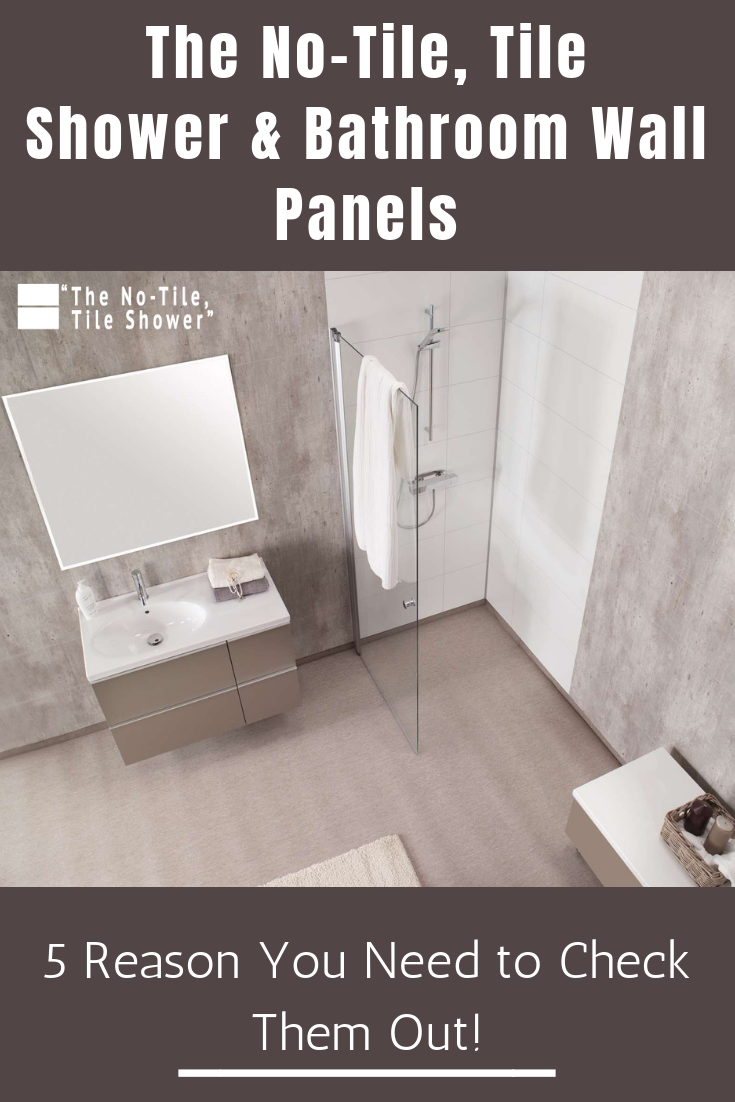
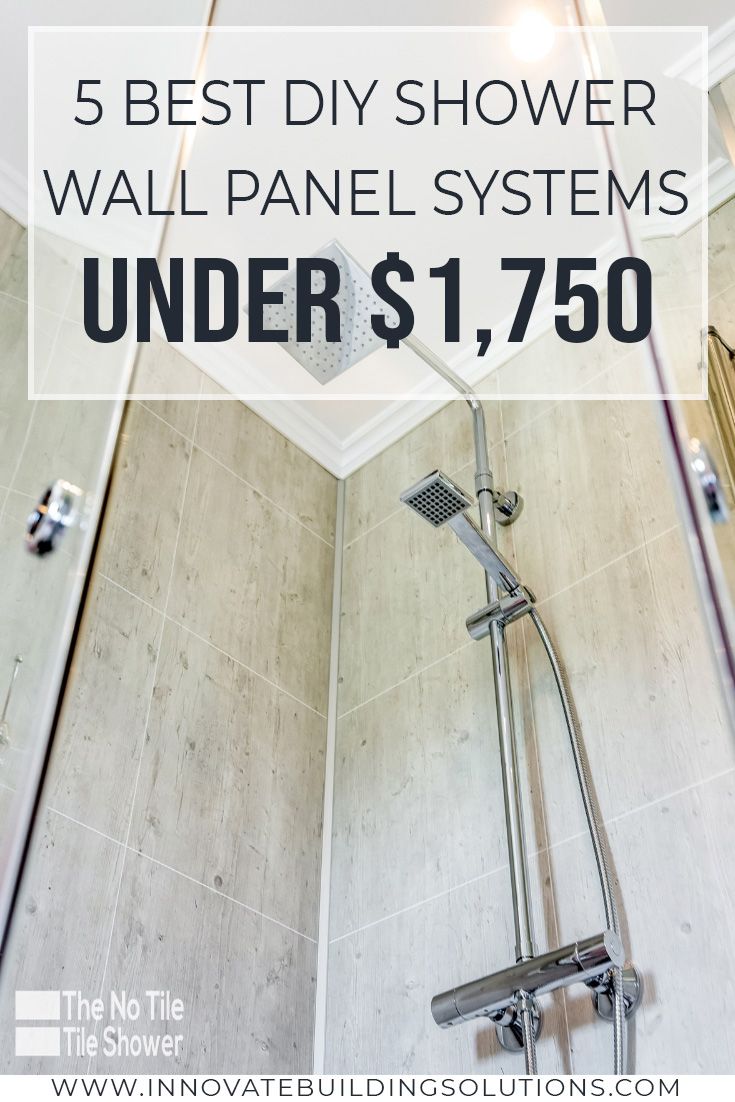
If you love tile, but hate grout, you’re not alone. With laminate wall panels you’ll get the benefit of the look of a tile wall without worrying about dirty grout joints. These bathtub and shower wall panels have a visible ‘faux tile joint’ which are made of high-pressure laminate – so you won’t be scrubbing joints any more. These waterproof bathroom wall panels can be cleaned with warm water and a clean cloth – or use a non-abrasive detergent. Throw away your tile scrub brush – FOREVER. -
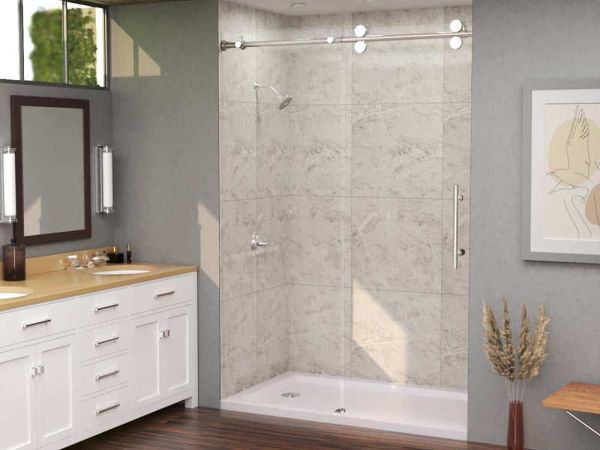
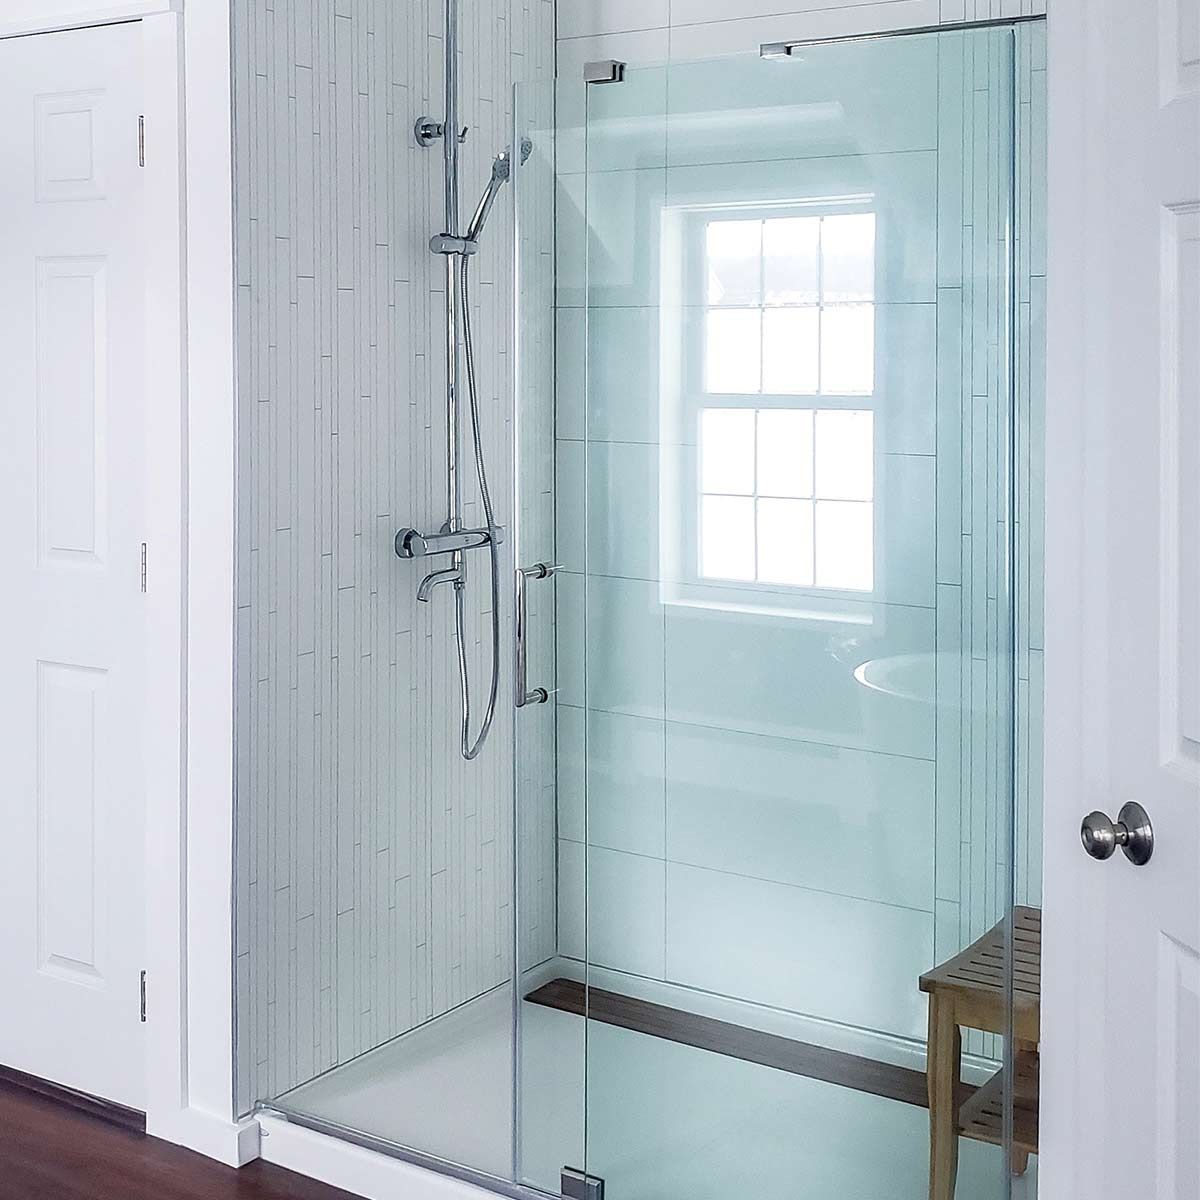
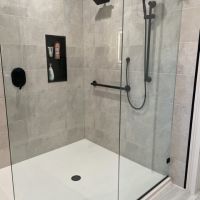
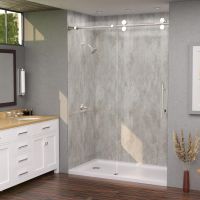
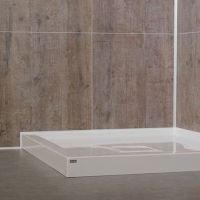
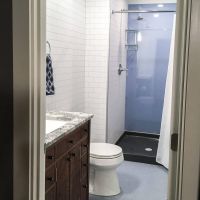
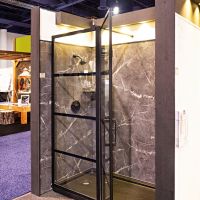
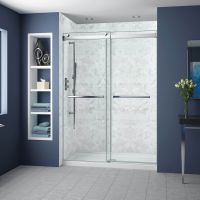
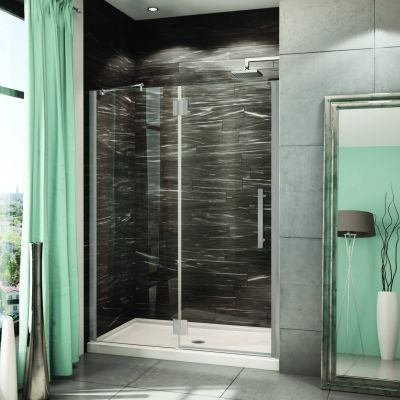
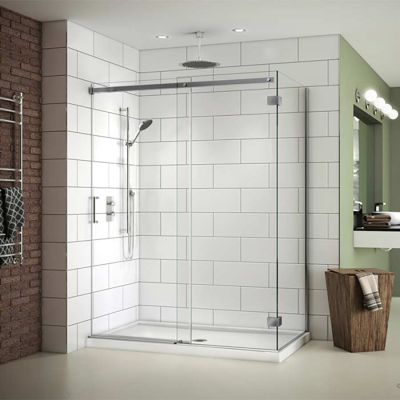
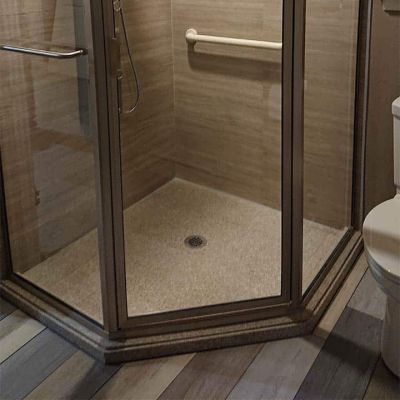
Shower Replacement Kits Complete with Base, Walls & Door
You’re seeking a high-quality shower kit complete with sturdy, stylish and simple to clean bases. You want solid (not flimsy) wall panels with choices in glass shower doors as well. But where can you find a complete kit which is built to last and looks stylish?
Create a complete, high-quality alcove or walk-in shower kit in 3 simple steps!
-
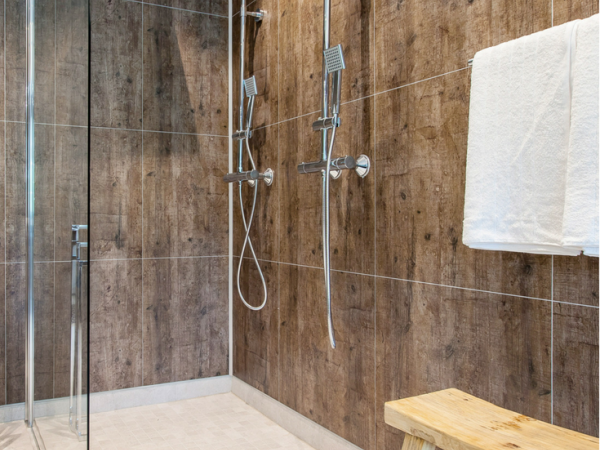
Large tile designs for a contemporary look
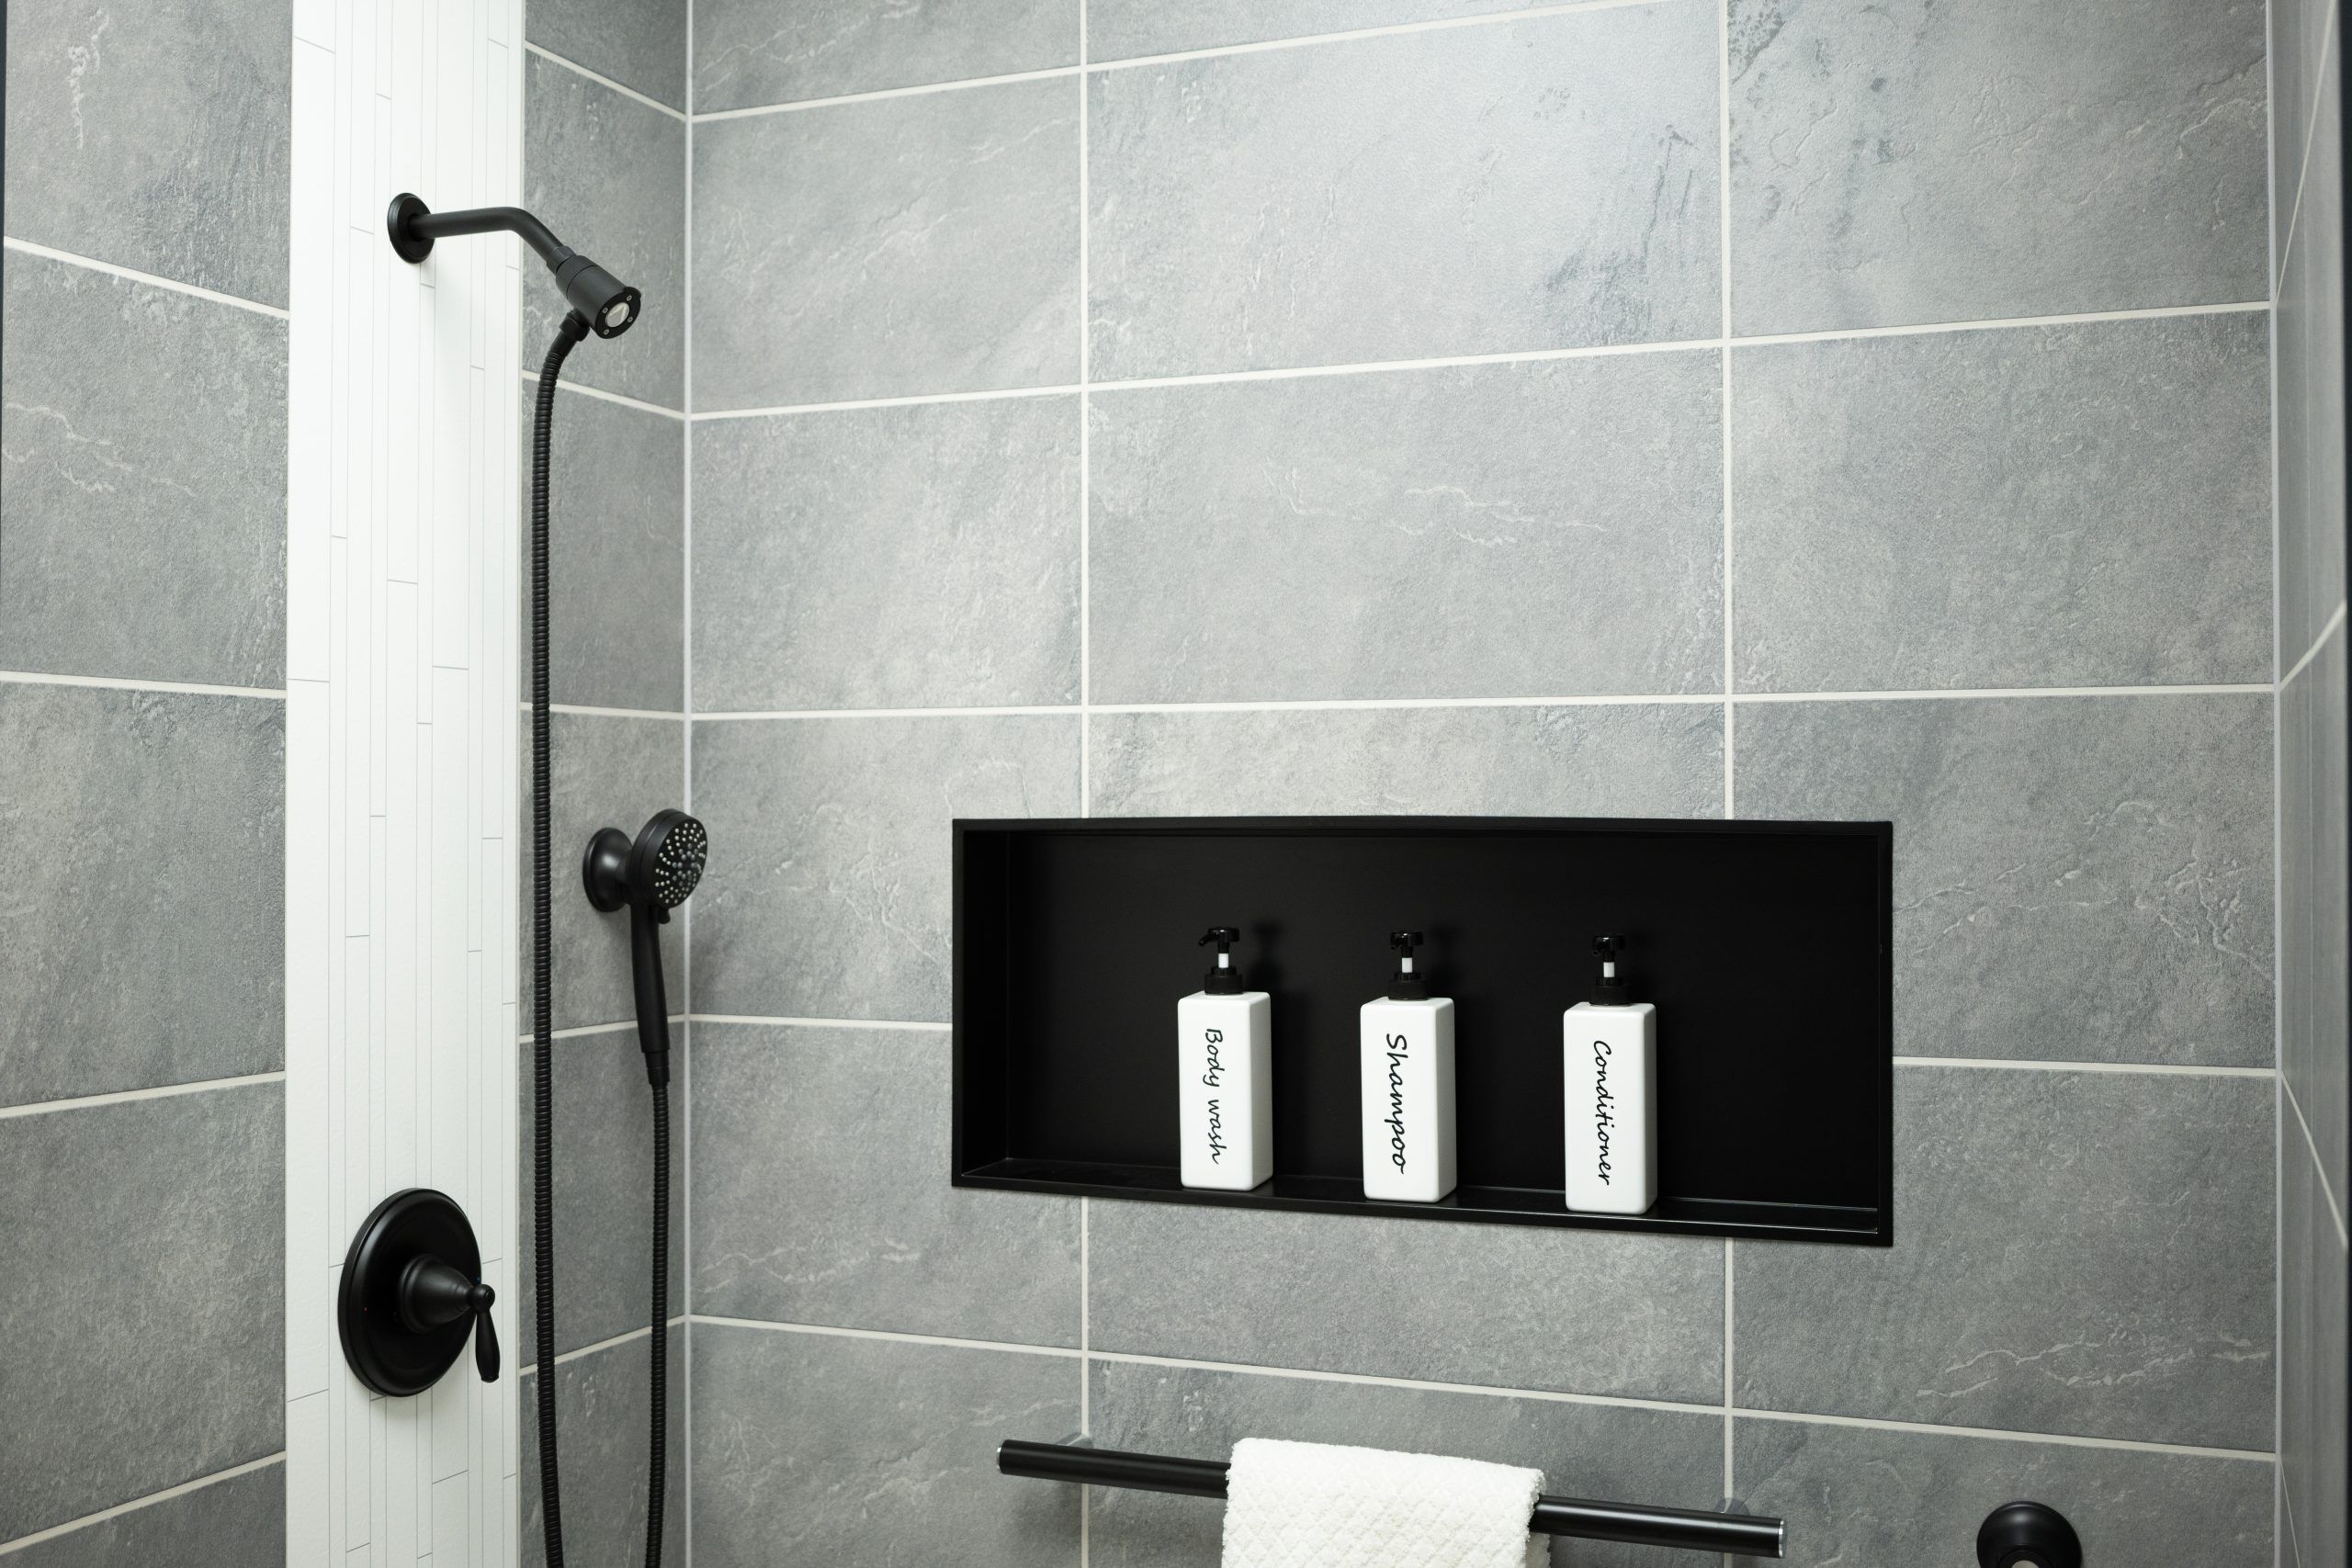
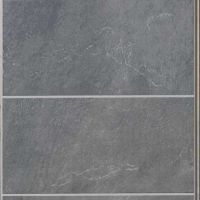
Large ‘tile’ designs for a contemporary look – If you have old 4” x 4” tiles in your shower, tub alcove or bathroom walls you know how dated they are. Using laminate shower panels you can go for modern large-format faux tile designs in 24” x 12”, 24” x 16”, 24” x 24” and 12” x 16” sizes. -
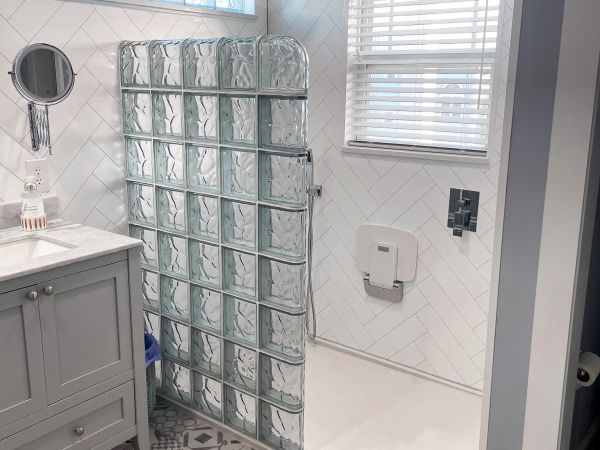
Design styles which fit today’s bathrooms
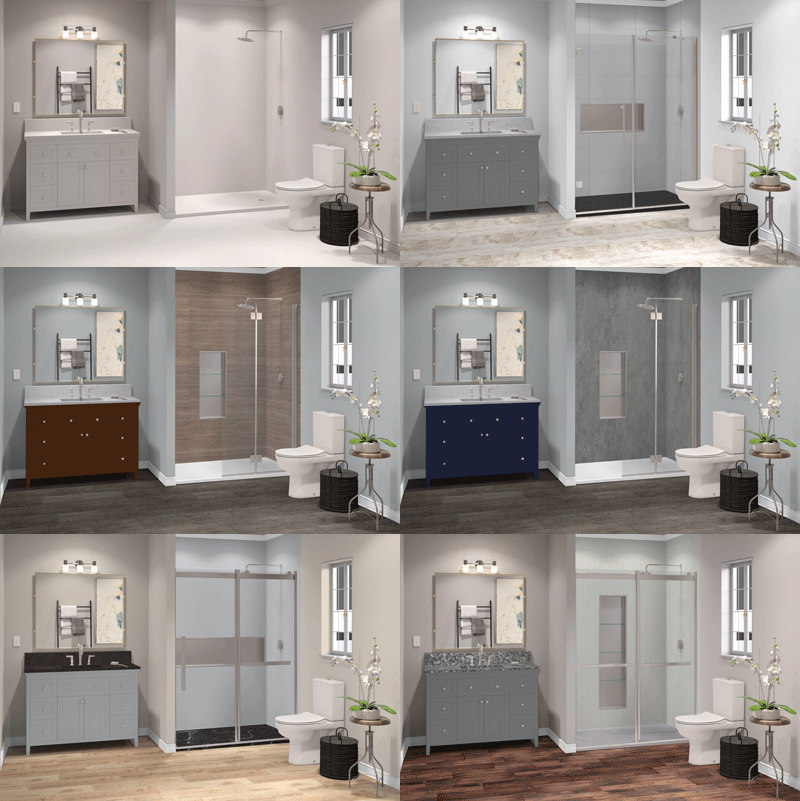
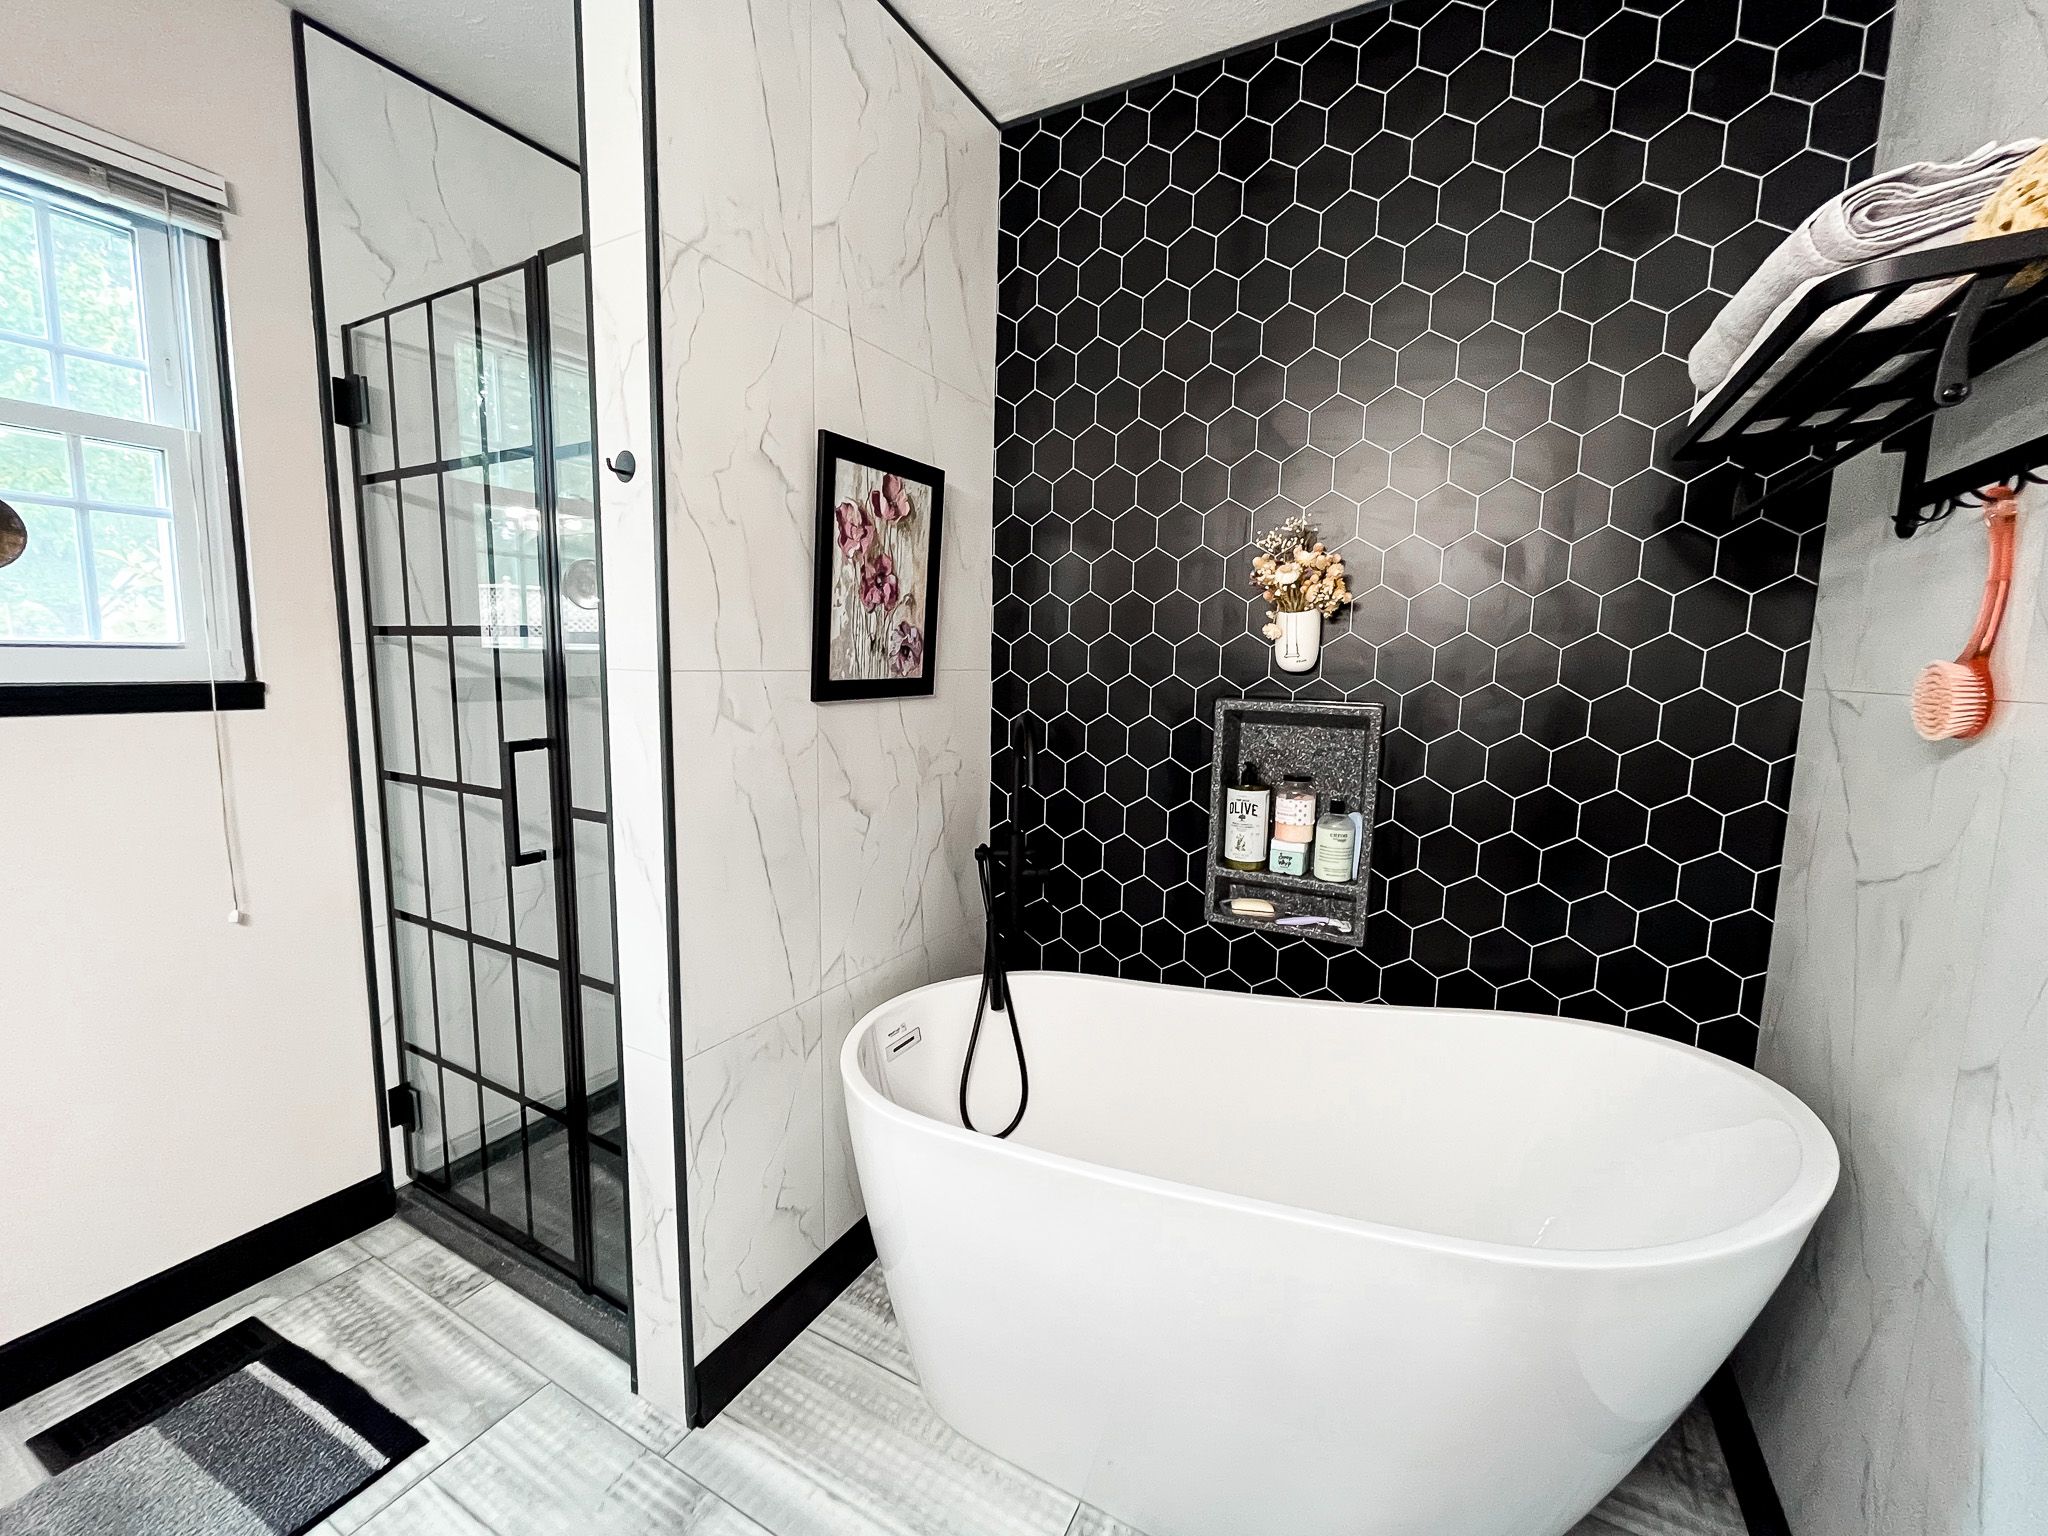
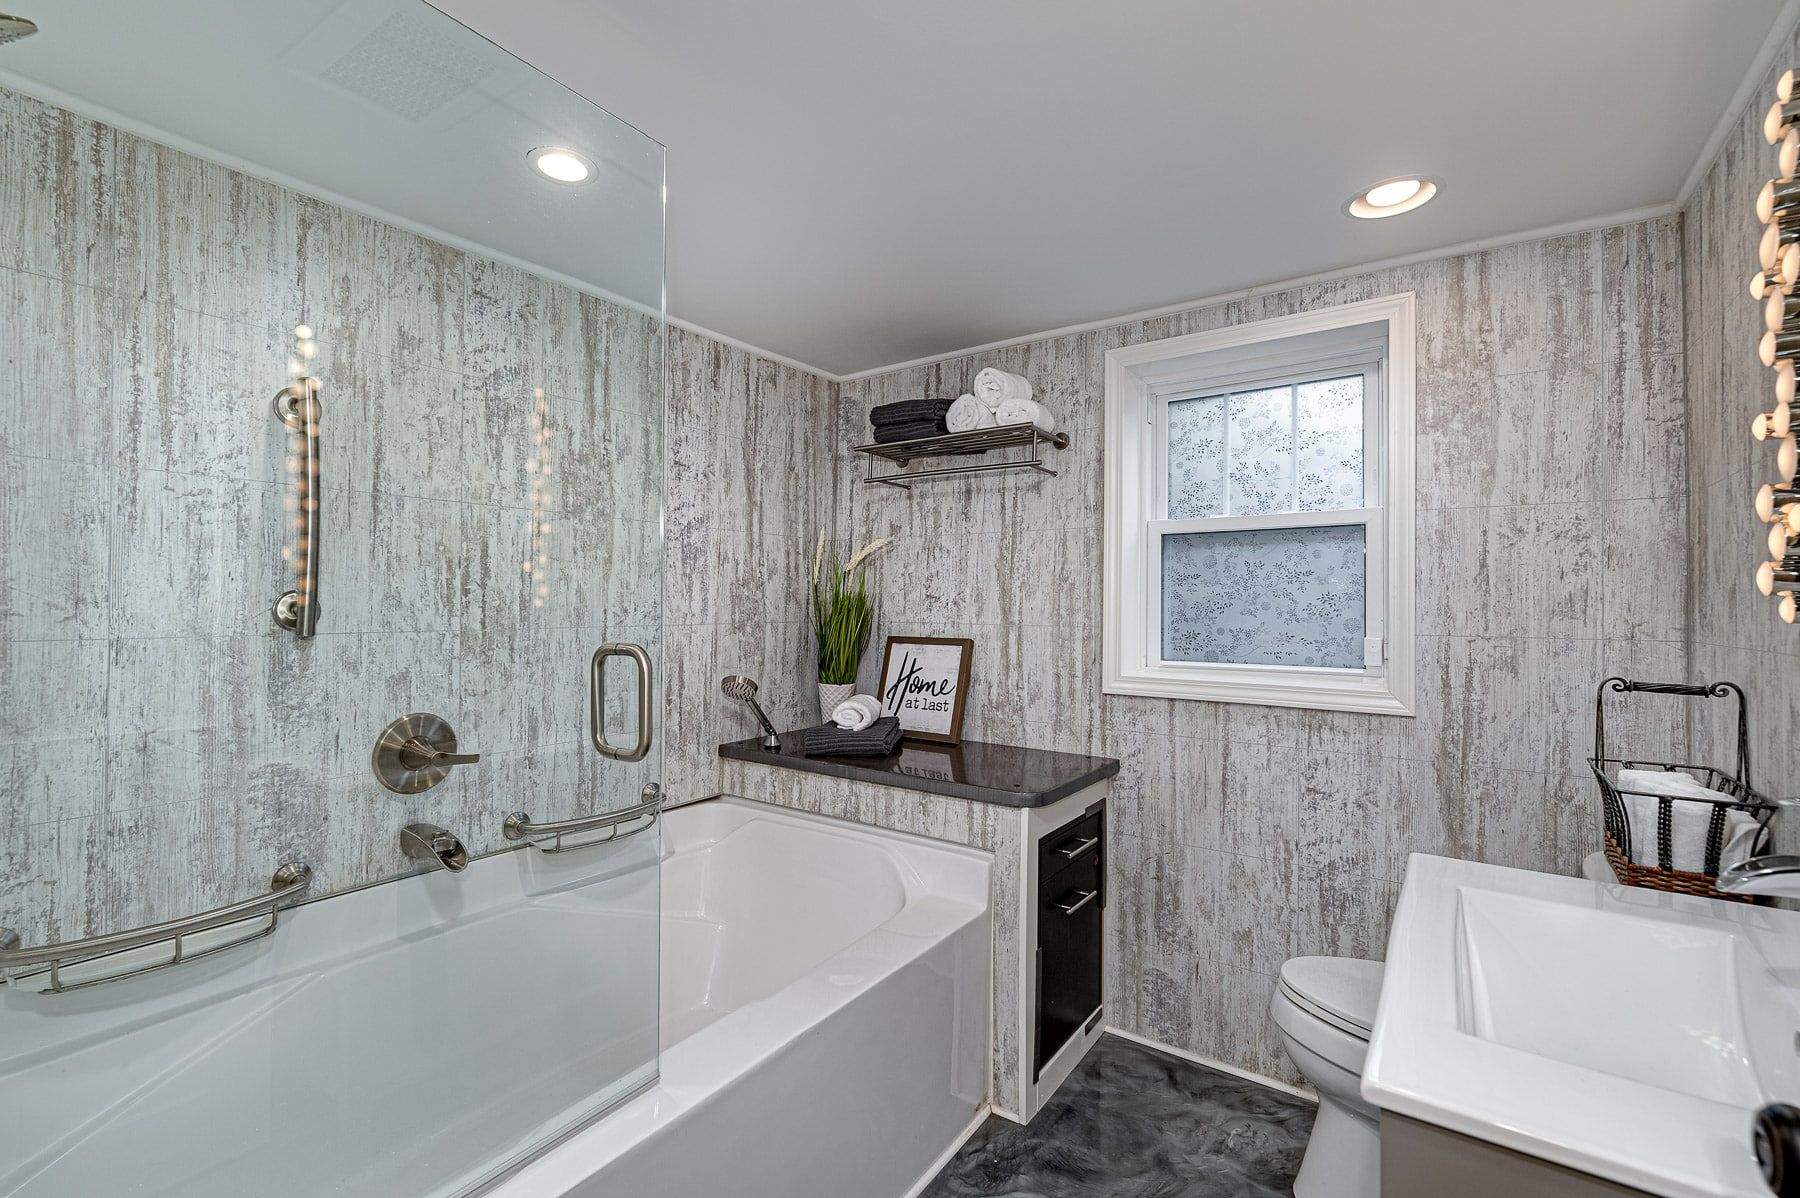
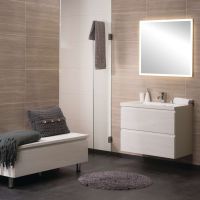
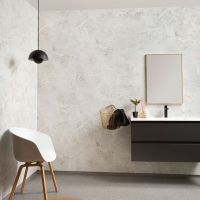
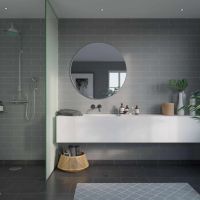
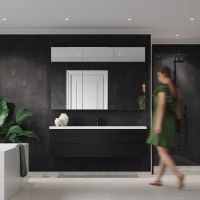
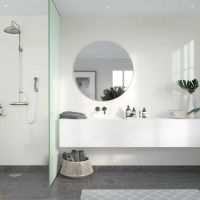
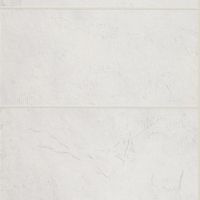
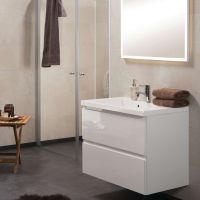
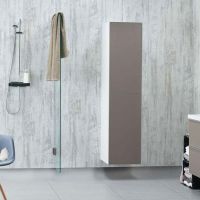
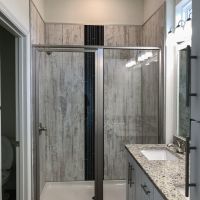
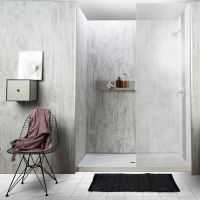
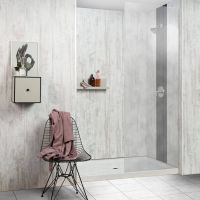
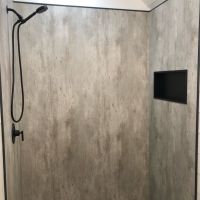
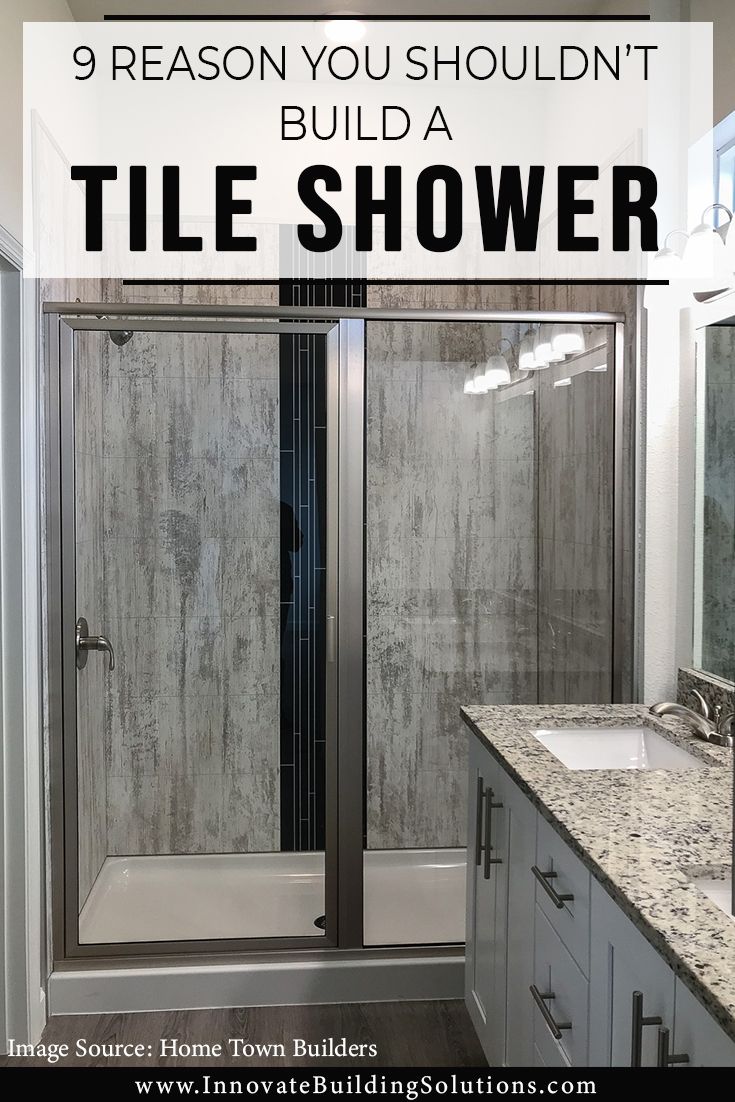
Don’t settle for shower panels which look fake, behind the times and are made of a cheap plastic materials. With 26 different colors, matte and gloss finishes and patterns you can create a modern minimalist, shabby chic, modern farmhouse, contemporary high-gloss, traditional or transitional look. High style and grout free wall panels are not mutually exclusive. -
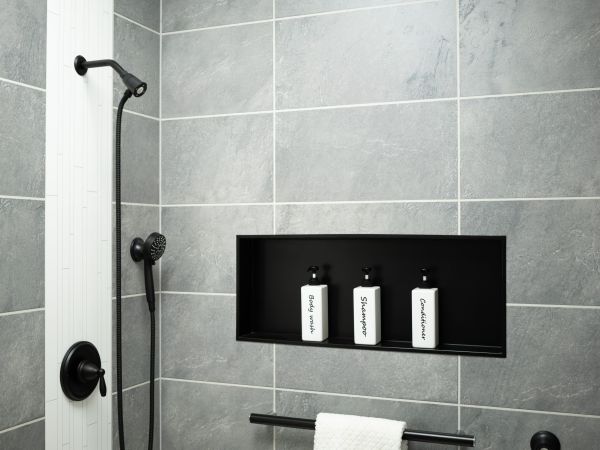
Multiple looks to fit your individual uniqueness
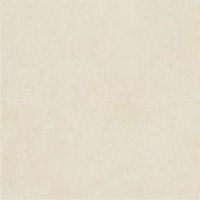
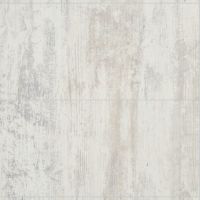
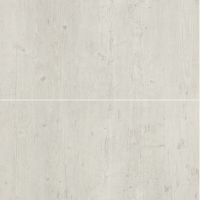
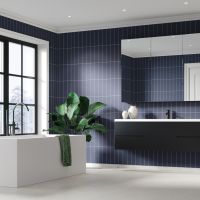
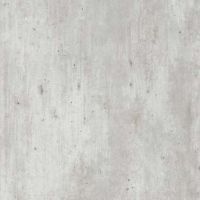
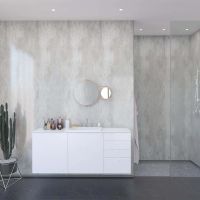
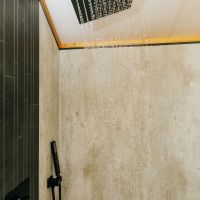
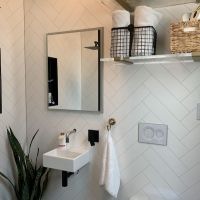
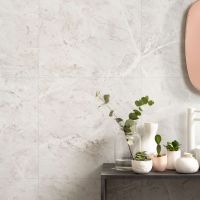
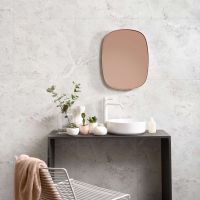
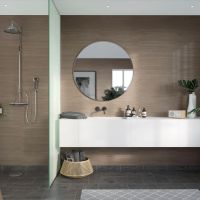
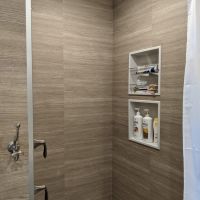
Whether you want bathtub or shower panel with a subway tile look (in our Modern Farmhouse Collection), bathroom wall panels with a Modern Minimalist vibe (using our Cracked Cement pattern), or a spa bathroom feel with our matte finish ‘Oasis Collection’ laminate wall panels, we’ll have you covered (literally). -
Prepackaged DIY wall kits have everything you need
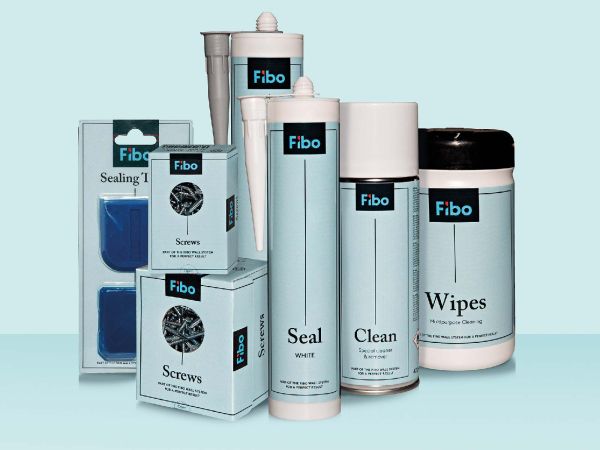
There’s no need to run around town the find the right adhesives to make sure your shower panels are waterproofed correctly. Everything you need – including trim profiles, adhesives, wipes and screws will be included in your DIY wall panel kit. -

Save money and effort on installation
These shower panels save money during installation – and over the lifetime you own your home or business. First, you don’t need a separate wall backer board (they are installed directly to plywood, OSB (Oriented Strand Board) or wood strips attached to your studs). Second, you’ll eliminate the time, hassle and costs of grout repair company fixing dirty, moldy or grout joints for the life of your home. -
Hygienic for your family
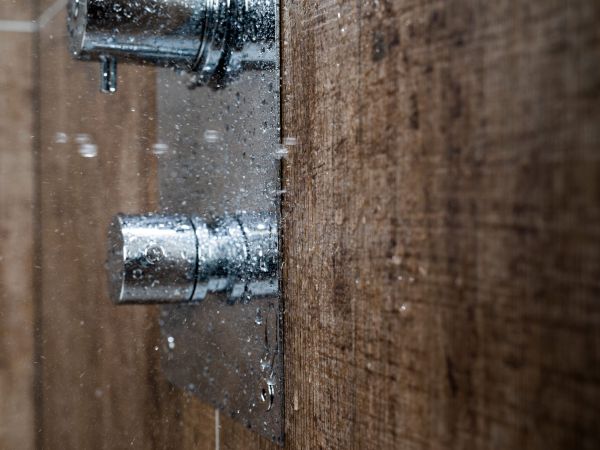
With no mold build-up you don’t need to be concerned about your family’s health with these shower panels. -
Easy installation & DIY friendly
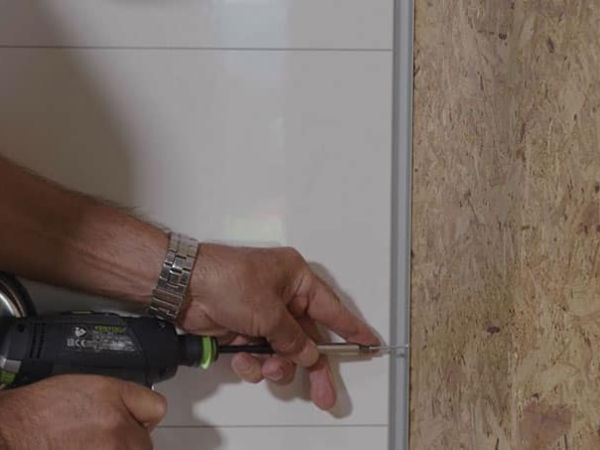
Getting a contractor to install a tile wall or wall panels can be like finding a needle in a haystack. These DIY wall panels are 100% waterproof and click together like a wood flooring system. They’re simple to install whether you’re a first-time DIY homeowner or a contractor. Since they come in 2’ wide sizes and only weight 26 lbs., they’re simple for one person to install (no bulky wall panels to nick up your walls and staircase as you try to get them into your second floor bathroom). If you’re not a DIY’er ask about our network of bathroom wall paneling installers. -

Free Shipping
With our nationwide supply network you’ll get your bathroom, shower and tub wall kit delivered directly to your home without extra transportation fees. -
Get free design help from our experts
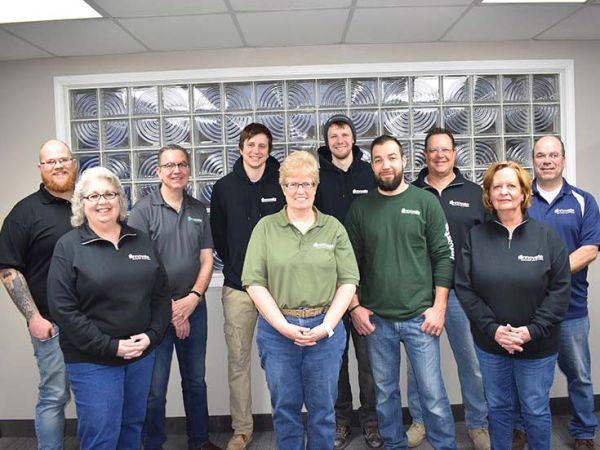
Since Innovate Building Solutions is not only an experienced nationwide wholesaler of wall panels and shower bases– but also an authorized installer (with a network of installing dealers)- we can help you through any design, installation or construction questions. We can also help you choose the best shower pan and accessories for your waterproof shower panels.
Product Lines
- It has a durable high pressure laminate top surface. For the ‘decorative tile’ walls the ‘faux grout joint’ is milled out for a 1/16” or 1/8” spacing. They have the look of tile without the maintenance hassle.
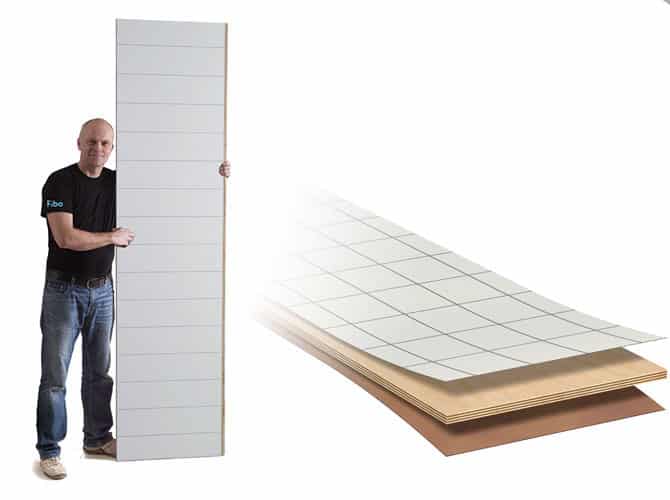
- The high-pressure laminate surface is applied on a 7-layer marine grade birch plywood backing for a durable 3/8” total thickness.
- On the back of the laminated panels is a vapor barrier backing.
- The wall panels are approximately 2’ x 8’ in size (actual size is 23.6” x 94.4”)
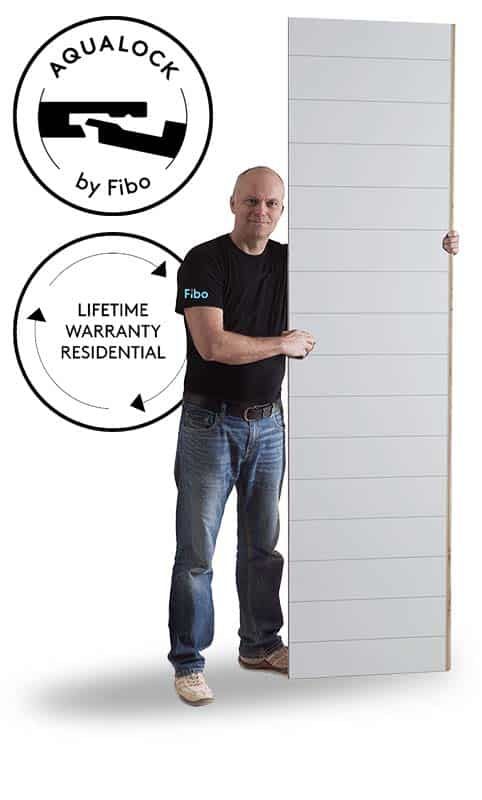
- The bathtub and shower panels are 100% waterproof and joined with a patented Aqualock click system and sealant. There is no need for waterproof membranes behind the panels with the nearly-invisible seams between panels.
Popular Uses
Sizes & Options – Standard 23.6” wide x 94.4” tall panels
Whether you’ve got a standard sized tub, shower or bathroom or an odd sized alcove or custom shower we can assist you with wall panel kits in a wide range of patterns. For most showers, tubs, and bathrooms the following standard kits are all you need to transform your ugly fiberglass, acrylic, or tile walls into a maintenance free area you’ll love.
NOTE: Depending on the size of the shower and the chosen pattern option, an additional panel may be necessary to achieve a symmetrical aesthetic.
Two-Wall Small Corner Shower & Tub Kit (3 Panel Kit)
This kit is popular in small corner, right angle or NEO angle showers in mid-sized bathrooms. Popular sizes include: 32 x 32, 34 x 34, 36 x 36
Kit includes:
- 3 wall panels approximately 24” x 96” (actual size is 23.6” x 94.4”)
- 1 internal hidden corner profile
- 1 pre-drilled aluminum base profile (94.4” long)
- 1 tube wall panel sealant
- 1 standard installation kit
Two-Wall Mid-Sized Corner Shower & Tub Kit (4 Panel Kit)
This kit is popular in small corner, right angle or NEO angle showers in mid-sized bathrooms. Popular sizes include: 38 x 38, 40 x 40, 42 x 42, 48 x 36, 48 x 48
Kit includes:
- 4 wall panels approximately 24” x 96” (actual size is 23.6” x 94.4”)
- 1 internal hidden corner profile
- 1 pre-drilled aluminum base profile (94.4” long)
- 1 tube wall panel sealant
- 1 standard installation kit
Two-Wall Large Corner Shower & Tub Kit (5 Panel Kit)
This kit is used most around soaking tubs or showers located in the corner of a bathroom. These showers are also called corner, right angle or NEO angle showers or tubs. Popular sizes include: 54 x 54, 60 x 60
Kit includes:
- 5 wall panels approximately 24” x 96” (actual size is 23.6” x 94.4”)
- 1 internal hidden corner profile
- 2 pre-drilled aluminum base profile (94.4” long)
- 2 tubes wall panel sealant
- 1 standard installation kit
Three-Wall Small Alcove Shower & Tub Kit (5 Panel Kit)
This kit is used most to cover 3 walls around a small tub or shower space set off in an alcove. These showers are often called stand up showers because they are small in size. Popular sizes include: 32 x 32, 36 x 32, 36 x 42, 42 x 32, 42 x 36, 48 x 30, 48 x 32, 48 x 34, 48 x 36
Kit Includes:
- 5 wall panels approximately 24” x 96” (actual size is 23.6” x 94.4”)
- 2 internal hidden corner profile
- 2 pre-drilled aluminum base profile (94.4” long)
- 2 tubes wall panel sealant
- 1 standard installation kit
Three-Wall Mid-Sized Alcove Shower & Tub Kit (6 Panel Kit)
This kit is used most to cover 3 walls around a standard sized tub or shower space set into an alcove. Popular sizes include: 48 x 48, 54 x 30, 54 x 32, 54 x 36, 60 x 30, 60 x 32, 60 x 34, 60 x 36, 72 x 36
Kit Includes:
- 6 wall panels approximately 24” x 96” (actual size is 23.6” x 94.4”)
- 2 internal hidden corner profile
- 2 pre-drilled aluminum base profile (94.4” long)
- 2 tubes wall panel sealant
- 1 standard installation kit
Three-Wall Large Alcove Shower & Tub Kit (7 Panel Kit)
This kit is used most to cover 3 walls around a standard sized tub or shower space set into an alcove. Popular sizes include: 60 x 42, 60 x 48
Kit Includes:
- 7 wall panels approximately 24” x 96” (actual size is 23.6” x 94.4”)
- 2 internal hidden corner profile
- 2 pre-drilled aluminum base profile (94.4” long)
- 3 tubes wall panel sealant
- 1 standard installation kit
Three-Wall Extra Large Alcove Shower & Tub Kit (8 Panel Kit)
This kit is used most to cover 3 walls around a standard sized tub or shower space set into an alcove. Popular sizes include: 60 x 60, 72 x 60
Kit Includes:
- 8 wall panels approximately 24” x 96” (actual size is 23.6” x 94.4”)
- 2 internal hidden corner profile
- 3 pre-drilled aluminum base profile (94.4” long)
- 3 tubes wall panel sealant
- 1 standard installation kit
Four-Wall Bathroom Small Kit (9 Panel Kit)
This kit is used most for various sized walk in showers or small bathrooms
Kit Includes:
- 9 wall panels approximately 24” x 96” (actual size is 23.6” x 94.4”)
- 3 internal hidden corner profile
- 3 pre-drilled aluminum base profile (94.4” long)
- 4 tubes wall panel sealant
- 1 external corner profile
- 1 standard installation kit
Four-Wall Bathroom Medium Kit (10 Panel Kit)
This kit is used most for various sized walk in showers or small bathrooms
Kit Includes:
- 10 wall panels approximately 24” x 96” (actual size is 23.6” x 94.4”)
- 3 internal hidden corner profile
- 3 pre-drilled aluminum base profile (94.4” long)
- 4 tubes wall panel sealant
- 1 external corner profile
- 1 standard installation kit
Four-Wall Bathroom Large Kit (11 Panel Kit)
This kit is used most for various sized walk in showers or small bathrooms
Kit Includes:
- 11 wall panels approximately 24” x 96” (actual size is 23.6” x 94.4”)
- 3 internal hidden corner profile
- 3 pre-drilled aluminum base profile (94.4” long)
- 4 tubes wall panel sealant
- 1 external corner profile
- 1 standard installation kit
Four-Wall Bathroom Extra Large Kit (12 Panel Kit)
This kit is used most for various sized walk in showers or small bathrooms
Kit Includes:
- 12 wall panels approximately 24” x 96” (actual size is 23.6” x 94.4”)
- 3 internal hidden corner profile
- 3 pre-drilled aluminum base profile (94.4” long)
- 5 tubes wall panel sealant
- 1 external corner profile
- 1 standard installation kit
Standard Installation Kit
All kits include the following:
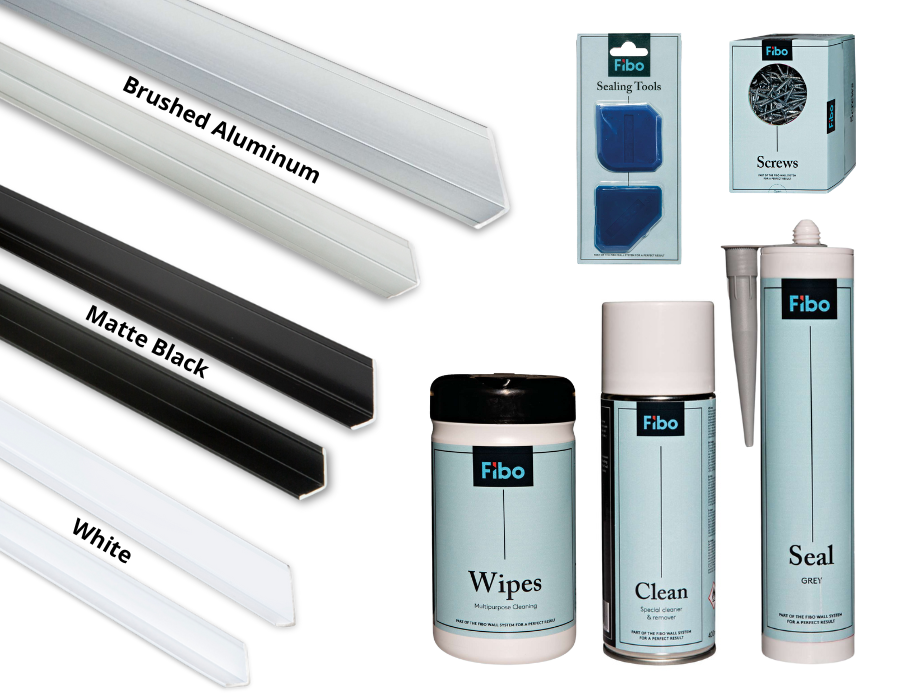
- 2 Large “L” Profiles and 2 Small “L” Profiles (the large profiles are used if you’re going over existing materials (like tile). The small profiles are used to cover the panel only. Standard kit comes with brushed aluminum profiles. However it can be switched out with matte black or white profiles.
- 1 Box – Wall Panel Wipes
- 1 Can –Cleaning Solution
- Sealant Finishing Tool
- Screws
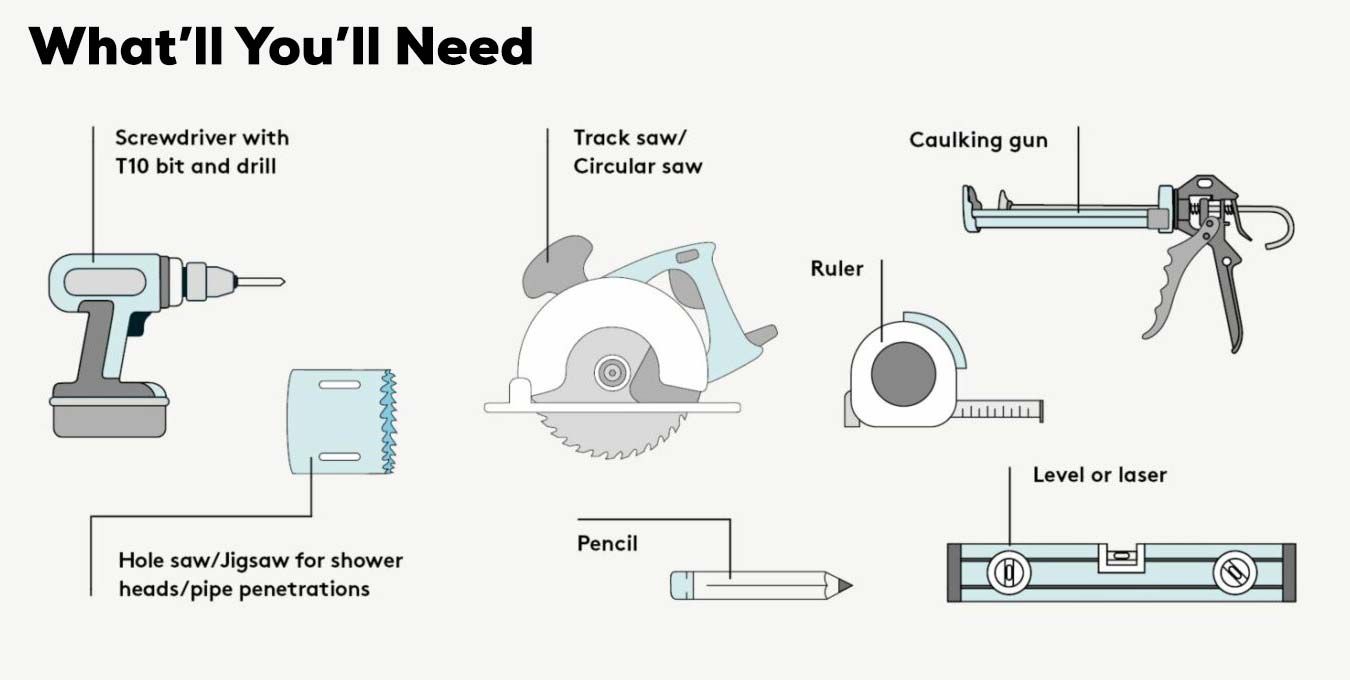
Required Tools
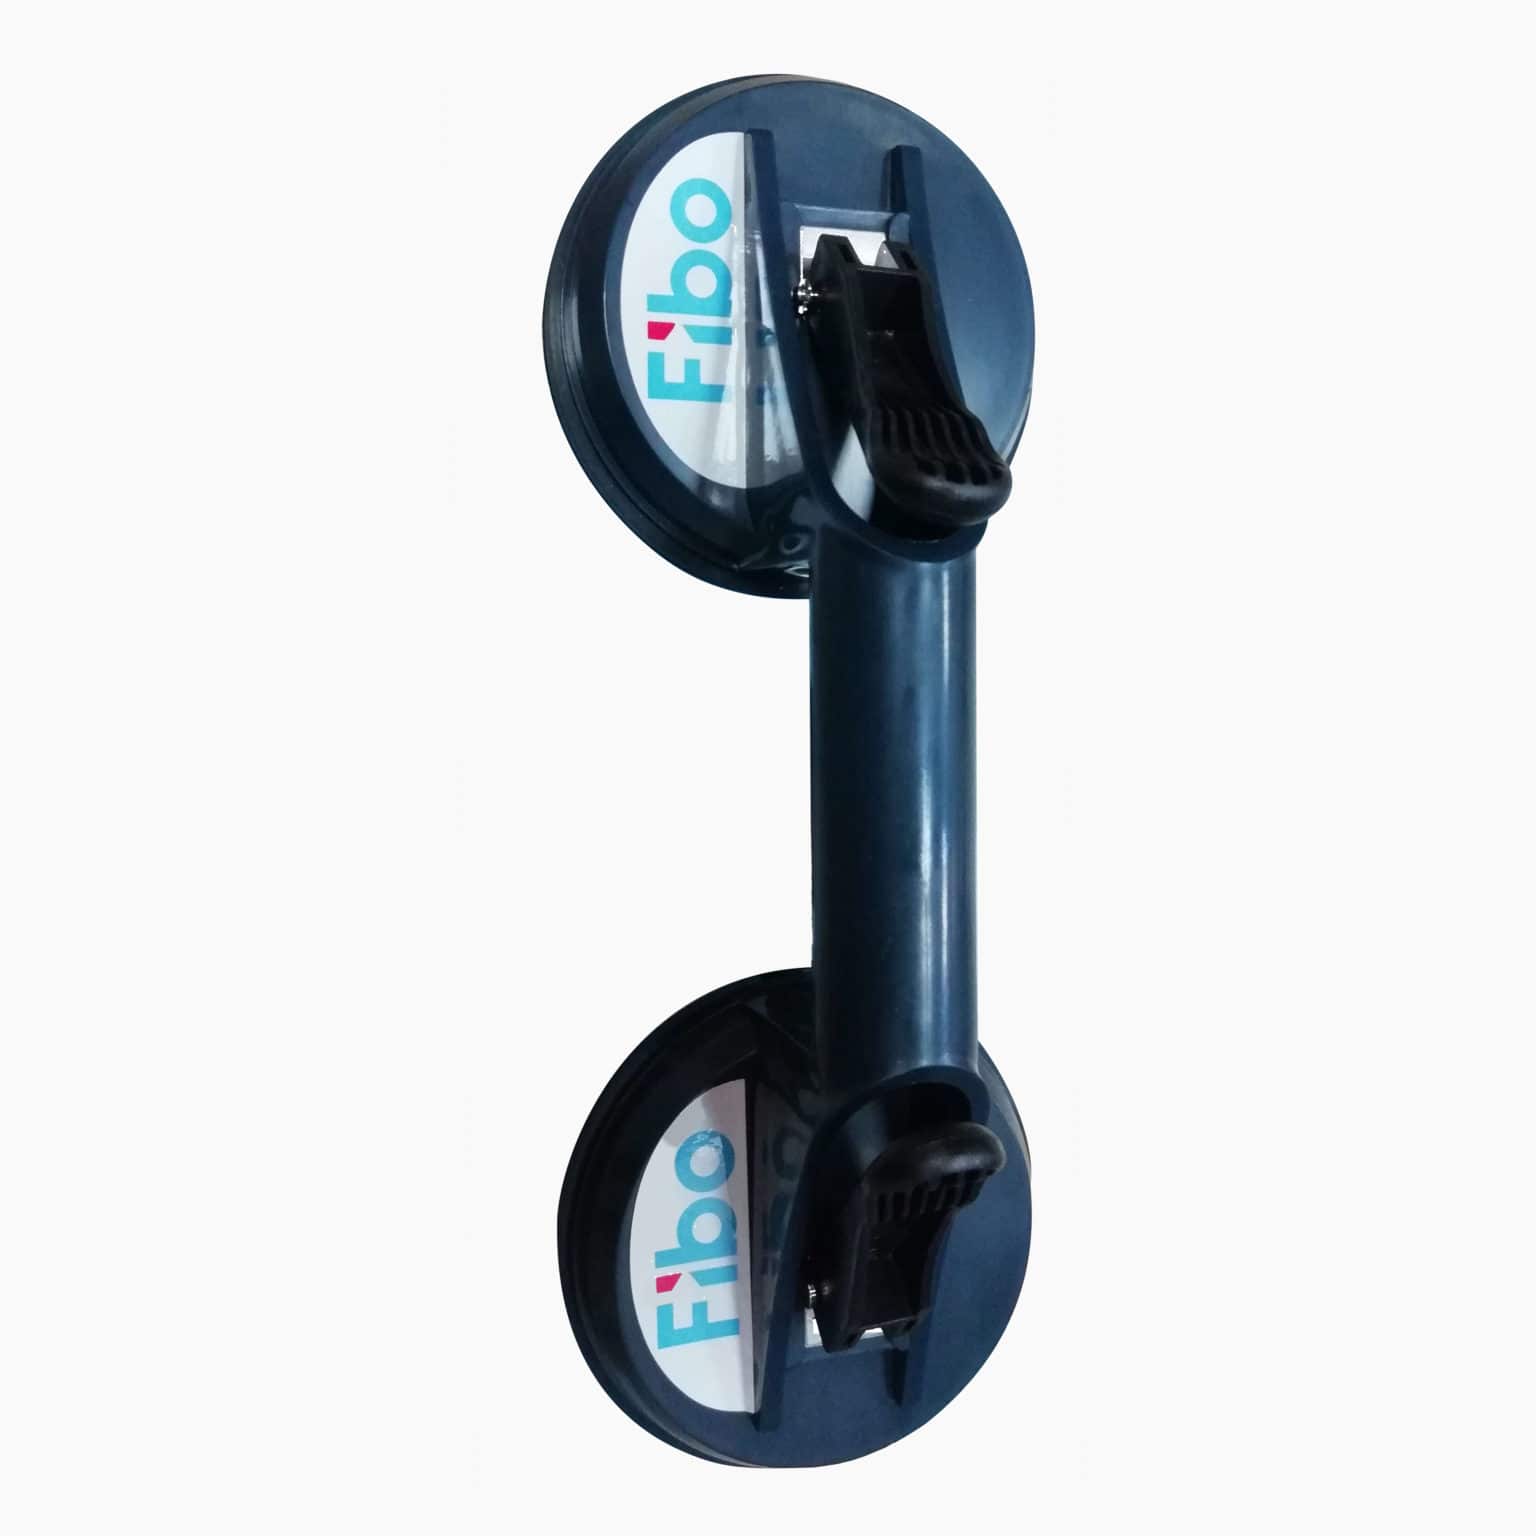
Fibo Grip – wall panel suction cup (sold separately)
Suction cup used for panel handelling. Measurements: 3″ x 4.72″ x 13.34″
New Sizes & Options – Extra-wide QI (Quick Install) Series 40.1” wide x 94.4” tall panels
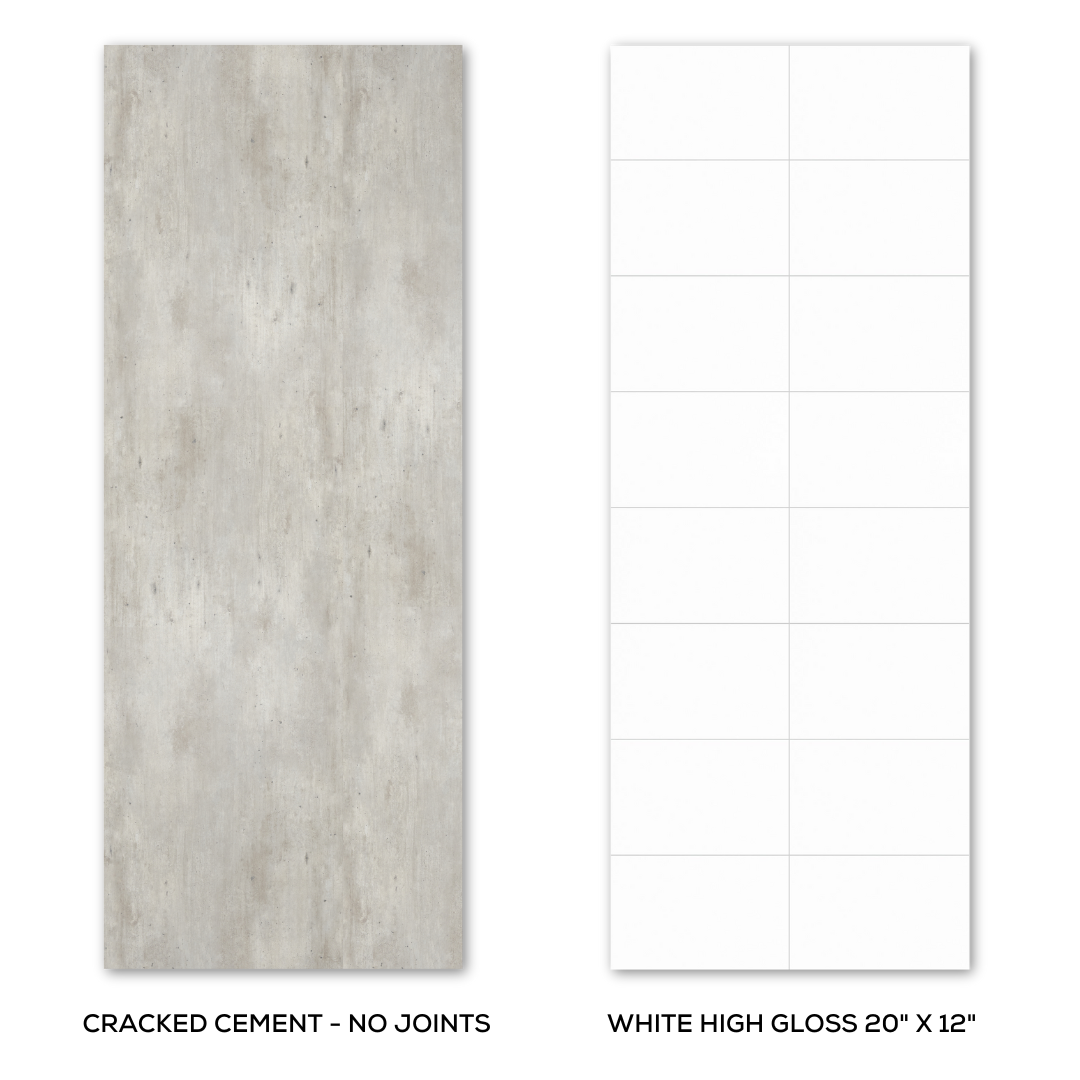
Is time of the essence for your bathroom remodeling project because you need the project done quickly, or labor costs in your area are high? If so, consider the Innovate QI (Quick Install) Series. Available in only two popular patterns (including ‘cracked cement’ and ‘white high gloss with a 20” wide x 12” high design) these sturdy – yet stylish – wall panels are also built for the quickest installation possible.
- QI Two-wall
- QI Three-wall
- QI Four-wall
- Patterns
- Standard Installation Kit
- Helpful Tools
- Required Tools
QI Two-Wall Small Corner Shower & Tub Kit (2 Panel Kit)
This kit is popular in small corner, right angle or NEO angle showers in mid-sized bathrooms. Popular sizes include: 32 x 32, 34 x 34, 36 x 36, 40 x 40
Kit includes:
- 2 wall panels approximately 40.1” x 96” (actual size is 40.1” x 94.4”)
- 1 internal hidden corner profile
- 1 pre-drilled aluminum base profile (94.4” long)
- 1 tube wall panel sealant
- 2 tubes of adhesive
- 1 standard installation kit
QI Three-Wall Small Alcove Shower & Tub Kit (3 Panel Kit)
This kit is used most to cover 3 walls around a small tub or shower space set off in an alcove. These showers are often called stand up showers because they are small in size. Popular sizes include: 32 x 32, 36 x 32, 36 x 36, 36 x 40, 40 x 30, 40 x 32, 40 x 36, 40 x 40
Kit Includes:
- 3 wall panels approximately 40.1” x 96” (actual size is 40.1” x 94.4”)
- 2 internal hidden corner profile
- 2 pre-drilled aluminum base profile (94.4” long)
- 1 tubes wall panel sealant
- 3 tubes of adhesive
- 1 standard installation kit
QI Three-Wall Large-Sized Alcove Shower & Tub Kit (4 Panel Kit)
This kit is used most to cover 3 walls around a standard-sized alcove tub, shower space set into an alcove, or a large shower surround. Popular sizes include: 60 x 30, 60 x 32, 60 x 34, 60 x 36, 72 x 32, 72 x 36, 72 x 40, 80 x 36, 80 x 40
Kit Includes:
- 4 wall panels approximately 40.1” x 96” (actual size is 40.1” x 94.4”)
- 2 internal hidden corner profile
- 2 pre-drilled aluminum base profile (94.4” long)
- 2 tubes wall panel sealant
- 4 tubes of adhesive
- 1 standard installation kit
QI Three-Wall Extra Large Alcove Shower & Tub Kit (5 Panel Kit)
This kit is used most to cover 3 walls around a standard sized tub or shower space set into an alcove. Popular sizes include: 72 x 42, 72 x 48, 72 x 56, 72 x 60, 80 x 42, 80 x 48, 80 x 56, 80 x 60
Kit Includes:
- 5 wall panels approximately 40.1” x 96” (actual size is 40.1” x 94.4”)
- 2 internal hidden corner profile
- 3 pre-drilled aluminum base profile (94.4” long)
- 2 tubes wall panel sealant
- 5 tubes of adhesive
- 1 standard installation kit
QI Four-Wall Bathroom Medium Kit (6 Panel Kit)
This kit is used most for various sized walk in showers or small bathrooms
Kit Includes:
- 6 wall panels approximately 40.1” x 96” (actual size is 40.1” x 94.4”)
- 3 internal hidden corner profile
- 3 pre-drilled aluminum base profile (94.4” long)
- 2 tubes wall panel sealant
- 1 external corner profile
- 6 tubes of adhesive
- 1 standard installation kit

Standard Installation Kit
All kits include the following:
- 2 Large “L” Profiles and 2 Small “L” Profiles (the large profiles are used if you’re going over existing materials (like tile). The small profiles are used to cover the panel only. Standard kit comes with brushed aluminum profiles. However it can be switched out with matte black or white profiles.
- 1 Box – Wall Panel Wipes
- 1 Can –Cleaning Solution
- Sealant Finishing Tool
- Screws

Required Tools

Fibo Grip – wall panel suction cup (sold separately)
Suction cup used for panel handelling. Measurements: 3″ x 4.72″ x 13.34″
Patterns
| Name/Description | Model # |
|---|---|
| Cracked Cement – No Joints New | 41MOMI-CC-0000 |
| High Gloss White 20” x 12” – 1/16″ grey joints New | 41TRANS-WH-2012 |
Patterns & Styles
If you want style and unique selections for your bathroom you’ll find them in the laminated wall panels below. Whether you love the traditional look of tile, the depth of a slate finish, a contemporary high-gloss aesthetic, a modern minimalist look or the warmth of a modern farmhouse or shabby chic there is a choice for you.
What’s even more exciting is you can mix and match these panels (and create a fun feature wall) to fit a unique design or personality. The options are endless!
Transitionalist Collection
Whether your have a traditional or transitional design style these patterns will be the perfect compliment for your bathroom.
| Name/Description | Model # |
|---|---|
| High gloss white – 24” x 12” – 1/16″ grey joints | Trans-WH-2412 |
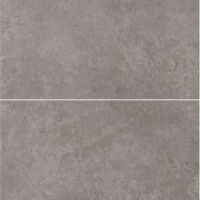
| Grey Sahara 24 x 16 – 1/16″ grey joint | Trans-GR-2416 |
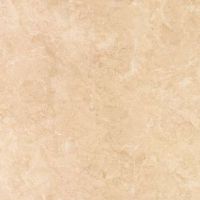
| Travertine – no faux tile pattern (glossy) | Trans-TR-0000 |
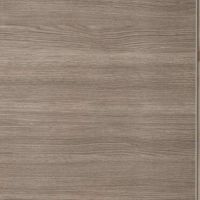
| Marina Oak – no faux tile pattern | Trans-MO-0000 |
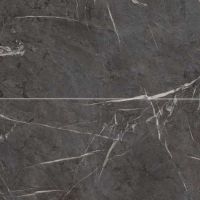
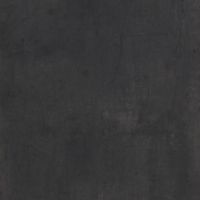
| Black Marble – 24 x 24 New | Trans-BL-2424 |
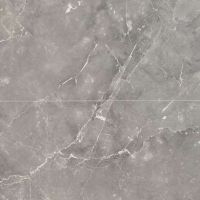
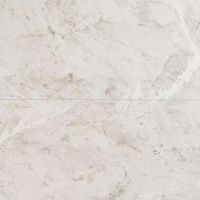
| Silver Grey Marble 24 x 24 – 1/16″ grey joints | Trans-SG-2424 |
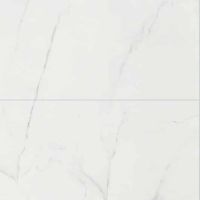
| White Marble 24 x 24 – 1/16″ grey joints | Trans-WM-2424 |
| Bianco Marble 24 x 24 – 1/16″ grey joints | Trans-BM-2424 |
| Grey Stone – grey grout line right edge New | Trans-GS-0010 |
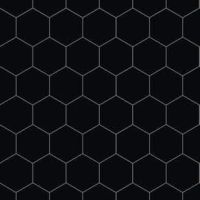
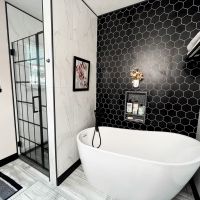
| Black Hexagon | Trans-BH-4444 |
| Herringbone White | Trans-HW-9999 |
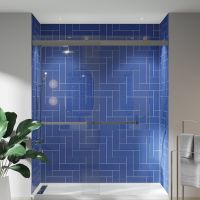
| Herringbone Ocean Blue | Trans-HB-9999 |
Scandinavian Collection New
Introducing our new Scandinavian Collection of shower wall panels. Inspired by the timeless elegance of Scandinavian interior design, this collection embodies minimalist sophistication. Clean lines, natural light, and airy spaces converge to create a serene bath and shower experience. Although these two new patterns are currently unavailable, samples can be provided upon request.
| Name/Description | Model # |
|---|---|
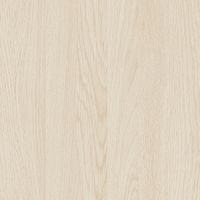
| Light Wood – no grout New | SCAN-LW-0000 |
| Moonstone – grout line right edge New | SCAN-MN-0010 |
Oasis Collection
Check out the newest waterproof wall panels – the ‘matte finish’ Oasis collection. The colors will remind you of the breezes in your cabin by the lake, or the warm silvery sandy beaches or the greenish hue of the sea.
| Name/Description | Model # |
|---|---|
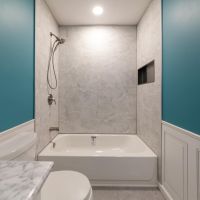
| Lake Blue/Matte Finish | OAMT-LB-0000 |
| Silver Strand/Matte Finish | OAMT-SS-0000 |
Decorative Accent Panels
| Name/Description | Model # |
|---|---|
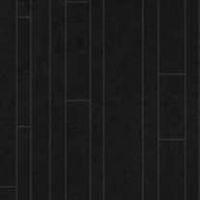
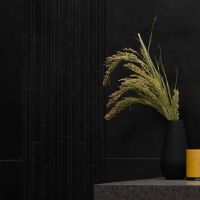
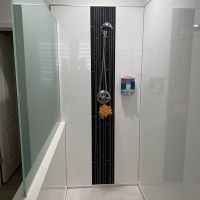
| Decorative Accent – Vertical White – Vertical joints | Deco-VW-8888 |
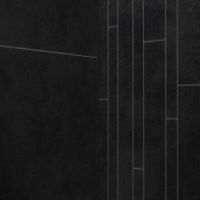
| Decorative Accent – Vertical Black – Vertical joints | Deco-VB-8888 |
Modern Farmhouse & Shabby Chic Collection
You want a relaxing bathroom away from the stress of the day. Combine modern farmhouse and shabby chic walls with some candles and a freestanding bathtub and take your worries away.
| Name/Description | Model # |
|---|---|
| Abbey Shale – 24 x 16 – 1/16″ white joints | Mofa-AS-2416 |
| Sahara 24 x 12 – 1/16″ grey grout joints | Mofa-SA-2412 |
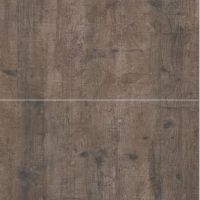
| Rough Wood – 24 x 24 – 1/16″ grey joints | Mofa-RW-2424 |
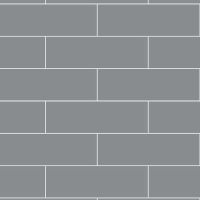
| Antique Grey – 24 x 12 – 1/16″ grey joints | ShCh-AG-2412 |
| Avalon Pine 24 x 16 – 1/16″ white joints | Mofa-AP-2416 |
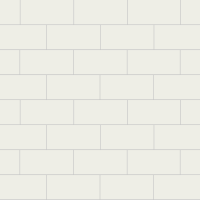
| White Subway Tile 6 x 3 – 1/16″ grey joints | Mofa-WS-0603 |
| Aberdeen Brick 12 x 4 | MOFA-AB-1204 |
Maximalist Collection New
Unleash your inner maximalist with our new Maximalist Collection of wall panels. Embrace unique colors, patterns, and textures to create a shower space that reflects your unique style and personality. Make a statement that’s as bold as you are. Although these two new patterns are currently unavailable, samples can be provided upon request.
| Name/Description | Model # |
|---|---|
| Charcoal Gray – No Grout NEW | MAXI-CG-0000 |
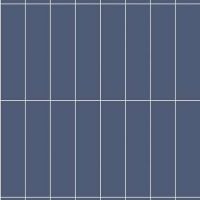
| Smokey Blue Stacked Subway Tile – 3 x 12 New | MAXI-SB-0312 |
Contemporary High Gloss Collection
Sleek and contemporary doesn’t need to be expensive or limited to downtown loft apartments. Create an easy to clean, fresh look (without spending a ton of money) with these popular high gloss shower, tub and bathroom wall collections.
| Name/Description | Model # |
|---|---|
| High Gloss White – no tile pattern | CoHg-WH-0000 |
Modern Minimalist Collection
| Name/Description | Model # |
|---|---|
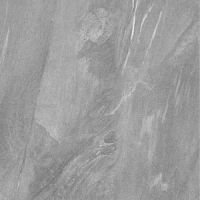
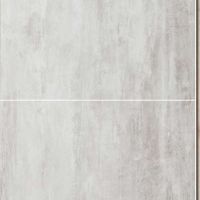
| Cracked Cement – no grout joints | MoMi-CC-0000 |
There is nothing quite as classic and elegant as a slate roof or bathroom wall tile, but what can be even more elegant is a slate wall – with NO maintenance hassles. Check out these selections.
3D Textured Slate Collection
| Name/Description | Model # |
|---|---|
| Black Slate 24 x 12 | Text-BS-2412 |
| Greige Slate 24 x 12 | Text-GS-2412 |
| Sandstone Slate 24 x 12 | Text-SS-2412 |
Installation of Laminate DIY Bathroom Wall Panels
A big reason to choose waterproof laminate shower and bathtub wall panels is their ease of installation. They are simple for a DIY homeowner or first-time contractor to put up (without needing multiple people to help). The following videos and images will lead you through the process.
Installing laminate wall panels with a shower base (or tub) over wood studs, plywood or OSB
Add horizontal wood furring strips (not provided) every 24” over your existing studs. Note – you can also add sheets of plywood or OSB (Oriented Strand Board) over your studs as well.
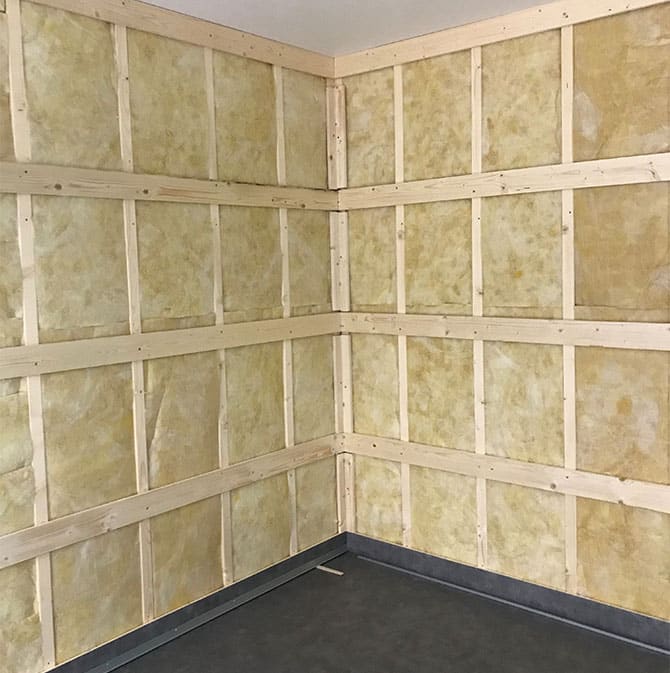
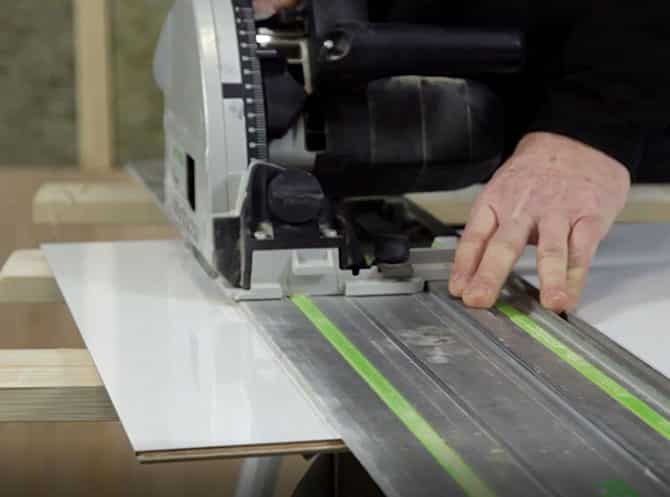
If your wall panels are going to extend beyond the shower pan – then cut the laminate wall panels to the shape of the base (note – if the panels are simply going over the pan only you will not need to do this). These panels can be cut with a table saw, router or circular saw.
Install your shower pan (or tub) against the studs.
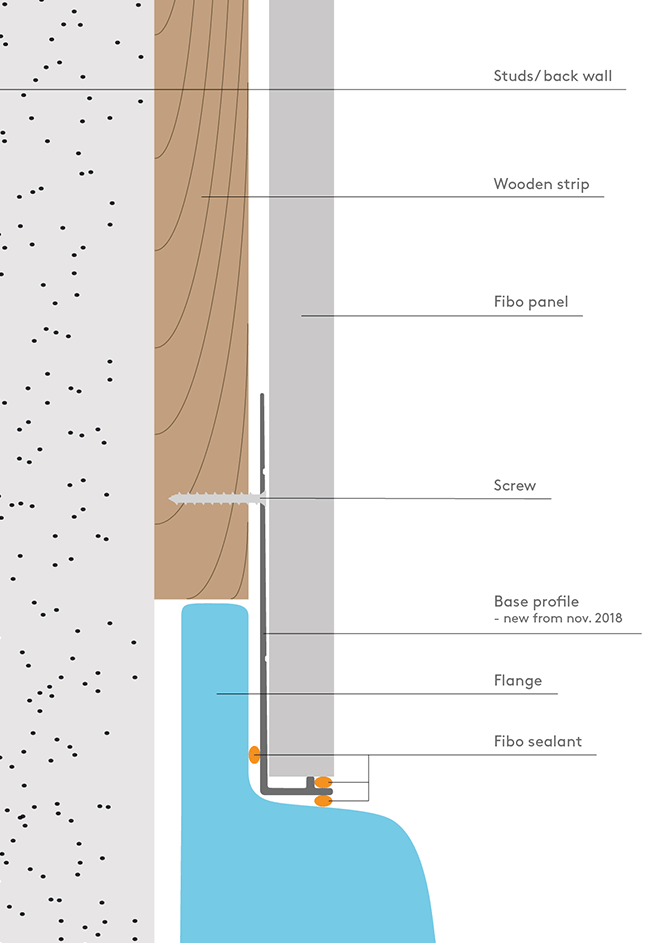
Place the ‘wood horizontal shower base furring strip’ over the flange of your shower pan. Attach this wood strip with screws to your studs.
Add sealant behind the L shaped metal base profile piece. Place this profile in front of the ‘wood horizontal furring strip. Screw the metal base profile into place through the wood furring strip and studs.
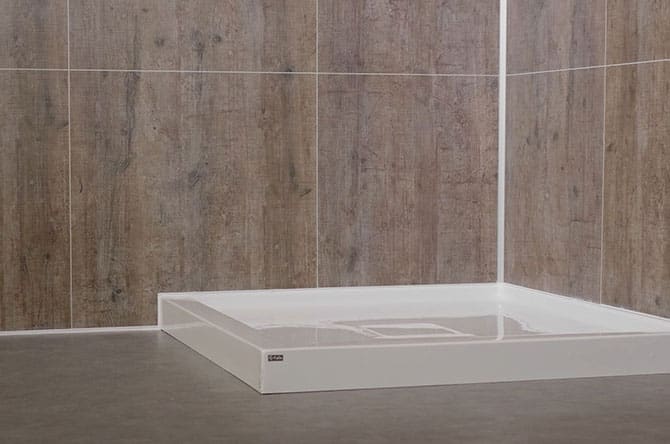
- Apply sealant on the clean-cut edge of the wall panel(s) which will go into the corner and then screw the ‘hidden metal corner profile’ to the wall panel(s) which will go into the corner. (Please note – this takes the place of the ‘visible metal profile shown in the video).
- Fit the profile on the back edge of the panel with the accompanying screws. Use the pre-drilled holes to screw the hidden profile to the wood on the walls.
- Put sealant on the bottom of the panel.
- Starting from the left hand side place the wall panel into the corner.
- Screw the hidden profile into the wall through the pre-drilled holes.
- Apply sealant on the edge of the adjoining panel for this corner and push it into the hidden profile.
- Attach the wall panel to the horizontal wood
- Seal the corner with the sealant. Use the rubber cleaning tool to rub off excess sealant and clean the walls.
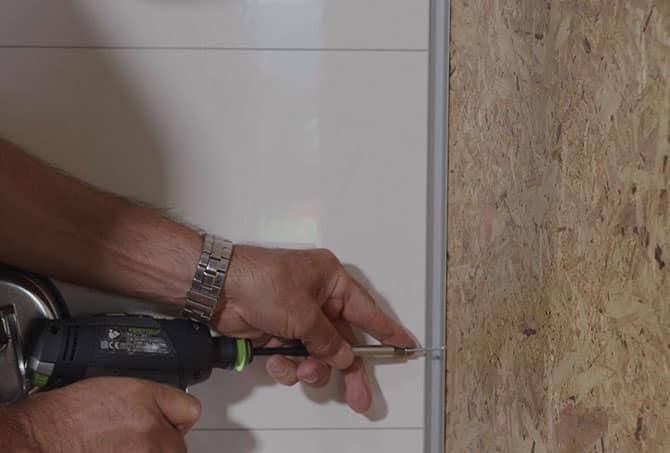
Add sealant to the bottom of the wall panel.
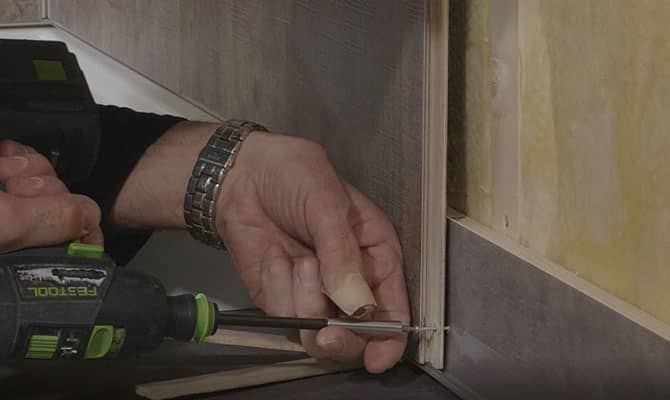
Put screws through the bottom base profile. Put screws through the the lip of the wall panels (not through the face of the panel) and continue to add screws 24” spaced apart until you get the top of the panel.
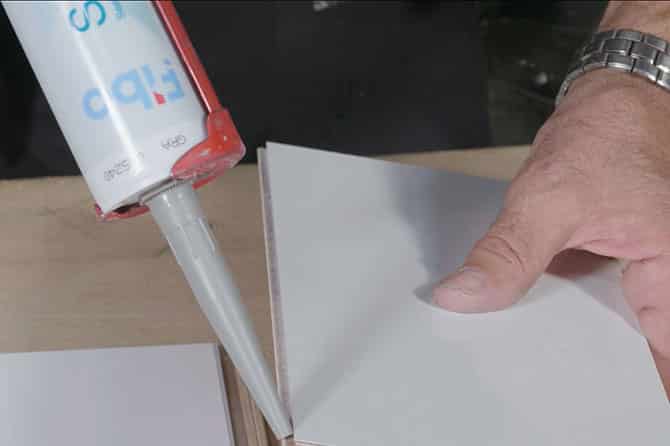
Apply sealant in the Aqualock click system (always on the left side of the panel) and ‘click’ the next panel together. Make sure to use enough sealant so that it oozes out of the panels when they are clicked together.
Clean off the excess sealant by first spaying on the cleaning solvent, using the rubber cleaning tool to get rid of the excess and lastly the wipes for the final cleaning.
Apply sealant between the wall panels and the shower pan and the outside edges.
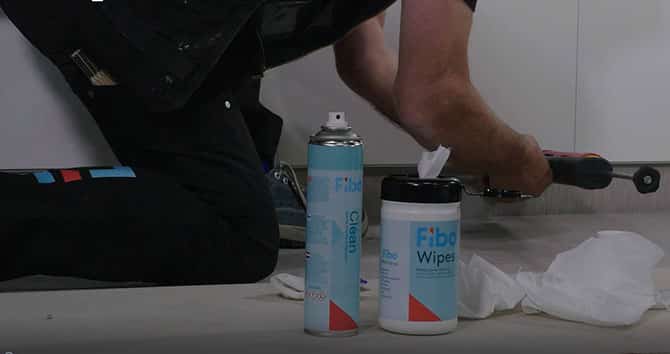
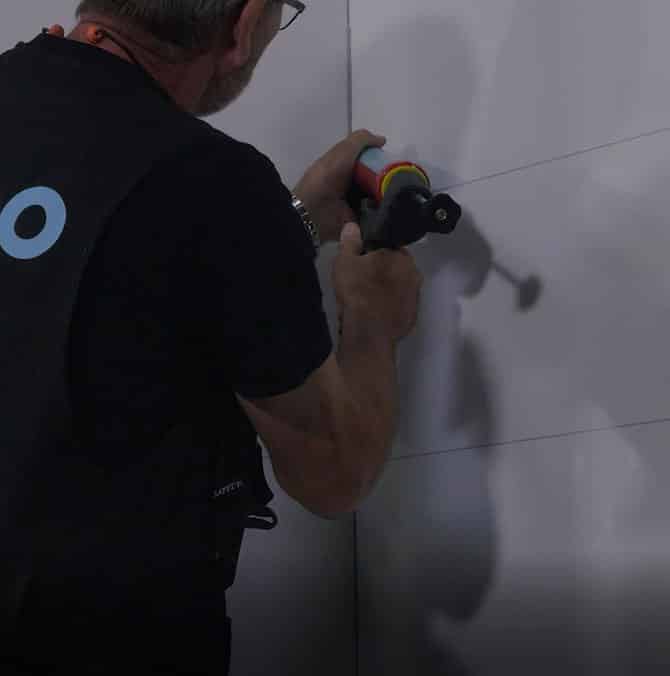
Use the cleaning tool to clean off all excess sealant.
Spray on the “Cleaning” solution, use the rubber tool to clean off the edges and clean with the “Wipes.”
Installing laminate wall panels onto existing tile or concrete using the hidden metal corner profile
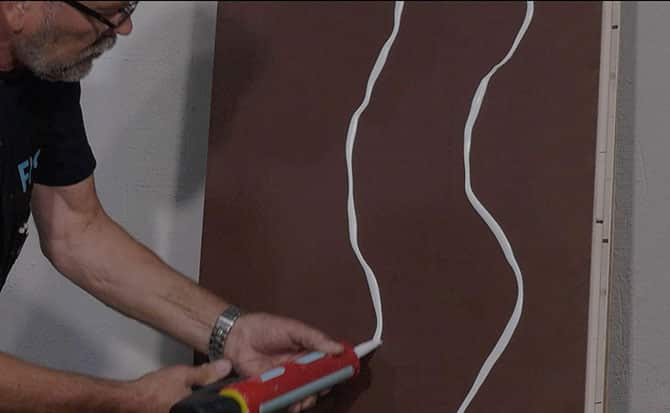
If you’re installing laminated wall panels over existing tile or wood you’ll need to add a glue appropriate to the wall surface you’ll go over to the back of the laminate panel. This panel will be slotted into the hidden metal corner profile. Follow steps 4 and 5 from above.
How to install the laminate bathroom walls panels to the bottom of a bathroom floor
Put sealant behind the base profile and screw it in with the holes in the profile approximate .4” from the bathroom floor.
Use the cleaning solution and rubber finishing tool to clean off excess sealant.
Use the cleaning solution and rubber finishing tool to clean off excess sealant.
Frequently Asked Questions about Laminated DIY Shower and Tub Kits
Pattern choices are driven by the design style you like. There are options for traditional or transitional bathrooms, for a minimalist look, shabby chic, modern farmhouse and even high gloss acrylic.
 Shabby Chic
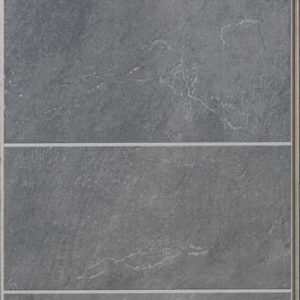 Textured Slate
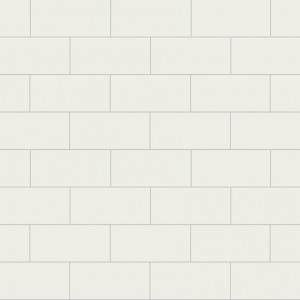 White Tile
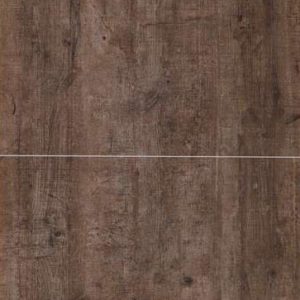 Rustic Wood
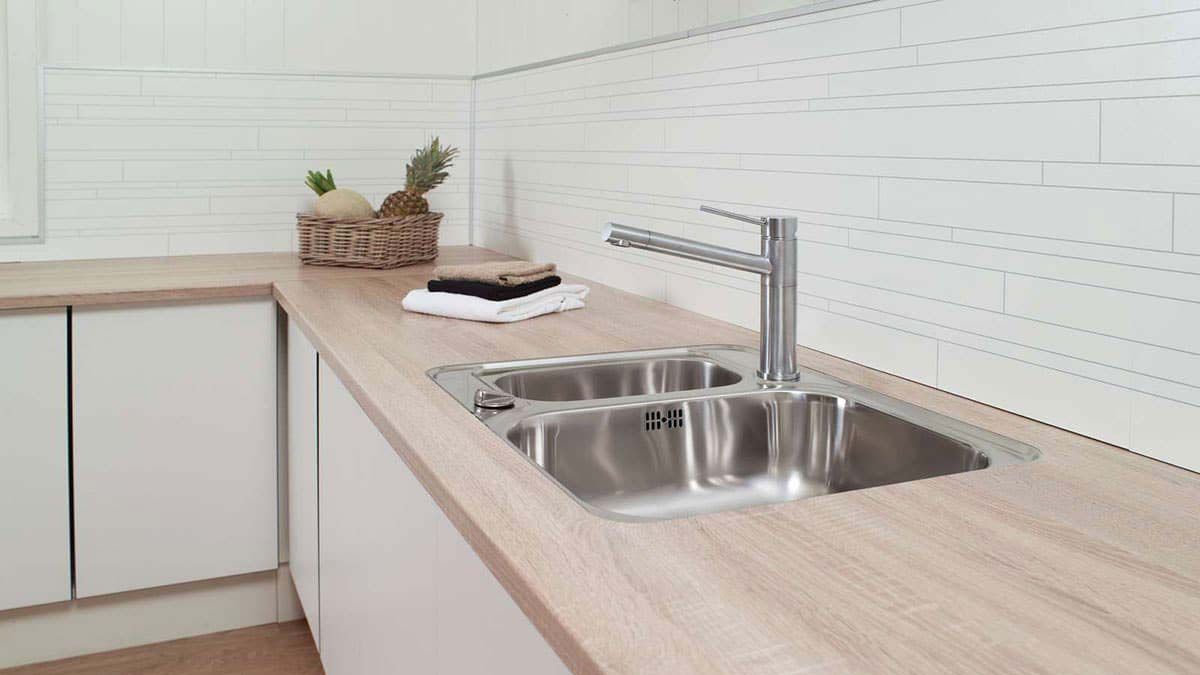
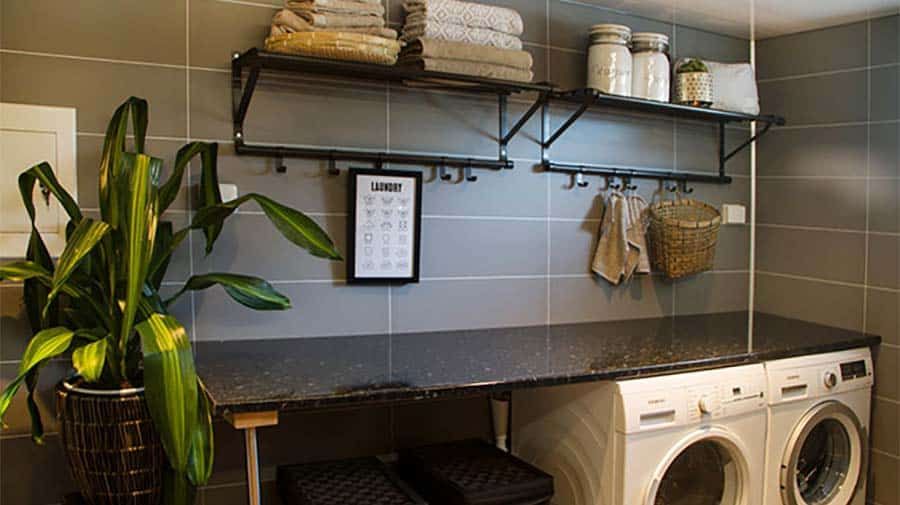
Yes – these laminate wall panels (which were developed 40 years ago) are 100% waterproof and can be used in ‘wet areas’ (like showers, tubs, bathroom walls and kitchen backsplashes). They have a high-pressure laminate top surface applied on a 7-layer marine grade, 3/8” thick plywood backing with a vapor barrier backing. They are joined together with a 100% waterproof Aqualock click system with nearly invisible seams between the panels. Bathroom wall panels eliminate maintenance – yet look exactly like tile (that’s why they’re called the ‘no tile, tile wall). They’re more durable and life-like than acrylic or fiberglass walls (which have a tendency to crack or yellow).
Yes. Many wall panel lines only offer matte OR gloss finish – but not in this laminate line. For the calming feel of matte finish, you’ll want to check out the ‘Oasis Collection.’ You’ll find many gloss patterns in the ‘Transitionalist’ and ‘High Gloss’ collections.
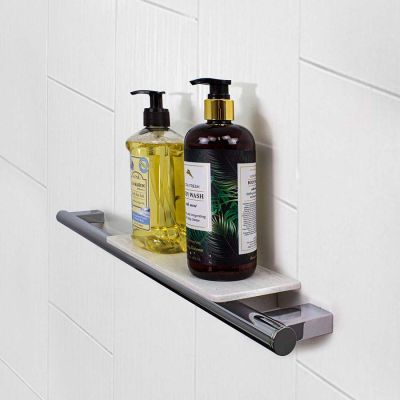
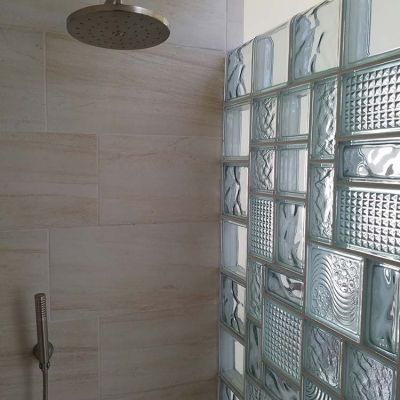
Innovate Building Solutions is much more than a nationwide shower and tub wall supplier. We offer many bathroom remodeling products (including shower bases and glass block shower wall systems and contemporary shower accessories) at wholesale direct prices. In addition, our company is a professional installer and contractor in our local markets, so we know how these panels are installed and can guide you through the process. The materials you purchase from us are also the materials we install daily in our regional markets (we have qualified people to help with your questions!). If you don’t want to DIY the project, as about our network of professional installing shower wall panel dealers.
This material has a lifetime warranty covering water resistance, maintaining consistent product color and stain resistance. It does not cover accidental damage or misuse through improper cleaning (i.e. don’t use abrasive chemicals to clean these wall panels).
If the wallboard products covered are found to be defective by Innovate Building Solutions (or one of our authorized representatives) we will repair, or at our option replace, the product with a similar panel or trim piece. Our option to repair or replace does not cover any labor or costs associated with the removal or installation. We will not be responsible for any other incidental or consequential damages attributed to a product defect or to the repair or exchange of a defective product.
Use clean soft cloth with warm water or non-abrasive cleaners like Fantastic, Windex, Green Works, 409, Tilex Spray, Pine Sol and Lime Away spray. Do not use abrasive or gritty cleaners (like Comet, Scotch Brite Pads, Magic Eraser etc.).
These panels are 600 mm x 2400 mm (which is 23.6” x 94.4”) and are 3/8” thick.
No – it is not recommended to use these panels in a sauna or steam room.
Since these panels literally ‘click and seal’ together (like a snap-together flooring system) they are straightforward for someone with no prior experience to install. They can be cut with standard woodworking equipment with a fine-tooth blade. There are no specialized blades you need to buy. They can be installed by one person. Also – since our company (Innovate Building Solutions) uses them on our own jobs we can guide you through any installation questions you may have.
For most of your walls the answer is no. The panels can be installed directly to horizontal furring strips attached to your studs. Where you will want a ½” thick construction plywood backing (or OSB – Oriented Strand Board) is behind the walls with your plumbing fixtures, or where there is a wall mounted sink or wall mounted toilet.
The panels should be stored flat for 3 days at room temperature prior to installation. They need to be ‘acclimated’ like laminate flooring.
Yes – these panels can be installed over drywall or stud partitions. Make sure the screws are long enough to properly grip the studs behind the drywall.
Since it is not recommended to have more than one moisture barrier in a shower – it is recommended in a shower to remove the old tile before installing our panels. In a kitchen backsplash – it is possible to go over the old tile.
No. Old fiberglass or acrylic walls will need to be removed and brought back to the studs before installing these 3/8” thick panels.
Only use the sealant provided with the installation kit between the Aqualock ‘click-together’ wall panels or between the wall panels and the profile trim pieces. They are color matched based on the panel joints and have been tested with this system.
Yes – the standard installation kit comes with any wall panel system. It includes 2 large L profiles or 2 small L profiles, 1 tube sealant, 1 box wall panel wipes, 1 can of cleaning solution and 1 package with sealant finishing tools.
