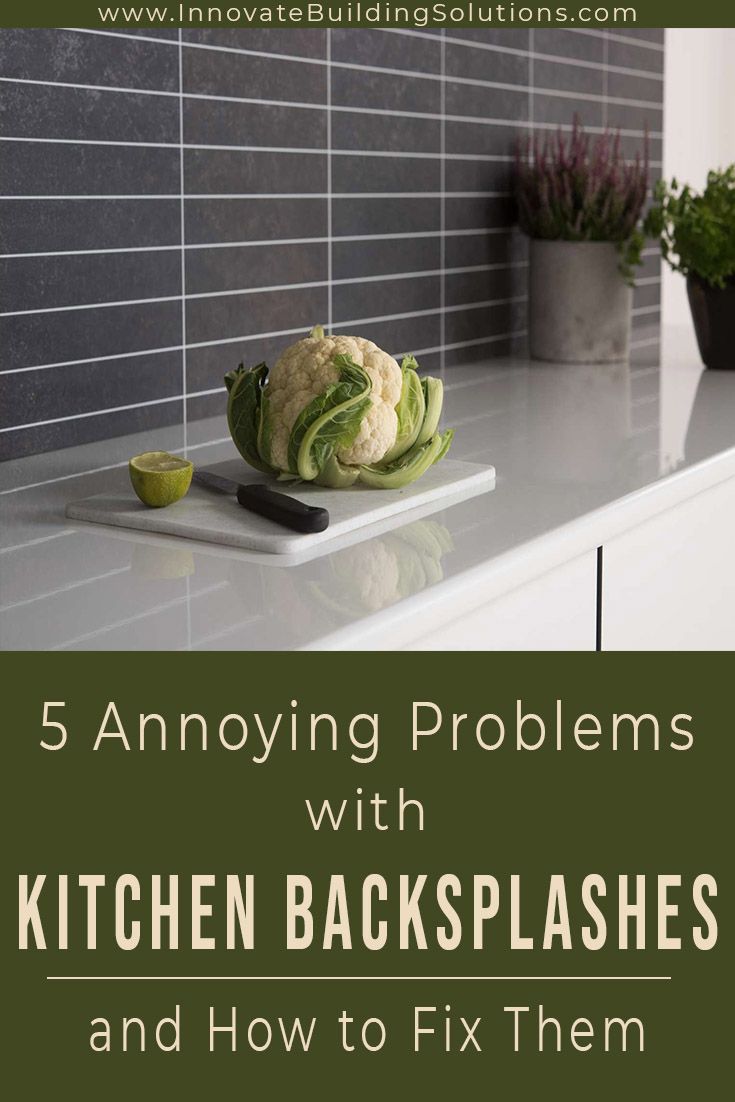
DIY Laminate Kitchen Backsplashes
These 100% waterproof and affordable laminate panels (either with or without ‘faux’ grout joints) click and lock together. They can be screwed or glued to existing wall materials. Choose from pre-packaged ‘countertop to cabinet kits’ or taller ‘countertop to ceiling’ offerings to make a bolder statement. With tons of design styles to choose from, you’re sure to find an option which enhances your interior décor.


-
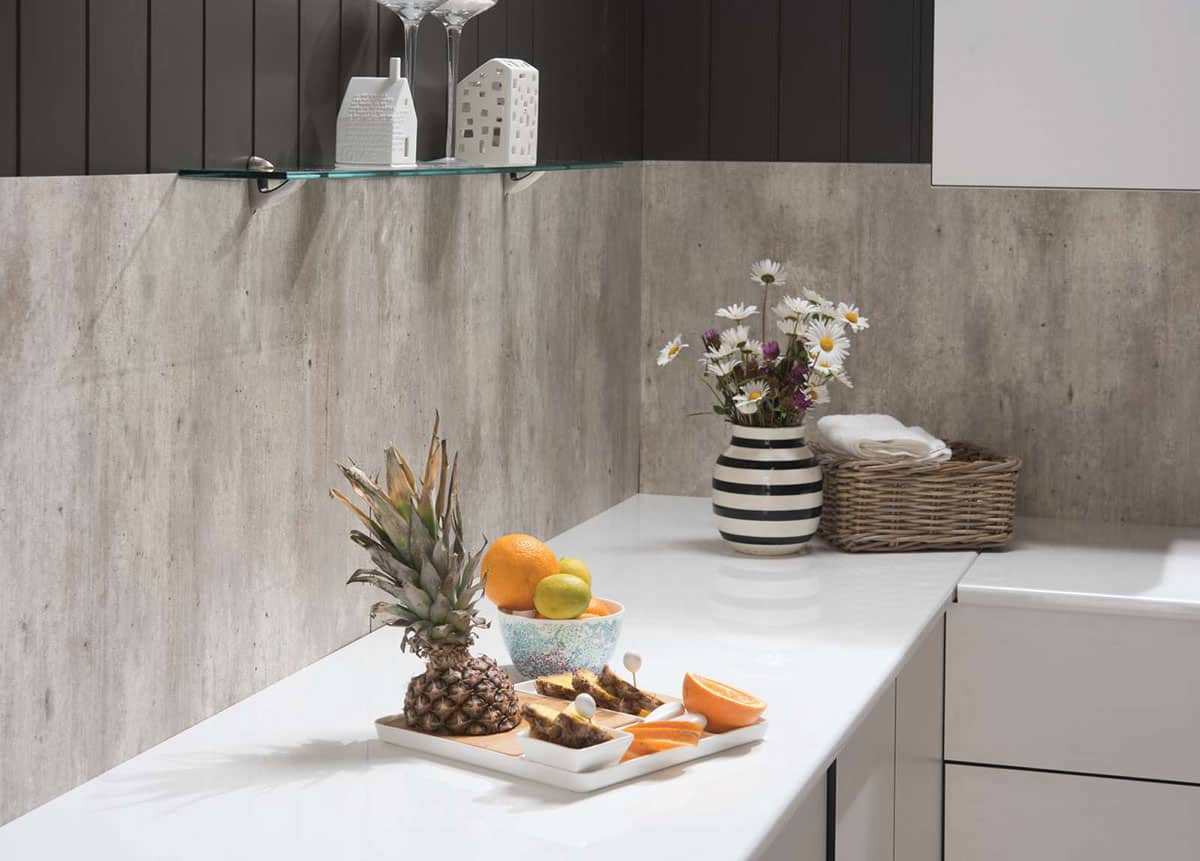
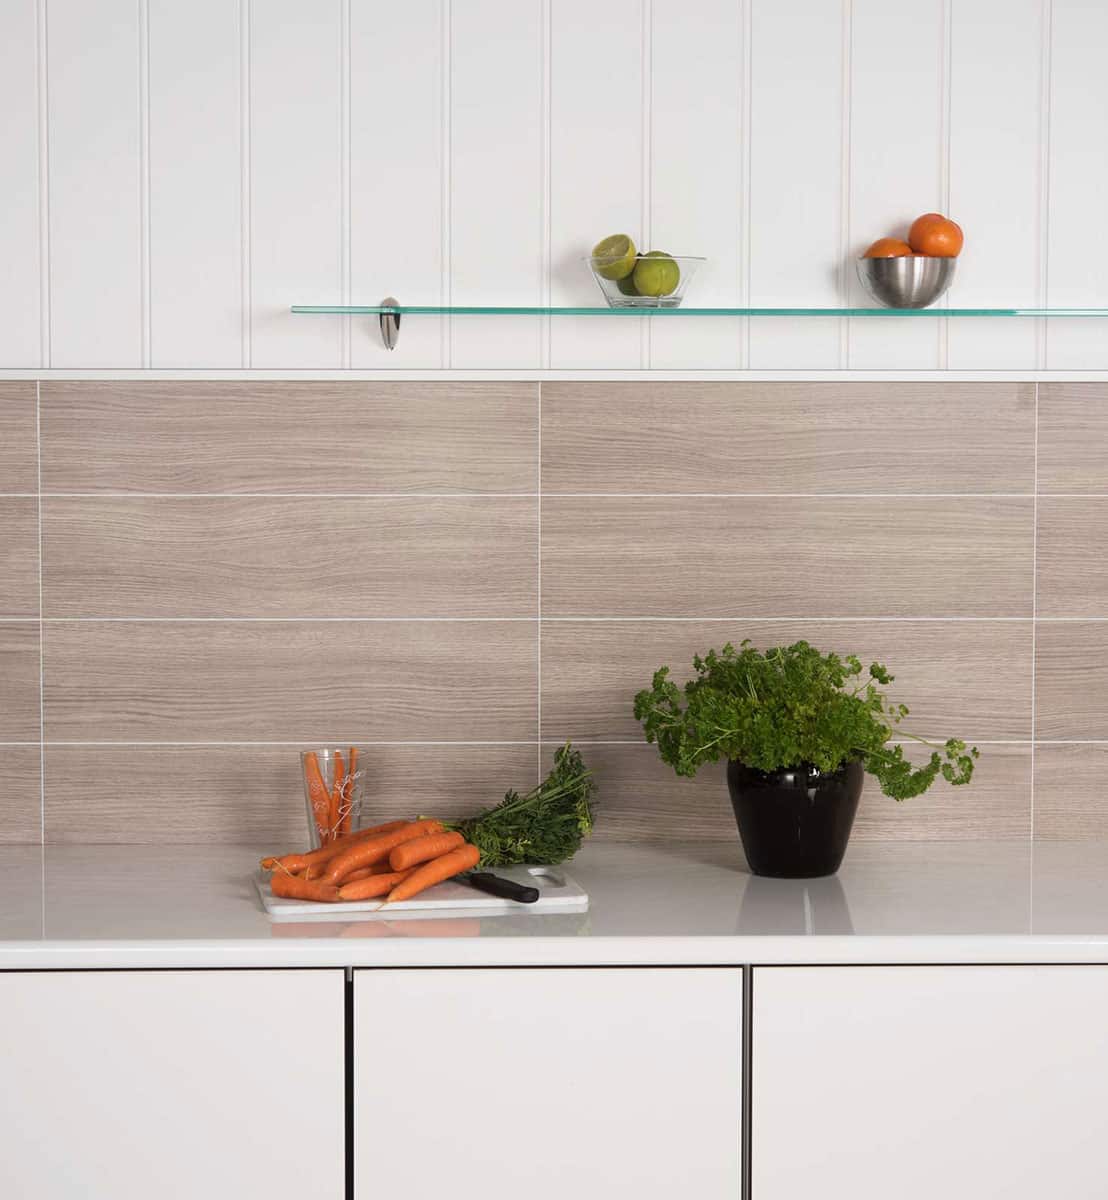
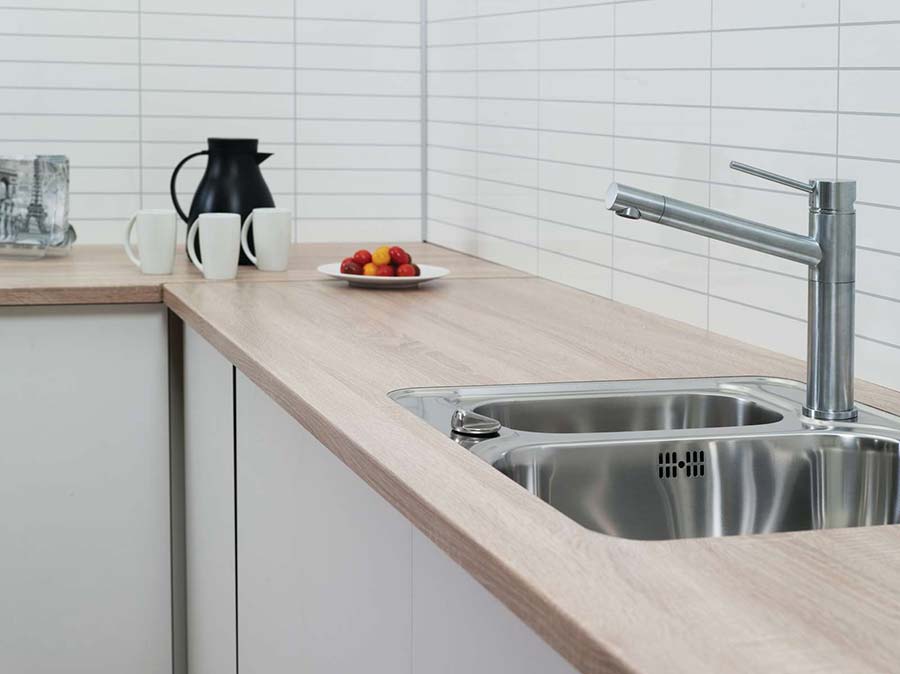
A tile look without the cleaning hassle
With a kitchen backsplash you know water, oil and grease will find their way onto your walls. With a laminate kitchen backsplash cleaning is a breeze because there are no grout joints to scrub.
-

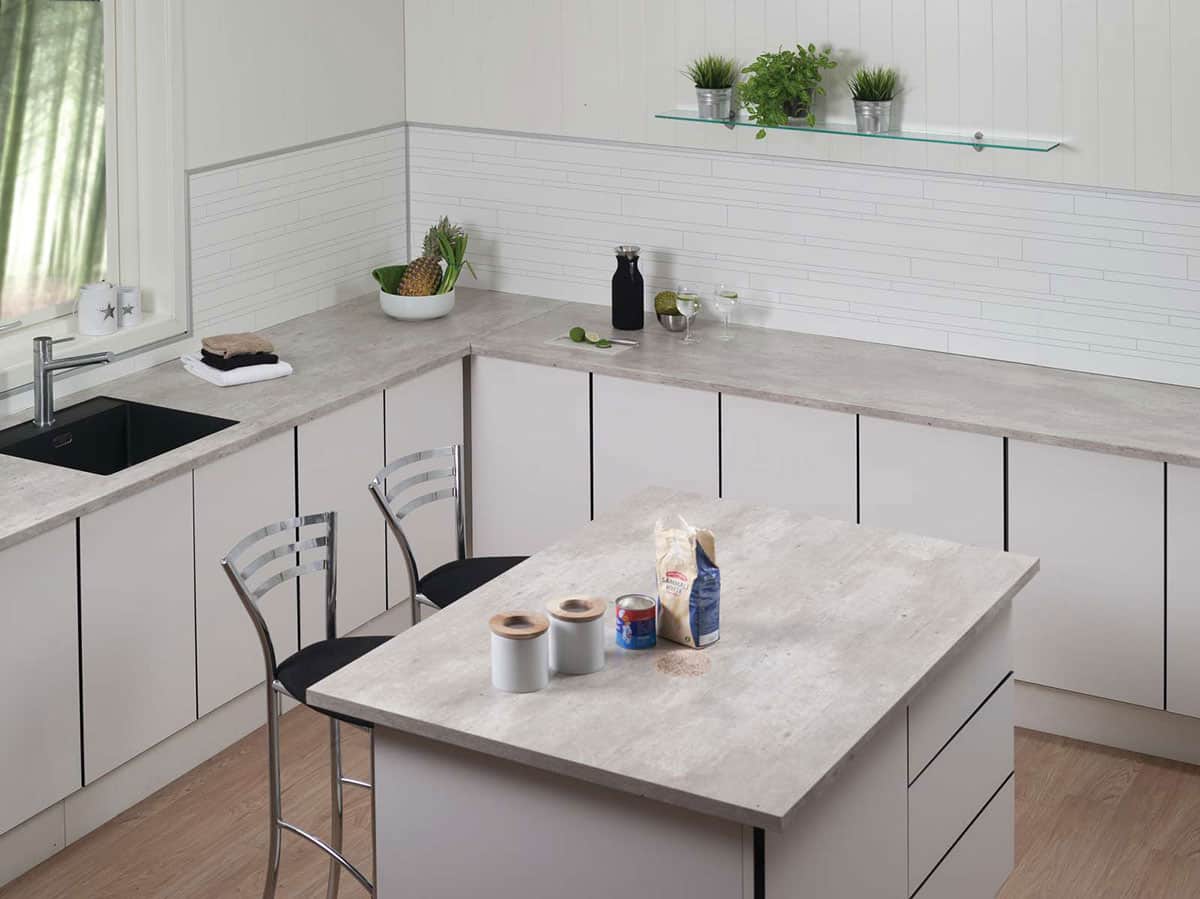
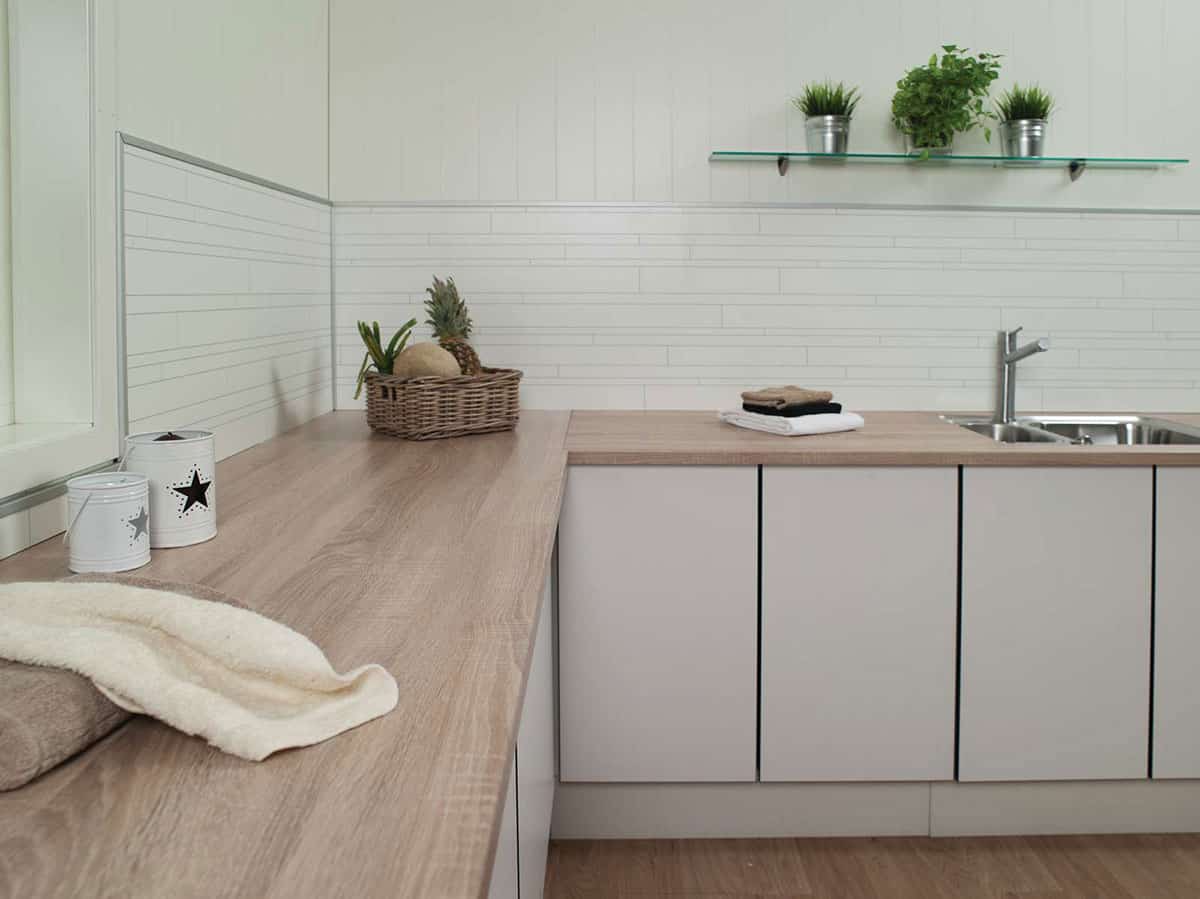
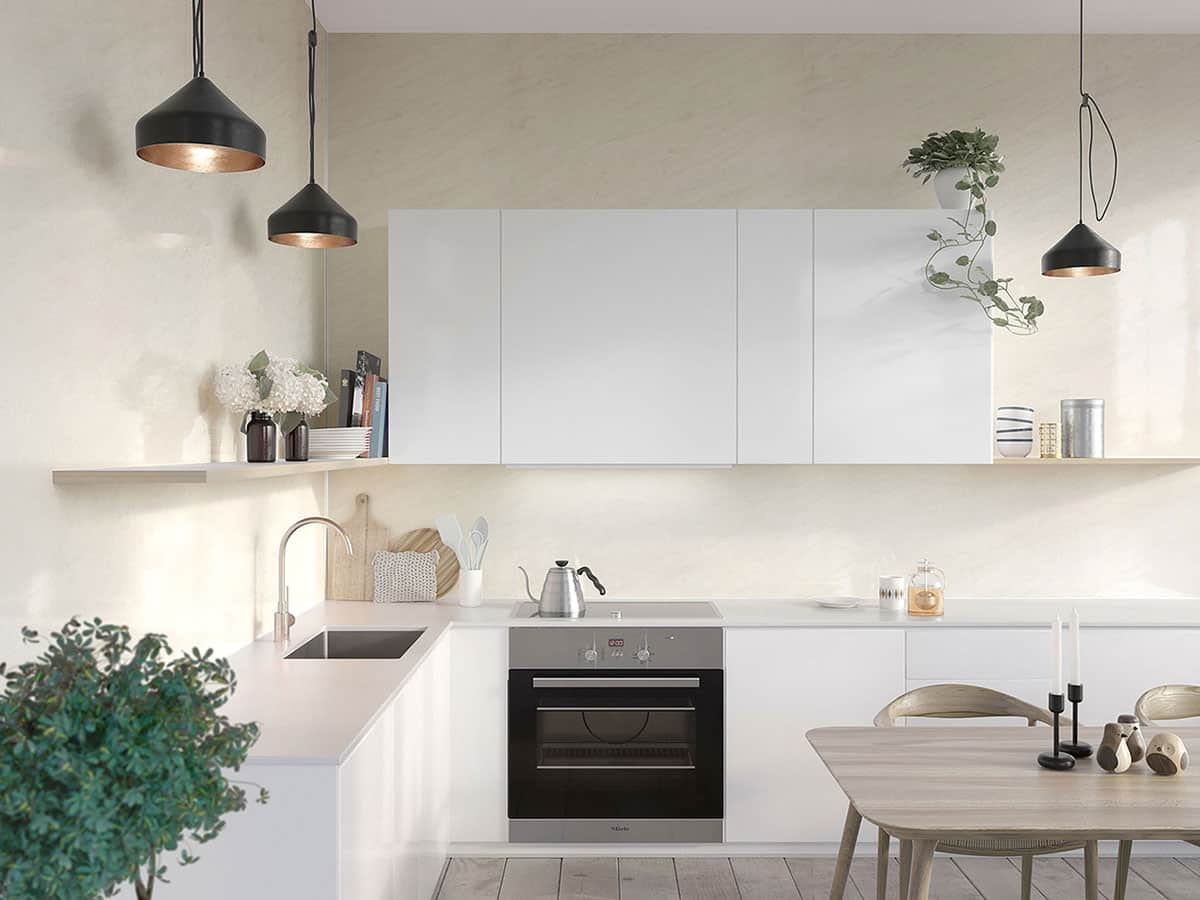
Multiple design styles to fit your decor
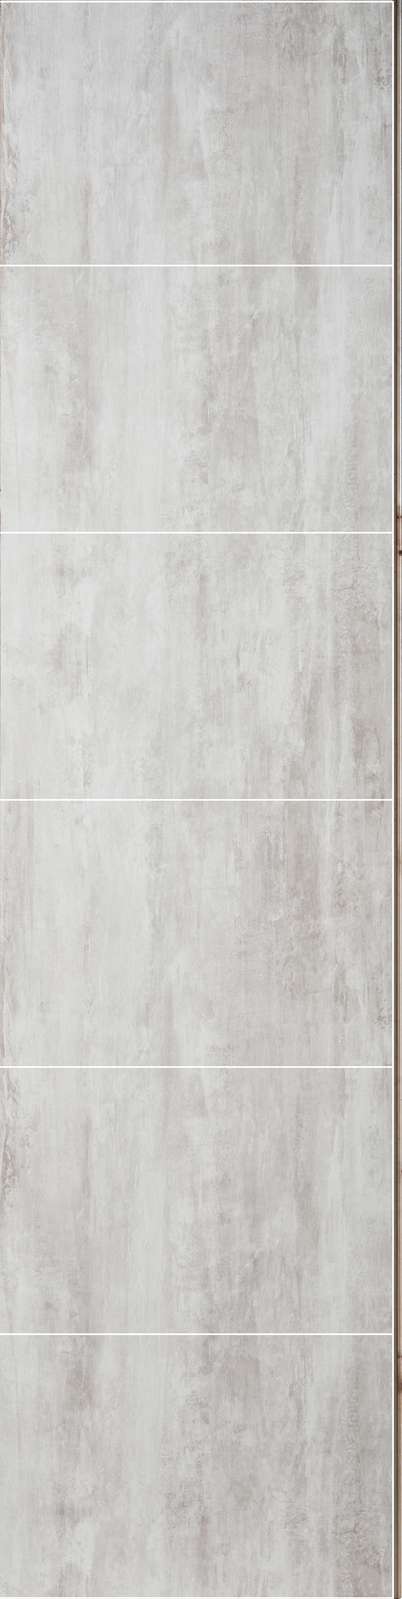
Your home (and your kitchen backsplash) should be an extension of you. For a natural, relaxed look explore our ‘earth collection.’ There you’ll find stone, slate, cement and wood looking selections. If you want a vibrant expression our ‘high gloss collection’ is perfect.
-
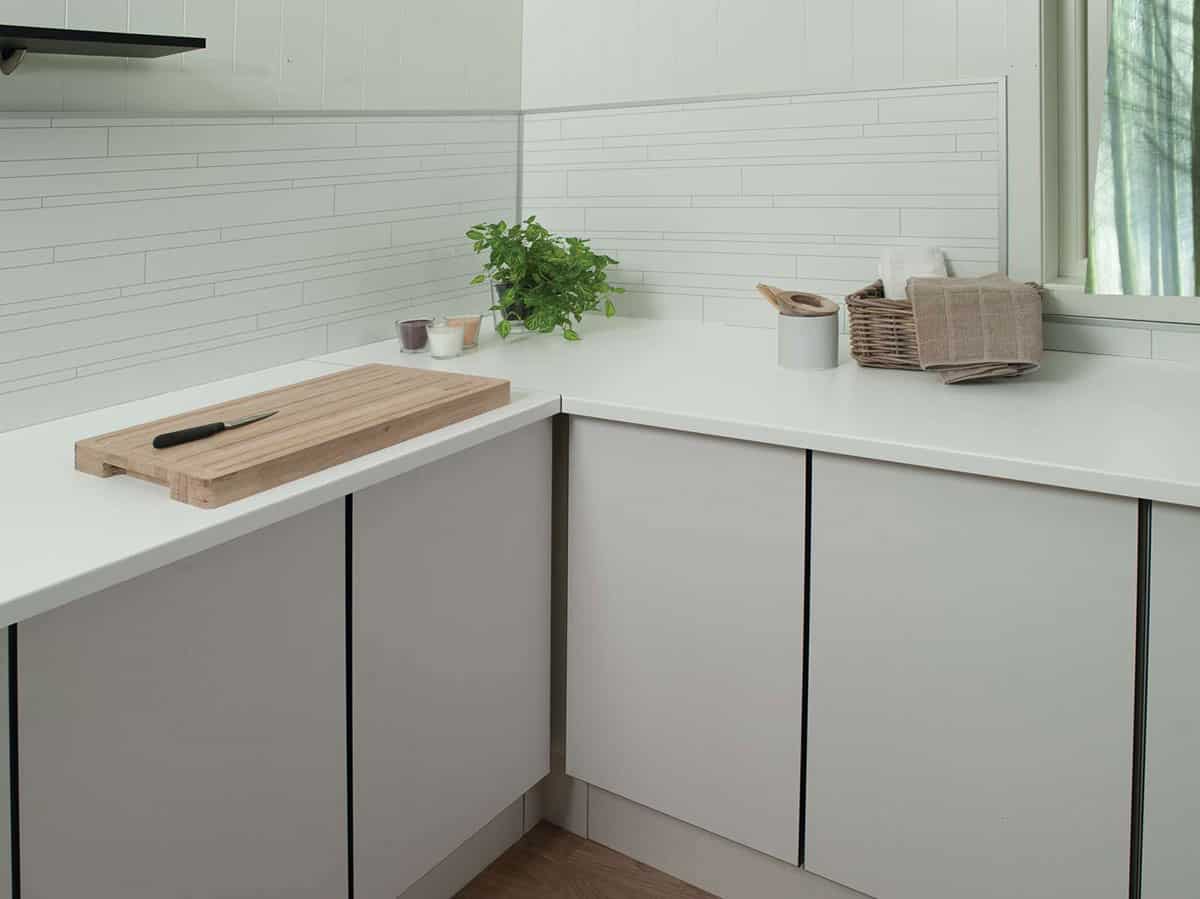
Prepackaged “countertop to cabinet” kits
If you’ve got a small galley or one wall kitchen our prepackaged ‘counter to cabinet’ kits can be an efficient, yet decorative choice for you. The kit includes just the right number of 23.6” wide x 22.8” high x 3/8” thick kitchen backsplash panels and accessories to transform your kitchen
-
Easy installation & DIY friendly
Finding a contractor these days is like finding a ‘needle in a haystack.’ Since these panels simply click and lock together (like laminate flooring) you can DIY the project and save money. Since they come in approximately 2’ wide sizes, they’re simple for one person to handle. With a 15-year warranty you’ll be confident your backsplash will last.
-

Panels can ‘travel well’ in a houseboat, tiny home, RV or mobile home
Just because your home is ‘mobile,’ doesn’t mean you don’t want it to be stylish. With laminate kitchen backsplash panels, you’ll get the tile look without the concern of tiles ‘falling off’ during your travels.
-

Free Shipping
with our nationwide supply network you’ll get your kitchen backsplash (or tub and shower wall kit delivered) directly to your home without extra transportation fees.
-
Get free design help from our experts
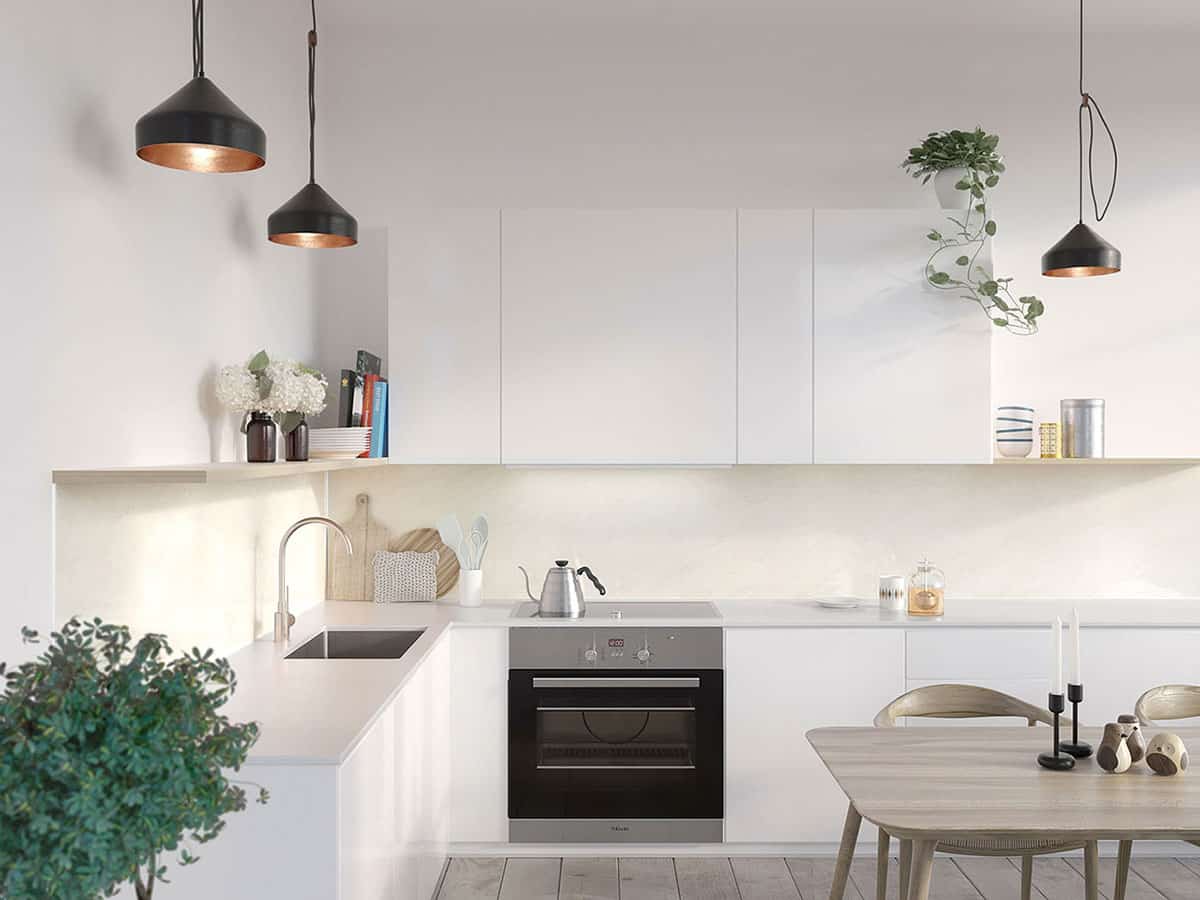
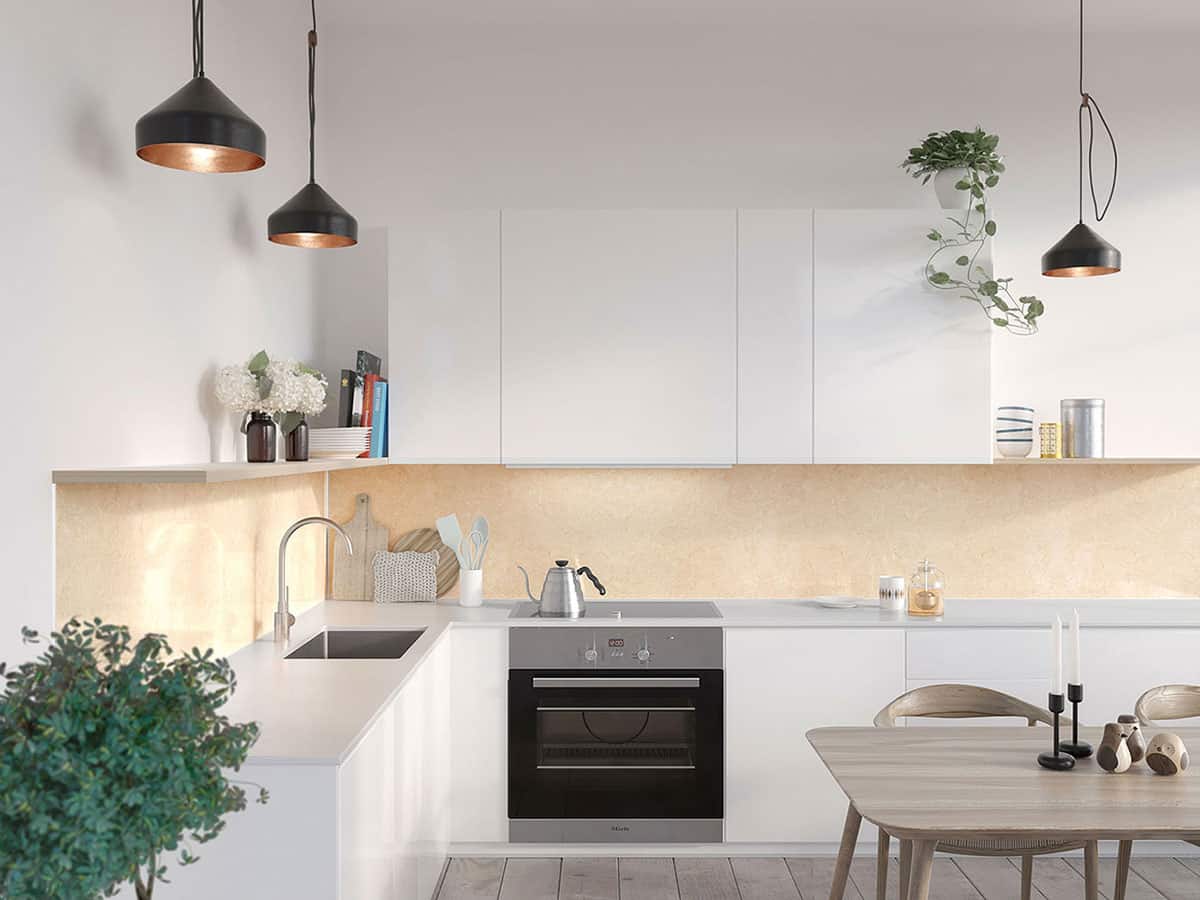
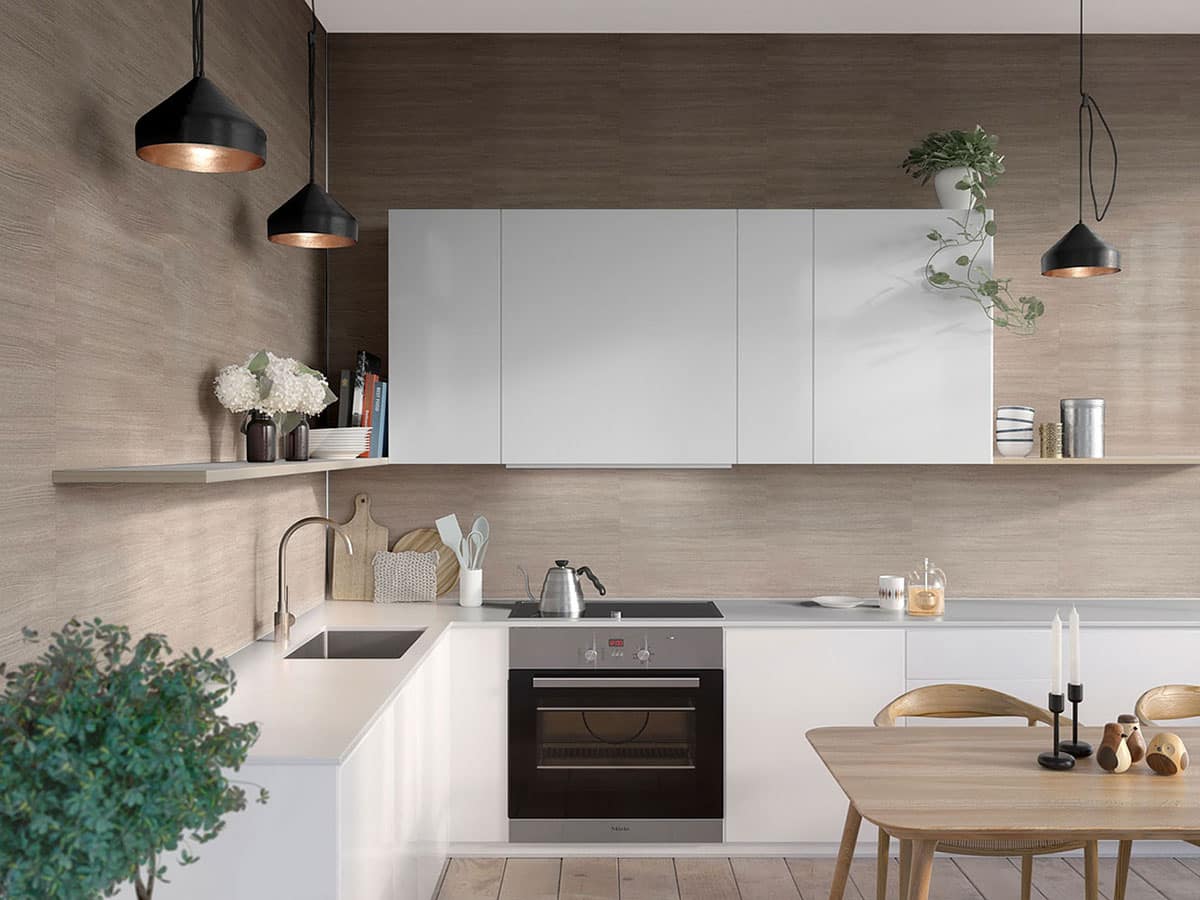
Since Innovate Building Solutions is not only an experienced nationwide wholesaler of wall panels – but also an authorized installer with a growing wall panel dealer network – we (or one of dealers) can help you through any design or construction questions so you can have a finished project which looks like the one below.


Product Line
Laminate kitchen backsplash panels are the simpler way to enjoy the tile-look without the hassle of installing (or maintaining) grout joints. Here are key facts about these panels.
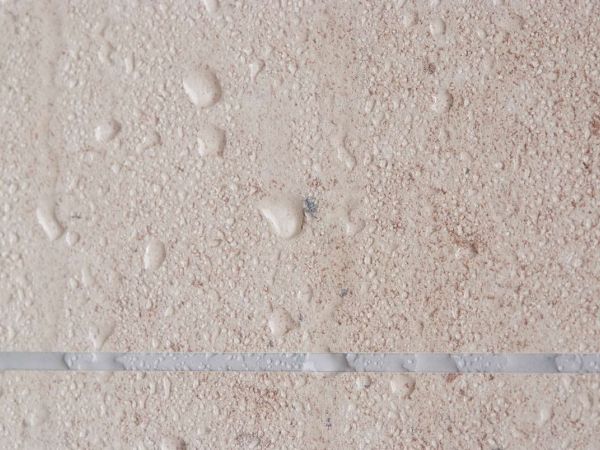
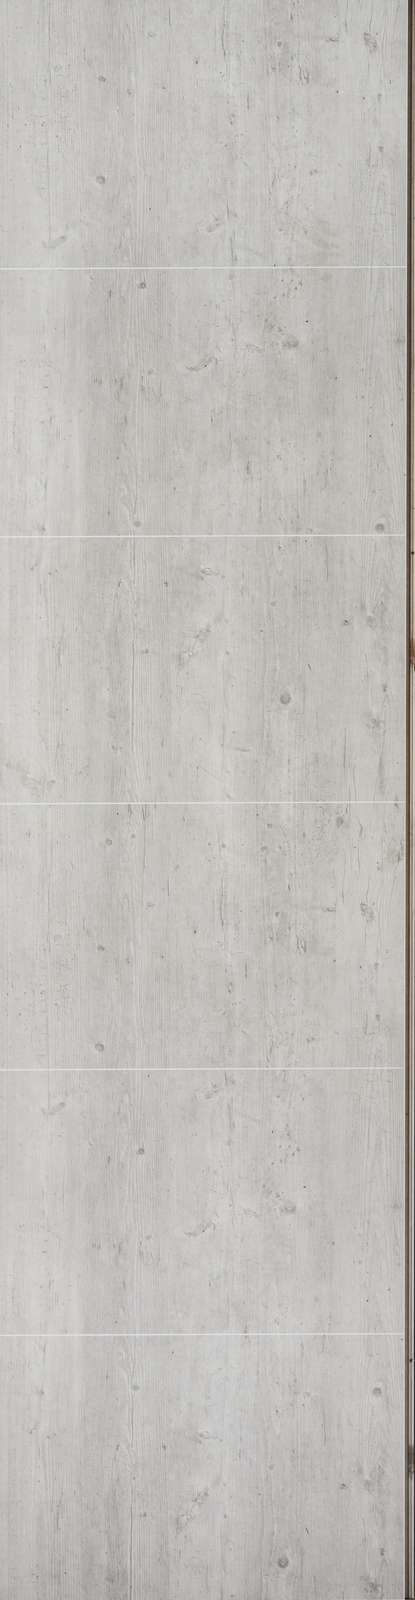
Durability – The top surface is made of a high-pressure laminate (which is stronger than a laminate countertop). For tile-looking kitchen backsplash panels the ‘faux grout joint’ is milled out with 1/16” or 1/8” spacing. You’ll get the cool look of tile without worrying about getting grease or oil stains off the joints.
A strong board which won’t warp – The high-pressure laminate surface is applied on a 7-layer marine grade birch plywood backing for a durable 3/8” total thickness.
No worries about moisture behind the wall – On the back of the laminated panels is a vapor barrier backing. You won’t need to worry about mold behind your walls – ever!
Modular sizes for ‘countertop to cabinet’ or ‘countertop to ceiling’ backsplashes – Choose either our ‘countertop to cabinet’ panels using 23.6” x 22.8” panels are take you backsplash to the ceiling with our approximately 2’ x 8’ panels (actual size is 23.6” x 94.4”)
Consistent grout lines – Since the faux ‘grout joints’ in these panels are produced with CNC (computer numerical control) precision in the factory, you’ll know the joint sizes are consistent. They aren’t dependent on your (or your tile setters) handiwork.
A warranty you can trust – With a complete 15-year product warranty you’ll know your kitchen backsplash will stand up to the test of time.

Short ‘countertop to cabinet’ laminate panel kits
If you’ve got a small galley kitchen, a one wall kitchen – or simply don’t want the expense of going to the ceiling with your backsplash our 23.6” wide x 22.8” high x 3/8” thick ‘countertop to cabinet’ kits are perfect. Simply order the most efficient number of panels and accessories to cover the length of your wall(s).
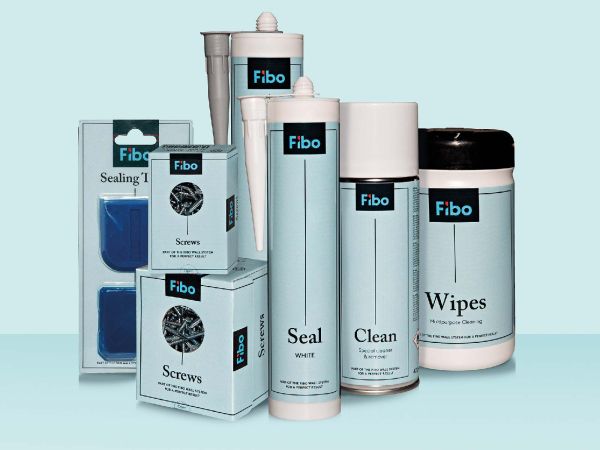
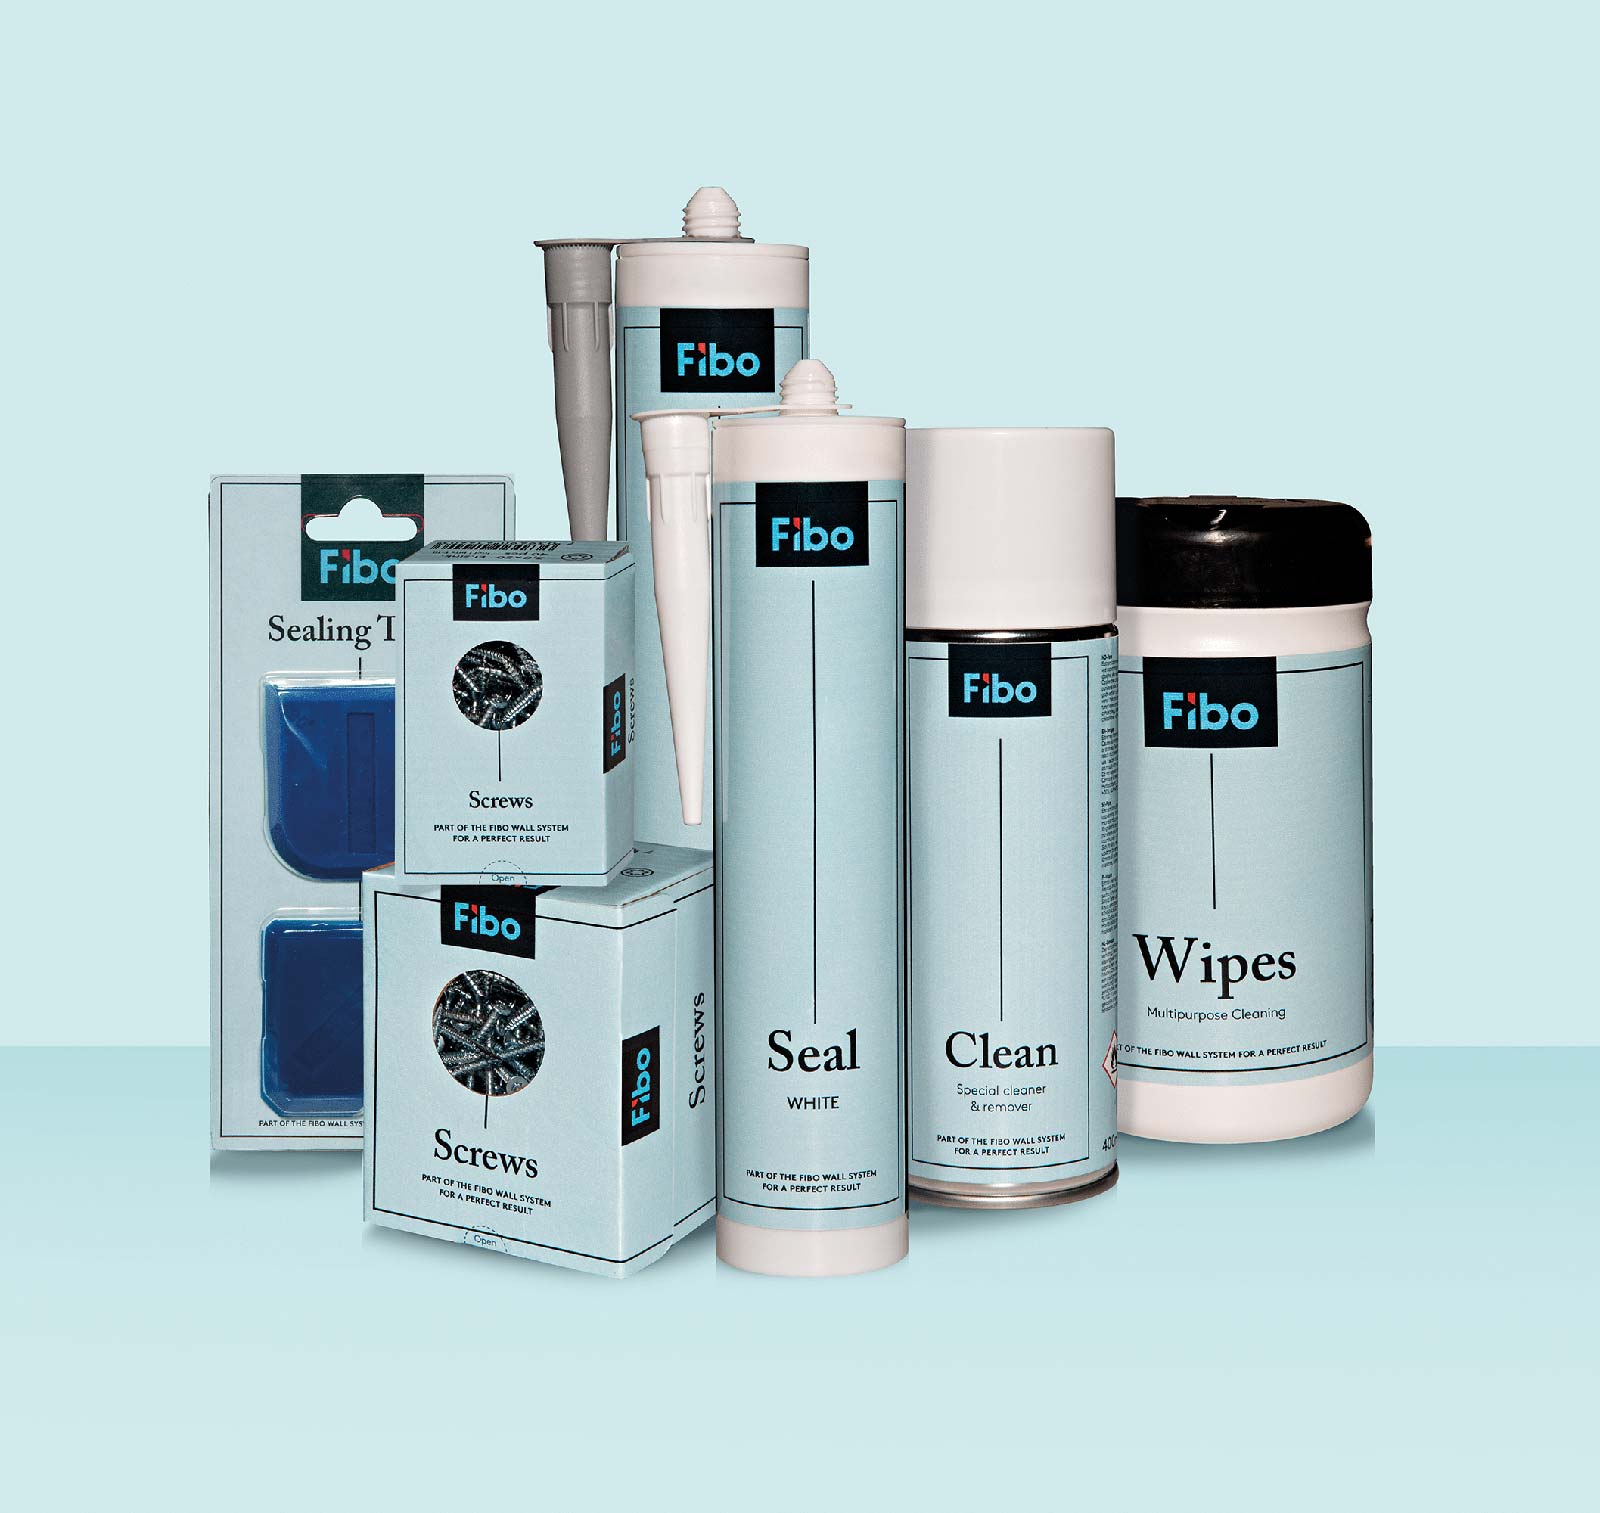
All ‘countertop to cabinet kits’ include these standard supplies:
- 1 – 23” high hidden corner profile
- 2 – 23” high small L profiles
- 1 Tube – Wall Panel Sealant
- 1 Box – Wall Panel Wipes
- 1 Can –Cleaning Solution
- Sealant Finishing Tool
- Screws
Longer ‘countertop to ceiling’ laminate panel kits
Make a bolder statement with taller kitchen panels in a feature wall or behind a stove or taller wall. Our ‘countertop to ceiling’ laminate panel kits can be perfect for you. The kitchen backsplash panels in these kits are 23.6” wide x 94.4” high x 3/8” thick. Order them separately, or in conjunction with the shorter backsplash kits.
We’ll help you order the most efficient number of panels and accessories to cover the length of your wall(s).
NOTE – the larger ‘countertop to ceiling’ kits are not available for the following patterns:
White Slate, White Tile, Black Stone

Earth Collection 30% OFF BLACK STONE

| Name/Description | Model # |
|---|---|
| 30% OFF Black Stone – 23.6” wide x 22.8” high | Kitc-BS-1202 |
Transitionalist Collection
| Name/Description | Model # |
|---|---|
| High gloss white – 24” x 12” grey faux grout joint (1/16”) | Trans-WH-2412 |
| Grey Sahara 24 x 16 – 1/16” grout joint | Trans-GR-2416 |
| White Marble 24 x 24 | Trans-WM-2424 |
| Silver Grey Marble 24 x 24 | Trans-SG-2424 |
Oasis Collection

| Name/Description | Model # |
|---|---|
| Silver Strand/Matte Finish | OAMT-SS-0000 |
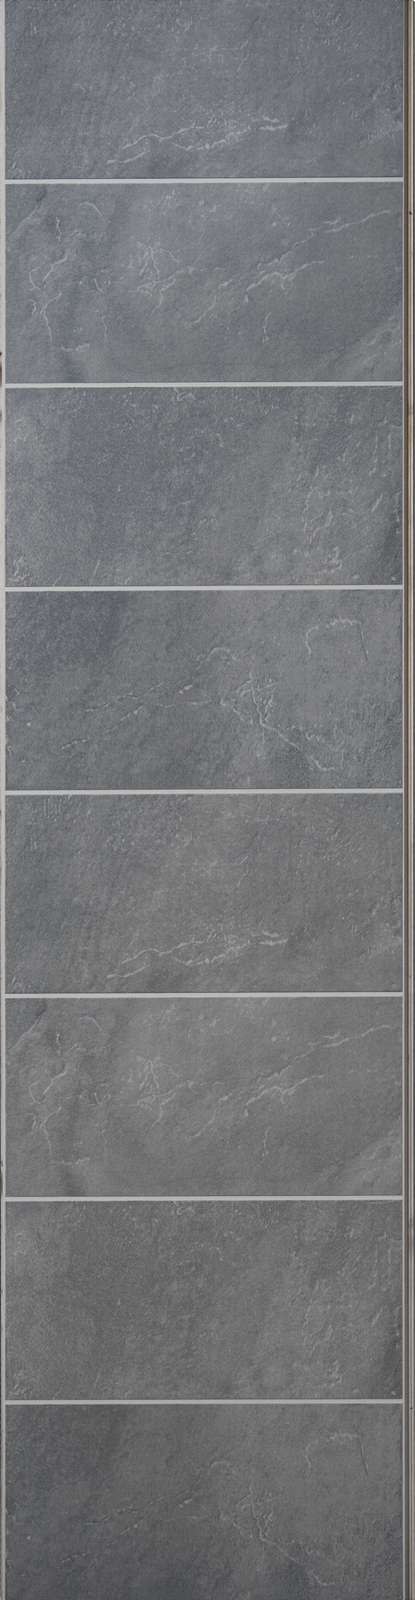
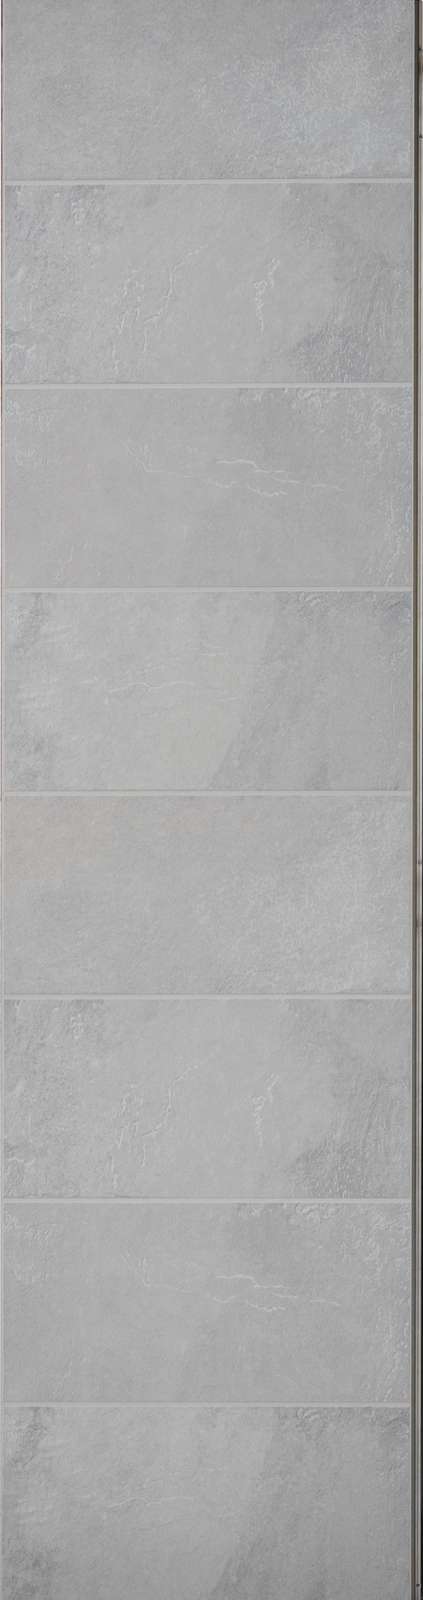
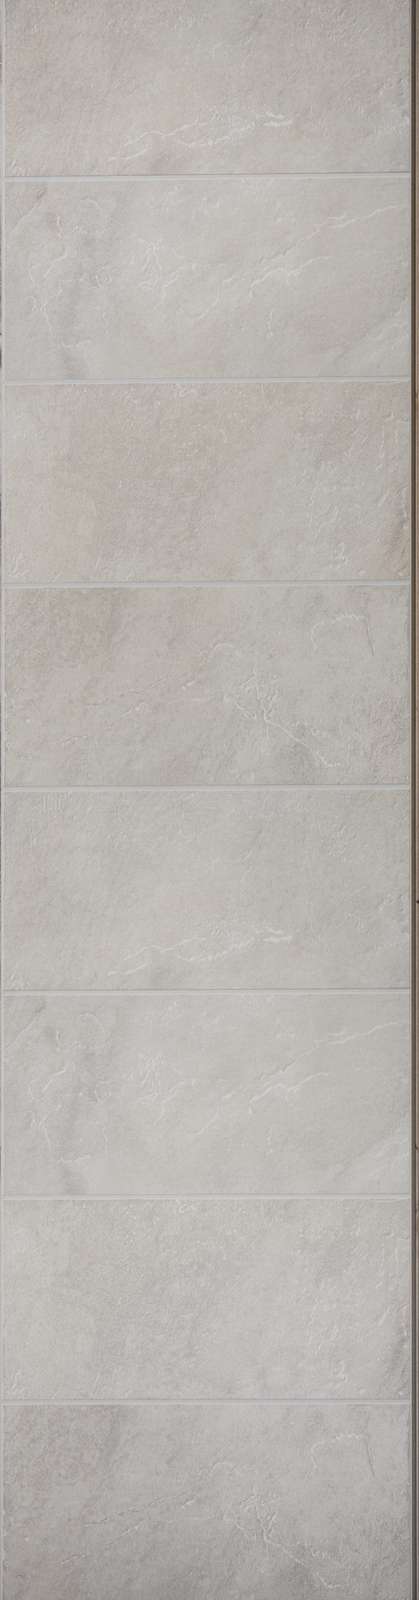
3D Textured Slate Collection
| Name/Description | Model # |
|---|---|
| Black Slate 24 x 12 | Text-BS-2412 |
| Greige Slate 24 x 12 | Text-GS-2412 |
| Sandstone Slate 24 x 12 | Text-SS-2412 |
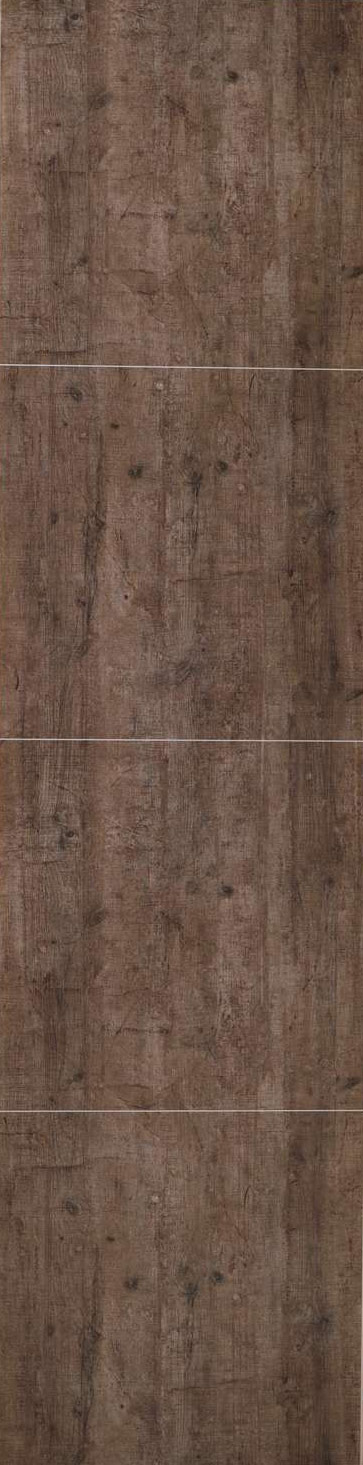
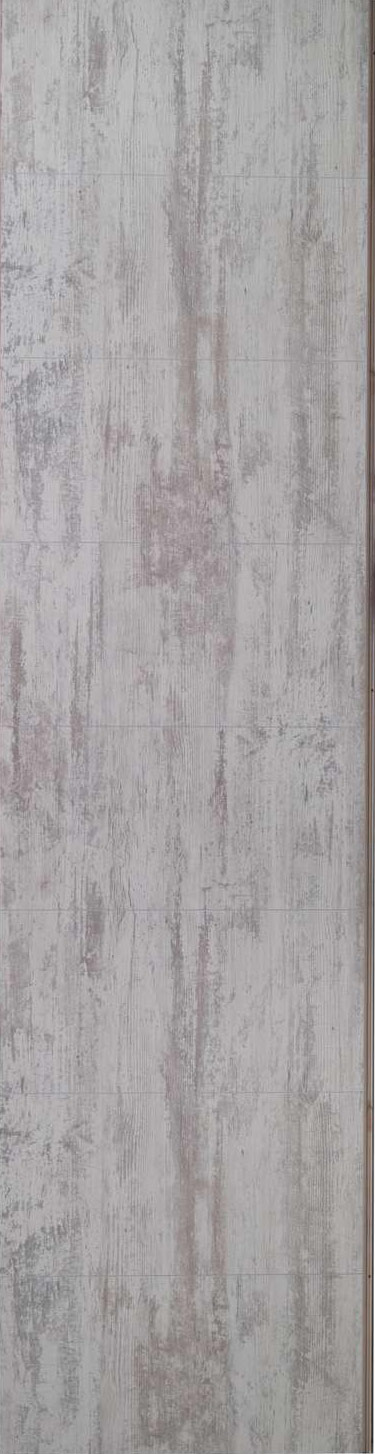
Modern Farmhouse & Shabby Chic Collection
| Name/Description | Model # |
|---|---|
| Abbey Shale – 24 x 16 – grey joints | Mofa-AS-2416 |
| Sahara 24 x 12 – 1/16” faux grout joints | Mofa-SA-2412 |
| Rough Wood – 24 x 24 – 1/16” grey joints | Mofa-RW-2424 |
| Antique Grey – 24 x 12 – 1/16” grey joints | ShCh-AG-2412 |
| Avalone Pine 24 x 16 | Mofa-AP-2416 |
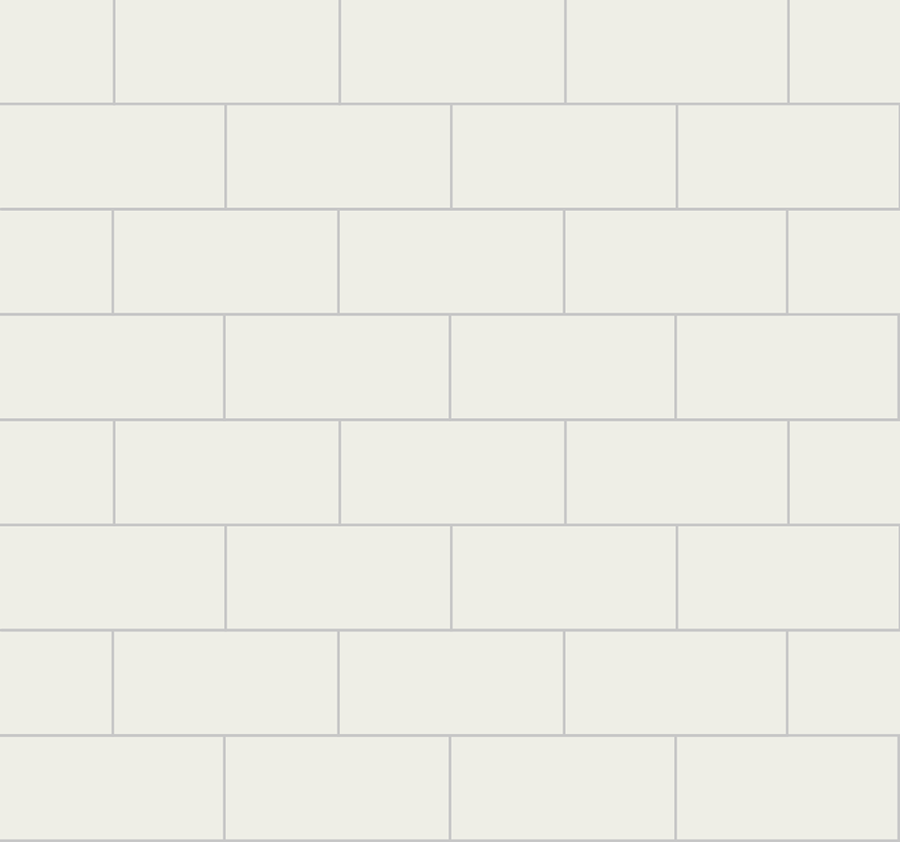
| White Subway Tile 6 x 3 | Mofa-WS-0603 |
Contemporary High Gloss Collection

| Name/Description | Model # |
|---|---|
| White – no grout joints | CoHg-WH-0000 |
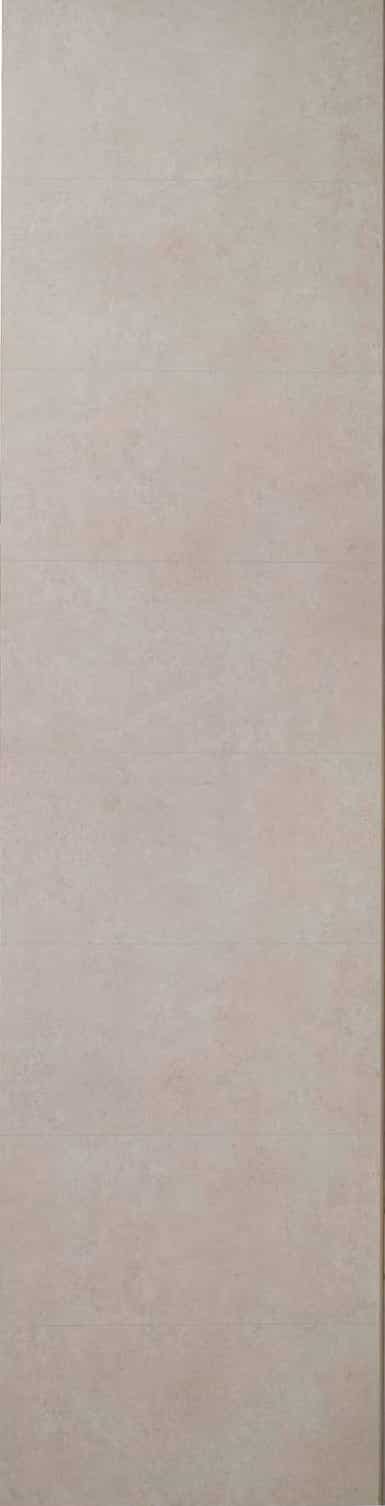
Modern Minimalist Collection

| Name/Description | Model # |
|---|---|
| Cracked Cement – no grout joints | MoMi-CC-0000 |
Decorative Accent Panels

| Name/Description | Model # |
|---|---|
| Decorative Accent – Vertical White – Vertical joints | Deco-VW-8888 |
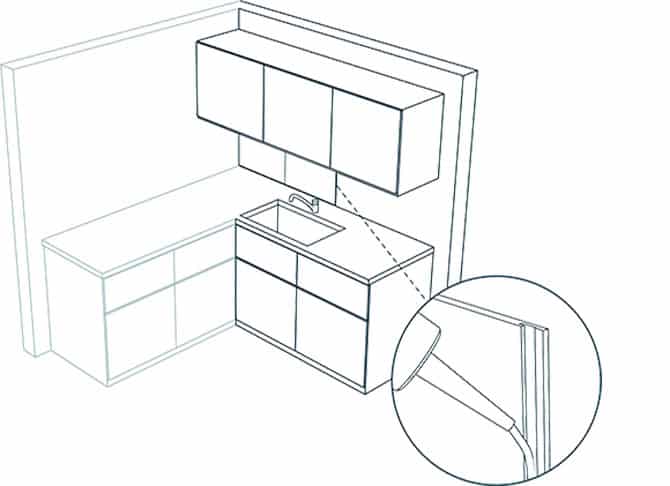
Installing laminate backsplash panels over a corner wall kitchen
NOTE – you’ll need to start with the left-hand wall of your installation.
Measure the distance from the countertop to the underside of the cabinet and deduct 1/8”. This will be the finished height of your laminate kitchen backsplash. (note – you can choose to use the ‘optional’ small L profile piece in the corner. If you do, start your first panel 1/8” from the left-hand corner).
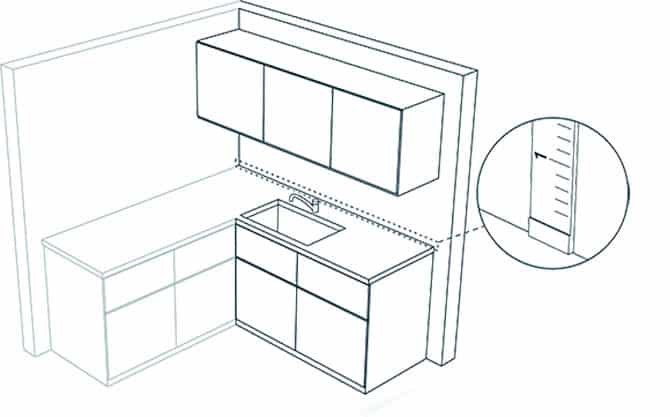
Cut the groove on the left side of the first panel in the left-hand corner. Make any cuts using a jig saw, track saw or circular saw off the top of the panel. Be sure to make all of your cuts from the top of the panel (this will leave you with a consistent smooth factory edge at the bottom).
Note – for any switch plates or electrical outlets cut out the laminate panels with a jig saw.
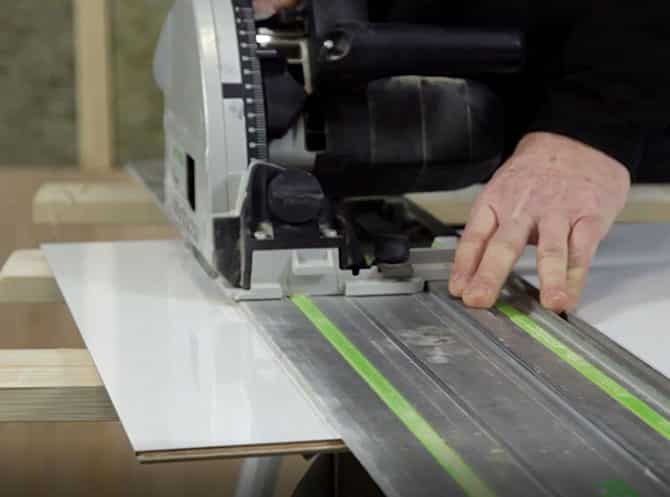
Set your first panel 1/8” above the countertop. Glue it in place using the ‘wall panel adhesive’ provided in the kit). Note – instead installing one panel at a time you can also choose to put all panels together and glue them up as one assembly.
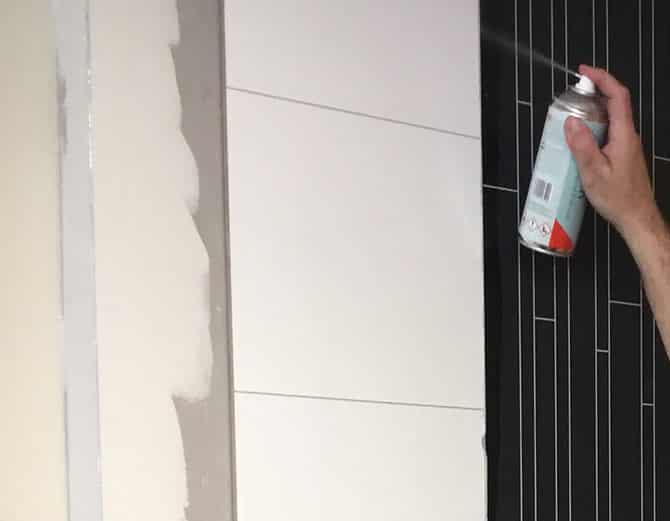
For the second panel (which will be installed to the right of the first panel) apply a bead of the ‘wall panel sealant’ (which is provided with the kit) to the second panel. Click, lock and seal the 2 panels together.
Spray the excess sealant which has oozed out when you click and locked the panels together in step 4 with ‘cleaning solution.’ Use the ‘sealant finishing tool’ to wipe off the excess from the panels. Wipe the panel clean with the ‘wall panel wipes.’
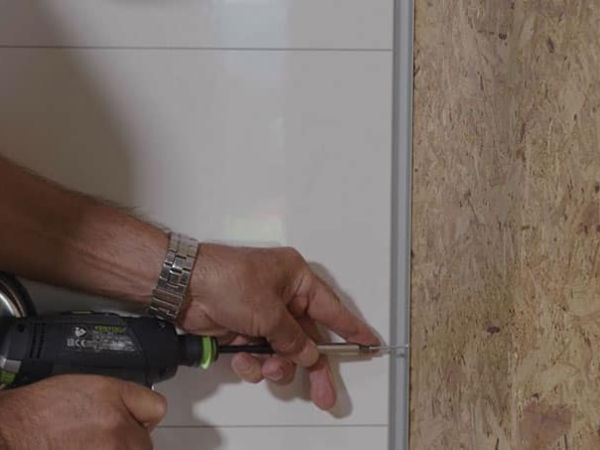
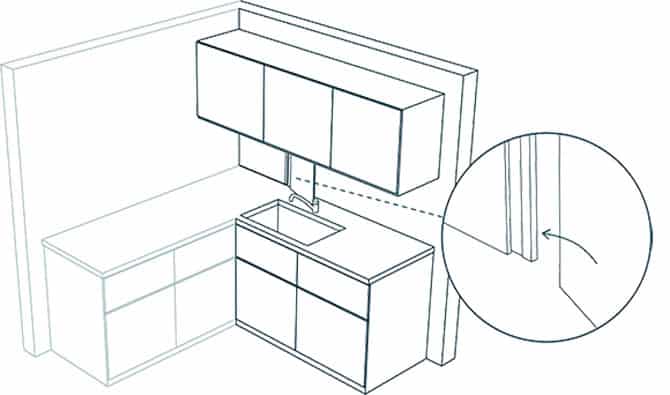
Cut the hidden profile to the size of your panels. Cut off the right side of the panel to be 3/8” less than the full width of the wall panel dimension you need. Attach the back side of the panel the hidden profile with the small screws provided. Note – put the open ‘u channel’ part of the profile facing in the right hand direction. Begin (starting with step 1 again, to work on the right hand wall).
Using a caulk gun (not provided), apply 1/8” sealant between the bottom edge of the panel(s). Spray this joint with the ‘cleaning solution.’ Smooth out and wipe off the excess using the ‘sealant finishing tool.’ Wipe down the panel using the ‘wall panel wipes.’
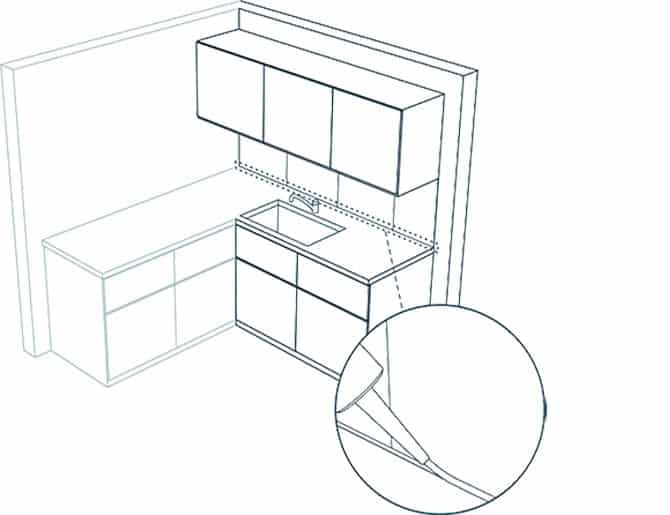
Note – if the end of your wall will be exposed you’ll need to do this step. If not, ignore it). Using the height of your panel cut the ‘small L profile’ to size. Put the ‘small L profile’ onto the edge of the panel using the ‘wall panel sealant.’
Frequently Asked Questions about Laminated DIY Kitchen Backsplash Panels
Laminate panels will install in a fraction of the time of ceramic tile and don’t require specialized tools like wet saws and tile cutters you need for a ceramic tile job. In addition, laminate panels don’t have cement grout joints (like tile) which are difficult to clean from kitchen spills.
Innovate Building Solutions is much more than a nationwide kitchen backsplash panel supplier. We offer many other remodeling products (including laminate shower wall panels, shower bases and glass enclosures and glass block shower wall systems) at wholesale direct prices to compliment your space.
In addition, our company is a professional installer and contractor in our local markets and has a growing network of installing wall panel dealers across the country. The materials you purchase from us are also the materials we install in our regional markets. In short, we have qualified people to help you with your questions.
This material has a full 15-year warranty covering water resistance, maintaining consistent product color and stain resistance. It does not cover accidental damage or misuse through improper cleaning (please don’t use abrasive chemicals to clean these wall panels).
If the wallboard products covered are found to be defective by Innovate Building Solutions (or one of our authorized dealers) we will repair or, at our option, replace the product with a similar panel or trim piece. Our option to repair or replace does not cover any labor or costs associated with the removal or installation. We will not be responsible for any other incidental or consequential damages attributed to a product defect or to the repair or exchange of a defective product.
Yes. Using our patented ‘aqualock’ sealant and an automated manufacturing process featuring ‘tongue and groove’ style interlocking panels, you’ll like knowing your kitchen backsplash is 100% waterproof and won’t grow mold.
Use clean soft cloth with warm water or non-abrasive cleaners like Fantastic, Windex, Green Works, 409, Tilex Spray, Pine Sol and Lime Away spray. Do not use abrasive or gritty cleaners (like Comet, Scotch Brite Pads, Magic Eraser etc.).
The shorter ‘countertop to cabinet’ panels are 600 mm (wide) x 580 mm (tall) (which is 23.6” wide x 22.8” tall) and approximately 3/8” thick.
The taller countertop to ceiling panels are 600 mm x 2400 mm (which is 23.6” x 94.4”) and are approximately 3/8” thick.
Since these panels literally ‘click and seal’ together (like a snap-together, tongue and groove style kitchen flooring) they’re straightforward for someone with no prior experience to install. They can be cut with standard woodworking equipment (jig saws, circular saws and track saws are most commonly used). There are no specialized blades you need to buy. Also – since our company (Innovate Building Solutions) uses them on our own jobs we can guide you through installation questions you have.
These panels can either be glued onto existing surfaces (like tile or drywall) or screwed onto OSB (Oriented Strand Board) or a plywood backing system with the screws provided in the kit.
The panels should be stored flat for 3 days at room temperature prior to installation.
Yes – these kitchen panels can be installed over drywall or stud partitions. Make sure the screws are long enough to properly grip the studs behind the drywall or if you’re using adhesives, make sure to use the adhesives provided with the kit.
If the tiles are smooth and flat it is possible to glue over the old units (assuming there is no moisture trapped behind the old tiles which would cause mold growth).
Only use the Aqualock waterproof sealant provided with the installation kit. This sealant is color-matched to the faux grout joints and is fully tested and provides a waterproof barrier.
Yes – the standard installation kit comes with any wall panel system. It includes 1 tube sealant, 1 box wall panel wipes, 1 can of cleaning solution, 1 inside corner trim, 1 box of screws and 1 sealant finishing tool.